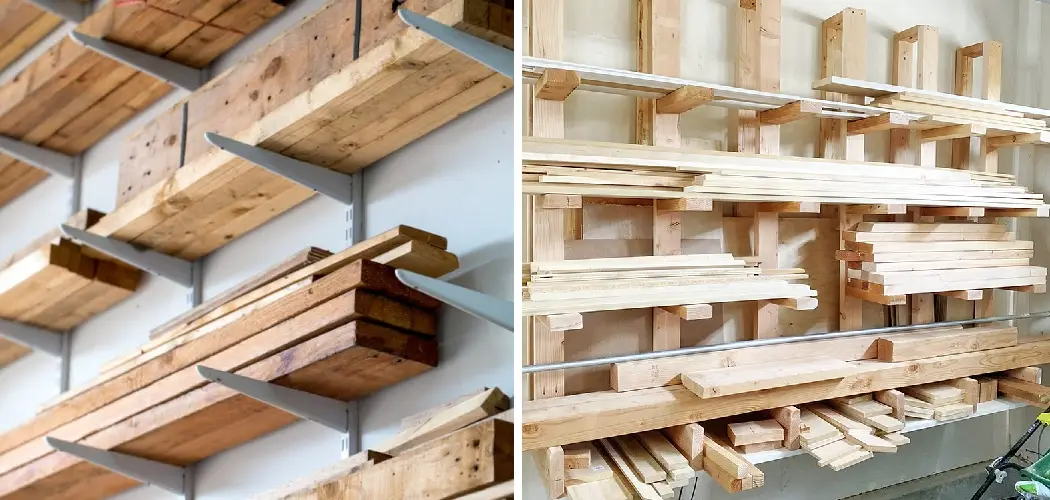
Have you ever considered building an outdoor structure such as a deck, fence or garden shed? If so, do you know what steps to take in order to properly treat lumber for outdoor use?
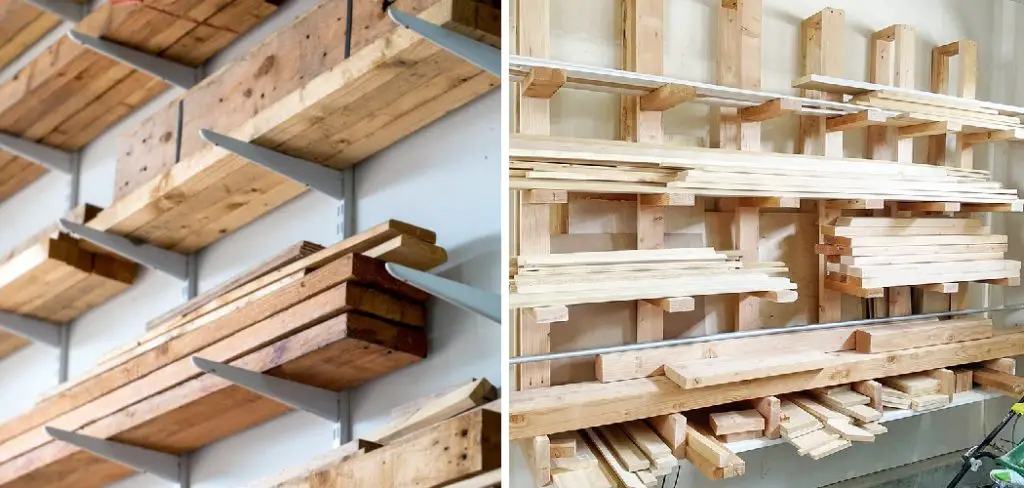
When it comes to building outdoor structures, such as decks and fences, treating lumber correctly is critical for their longevity. Learning the right techniques for treating timber is essential if you want to build a project that will last for years with minimal maintenance.
In this blog post, we’ll explain how to treat lumber with the appropriate preservatives and stain-sealants that prepares it for long-term use outdoors while still maintaining its natural beauty. We’ll also discuss ways of preserving wood in hazardous climates or special situations in order to ensure your projects withstand the elements over time. Read on to find out more about how to treat lumber for outdoor use.
What is Lumber?
Lumber is timber that has been cut into boards or logs of specific sizes. It is one of the most versatile materials used for construction, as it can be used in a variety of applications both indoors and outdoors. Timber has many advantages when compared to other construction materials, such as its strength, beautiful natural grain and ability to be easily worked in order to make versatile structures.
Types of Lumber Treatments
When it comes to treating lumber for outdoor use, there are two main types of preservatives:
- Water-based
- Oil-based.
1. Water-Based Treatments
Water-based treatments penetrate the wood fibers more deeply and can provide protection against moisture, rot, and fungal decay for up to three years. On the other hand, oil-based treatments are good at repelling water but do not penetrate as deeply.
2. Oil-Based Treatments
Oil-based treatments provide a protective layer on the wood surface that helps to prevent moisture and rot damage. These treatments typically last longer than water-based ones, but they often need to be reapplied more frequently in order to maintain their effectiveness.
The Bright Sides of Using Lumber for Outdoor Use
1. Durable
Using lumber for outdoor projects has many advantages. Firstly, it is strong and durable, which makes it ideal for constructing long-lasting structures such as decks and fencing. Secondly, the natural grain of wood gives any project an aesthetically pleasing finish that is sure to last a lifetime. Finally, treated lumber is resistant to rot and decay which means that your outdoor structure will remain in good condition even after many years of use.
2. Versatile
Treated wood is easy to work with and can be used for a variety of outdoor projects. Whether you’re constructing a deck, fence, or garden shed, there are plenty of options when it comes to using treated lumber to create the perfect structure for your needs.
Required Items and Materials
Before you start treating your lumber, it’s important to have all the necessary items and materials on hand. You will need:
- Lumber
- A protective mask or face shield
- Safety glasses
- Protective gloves
- Treatment products such as preservatives, stains, sealants, paints, or other finishing agents.
How to Treat Lumber for Outdoor Use in 10 Steps

Now that you have all the items and materials required to treat lumber for outdoor use, it’s time to get started. Here is a step-by-step guide on how to do so:
Step 1: Clean Up
Start by ensuring that your work area is clean and free from debris. This will help to ensure that the treated lumber does not become contaminated during the process. Keep in mind that you should also wear a protective mask, gloves, and safety glasses during the treatment process.
Step 2: Prepare the Lumber
Next, prepare the lumber for treatment by sanding it down with medium-grit sandpaper to ensure a smooth finish. Make sure to remove any surface dirt or debris from the wood before proceeding.
Step 3: Apply Preservatives
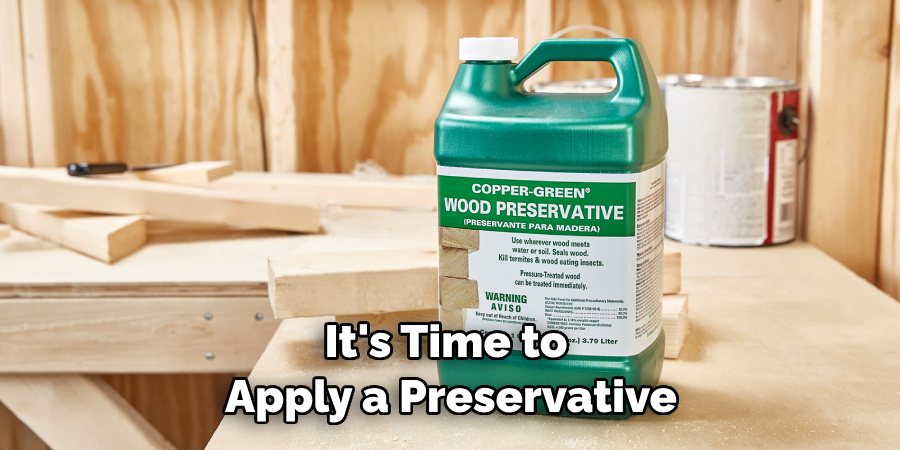
Once the wood has been prepared, it’s time to apply a preservative. This can be either water-based or oil-based, depending on the type of protection you require. Make sure to follow the manufacturer’s instructions when applying the product and allow for ample drying time before moving on to the next step.
Step 4: Apply Stain or Sealant
Once the preservative has been applied and dried, it’s time to apply a stain or sealant. This product will help to protect the wood from moisture damage and give it a beautiful finish. Again, make sure to follow the manufacturer’s instructions when applying this product.
Step 5: Allow for Drying Time
Allow the stain or sealant to dry completely before proceeding. This may take several hours, depending on the type of product you are using.
Step 6: Apply Finishing Agent
Once the stain or sealant has dried, it’s time to apply a finishing agent such as paint or varnish. This step is optional, but it will help to protect the wood from further moisture damage and enhance its natural beauty.
Step 7: Allow for Drying Time
Allow the finishing agent to dry completely before moving on to the next step. It is important to give this product ample time to cure in order for it to be effective. Allowing for proper drying time is also important to ensure that the product does not crack or peel off over time.
Step 8: Inspect the Lumber
Once the finishing agent has dried, inspect the lumber to make sure that it looks even and smooth. If needed, you can sand down any uneven sections in order to achieve a uniform finish.
Step 9: Caulk
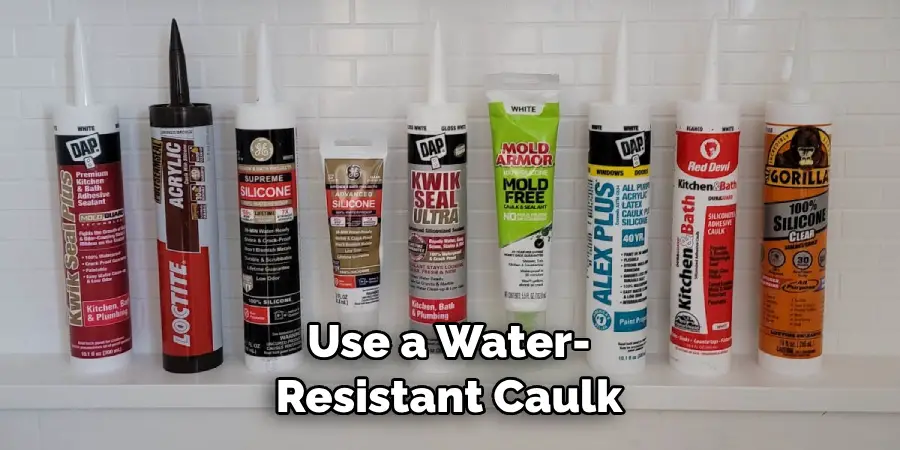
Caulking is an important part of the treatment process, as it helps to seal any gaps that may have formed between the boards. Use a water-resistant caulk to ensure that your lumber is properly protected against moisture damage.
Step 10: Maintenance
The last step is to maintain your treated lumber. This involves regularly inspecting the wood for any signs of damage or decay and applying additional treatments if needed. Treatments should also be reapplied every few years in order to maintain their efficacy.
Follow these steps and you can create beautiful and long-lasting outdoor structures using treated lumber. With the right care and maintenance, your projects will remain in excellent condition for years to come!
7 Advantages of Using Treated Lumber
Treated lumber offers many advantages over other materials when it comes to outdoor construction projects. Not only is it strong and durable, but it also requires less maintenance than other materials. Here are 7 advantages of using treated lumber for your outdoor projects:
1. Cost-Effective
Treated lumber is an affordable option when compared to other materials, such as composite decking or hardwood flooring. When treated correctly, it can provide an attractive and long-lasting finish to any outdoor project.
2. Easy to Work With
Treated lumber is easy to work with and can be cut, drilled, or shaped into just about any shape or size you need for your projects. This makes it ideal for DIYers who may not have extensive building experience.
3. Decorative Finish
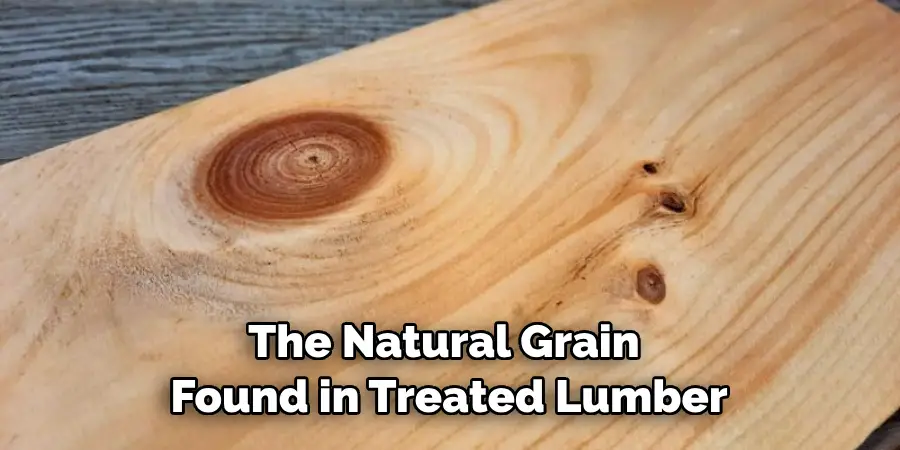
The natural grain found in treated lumber gives any project an aesthetically pleasing finish. This also helps to make it a great choice for outdoor projects such as decks, fences, and garden sheds.
4. Low Maintenance
Treated lumber is resistant to rot and decay which means that you don’t have to worry about performing regular maintenance. Simply inspect it periodically and reapply treatments as needed.
5. Resistant to Insects
Treated lumber is also resistant to insects such as termites, making it a great choice for any outdoor structure. This ensures that your projects will remain in good condition even after many years of use.
6. Durable and Long-Lasting
Treated lumber is extremely durable and can withstand harsh weather conditions such as strong winds, rain, or snow. This makes it an excellent choice for outdoor projects that are exposed to the elements.
7. Environmentally Friendly
Treated lumber is a renewable resource and biodegradable, making it a great choice for those who are looking for an environmentally friendly option. This makes it a much better choice than composite decking or vinyl siding, which can take hundreds of years to decompose.
Overall, treated lumber offers many advantages when it comes to outdoor projects. It is affordable, easy to work with, and requires minimal maintenance compared to other materials.
Conclusion
Ultimately, the best way to treat lumber for outdoor use is to utilize the best combination of treatments available. By doing this, one can ensure that their wood will be able to stand up to any weather or environmental conditions. By securing the right protective coating, necessary finishes like stains and sealers, and using water-resistant materials as needed, your outdoor lumber can stay effective and attractive far into the future.
This comprehensive approach is well worth the effort put in upfront since its results will last so much longer than if left untreated. The decision of which products to use should be carefully considered and planned out for maximum effectiveness. So make sure you take the proper steps on how to treat lumber for outdoor use today so your outdoor wood can remain strong tomorrow!

