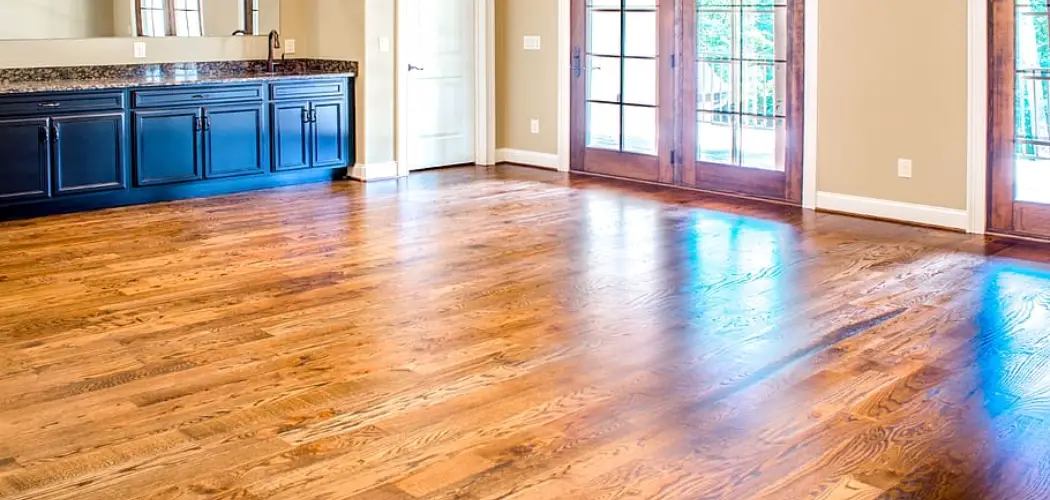
Stripping old finishes from wood floors is an important step in the restoration process. It not only rejuvenates the look of your floors but also helps them last longer. However, it can be a daunting task, especially if you’re doing it for the first time. Don’t worry, though; we’ve got you covered! In this blog post, we’ll guide you step by step on how to strip wood floors.
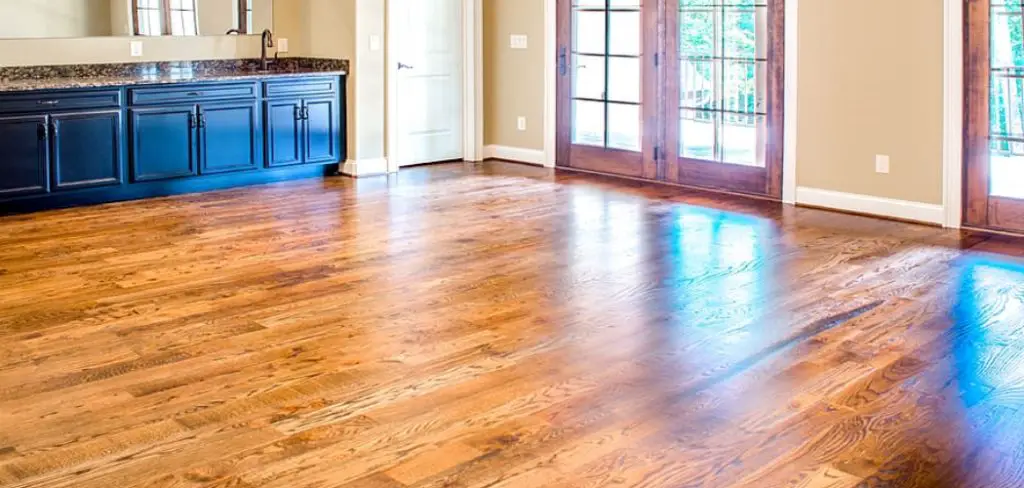
Can You Strip Wood Floors?
If you want to breathe some new life into your home’s flooring, stripping your wood floors could be just what you need. Stripping your hardwood floors is a process that can help you get rid of old stains and damage, leaving a smooth and clean surface ready for you to apply new finishes and colors.
If you love to DIY and take on home improvement projects, stripping your hardwood floors could be a great way to challenge yourself while making a big impact on your home’s aesthetic.
Of course, it’s important to remember that stripping hardwood floors can be time-consuming and challenging, so you want to ensure you’re prepared to put in the work. With the right tools and mindset, however, you can strip your wood floors and enjoy the benefits of a refreshed space.
Why Should You Strip Wood Floors?
If you’re debating whether or not to strip your wood floors, there are a few key benefits to consider. First and foremost, stripping your wood floors can bring new life to your home’s interior. Over time, wood floors can become dull and faded, but stripping them can restore their natural beauty and give your home a fresh, updated feel.
Additionally, stripping your wood floors can remove any stains or damage that may have occurred over the years, improving the overall appearance of your floors. Finally, stripped floors provide a great base for refinishing with a new stain or finish, allowing you to completely customize the look of your home’s interior. If you’re looking to refresh your space or simply improve the appearance of your wood floors, stripping is a great option.
How to Strip Wood Floors – A Step-by-Step Guide
Step 1: Remove Furniture and Clean the Floor
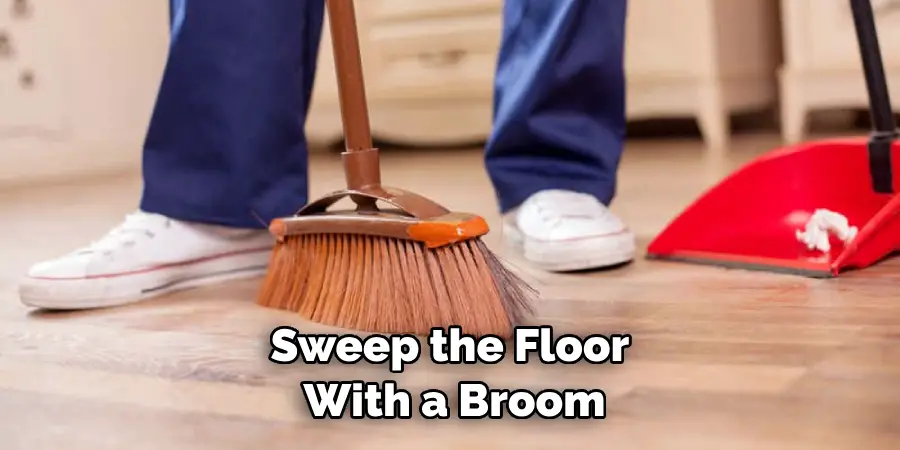
The first step is to remove all furniture from the room and thoroughly clean the floor. This is important because any dust or debris on the floor can get trapped under the stripping compound and damage the floor. Sweep the floor with a broom to get rid of any large debris, and then clean it with a vacuum or mop to ensure that it’s free from dust or debris.
Step 2: Choose the Right Stripper
There are several types of stripping compounds available in the market. Before selecting one, read the instructions and consult with professionals if needed. Use a paint scraper or a putty knife to remove any loose or peeling finish.
Apply a thick layer of stripping compound according to the manufacturer’s instructions using a brush or roller. Keep in mind that some strippers are very potent, so make sure to wear gloves and a respirator to avoid any contact.
Step 3: Wait and Scrape
Once you have applied the stripper, you need to wait for a specific amount of time, depending on the type of stripper and the thickness of the coat. Follow the manufacturer’s guidelines very carefully. Once drying is up, use a scraper or a putty knife to remove the softened finish. Do not apply too much pressure, as this can damage the wood. You may need to repeat this step several times.
Step 4: Rinse and Neutralize
After removing the old finish, it’s time to rinse and neutralize the floor. Pour some water onto the floor and gently scrub it with a brush or a mop. Then, a neutralizing cleaner is necessary to retain the natural pH of the wood and stop the chemical reaction. Rinse thoroughly with clean water after you apply the neutralizer and let it dry completely.
Step 5: Sand and Stain
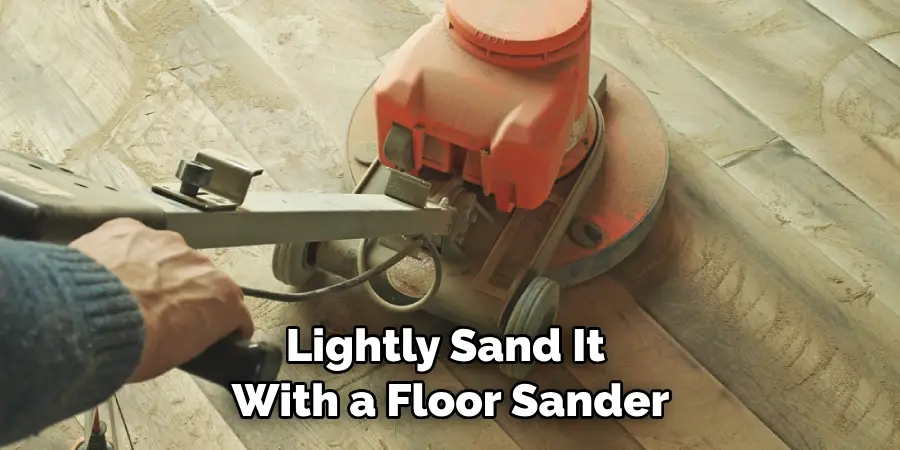
After the floor has dried completely, lightly sand it with a floor sander. This will smooth the surface, remove any remaining finish, and prepare the surface for the next coating. You can also choose to stain your floors if desired. Follow the instructions carefully and let the stain dry completely before applying any finish. Once the stain is dry, apply a protective coat of urethane, polyurethane, or lacquer according to the manufacturer’s instructions.
Step 6: Let the Coating Dry
Once you have applied the protective finish, let it dry completely before moving ahead with anything else. Depending on the type of coating and manufacturer’s instructions, this can take up to 24 hours. Ensure to keep children and animals away from the area while drying the floor.
Step 7: Enjoy Your Stripped Floor
Once the floor is dry, return your furniture and enjoy your newly stripped wood floor. Just make sure to take proper care of it by regularly cleaning and protecting it from dust and dirt. This will ensure that your floors remain as beautiful as ever for years to come.
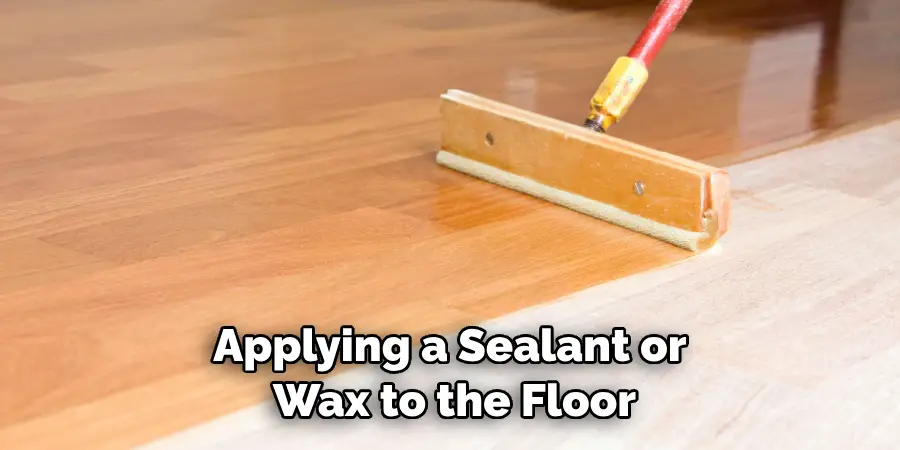
For extra protection, you can also consider applying a sealant or wax to the floor. This will create an extra layer of protection against scratches and spills while also giving your floors a glossy shine. Additionally, regularly mop or vacuum your wood floor to keep it looking clean and beautiful! With these steps, you can easily strip any wood floor and enjoy its beauty for years!
5 Considerations Things When You Need to Strip Wood Floors
1. Determine the Type of Finish
Before you begin stripping wood floors, it is important to determine the type of finish that has been applied. Different types of finishes require different types of stripping products and techniques. If you are unsure what type of finish is on your floor, it is best to consult a professional to help you identify it.
2. Prepare the Room
Before starting any project, it is important to take the time to prepare the room for the work that will be done. This includes moving furniture and other items out of the area and covering any surfaces affected by dust or chemicals. It is also important to ensure adequate ventilation in the room, as some stripping products can produce strong fumes.
3. Choose Stripping Products Carefully
When selecting a product for stripping wood floors, it is important to choose one designed specifically for your type of flooring finish that won’t damage your floors. Many products contain harsh chemicals and can cause discoloration or damage if used incorrectly. It’s always best to read labels carefully before purchasing any product and follow all instructions exactly as directed.
4. Test a Small Area First
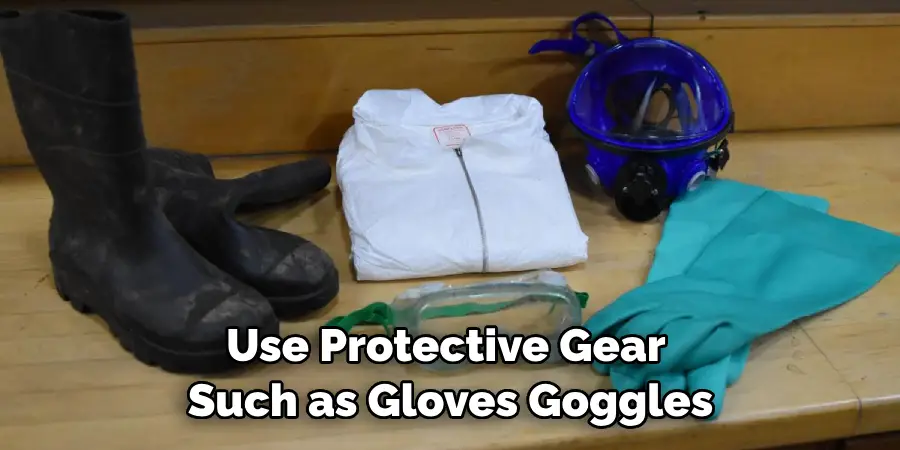
Before beginning work on an entire floor, it’s always best to test a small area first to understand how long it will take and how effective your chosen product will be at removing the existing finish. Be sure to use protective gear such as gloves, goggles, and a mask when working with chemical strippers or abrasives, as they can cause skin irritation or respiratory problems if inhaled or touched directly with bare skin.
5. Use Protective Coating After Stripping
Once you have successfully stripped your wood floors, it’s important to protect them from further wear and tear with a protective coating such as wax or polyurethane sealer.
These coatings help seal in moisture while providing a barrier against dirt and debris, which can scratch or dull the surface over time if left unprotected. Be sure to follow instructions carefully when applying sealers and allow them to dry fully before walking or placing furniture back in the area.
Benefits of Strip Wood Floors
Strip wood floors offer many benefits for homeowners and anyone considering a remodel. Not only do they add natural warmth and beauty to a space, but they’re highly durable and long-lasting. Strip wood floors are also easy to maintain and can be customized to fit any design style, from rustic to modern.
One of the most significant benefits of strip wood floors is their ability to increase the value of a home. Investing in quality materials like solid hardwood can significantly boost the resale value of a property. Strip wood flooring is a timeless choice that will never go out of style, making it an excellent investment for both the present and the future.
Conclusion
Stripping wood floors requires patience, attention to detail, and some effort. Taking the time to do it right will ensure a beautiful, long-lasting finish. If you need any help or have any doubts, do not hesitate to consult a professional. With this guide, we hope you are better equipped to strip your wood floors and restore them to their former glory. Thanks for reading our post about how to strip wood floors.

