Do you have hardwood floors that squeak annoyingly when you walk across them? You can silence those squeaks with a few simple steps. Here is how to stop squeaks in hardwood floors.
If your hardwood floor is making squeaky noises, you are likely looking for a way to stop them once and for all. Whether the sound comes from walking on the floor or when you shift furniture here and there, it can be annoying. Luckily, there are some easy DIY solutions that can minimize or even eliminate those squeaks in no time at all. You can be on your way to silencing those squeaks with just a few tools and supplies!
Read on for helpful tips on how to stop those pesky hardwood floor creaks and groans once and for all!
What Will You Need?
Before you start, make sure to have the basics on hand:
- Hammer
- Nails
- Screws
- Wood glue
- Dowels
- Putty knife
- Vacuum cleaner
Once you have all the supplies, it’s time to get started!
10 Easy Steps on How to Stop Squeaks in Hardwood Floors
Step 1: Identify the Source of the Squeak
The first step to stopping a squeaky floor is to identify the source of the sound. Look for loose boards or sections that move or creak as you walk across it. As you walk across the floor, pay attention to where the noise is coming from and pinpoint which boards may be affected.
Step 2: Secure Loose Boards
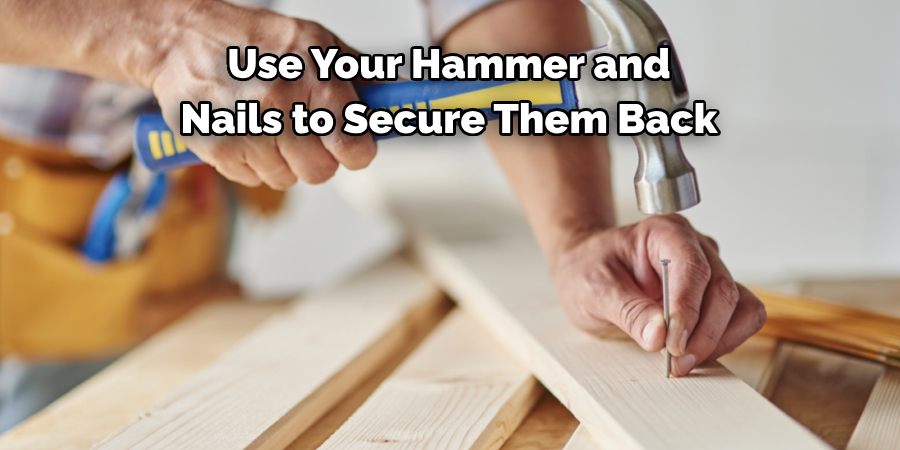
Once you have identified a loose board, use your hammer and nails to secure them back into place. Make sure to drive the nail in at an angle so it does not stick out from underneath the board. Don’t overdo it – two or three nails should do the trick.
Step 3: Use Wood Glue
If there are gaps between two boards, apply wood glue with a putty knife before nailing them together. This will help fill in any spaces and keep the boards connected. You can also use dowels and screws for larger gaps.
Step 4: Add Dowels and Screws
For extra support, use dowels and screws to secure the boards together. Dowels can be placed between two boards to keep them from shifting and making noise, while screws hold everything in place. Try to use screws the same color as your hardwood floor so they blend in.
Step 5: Vacuum The Floor
To ensure all debris is removed from the floor, vacuum it thoroughly before moving on to the next step. This will prevent dirt or dust particles from getting in between the boards and causing more squeaks. You can also use a damp cloth to wipe the floor before vacuuming.
Step 6: Add Insulation
Adding insulation below your hardwood floor can also help reduce noises and vibrations. Several types of insulation are available, such as rubber matting or foam padding that you can lay down over the subfloor before installing your hardwood flooring. Another option is to use cork tiles, which are soundproof and great for insulation.
Step 7: Use Caulk or Putty
If gaps exist between the floor and walls, caulk or putty can be used to fill them in. This will prevent air from circulating through the cracks and causing noise. Be careful not to fill the gaps too much, as this can cause a bump in the floor.
Step 8: Install Anti-Squeak Strips
Anti-squeak strips are adhesive strips that you can install underneath your hardwood flooring to reduce noises and vibrations. They act as a cushion between the floorboards and dampen any sound that may be created when walking across the floor. Check with your local hardware store for the best anti-squeak strips for your floor.
Step 9: Secure Nails with Glue or Putty
Driven nails may create small squeaks if they are not properly secured into place. Use glue or putty to fill in any gaps around the nails and create a secure seal. Remember that glue and putty may cause the floor to look slightly uneven once it dries, so use sparingly.
Step 10: Add Felt Pads
Add felt pads to the bottom of chairs, tables, and other heavy furniture pieces to reduce noise when moving furniture. This will help dampen the sound as they move across your hardwood flooring. Remember, the heavier an object is, the more felt pads you should use.
Now you know how to stop squeaks in hardwood floors! You can easily reduce or eliminate those annoying squeaks with these simple steps. However, if you still have persistent squeaking, it’s best to call in a professional who can assess the situation and provide more detailed instructions on how to fix it.
5 Additional Tips and Tricks
1. Check for Loose Floorboards: Sometimes, squeaks are caused by a board that needs to be securely fastened to the joists below. To fix this, locate the problem area and use trim screws to secure it.
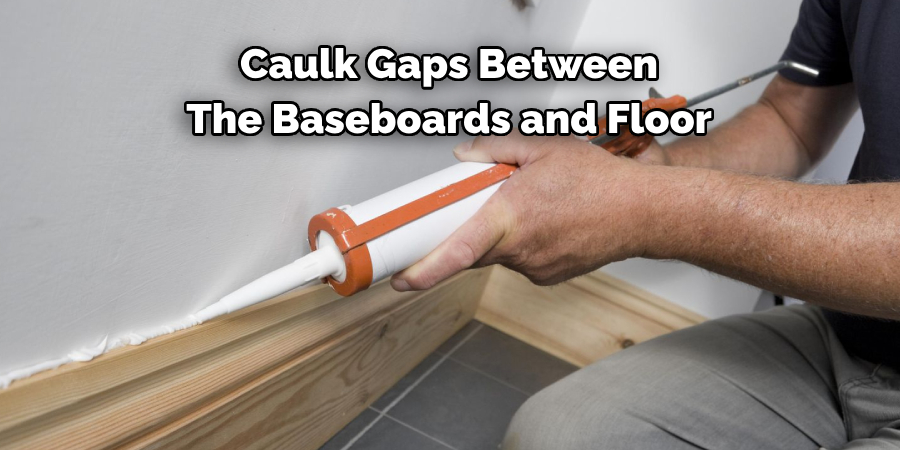
2. Caulk Gaps Between the Baseboards and Floor: If there’s any space between your baseboard and your hardwood floors, caulk around the edges of the baseboards to fill in any crevices that may be causing squeaking.
3. Use Felt Pads Under Furniture Legs: Placing felt pads under chairs or other furniture can help prevent them from sliding on a hardwood floor which could cause it to squeak.
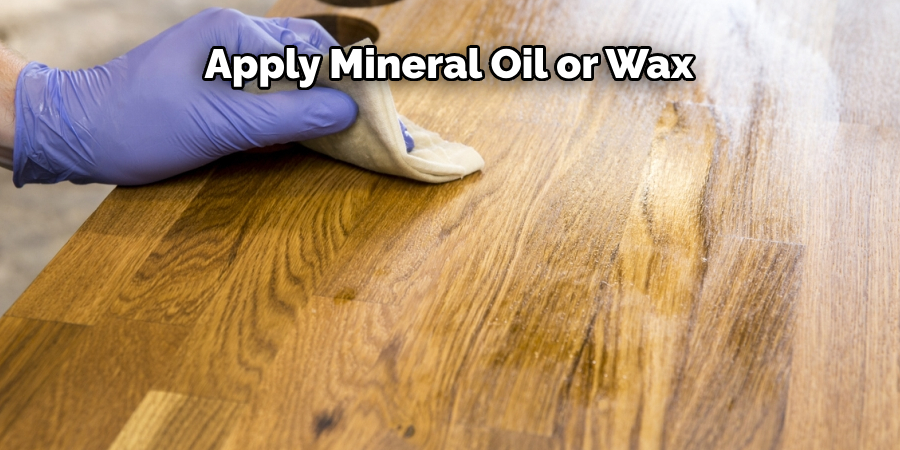
4. Apply Mineral Oil or Wax: Applying a small amount to any creaks you hear can help lubricate them and keep them from squeaking.
5. Install an Underlayment: Installing a thin layer of an acoustic underlayment between the subfloor and the hardwood floor can help reduce noise transfer and absorb some of the shock that makes your floors squeak. However, a professional should do this, as an improper installation can cause more harm than good.
Following these tips should help you eliminate those annoying squeaks in your hardwood floors. It’s important to remember that prevention is better than cure when it comes to maintaining your hardwood floors, so take care of them regularly to keep them in top shape. If the squeaking persists, it may be time to call in a professional for further help.
5 Things You Should Avoid
1. Avoid using too much force when fastening boards: Applying too much pressure to the floorboards can cause them to bend and eventually break.
2. Avoid using nails or screws that are too long: Over-long nails and screws can cause more harm than good and damage your floorboards instead of fixing the squeak.
3. Avoid walking on creaky areas when possible: Walking directly on a creaky area can worsen the problem. Instead, try to avoid it by walking around it if you can.
4. Avoid using soap-based lubricants: Soap-based lubricants may seem like a quick fix, but they can cause more damage in the long run as they attract dirt which can get lodged in the joints and make them squeak even more.
5. Avoid sanding down your hardwood floors too much: Sanding down your hardwood floors too much can weaken them and make them more prone to squeaking. It should only be done when necessary.
As you can see, there are many things you should consider when trying to prevent or stop squeaks in hardwood floors. Taking the proper steps will help ensure that your floor remains in top condition for years. So take the time to properly maintain your hardwood floors and enjoy their beauty without the sound of annoying squeaks!
What Causes Hardwood Floors to Squeak?
Hardwood floors can squeak for a variety of reasons. Some of the most common causes are:
- Improperly secured floorboards
- Loose or missing nails/screws
- Gaps between boards or walls and flooring that allow air to circulate, causing vibrations
- Dirt, dust, and other debris stuck in between floorboards
- Heavy furniture pieces sliding on top of a wooden surface
Identifying what is causing your hardwood floors to squeak is the first step in finding an effective solution. Taking the time to maintain your flooring properly will help prevent future issues from occurring.
With the right knowledge and tools, you can keep your hardwood floors squeak-free for years to come.
Does Baby Powder Stop Squeaky Floors?
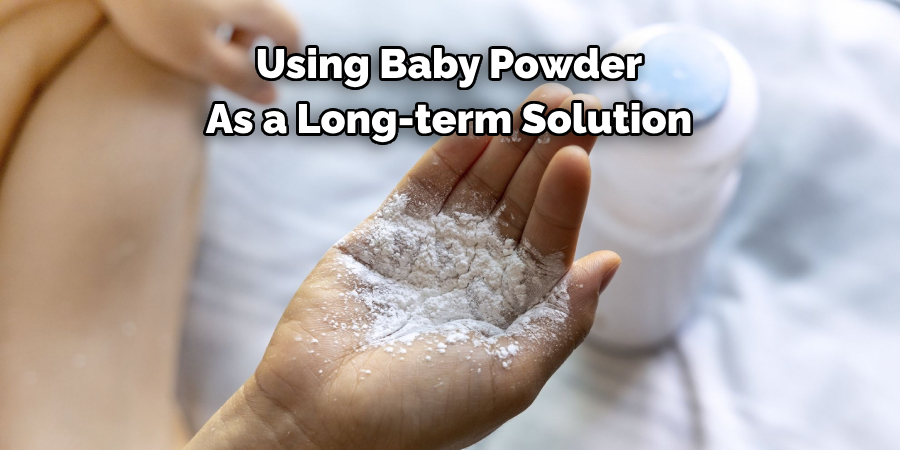
Baby powder can be used as an effective temporary fix for squeaky floors. Sprinkle a small amount of baby powder between the boards where the squeak is coming from and gently pat it down with your hand. This should help reduce the boards’ friction and stop further squeaking.
However, using baby powder as a long-term solution is not recommended, as this can cause more damage to your flooring in the long run. It’s best to find a permanent solution if possible. You can also use furniture sliders or felt pads underneath furniture pieces to prevent them from sliding across your hardwood floor and causing squeaks.
Just remember, if the squeaks continue even after trying multiple solutions, it may be time to call in a professional who can provide a more detailed assessment of your flooring and offer the best solutions. Doing this will help ensure that your hardwood floors remain in top condition for years.
Conclusion
In conclusion, it’s not difficult to figure out how to stop squeaks in hardwood floors. Often something as simple as adding a few screws or the addition of some floor glue can do the trick.
However, before attempting any kind of repairs, it is important to understand exactly why the squeaking is occurring so that you know what needs to be done to get rid of it. If the squeaking persists after you have taken all the necessary actions, consulting a professional may be necessary. Keep quiet floors from becoming a nuisance in your home, and take active steps towards addressing these problems quickly and efficiently.
With just a bit of time and effort, you can ensure that your hardwood floors are squeak free!
You Can Check it Out to Mop Unfinished Wood Floors

