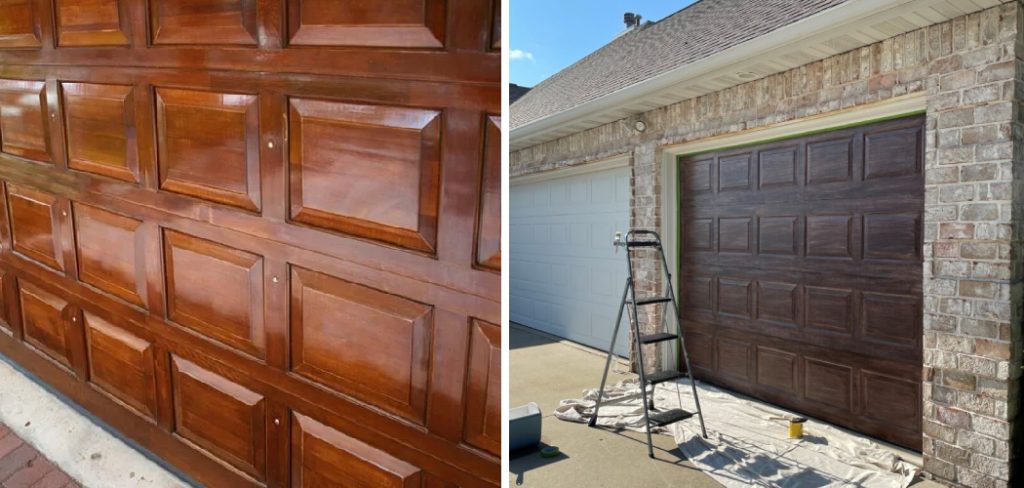
Are you looking to spruce up your garage with a whole new look? Staining your front door can add instant personality and charm while protecting it from harsh weather conditions. But if you’ve never tried staining before, the thought of doing it yourself might seem daunting. Don’t worry – we’ll walk you through each step of the way!

In this blog post, learn all about how to stain a garage door in just five easy steps. From choosing the right material to applying the stain evenly and safely, by following our guide you’ll have beautiful-looking results in no time.
Tools and Materials You Will Need to Stain a Garage Door
- Paintbrush
- Sandpaper
- Staining material (according to the instructions on your tin)
- Cloths/rags for cleaning up
- Respirator mask
- Eye protection
Step-by-step Guidelines on How to Stain a Garage Door
Step 1: Prep the Surface
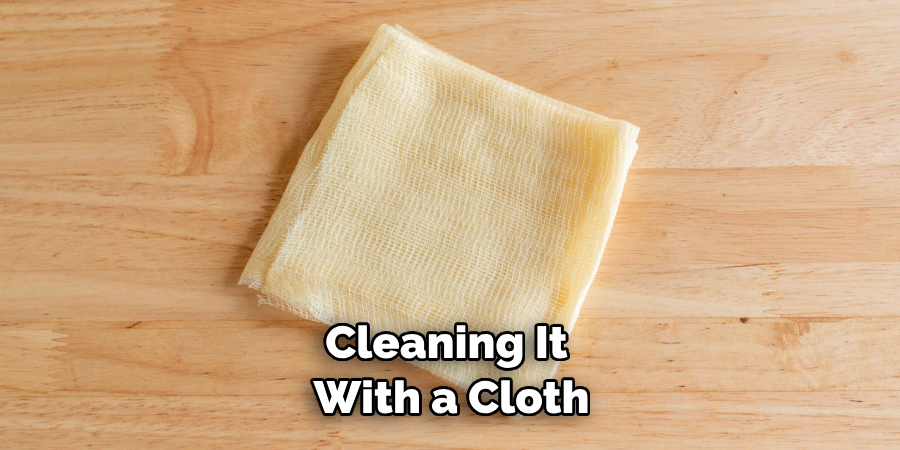
Start by prepping your garage door surface for staining. Begin by cleaning it with a cloth to remove dirt and dust, then lightly sand it with some medium-grit sandpaper. This will help the stain adhere to the wood better. Preparing the wood is an essential step in the staining process so make sure you take your time and do it properly.
Step 2: Choose Your Staining Material
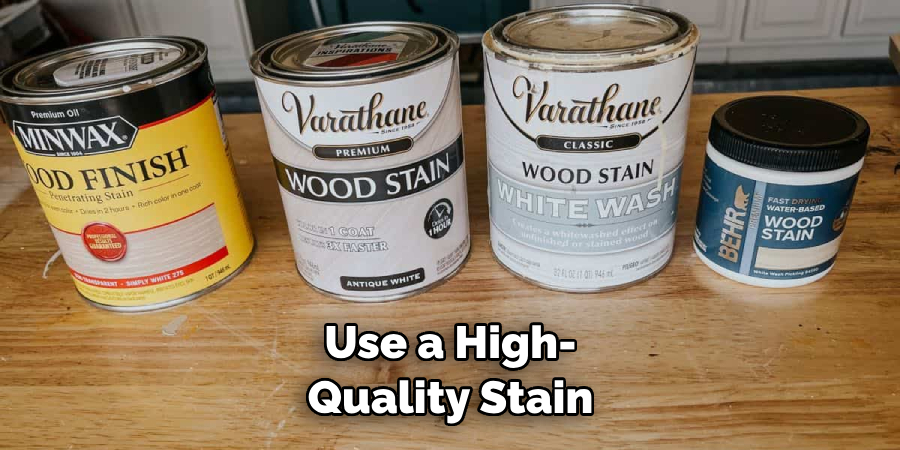
Once you’ve prepped your garage door surface, it’s time to choose a staining material. There are several options available – water-based stains, oil-based stains, and more. Depending on the look you’re going for, it’s best to choose a stain that matches the colour of your other garage door components.

Step 3: Apply the Stain Evenly
The next step is to apply the stain evenly. With a paintbrush, start staining each panel starting from top to bottom. Make sure to avoid heavy streaks and brush strokes as these can make your garage door look uneven. Work in small sections and use a cloth to wipe off any excess stain that may be dripping down the sides.
Step 4: Allow the Stain to Dry
Once you’ve completed the staining process, it’s important to allow the stain to dry completely before you move on to the next step. Depending on the type of stain you use, drying times will vary – so be sure to read the instructions on your tin and allow it to rest for at least 24 hours.
Step 5: Add a Protective Coating
The final step in staining a garage door is to add a protective coating. This will help to seal the wood and protect it from damage due to weather or other elements. Make sure you use a clear, high-quality sealant that’s been specifically designed for outdoor use. Apply the coating carefully following the instructions on your tin and allow it to dry before you close up shop!
Staining a garage door isn’t as difficult as it may seem. With the right tools, materials, and a bit of know-how, you’ll be able to transform your garage door in no time. And with proper care and maintenance, your staining work will last for years to come!
Additional Tips and Tricks to Stain a Garage Door

- Make sure to use a high-quality stain in order to ensure the color lasts. A low-quality stain may not be able to withstand weather, sun exposure, and other elements that your garage door is constantly exposed to.
- When staining your garage door, it’s important to start at the top and work down for best results. This will help avoid runs and streaks.
- To ensure the stain is evenly applied, use a circular motion with your brush or roller as you work your way down the door.
- If you’re staining wood trim around your garage door, be sure to wrap it in plastic before starting to prevent staining any other surfaces in the area.
- To create a smooth and even finish, use sandpaper to lightly sand between coats. This will help the coat adhere properly and last longer.
- After staining your garage door, be sure to wait until it’s completely dry before opening or closing it again. If you open or close the door too soon, the stain may not have had enough time to dry and could be damaged.
- To help protect your garage door from the elements, consider applying a sealant after staining. This will help keep the stain looking new for longer.
- Be sure to wear protective gear such as gloves and safety goggles when staining your garage door in order to avoid any potential harm.
- If you’re looking to give your garage door a unique look, consider using a combination of stains and sealants for different effects. You can also combine colors to create patterns or designs on the door.
- Once you finish staining your garage door, be sure to store any leftover stain properly in order to use it again if needed. Keep it sealed tightly and away from extreme temperatures to ensure it stays in good condition.
Following these tips and tricks will help ensure a successful staining job on your garage door. With patience and care, you can create a unique and beautiful look that will last for years to come!
Precautions Need to Follow for Staining a Garage Door

- Before starting with the staining process, make sure to wear protective clothing such as gloves and eye protection.
- Make sure the garage door is clean of dirt, grease, mildew, and other debris before beginning. You can use a cleaning solution and scrub brush to remove any buildup from the surface of the garage door.
- Prepare your work area by covering the ground and any nearby plants with plastic sheeting.
- Apply a light coat of primer to the door using a paintbrush or roller, and allow it to dry completely before proceeding to stain.
- When ready, apply the stain with a brush or rag in thin coats until you get your desired color. Allow each coat of stain to dry for eight hours or more before going on to the next coat.
- Once all coats of stain have been applied, seal the door with a clear polyurethane finish to protect your work from the elements. Again, make sure it is fully dried before use.
- Finally, inspect your garage door regularly for signs of damage and fading. If any problems arise, apply a new layer of sealant to the door as soon as possible.
By following these steps and taking the necessary precautions, you can successfully stain your garage door and ensure it remains looking good for years to come! Good luck with your project!
Frequently Asked Questions
How Long Should I Wait for the Stain to Dry?
This will depend on a variety of factors, including temperature and humidity. Generally speaking, it is recommended to allow the stain to dry for at least 24 hours before use. However, if you’re dealing with extreme weather conditions, it’s best to wait even longer. If in doubt, consult an expert to ensure your garage door is properly protected and ready for use.
Is It Possible to Stain a Steel Garage Door?
Yes, it is possible to stain a steel garage door. However, due to the nature of the material, it may require an extra step or two when preparing the surface. Talk to an expert about the best type of product to use for a steel garage door before you begin your project.
What Types of Stains Are Available?
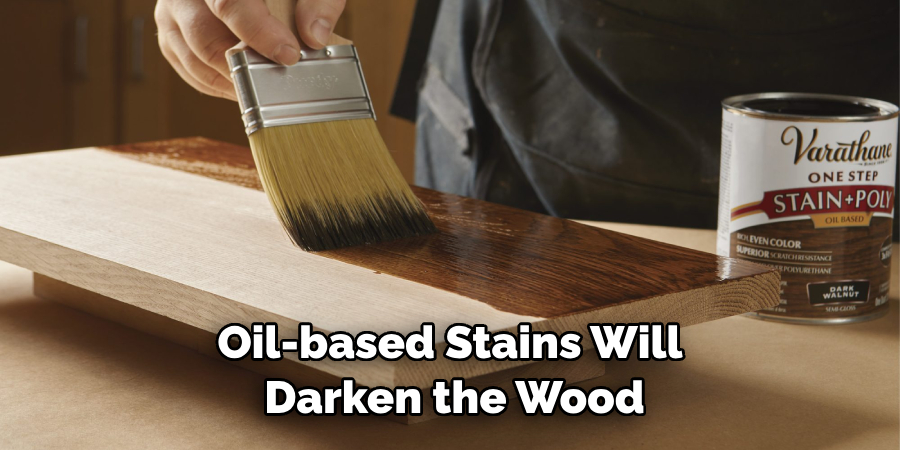
There are many types of stains available, and the best choice will depend on your desired look. Oil-based stains will darken the wood and provide a more permanent finish, whereas water-based stains can be used to achieve lighter color tones. Additionally, you may also want to consider tinted stains that can be mixed for a custom color.

How Often Should I Stain My Garage Door?
The frequency of staining will depend on several factors, including exposure to the elements and how often you use your garage door. As a general rule, most garage doors should be stained every two to three years. However, if you live in a particularly harsh climate, it’s best to consult an expert for advice on how often you should re-stain your garage door.
Conclusion
Staining your garage door is a great way to enhance its curb appeal. Whether you’re refinishing an old garage door or staining a new one, following the steps above can make the job a success. With patience and regular maintenance, your garage door will look like new for years to come.
Plus, it’s worth the effort knowing that your improved garage doors can significantly increase your home’s value. So don’t put off homeownership projects any longer – try staining your garage door today, and see the difference it makes!
If you need help with this process, be sure to contact a professional contractor who can walk you through each step and ensure that you have a beautiful garage door that will last for years. By taking a few simple steps now, you can enjoy increased curb appeal and significant savings in the long run when it comes to how to stain a garage door.

