Shimming an exterior door is an important task when installing a new door. It helps secure and level the door, preventing it from shifting and becoming misaligned with the frame over time. Additionally, shimming an exterior door ensures that all of the hardware components remain firmly in place and that any potential gaps between the jamb and the wall are properly sealed.

Shimming an exterior door provides many advantages. First of all, it helps ensure that the door is securely fastened in place and prevents it from shifting when opened or closed. This reduces wear and tear on the hardware, saving money over time by preventing costly repairs or replacements. Additionally, shimming also allows for a better seal against the weather, which can be beneficial in climates with extreme temperatures. In this blog post, You will learn in detail how to shim an exterior door.
Step-by-Step Processes for How to Shim an Exterior Door
Step 1: Inspect the Door
Before you begin, take a look at the door jamb and door itself to determine any existing problem. If there is an issue with either part, it must be fixed before shimming. To determine how much shimming is needed for the door, measure the width from one side to the other.
Step 2: Measure the Door Jamb and Cut the Shims
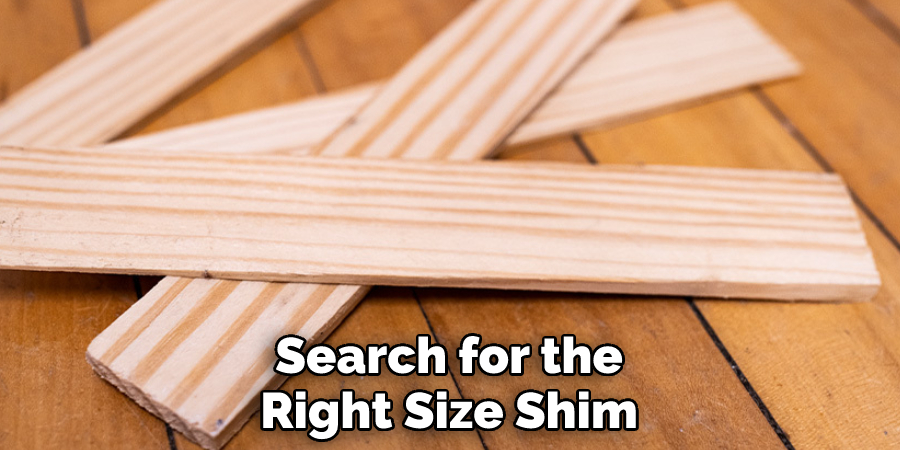
Next, measure the width of the door jamb and use that measurement to cut shims from a piece of wood. To ensure that your cuts are straight, use a miter or table saw. It is important to ensure that each shim is just slightly thicker than the gap between the door and the jamb.
Step 3: Place the Shim and Secure it in Place
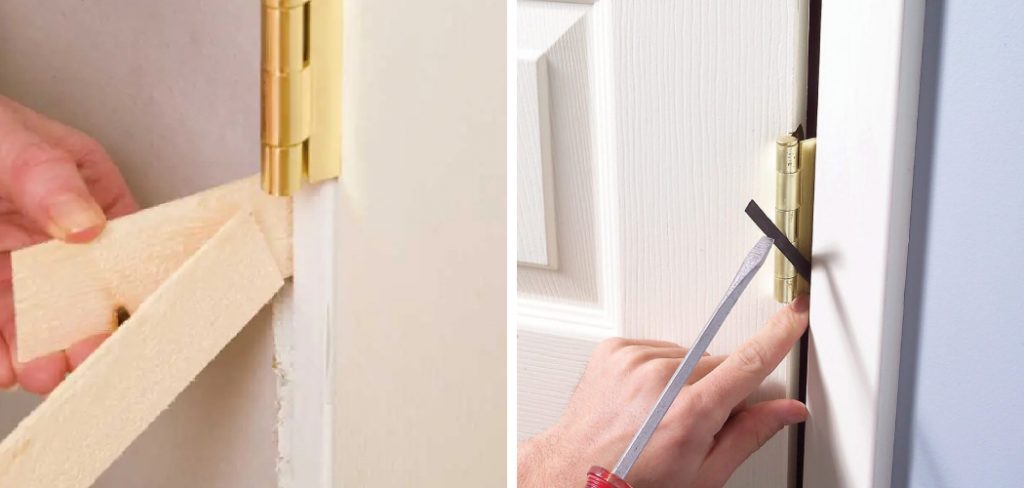
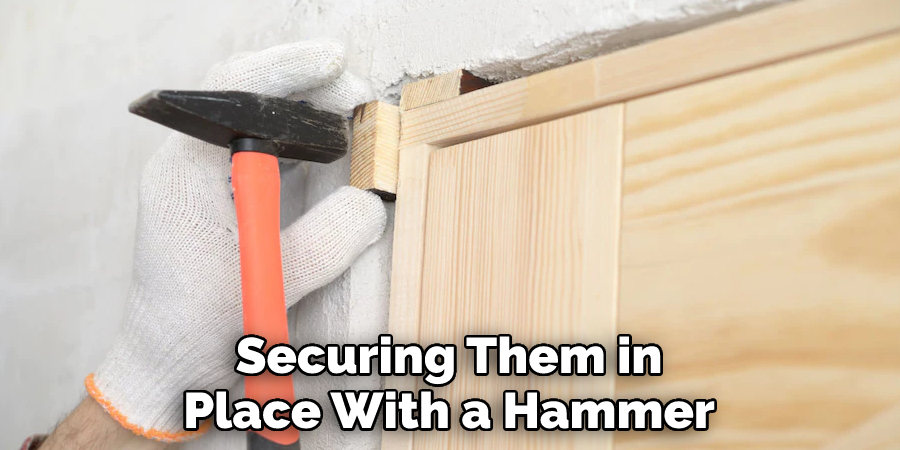
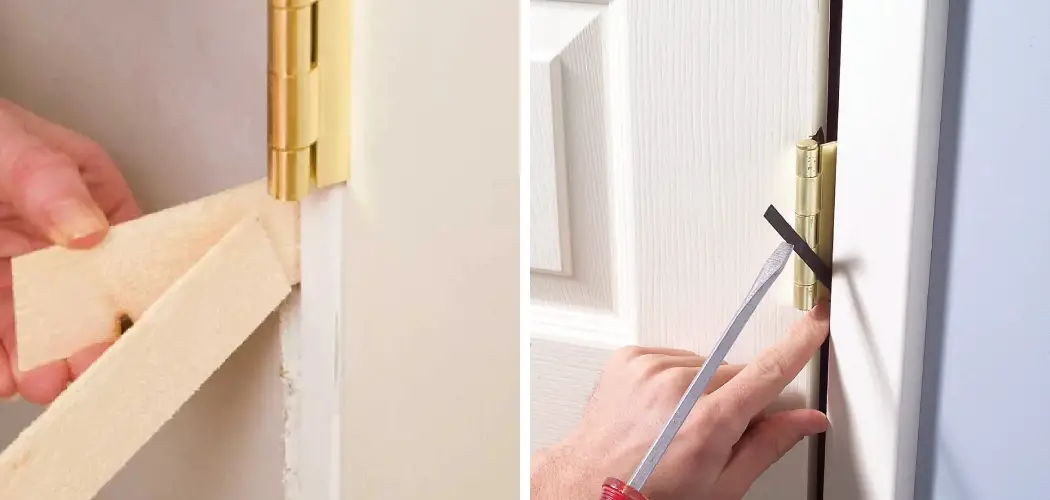
After cutting the shim, place it in the gap between the jamb and the door. To secure it in place, use a hammer to tap it into position until it fits snugly gently. Mark the position of each shim with a pencil to ensure they are in the correct place. This will help you when you begin to add additional shims.
Step 4: Measure and Cut Additional Shims
For thicker doors or for more extensive gap issues, measure and cut additional shims that fit snugly inside the gap. Test fit each of these additional shims before securing them in place with a hammer. Once you are happy with the placement, nail each shim into place using a few finishing nails.

Step 5: Check the Fit of the Door
Once all shims are in place, check the door’s fit to ensure it fits correctly. If there is any extra space between the jamb and door, remove one or more shims until they fit correctly. If there are still gaps between the jamb and door, fill them with caulking or putty to prevent air infiltration.
Step 6: Install the Door Hardware
The last step is to install the door hardware such as the knob, lock, and hinges. Now your exterior door is shimmed and ready to go. By following these steps, you should better understand to shim an exterior door. With a few tools and patience, you can ensure your door fits snugly and securely in its jamb.
Safety Tips for How to Shim an Exterior Door
- Always wear safety glasses and gloves when shimming an exterior door.
- Make sure the door is level before beginning to add the shims.
- Measure twice, cut once – make sure all measurements are correct before cutting or drilling into the frame of the door or wall.
- Use a drill bit that’s slightly smaller than the screws you will be using to ensure a secure fit.
- Ensure the shims are level, straight, and in place before tightening the screws.
- Shim from both sides of the door for additional support and stability.
- Check that hinges are properly aligned and secured into place before finishing your project.
- Ensure all screws are securely fastened into place, and the door is properly aligned with the frame. This will help avoid any future issues regarding closing or opening the door.

Shimming an exterior door can be tricky, but following these safety tips can ensure your project goes smoothly and efficiently.
How Can You Avoid Common Mistakes When Shimming an Exterior Door?
- Get the Right Tools: Make sure you have all of the tools necessary for shimming an exterior door before starting the job, including a level, a hammer, and wood shims.
- Check Door Alignment Before Shimming: Take time to examine how your exterior door aligns with its frame and jamb before shimming. If it does not seem level or aligned, adjust the hinges before shimming to ensure that the door fits properly.
- Assess How Much Shimming Is Needed: Use a level to determine exactly how much shimming is necessary to align your exterior door properly. Too much shimming can cause problems, so make sure to measure carefully.
- Insert Shims Carefully: Place your shims into the gap between the door and jamb, ensuring they are well-secured. Make sure to distribute them evenly along the door length so as not to create an uneven surface that could cause further issues.
- Finish With a Hammer: Once your shims are in place, use a hammer to tap them into place and secure them firmly and gently. Make sure the door is completely level and aligned before you move on to the next step.
These simple steps will help you shim an exterior door without making common mistakes.
How Should You Store the Extra Shims After Shimming?
Once you have shimmed your exterior door, it is important to store the extra shims properly. This will ensure that they are in good condition for future projects. Extra shims should be stored on a flat surface in a dry location. Make sure to place them upright and label them with their size so that you don’t forget which size they are. Additionally, if you have leftover wood shims, make sure to seal them with a weatherproof finish to protect them from the elements.
It is also important to store the shims away from any heat sources or direct sunlight, as this can cause the wood to warp and become unusable. Keeping your extra shims in a plastic bag or container will help keep them clean and organized. This is an important step when Shiming an Exterior Door as you don’t want to have to search for the right size shim when you are ready to use it. With proper storage, your extra shims should last for many years.

How Often Should You Recheck the Fit of Your Door and Make Any Necessary Adjustments?
Once you have shimmed your exterior door, it is important to recheck the fit of your new door every few months. As time passes and the house settles, the door may shift and require additional adjustments. Additionally, if excessive moisture builds up in the frame or around its sides, it can also cause problems with how well your door fits.
To make sure the fit of your door is still correct, open and close it several times to check for any sticking points or difficult movements. If your door sticks at all, you may need to add additional shims in certain spots. Be careful not to over shim any area, as an overly tight fit can lead to difficulties in opening and closing the door.
Additionally, it’s a good idea to check the weatherstripping at each corner of your exterior door regularly. A tight seal is important for keeping out moisture, wind, and pests that may otherwise invade your home. If you notice any gaps or wear and tear on the weatherstripping, replace it with a new piece.
How Can You Avoid Shimming Mistakes That Could Cause the Door to Malfunction?
- Check the Door Jamb and Door Frame: Before shimming a door, it is important to ensure that the jamb and frame are installed correctly. This includes making sure they are level, plumb, and square. Unlevel frames can contribute to misaligned doors and create an unprofessional look.
- Measure Twice, Shim Once: Take the time to measure the gap between the jamb and frame to determine how much shimming material is needed. The amount of material used should be minimized as much as possible.
- Use Quality Shimming Material: Make sure the shimming material you are using is not warped or twisted in any way. This will help ensure it remains in place and does not cause the door to bind.
- Use a Hammer for Installation: When installing the shimming material, use a hammer to tap it into place instead of using excessive force. This will prevent any unnecessary damage to the frame or jamb resulting from over-tightening screws.
- Check the Hardware: Once the shimming material has been installed, ensure all of the hardware is in its proper place and functioning correctly. This includes checking to ensure the hinges, locks, and doorknobs are all working properly.

Shimming an exterior door can be tricky, but following these tips can help you avoid mistakes that may cause the door to malfunction.
Conclusion
In conclusion, shimming an exterior door is a fairly easy task that can significantly improve the functionality and security of your home. By following the simple steps outlined in this blog, you should have no problem properly shimming an exterior door to ensure it fits securely and operates smoothly. Before beginning any work, be sure to consult with a professional if you are unsure of anything or are having difficulty. I hope this article has been beneficial for learning how to shim an exterior door. Make Sure the precautionary measures are followed chronologically.
You Can Check It Out to Straighten a Warped Exterior Wooden Door

