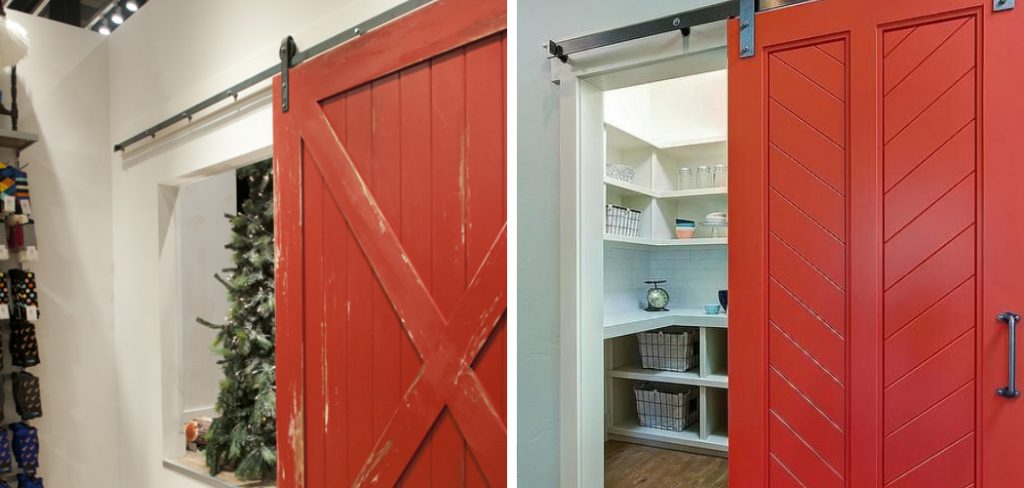
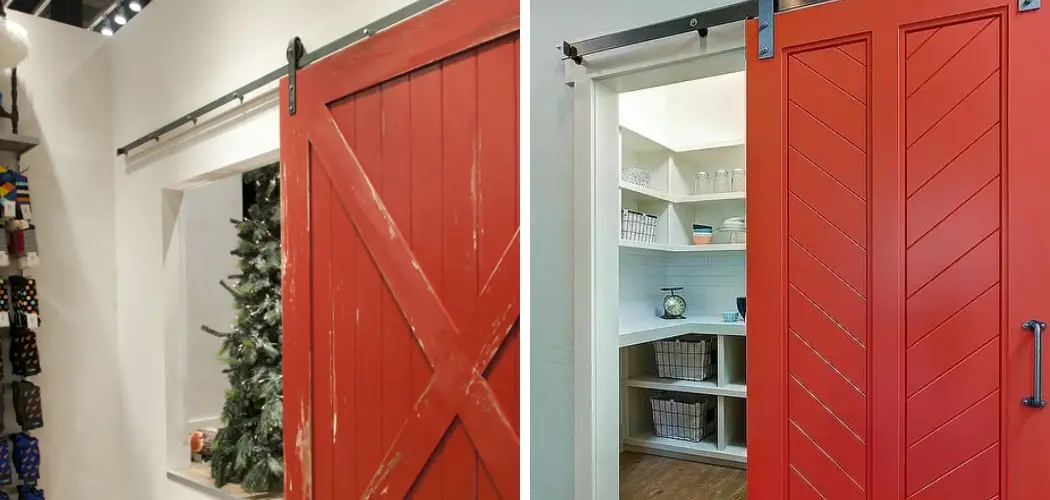
Are you looking for a unique and stylish way to divide rooms or cover a large closet in your home? Sliding barn doors are becoming increasingly popular, not only because of how attractive they can look when done right but also due to their practicality and low-cost installation. So you can divide rooms without the need for expensive carpentry work and make a big impact.

But once you’ve got your sliding barn door installed, you also need to think about how to keep it sealed from dust, drafts, and other elements that can affect its function and longevity. Sealing a barn door is not difficult, but there are some key steps that you need to follow.
And once installed, it’s important that the door is properly sealed so as to prevent any drafts from entering. In this post, we’ll discuss everything you need to know about how to seal a sliding barn door – from what materials are required to tips on getting the best possible seal. Read on for helpful advice!
Can You Do It?
The first thing to consider when it comes to sealing a sliding barn door is whether or not you can do it yourself. It’s important to remember that sealant and weather-stripping are not just aesthetic additions, they also serve the important purpose of protecting the integrity of your door. If you’re not sure if you have the skills or tools to do the job properly, then it’s best to leave it to a professional.

What Materials Do You Need?
The next step is to consider what materials you need for sealing your sliding barn door. To begin with, you will require some type of weather stripping or sealant that can provide a good fit for the door’s frame and keep out the elements. There are many types of weather-stripping available, such as rubberized strips or foam seals, so you have plenty of options to choose from depending on your budget and preferences.
10 Steps on How to Seal a Sliding Barn Door
Step 1: Measure
Begin by measuring the door frame and jamb on both sides. Make sure you get accurate measurements of each side so that when you buy your weather stripping, it will fit perfectly. Imperfect measuring will lead to gaps and drafts.
Step 2: Buy the Right Weather-stripping
Once you have taken your measurements, you can buy suitable weather stripping. Make sure that it is strong enough to cope with regular use and designed for exterior doors. This will ensure maximum protection against wind, rain, and other elements.
Step 3: Clean the Door Frame
Clean the door frame and jamb of any dirt or grime before you begin to apply weather stripping. This will ensure that it sticks properly and provide a better seal. Cleaning is easy and can be done with a damp cloth.
Step 4: Cut the Weather-stripping
Cut the weather stripping to fit the lengths of your door frame and jamb. Make sure you cut it accurately, as any gaps or overlaps will affect how well the seal holds up over time. Holding up the sealant against the door frame before cutting is a good idea so you can double-check it fits properly.
Step 5: Apply Caulk
Apply caulk to any areas that need extra protection, such as around the edges of the door frame and jamb. This will help seal up any gaps or cracks and also provide an extra layer of protection against the elements. The protection will vary depending on the type of caulk you use.
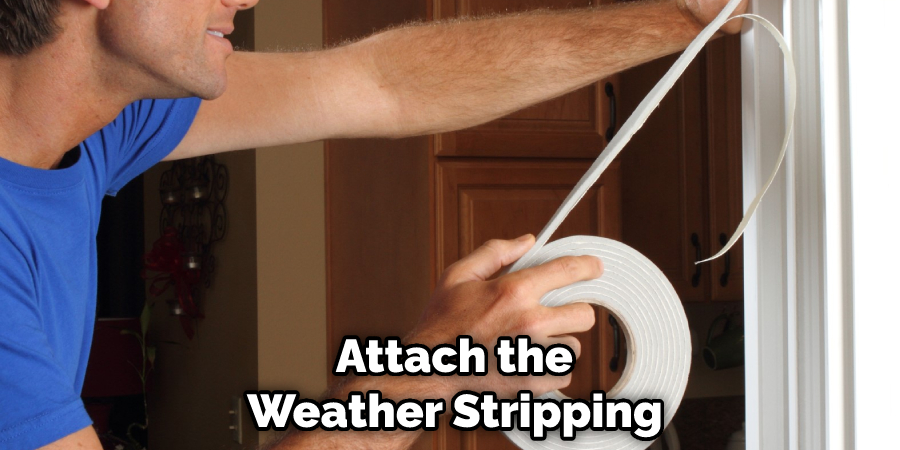
Step 6: Attach Weather-stripping
Now attach the weather stripping to the door frame and jamb using nails or screws. Make sure it is firmly attached, and check for any areas that require extra attention. Weather stripping will only work properly if it is securely attached to the frame.

Step 7: Test the Seal
Once you have finished attaching the weather stripping, test it out by opening and closing the door several times. If there are any gaps or drafts, then adjust or reattach the weather stripping as necessary. This will ensure that your door is well-sealed.
Step 8: Clean Up
Once you have tested the seal and it’s working correctly, clean up any excess caulk or weather stripping that may have been left behind during installation. This will keep the area looking neat and tidy. Cleaning up any mess will also prevent any damage to the door or frame.
Step 9: Inspect the Seals Yearly
Inspect the seals of your sliding barn door at least once a year. Check for any cracks, gaps, or areas that need attention and make repairs as necessary. This will ensure your seal is working properly and keeping out the elements.
Step 10: Enjoy
Enjoy your newly sealed sliding barn door! Now you can rest assured that your door is protected from the elements and will last for many years to come.
10 Safety Measures to Follow
- Wear protective gear such as safety glasses and gloves to protect yourself from splinters, debris, and dust. Protection is especially important if you are using power tools.
- Familiarize yourself with the door, hardware, and seals before beginning any work — including measuring, cutting, and sanding, so that you know exactly how it should look when finished.
- Make sure all surfaces are clean and free from dirt or debris before applying sealant.
- To ensure a tight seal, use an appropriate type of caulk or weather-stripping material that is designed for outdoor use. If you don’t choose the right type of sealant, it will not work correctly.
- Carefully measure the length and width of your door’s tracks and cut the caulk or weather stripping to fit. Otherwise, you could end up with a gap between the tracks and the sealant.
- Work in sections when applying the sealant, and smooth it out as you go with a putty knife or other tool. Don’t forget to get into all of the nooks and crannies for a thorough job.
- Always focus on the bottom of the door and track first, as this is where most of the air leakage will occur. Focusing on this area first will ensure that the seal is as tight as possible.
- Use a higher-grade caulk or weather stripping near the end of each track, where it meets the wall, for extra protection from drafts and moisture. It will also help to keep the door from coming off of its track.
- Make sure all sealant has dried completely before testing out your sliding barn door — otherwise, it won’t work properly.
- Lastly, enjoy the fruits of your labor! A well-sealed barn door will make a big difference in energy efficiency and the overall aesthetic of your space.

Frequently Asked Questions
How Much Will It Cost to Seal a Sliding Bard Door?
The cost of sealing a sliding barn door will depend on the size and type of sealant you use. Generally, caulk or weather-stripping materials range in cost from $3–$10 per linear foot, with higher-grade materials costing more. Also, keep in mind that you will need to factor in additional costs, such as the cost of tools, protective gear, and additional hardware, if necessary.
What Is the Best Material to Use for Sealing a Sliding Barn Door?
The best type of sealant for a sliding barn door is one that is designed for outdoor use — such as caulk or weather-stripping material — as it will provide the best protection against drafts, moisture, and air leakage.
However, some materials may not be suitable for your specific needs, so it is important to research the different types of sealants available and choose one that will work best for your particular application.
How Do I Know When the Sealant Has Dried?
The drying time for sealant will vary depending on the type and brand of product that you use. As a general rule, most caulk or weather-stripping will take up to 24 hours to dry completely. To be sure it is ready for use, you can conduct a simple moisture test by pressing your finger against the sealant, if it doesn’t leave a mark or feel wet, it is dry and ready for use.
How Often Should I Check the Sealant Around My Sliding Barn Door?
For optimal performance, you should inspect your door’s sealant every few months to ensure that it is still intact and providing effective protection against drafts and moisture. Additionally, you should check the sealant after any extreme weather events, such as hail storms or strong winds, to make sure that it has not been compromised.
If you do notice signs of wear and tear, be sure to replace the sealant as soon as possible.
By following these steps, you can ensure that your sliding barn door is properly sealed and will provide the best possible protection from drafts and moisture. In addition, your door will look great and be safe to use.

Conclusion
Installing a sliding barn door is not just a task to improve your home’s aesthetic and functionality, but it’s also a great way to make the most of your available space. As you can see, securing your door will not only provide added security, but will also help prolong its life so that you can enjoy it for many years to come.
After carefully measuring and properly installing the barn door hardware, you should be poised to choose the perfect style of handle, lock or latch for your sliding barn door and seal it into place with ease.
Taking these steps on how to seal a sliding barn door will ensure that you and your family are safe as well as ensure that the doors stay in place. With a bit of knowledge and some proper tools, any homeowner should be able to easily seal their sliding barn door for optimum security.

