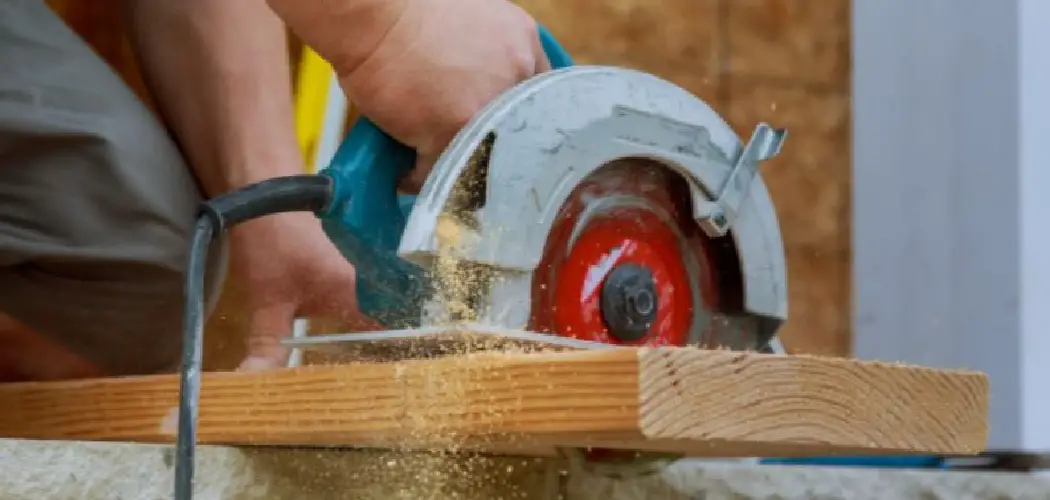
A few pieces of equipment are considered essential in the woodworking world – a table saw is one of them. However, there are still ways to get the job done if you don’t have access to or can’t afford such a tool. This tutorial will show you how to rip a board without a table saw using common tools and materials. Stay safe and have fun.
Summary: If you’re looking to rip a board without a table saw, follow these simple steps: 1. Mark the end of the board you want to cut off at. 2. Cut a sacrificial piece of wood to the same length as the board you want to rip. 3. Hold the board against the sacrificial piece and use a circular saw to rip the board in half. 4. Repeat steps 2-3 until the board is cut into pieces the desired size.
Can I Rip Wood Without a Table Saw?
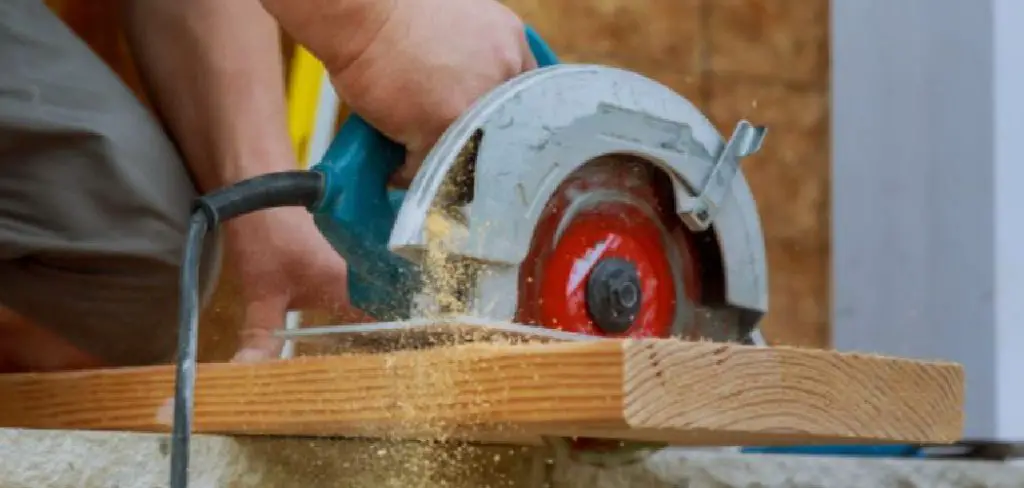
The short answer is yes – you can rip wood without a table saw. However, it’s important to note that doing so is not always the best or most efficient option, and it’s certainly not the safest. If you’re set on ripping wood without a table saw, you can do so using a circular saw, jigsaw, or handsaw.
However, we don’t recommend any of these methods as they’re all slower, more difficult, and less safe than using a table saw. We recommend using a table saw for ripping wood whenever possible. Table saws are designed specifically for this purpose and will give you the best results in terms of speed, accuracy, and safety.
Things You’ll Need
- Circular saw, jigsaw, or handsaw
- Wood clamps
- Tape measure
- Straight edge or chalk line
- Safety goggles
Some Simple Ways – How to Rip a Board Without a Table Saw
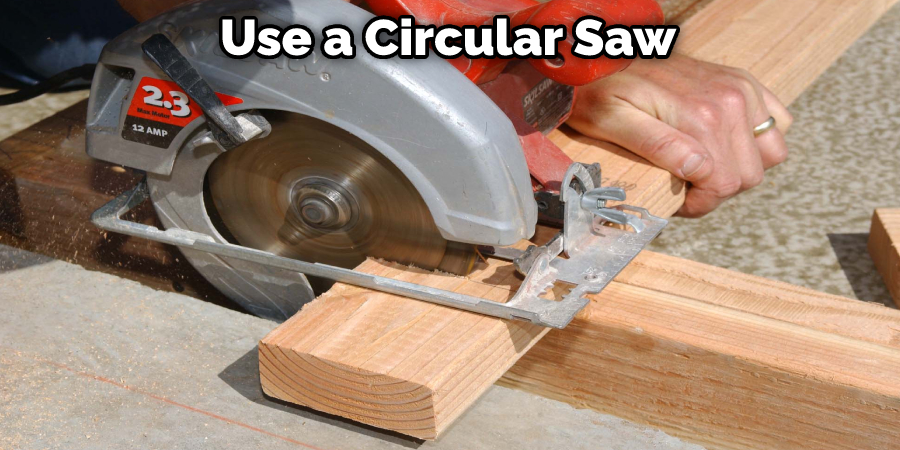
1. Use a Circular Saw
The easiest way to rip a board without a table saw is using a circular one. This method is relatively straightforward and only requires one tool. Circular saws are also widely available, which makes them a good option if you don’t have access to a table saw.
2. Use a Jigsaw
Another option is to use a jigsaw. This tool is slightly more difficult to use than a circular saw but can still get the job done. When using a jigsaw, you’ll need to make sure that the blade is long enough to cut through the entire board. You’ll also want to use a guide so that your cuts are straight. You can also use a handsaw if you don’t have a jigsaw. This option will take more time but can still work if you’re patient.
3. Use a Chisel
You can still rip a board using a chisel if you don’t have any power tools. This method is more difficult and time-consuming but can be done if you have no other options. To use a chisel, start by marking your cut line on the board. Then, use a hammer to hit the chisel and make a groove in the wood along your cut line. Keep hitting the chisel and making the groove deeper until you’ve cut all the way through the board. This method takes a lot of patience and isn’t recommended if you’re in a hurry.
4. Use a Wood Ripper
If you can’t find a saw or don’t have any power tools, you may be able to use a wood ripper. This is a handheld tool that can be found at most hardware stores. It looks like a miniature saw but with much finer teeth. To use a wood ripper, start by clamping the board to a work surface. Then, position the blade of the ripper against the board and start sawing. As with a power saw, you’ll want to keep the blade perpendicular to the wood as you cut.
5. Use Clamps
If you don’t have a table saw, don’t worry – you can still rip boards using clamps. First, measure and mark the board where you want to make your cut. Then, clamp the board to a work surface, so the marked line hangs over the edge.
Use a saw to make your cut, then unclamp the board and sand or file down any rough edges. This method is best for small cuts, as it can be difficult to keep the board steady for larger cuts.
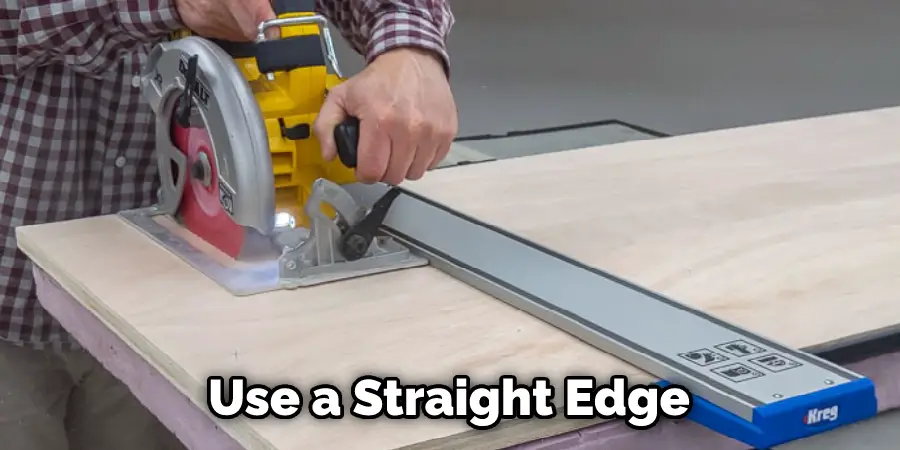
6. Use a Straight Edge or Chalk Line
If you need to make a long, straight cut, you can use a straight edge or chalk line as a guide. First, clamp the board you’re going to rip in place. Then, use a pencil to mark the cut line on the board. Next, position the straight edge or chalk line on the board to align with the cut line. Finally, use a sharp utility knife or jigsaw to cut.
7. Use a Router
You can use a router if you need to make a precise, clean cut. First, clamp the board to your work surface. Then, use a guide to guide the router along with the board. This is a great option for making clean, precise cuts.
8. Use a Sawzall
Another option for making clean, precise cuts is to use a Sawzall. This tool is similar to a jigsaw, but it is much more powerful and can make cleaner, straighter cuts. To use a Sawzall, first, clamp the board you are going to cut to a stable surface. Then, use a straightedge to mark the line you want to cut on the board. Next, set the blade of the Sawzall to the correct width for your cut. Finally, start the tool and slowly guide it along the line you marked on the board.
9. Use a Handplane
Once the board is cut, you can use a hand plane to clean up the edges. This step is optional but will give your ripped board a professional finish. To use a hand plane, start by setting the blade to the desired depth. Then, holding the plane in your dominant hand, place the blade on the board and push forward to make a cut. Repeat this motion until the entire board is smooth. If you don’t have a hand plane, you can use a sanding block or an electric sander to smooth the edges of your board.
You Can Check It Out to Rip a 2×4 With a Table Saw
Here Step by Step Guide on How to Rip a Board Without a Table Saw:
Step 1: Measure and Mark the Cut Line
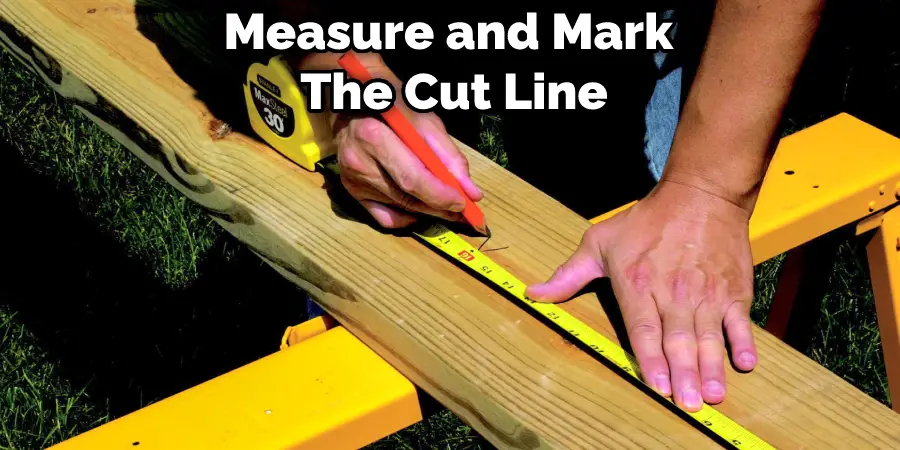
The first step is to measure and mark the cut line. For this, you’ll need a tape measure and a straight edge or chalk line. Next, measure the width of the board you need to rip and then transfer that measurement to the other side of the board. Use a straight edge or chalk line to draw a line across the board at the measurement mark.
Step 2: Secure the Board
Next, you’ll need to secure the board. You can do this by clamping it down to a work surface or table. Make sure the board is securely fastened before moving on to the next step. If it’s not, it could slip during the cutting process and cause serious injury.
Step 3: Cut Along the Line
Once the board is securely fastened, you can start cutting. If you’re using a circular, saw, set the blade to the desired width and depth, and then follow the line you drew in step one. If you’re using a jigsaw, make sure the blade is long enough to cut through the entire thickness of the board. Then, start cutting along the line, being careful not to veer off course. If you’re using a handsaw, you’ll need to make multiple passes to cut through the entire thickness of the board. Start by making a shallow cut and then increase the depth of the cut with each subsequent pass.
Step 4: Sand the Edge
After you’ve cut the board, you’ll need to sand the edge to remove any roughness. Start with coarse-grit sandpaper and then move to a finer grit until the edge is smooth. Remember, this method is not always the best or most efficient option, but it can be done if you don’t have access to a table saw. Always use caution and wear safety goggles when working with power tools.
Step 4: Clean Up
Once you’re finished, cleaning up your work area is important. This includes unclamping the board, sweeping up any sawdust, and disposing of the waste properly. Failure to do so could result in an accident or injury. If you’re not sure how to dispose of the waste, check with your local landfill or recycling center.
Step 5: Finish Up
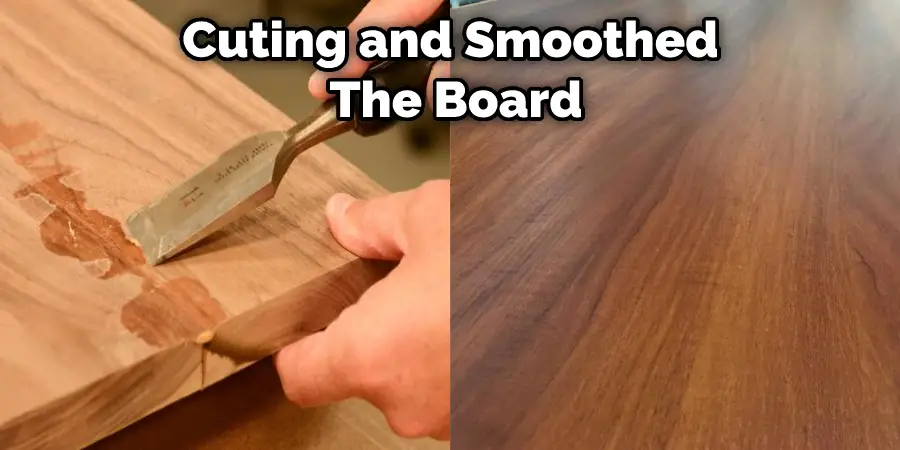
It’s time to finish up once you’ve cut and smoothed the board. Remove the clamps and clean up any sawdust or debris. Then, your board is ready to use. If you need to rip multiple boards, repeat the steps above.
How Do You Rip a Board by Hand?
Ripping a board by hand means cutting it lengthwise with the grain, which can be done with a saw or a chisel. To rip a board with a saw, first, you need to mark the cutting line with a pencil or a marking knife. Then, secure the board to a workbench or any other stable surface with clamps. Grab the saw with both hands and align the blade with the cutting line, making sure the blade is perpendicular to the board.
Start sawing with a gentle back-and-forth motion, applying even pressure until you reach the end of the board. It’s important to use a saw with a rip tooth configuration, which means that the teeth are filed to cut through the wood fibers. If you’re using a chisel, the process is slightly different. First, mark the cutting line and then score the line with a marking knife to make a shallow groove.
Place the chisel into the groove and tap it gently with a mallet, moving the chisel along the length of the board until the cut is complete. The key to successful hand-ripping is to maintain a steady hand and consistent pressure throughout the cutting process.
Conclusion Paragraph:
This article provides a step-by-step guide on how to rip a board without a table saw. So there you have it. You can now rip boards without a table saw – be sure to use the right techniques and take your time. Safety is always important when working with power tools, so please be careful and use all the proper precautions. Now get out there and start ripping some boards!

