A beautiful deck can be a great addition to your home’s value and appeal, but maintaining it can be tough. Restaining a deck can help protect it from weathering, but you might not always have to strip it down to its bare wood. In this guide, we’ll show you how to restain a deck without stripping to save time and money. So, let’s get started.
Can You Restain a Deck without Stripping?
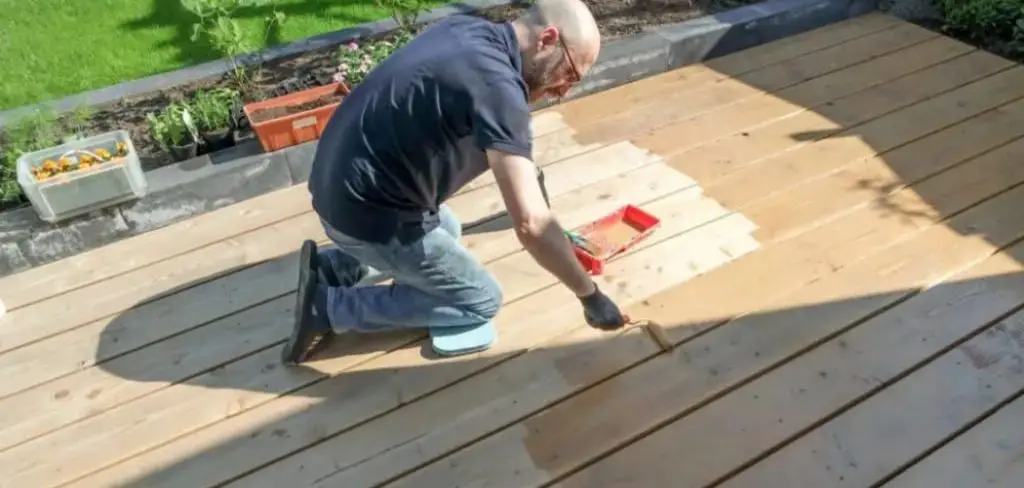
If your deck is looking a little worse for wear, restaining it can be a great way to give it a fresh new look. But what if you don’t want to go through the hassle of stripping off the old stain first? The good news is that, in many cases, you can indeed restain a deck without stripping it first.
However, there are some important things you need to keep in mind if you want to ensure that your new stain adheres properly and looks great for years to come. Whether you’re a seasoned DIYer or a newbie looking to take on a new project, it’s worth learning more about restaining your deck and the steps you need to take to get the best results.
Why Should You Restain a Deck without Stripping?
If you want to give your deck a facelift but don’t want to go through the hassle and expense of stripping it down to the bare wood, restaining could be the solution you’re looking for. Restaining involves applying a new coat of stain over the existing layer to freshen up the color and protect the wood.
It’s an attractive option for those who want to maintain the deck’s natural look without going too far in either direction. Restaining a deck without stripping will save you time, money, and effort. It’s also a great way to avoid any potential damage that may occur during the stripping process. With a little bit of muscle and some patience, you can make your deck look brand new with a fresh coat of stain.
How to Restain a Deck Without Stripping – A Comprehensive Guide
1. Sweep and Clean the Deck
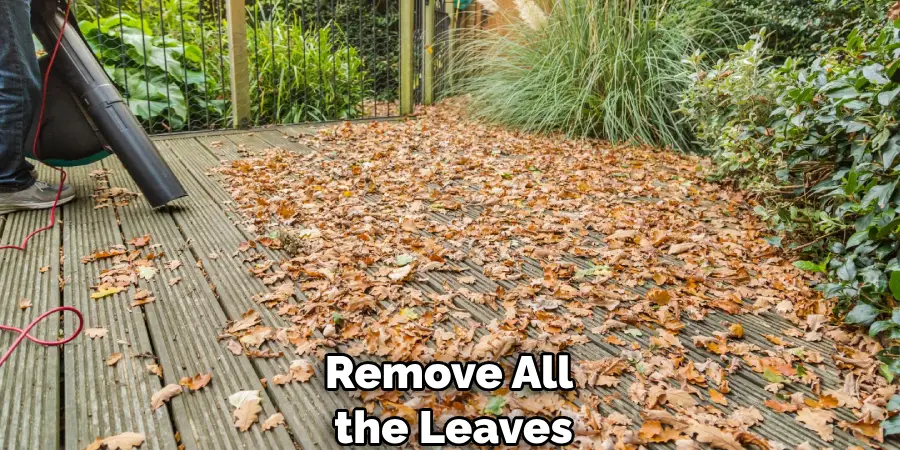
Before starting, you need to remove all the leaves, dirt, and debris from the deck. You can use a broom, power washer, or leaf blower to clean the entire surface properly. Once you’ve removed all the visible debris, you can use a deck cleaner to remove any dirt stuck between the boards.
Apply the deck cleaner following the instructions and let it sit for some time. After that, rinse off the cleaner with a garden hose or power washer.
2. Lightly Sand the Deck
After cleaning the deck, it’s time to sand it. Sanding helps create a smooth surface for the new stain. You don’t have to spend too much time sanding the surface; just a light sanding with 80 or 100-grit sandpaper will work. Be sure to sand the entire surface evenly so you don’t have any uneven patches in the final result.
3. Apply Stain
After sanding, it’s time to apply the stain. You can use a paint roller, a brush, or a sprayer to apply the stain. Remember to work in small sections so you don’t have any visible brush or roller marks.
Take your time to ensure that the stain is applied evenly. Homeowners who want their wood surfaces’ natural texture and color should consider using a semi-transparent stain. This type of stain allows the wood’s natural features to show.
4. Seal the Deck
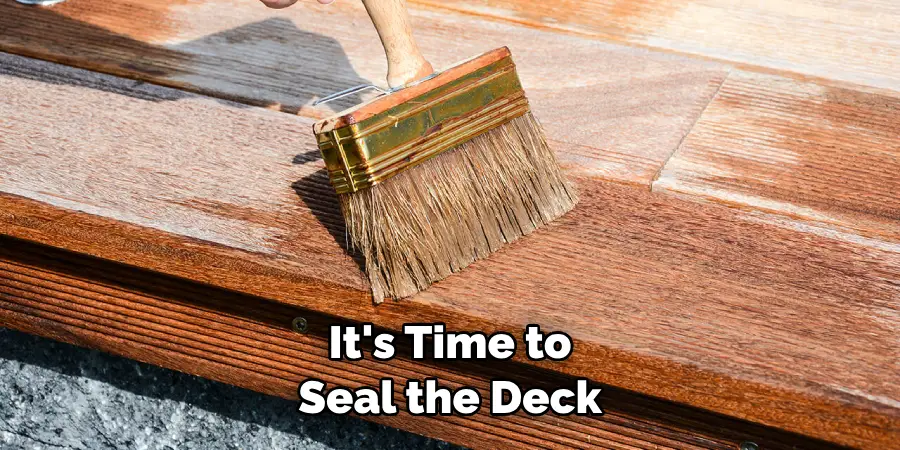
After applying the stain, it’s time to seal the deck. Sealing the deck helps protect it from moisture and a host of other weathering effects. You can use a clear sealer, which helps enhance the wood grain or choose from an array of tinted sealers. Applying two coats of sealer will ensure your deck stays protected for longer.
5. Re-Stain
If you want to change the tone of your deck, or if it’s been some time since you last stained it, then consider re-staining. Make sure to clean and lightly sand the surface before applying a new coat of stain. This will allow better absorption for the new one.
6. Remove Excess Stain
After staining the deck, you will find an excess stain on the board edges and railings. You can easily remove it with a rag or cloth. Make sure to do this before the stain has had time to dry completely.
7. Maintain Your Deck
Now that your deck is looking new again, it’s important to maintain it properly. Make sure to clean the deck regularly and apply the sealer every two years. This will help prevent your deck from fading or cracking due to weathering. Additionally, check for any loose nails or screws that need tightening every few months. Doing this will ensure your deck looks great for years to come.
That’s it! You’ve now learned how to restain a deck without stripping. Remember that these steps are only meant as guidelines, and you should always follow the instructions on your product labels.
5 Considerations Things When You Need to Restain a Deck without Stripping
1. The Type of Wood
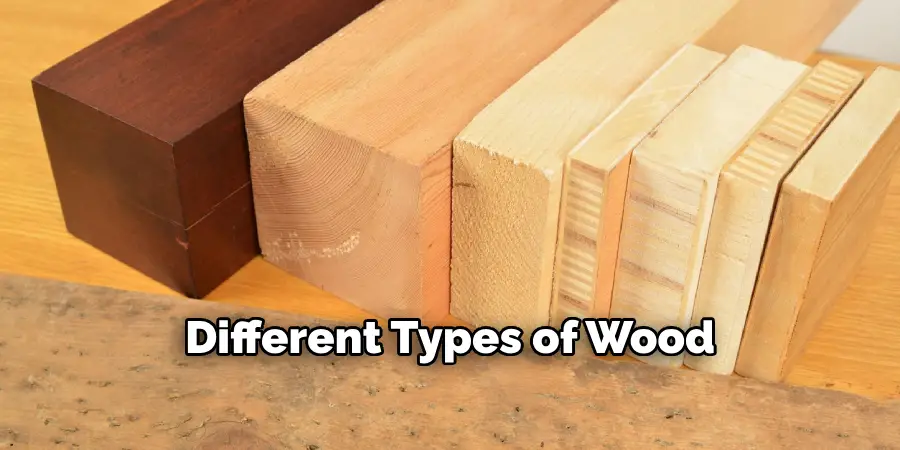
The type of wood is the first consideration when you need to restain a deck. Different types of wood will require different types of products and methods to be used. For example, softwoods such as pine or cedar will require a different type of product than hardwoods such as oak or mahogany.
2. The Age of The Deck
Another consideration is the age of the deck. If the deck is newer, it will likely be easier to restain than an older deck. This is because newer decks are typically made from pressure-treated lumber, which is less likely to absorb stains evenly. On the other hand, older decks may have been made from a different type of wood that is more porous and will therefore require a different method to be used.
3. The Condition of The Deck
The condition of the deck is also an important consideration. If the deck is in good condition, it will likely be easier to restain than a deck that is in poor condition. This is because a deck in good condition will have fewer cracks and splinters, which can make it difficult for stains to penetrate evenly. On the other hand, a deck in poor condition may have more cracks and splinters, making it more difficult to apply the stain evenly.
4. The Amount of Time You Have
Another consideration is the amount of time you have to spend on the project. If you only have a few hours to spare, hiring a professional to do the job for you may be best. However, if you have more time to dedicate to the project, you may be able to do it yourself.
5. Your Budget
Last but not least, your budget is another important consideration when you need to restain a deck without stripping. If you are on a tight budget, hiring a professional may not be an option for you. However, if you have more money to spend, hiring a professional may be worth it in order to get the job done right.
No matter what considerations you have in mind when it comes to restaining a deck without stripping, it is important to remember that the right products and techniques must be used in order to get the best results.
Researching different staining methods and products can ensure that your project turns out exactly as expected. With careful planning and the right tools, you can restain your deck without stripping it in no time!
5 Benefits of Restain a Deck without Stripping
1. Save Time
Restaining a deck without stripping can save you a significant amount of time. If you were to strip the old stain off of your deck, it would likely take several hours, if not an entire day. However, if you simply restain your deck, the process will only take a few hours.
2. Save Money
In addition to saving time, restaining a deck without stripping can also save you money. Stripping and then restaining a deck can be quite expensive, as you would need to purchase both the stripper and the new stain. However, if you simply restain your deck, you will only need to purchase the new stain.
3. Avoid Harmful Chemicals
When you strip a deck, you are exposing yourself and your family to harmful chemicals. These chemicals can be inhaled or absorbed through the skin and can cause serious health problems. You can avoid these harmful chemicals by restaining your deck without stripping.
4. Protect Your Deck
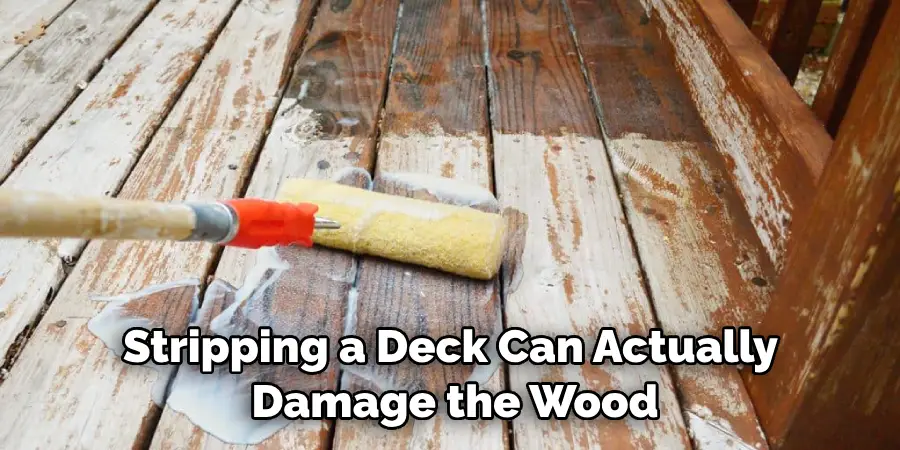
Stripping a deck can actually damage the wood, making it more susceptible to rot and decay. By simply restaining your deck, you can protect it from these damaging effects.
5. Enhance the Appearance of Your Deck
Restaining a deck can actually enhance its appearance by giving it a fresh coat of color. This can help to brighten up your outdoor space and make it more inviting for guests.
Some Common Mistakes People Make When Trying to Restain a Deck without Stripping
Restaining a deck can be a tedious yet rewarding task. However, those attempting to restain their deck without stripping it first may make a common mistake. Without stripping, previous stain or sealant may not properly adhere to the new product causing it to peel or flake off over time. This mistake can result in a frustrating and time-consuming process.
To prevent this, it is important to take the necessary steps to prepare the deck before restaining it. While it may seem like a hassle, stripping the deck will ensure better results and a longer-lasting finish. Avoid the mistake of skipping the prep work and take the time to prepare the deck for restaining properly.
Conclusion
Restaining your deck without stripping is a viable option that saves time, money, and effort. By following the steps outlined above, you can achieve a beautiful and protected deck that enhances your home’s beauty and appeal.
So, if you want to maintain your deck, this guide is the perfect starting point. Thanks for reading our post about how to restain a deck without stripping.

