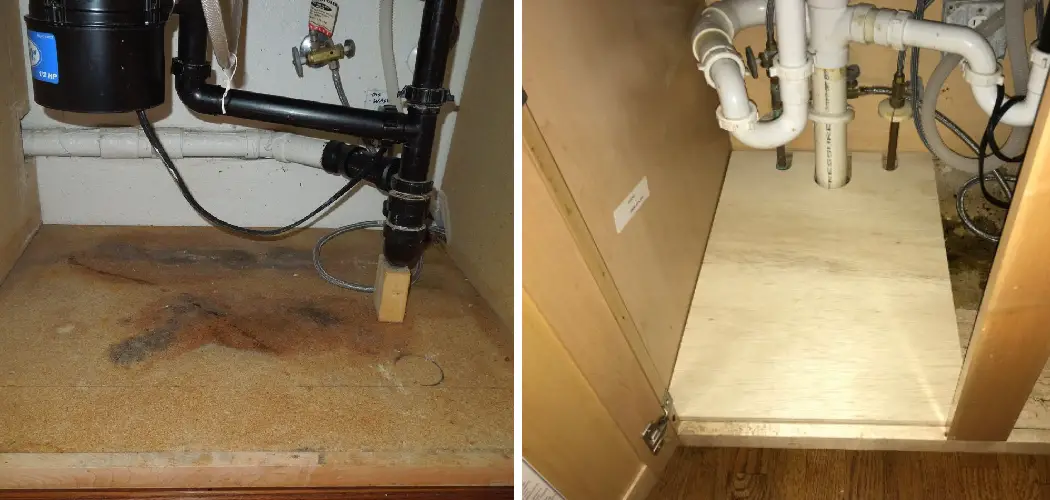
Do you ever walk to the kitchen sink, creak open the cabinet and take a whiff of that musty smell? It’s likely caused by moisture or mold buildup beneath your sink. Unfortunately, this can lead to long-term damage and degradation of your home.
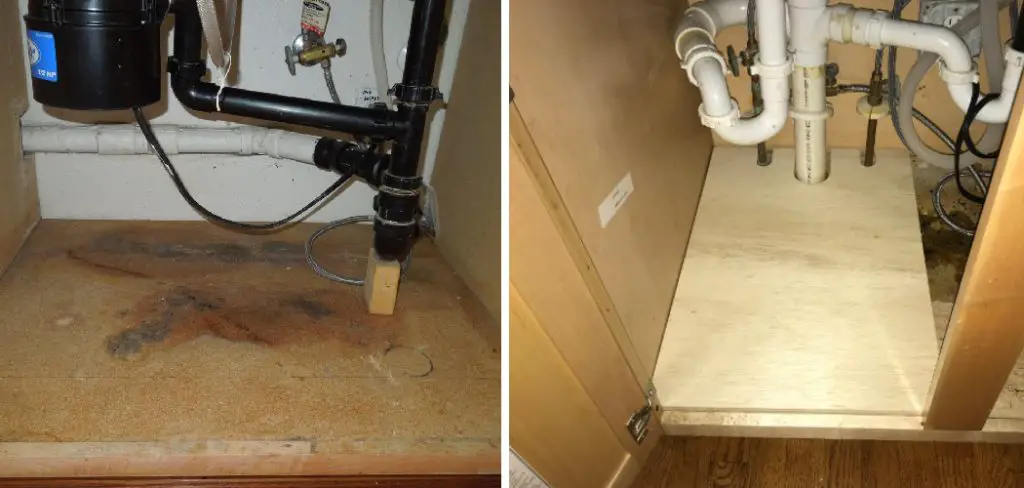
Fortunately, replacing wood under your kitchen sink is an easy fix that won’t break the bank. Here, we will go through all the steps needed for removing old wood underneath a kitchen sink and installing new panels so you can keep your space safe from environmental hazards.
As a homeowner, there may come a time when you need to replace the wooden material underneath your kitchen sink. It’s important to understand how this process works and what supplies are necessary, as it will require special tools and materials which can be somewhat difficult for someone with little handyman experience.
This blog post will provide step-by-step instructions on how to replace wood under kitchen sink so that you can get back to enjoying your home. Keep reading for more information!
Why May You Want to Replace the Wood Under the Kitchen Sink?
1. To Replace Rotted or Water-damaged Wood
One of the main reasons for replacing the wood under the kitchen sink is that it has sustained water damage or has rotted due to dampness. This can create a hazardous situation, as rotted wood can easily break apart and cause injury when weight is put on it.
2. To Update Your Kitchen Design
Another reason you may want to replace the wood under your kitchen sink is to update your kitchen design. By replacing the wood, you can give your kitchen a fresh look and feel. You may also choose to install a new sink or cabinet in this space, as well as change the finish on the wood for a more modern look.

3. To Add Additional Storage
Replacing the wood under your kitchen sink can allow you to add additional storage. You can install shelves, drawers, and other storage solutions to help make the most of your kitchen space.
No matter what your reasons for replacing the wood under your kitchen sink are, it is important to take safety precautions when doing so. You must wear protective gear such as gloves, glasses, and a mask when working with wood or tools.
Additionally, make sure to turn off the power to the sink before beginning your work. These simple steps will help ensure that you complete the project safely and successfully.
How to Replace Wood Under Kitchen Sink in 6 Easy Steps
Step 1: Gather All The Tools You Will Need
The very first step is to make sure you have all the materials and tools necessary for the job. These will include a pry bar, hammer, saw (preferably powered), drill & bits, wood screws, sandpaper, putty knife, sealant, and replacement wood.
Step 2: Remove Old Wood
Using a pry bar or other suitable tool remove the old wood from beneath the sink. Carefully and gently pry it up to avoid any damage being done to the adjacent surfaces or material.
Step 3: Measure New Wood
Measure the new wood to accurately fit in place of the old one. Make sure that it is slightly larger than the cut-out area so that you can easily adjust and trim it down for a snug fit.

Step 4: Cut New Wood
Cut the new wood to the dimensions measured in Step 3. Make sure that all edges are smooth and free of any splinters or rough patches as this can cause damage when being placed into position. Also, make sure that all angles are correctly cut and that the piece fits snugly into the space.
Step 5: Place New Wood
Carefully place the new wood into position, taking extra care to ensure it is properly aligned with the existing surface. Use a hammer or other suitable tool to gently tap it in place. Make sure that all edges are flush and there is no gap between them and the adjacent surfaces.
Step 6: Seal & Finish
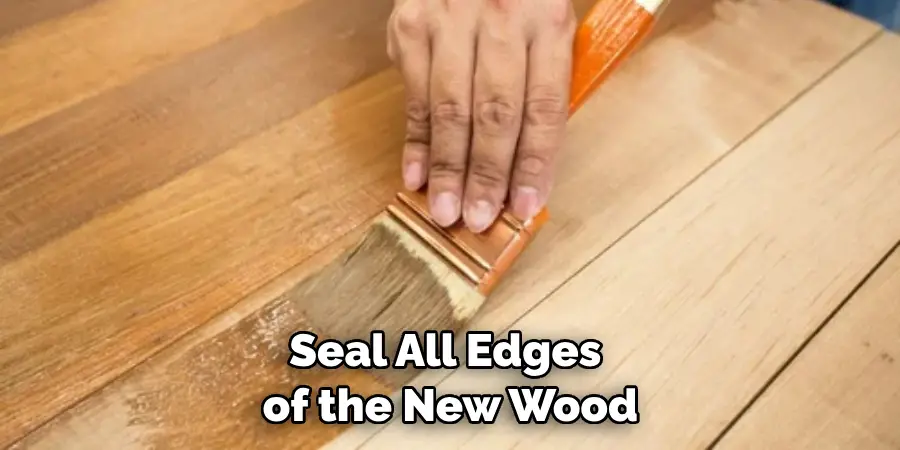
Using a sealant, make sure to carefully seal all edges of the new wood. This will protect it from moisture and other damage. Once this is complete, use sandpaper or a putty knife to smooth out any rough patches or splinters. Finally, you can polish it with a suitable finishing agent.
Congratulations – you have now successfully replaced the wood beneath your kitchen sink! Make sure to regularly inspect and maintain it to ensure that it remains in good condition. With proper care, this should last for many years. Good luck!
Some Extra Tips to Replace Wood Under Kitchen Sink
1. Do Not Rush
Replacing the wood under your kitchen sink is not a task that you should rush. Take your time and make sure to do it step-by-step so there are no mistakes. Also, you have to make sure that the new wood is properly secured and leveled.
2. Measure Carefully
Measuring is one of the most important steps when replacing the wood under your kitchen sink. Take your time to measure so you are sure that all pieces fit perfectly in place before securing them into place. This will ensure a successful installation without having to redo it and wasting more time.
3. Use Quality Material
When replacing the wood under your kitchen sink, make sure to purchase quality materials that can withstand any moisture or dirt and are also long-lasting. This will ensure the successful installation and durability of the new wood underneath your sink.
4. Get Professional Help
If you feel like you need help when replacing the wood under your kitchen sink, it is best to get professional help from a qualified contractor. This way you can be sure that the job will be done properly and to your satisfaction.
5. Clean up After
When you are finished replacing the wood under your kitchen sink make sure to clean up any debris or mess created during the process. This will prevent mold or mildew from forming over time and will also keep your kitchen looking tidy.
Frequently Asked Questions
What Precautions Should I Take When Replacing Wood Under My Kitchen Sink?
When replacing wood under your kitchen sink, there are a few steps you should take to ensure the safety of yourself and your home. Make sure to turn off the water supply before beginning any work in order to avoid any flooding or dripping.
Additionally, if you notice any mold or mildew on the wood, it is best to wear protective gloves and a face mask before attempting to remove the wood. Be sure to use appropriate tools for cutting, sawing, or drilling in order to avoid any slips or cuts.
What Materials Are Needed To Replace Wood Under Kitchen Sink?
The materials needed to replace the wood under your kitchen sink will depend on what you are replacing the wood with. If you are using plywood, you will need a saw, screws, glue, and sealant tape.
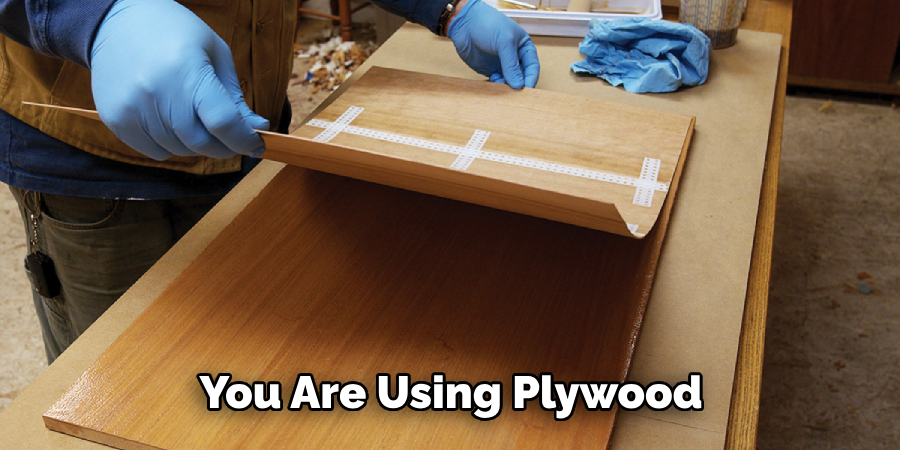
If you are using particle board instead of plywood, you may need additional supplies such as nails or brackets to secure the particle board in place. Additionally, if the sink is already installed under your cabinets, you will also need a plumber’s putty and a wrench to install the sink as well.
Can I Replace the Wood Under the Kitchen Sink By Myself?
Replacing wood under your kitchen sink can be done by yourself, but it is recommended to have someone who is familiar with plumbing work in order to ensure everything is installed properly. Additionally, if you are unsure of how to appropriately use any tools, it is best to have someone experienced in the field to provide guidance.
What Do I Need To Know Before Replacing The Wood Under My Kitchen Sink?
Before replacing the wood under your kitchen sink, you should be sure to measure the area where you will be installing new plywood or particle board. This will help ensure that you purchase the correct size of material when heading to the store.
Additionally, you should research the best type of wood or particle board to use for your project and read any instructions provided with the materials. Finally, double-check that all water supply is turned off before beginning work in order to avoid flooding or dripping.
Conclusion
You now know how to replace wood under kitchen sink. Proper preparation is crucial for success. Spend time gathering all the necessary supplies and tools before proceeding with the job. Enabled with this knowledge, you should be able to confidently replace the wood under your kitchen sink in a couple of hours or less.
Furthermore, this project is something that can easily be repeated every couple of years with minimal effort to ensure it stays well maintained over time. We hope this comprehensive guide has provided you with everything you need to successfully tackle this DIY job and revolutionize your kitchen design and functionality. Good luck and happy creating!
You Can Check It Out Also Remove Excess Stain From Wood

