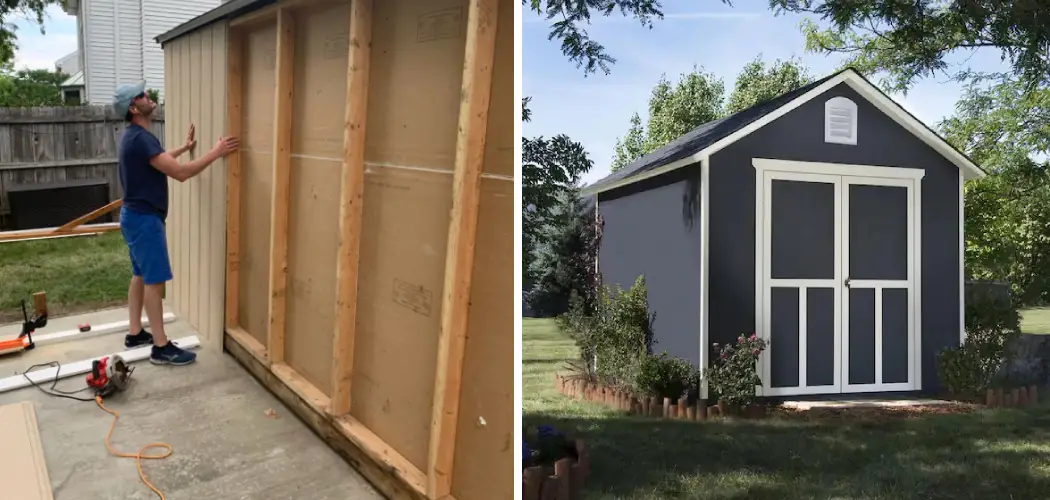
Homeowners know that regular maintenance is key to keeping a property looking its best and avoiding costly repairs down the road. Performing DIY projects, like replacing shed siding, is an important part of this upkeep. From gathering the right materials to safely prepping the area for installation, doing it yourself can be complex when you don’t have experience.
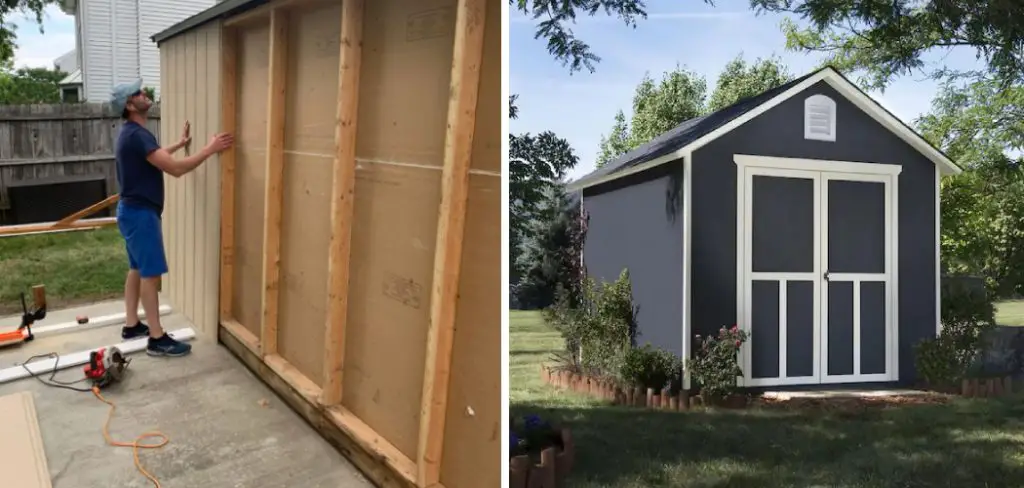
Thankfully, we’re here to help! In this blog post on how to replace shed siding, we’ll explain the basics of replacing your shed siding step-by-step so that you can take on this project with confidence and tackle other home repair projects quickly and efficiently in no time!
Why Replace Shed Siding?
Before we dive into the steps on how to replace shed siding, it’s important to understand why replacing your shed siding is necessary in the first place. Over time, exposure to harsh weather conditions can cause wear and tear on your shed’s exterior. As a result, your siding may become damaged or start to deteriorate.
In order to maintain the appearance of your shed and protect it from further damage, replacing the siding is crucial. Not only will it improve the aesthetic of your property, but it can also increase the lifespan of your shed.
11 Step-by-step Guides on How to Replace Shed Siding
Now that you understand the importance of replacing shed siding, let’s dive into the steps on how to do it correctly. Here is a step-by-step guide to follow:
Step 1: Gather Materials
The first step is to gather all the necessary materials for the project. This includes:
- New Shed Siding
- Utility Knife
- Pry Bar
- Hammer
- Measuring Tape
- Level
- Nails or Screws (Depending on the Type of Siding)
Step 2: Remove Old Siding
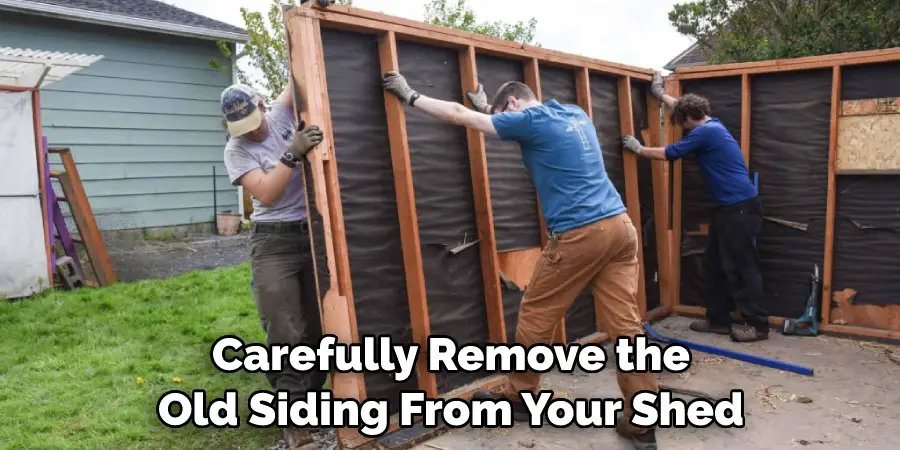
Using your pry bar, carefully remove the old siding from your shed. Be sure to remove any nails or screws holding the siding in place. It’s important to take your time with this step to avoid any damage to the shed or yourself. You may also need to use your utility knife to cut through any caulking or adhesive. It’s recommended to start from the top and work your way down. This will prevent any debris from falling onto areas that have already been removed.
Step 3: Inspect the Area
Once the old siding is removed, take some time to inspect the area. Check for any signs of water damage or rot, as this will need to be addressed before installing new siding. If you notice any issues, make sure to address them before moving on. But, if everything looks good, you’re ready to move on to the next step. It’s always important to ensure the structural integrity of your shed before installing new siding.
Step 4: Measure and Cut the New Siding
Using your measuring tape, measure each section of your shed to determine the amount of siding you’ll need to cut. Be sure to add an extra inch or so to allow for any discrepancies. Once measured, use your utility knife to cut the siding into the appropriate sizes. You may need a saw for certain types of siding. But, always ensure that the cuts are precise for an even and professional look. It can be helpful to label each piece according to its location.
Step 5: Install Building Paper (Optional)
If your shed doesn’t already have building paper, you may want to consider installing it before putting up the new siding. This will add an extra layer of protection against moisture and pests and is especially beneficial if your shed is exposed to severe weather conditions. You can use a staple gun to secure the building paper in place. It’s recommended to start from the bottom and work your way up.
Step 6: Install Corner Posts (If Applicable)
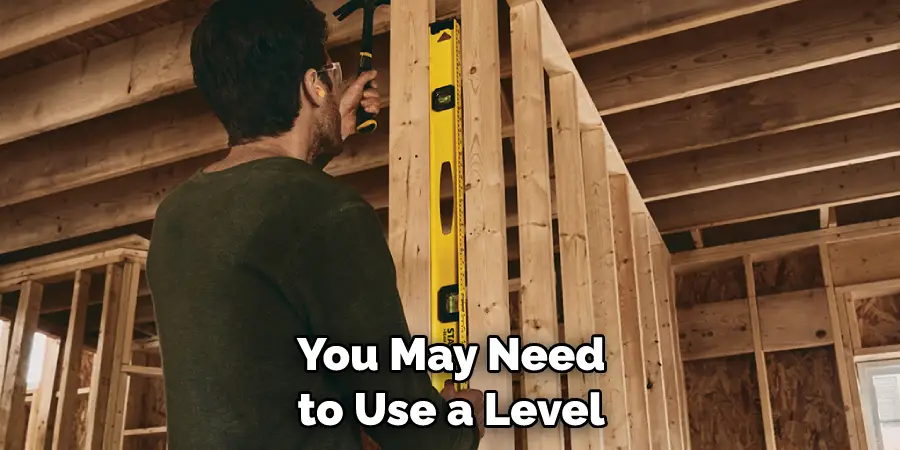
Some types of siding require corner posts to be installed first. If this is the case for your shed, follow the manufacturer’s instructions to install them before proceeding with the next steps. You may need to use a level to ensure they are straight and secure.
Although, not all types of siding require corner posts. It’s important to read the instructions carefully before starting the project. This will ensure that you are installing the siding correctly and reduce the risk of having to make adjustments later on.
Step 7: Begin Installing Siding
Starting from one side of your shed, begin to install the new siding. Be sure to start at the bottom and work your way up. Use nails or screws as directed by the manufacturer and ensure that they are evenly spaced for a secure hold. It’s important to refer to the installation instructions provided with your specific type of siding for optimum results. This can also help to avoid any costly mistakes.
Step 8: Use a J-Channel (If Applicable)
For siding that has an interlocking design, you may need to use a J-channel in certain areas. This allows for an easy and secure fit between the different sections of siding. Refer to the instructions provided with your particular type of siding to determine where and how to install the J-channel. This will help to ensure a seamless finish.
Step 9: Cut Holes for Windows and Doors
If your shed has any windows or doors, you’ll need to cut holes in the siding to accommodate them. Measure and mark the appropriate areas before cutting with your utility knife. Be sure to take care when cutting around these openings to avoid any damage or mistakes. You can also use a jigsaw for more precise cuts. Once the holes are cut, you can continue installing the remaining siding.
Step 10: Continue Installing Siding
Follow the same process of measuring and cutting for each section of your shed until all the siding is in place. Remember to secure each piece with nails or screws as directed and use a level to ensure everything remains straight and even. Take your time during this step to achieve a professional finish.
Step 11: Finishing Touches
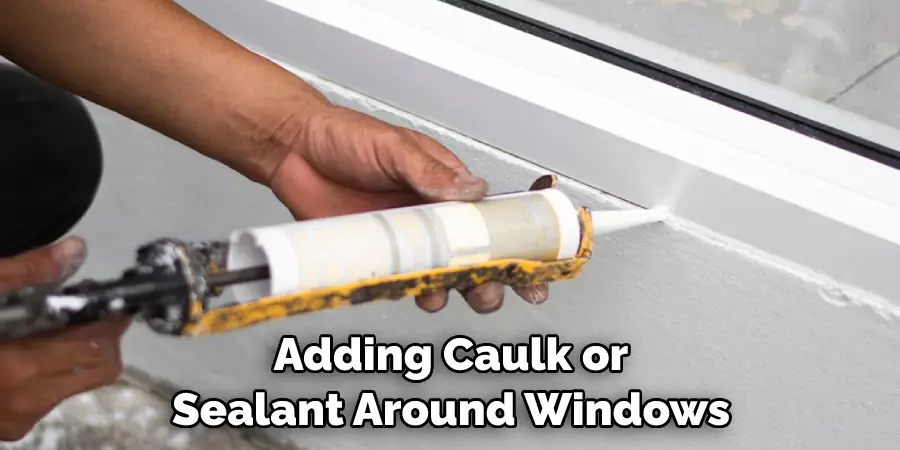
Once all the siding is in place, you can add any finishing touches and trim work as desired. This includes adding caulk or sealant around windows and doors to prevent any water from seeping through. You can also paint or stain the siding to match your desired aesthetic. Just be sure to follow the manufacturer’s instructions for proper drying time before using your shed. Congratulations, you have successfully replaced your shed siding!
Following these steps on how to replace shed siding will ensure that your shed remains in good condition and continues to protect your belongings for years to come. Remember to always follow safety precautions and take the time to properly install the siding for the best results. Happy DIY-ing!
How Much Could It Cost?
The cost of replacing shed siding can vary depending on the size and type of siding, as well as any additional materials needed. On average, it can cost anywhere from $1,000 to $3,000 for a full replacement. However, if you have experience with DIY projects and already own some tools, you may be able to save on labor costs by doing it yourself.
It’s always important to budget accordingly and consider all factors before beginning this project. Plus, with proper maintenance and care, your new shed siding should last for many years to come. So why wait? Give your shed a fresh look today!
Frequently Asked Questions
Q1: How Much Does It Cost to Replace Shed Siding?
A1: The cost of replacing shed siding can vary depending on the type of siding you choose and the size of your shed. On average, homeowners spend between $2,000 – $8,500 for a full replacement. However, this cost can be significantly lower if you choose to do the project yourself.
Q2: How Long Does It Take to Replace Shed Siding?
A2: The time it takes to replace shed siding will depend on the size of your shed and your experience level. On average, it can take anywhere from 1-3 days for a DIY project. Hiring a professional may speed up the process but could also increase the overall cost.
Q3: Do I Need Special Tools to Replace Shed Siding?
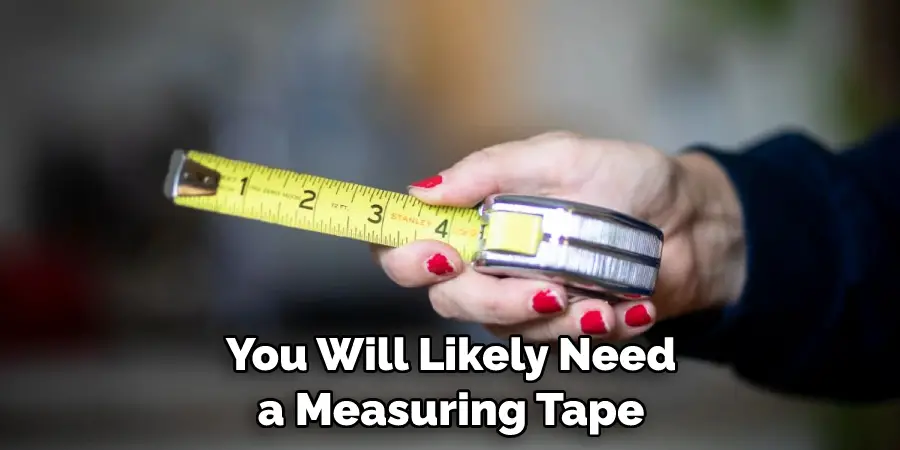
A3: While some tools are necessary for this project, most can be found at your local hardware store. You will likely need a measuring tape, utility knife, saw (if needed), level, staple gun, and nails or screws.
Be sure to also have safety gear such as gloves and eye protection. Overall, the tools needed will depend on the type of siding you choose and its installation requirements. Remember to always follow the manufacturer’s instructions for best results.
Q4: Can I Replace the Shed Siding Myself?
A4: Yes, it is possible to replace the shed siding yourself. However, it is important to have some experience with DIY projects and feel confident in your abilities. If you are unsure or uncomfortable with any step of the process, it may be best to hire a professional for assistance.
Conclusion
With a bit of hard work and patience, your replacement siding project is sure to be successful. Having the proper tools and materials is essential for any DIYer looking to tackle a home remodeling project, and this one is no exception. A methodical approach will reduce errors and ensure the job is done correctly. Thoroughly clean the surface area before starting so that your shed’s siding looks like new upon completion.
To be extra safe, research the local laws and regulations for shed construction in your area to make sure you are up to code when putting up siding on your shed. As you embark on this exciting project.
difficult as it may be at times, remember to stay motivated – it’ll all be worth it once you put in the elbow grease and revamp your shed with new siding! So don’t delay; go ahead and get started today – with these steps on how to replace shed siding, replacing shed siding could not be simpler or more rewarding!

