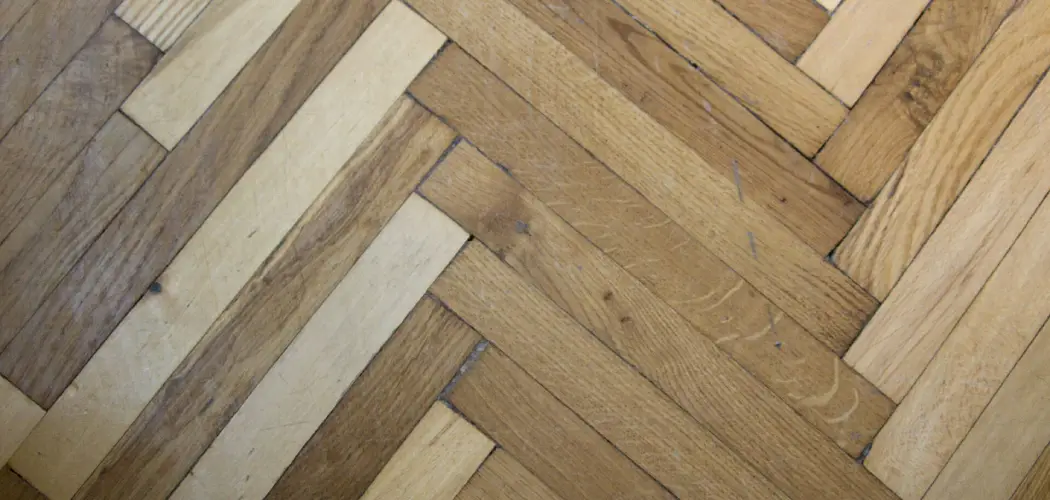
If you’ve been admiring the way that parquet flooring creates a unique geometric pattern in homes and office spaces, then you may have started to consider restoring your own parquet floors. Refinishing parquet floors can be an intimidating task – not only do they require more effort than traditional wood floors, but it’s crucial to pay attention to the small details of the process if you want the end result to look its absolute best.
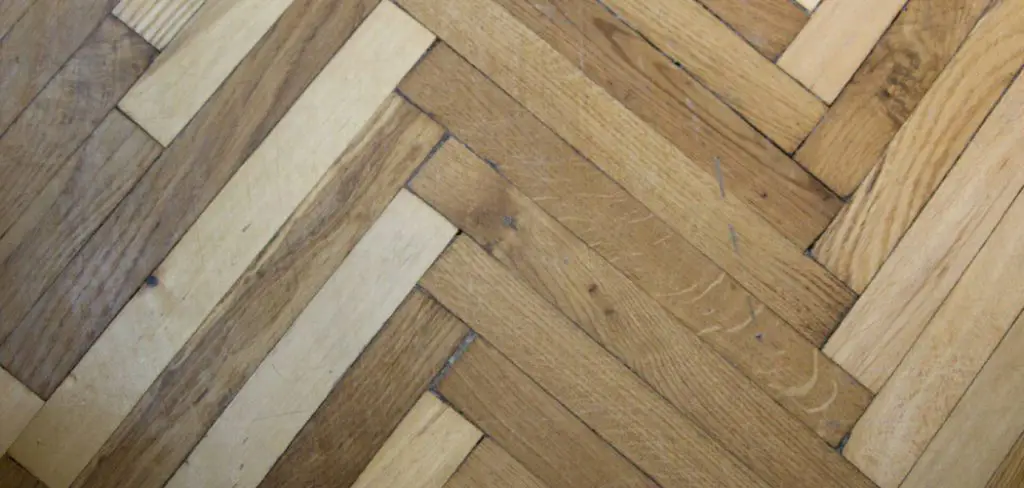
However, with some patience and thoughtful preparation, it is possible to refinish parquet floors yourself or with an expert hand. In this blog post, we’ll help guide you through each step needed to achieve beautiful results. We’ll walk through things like prepping surfaces and picking out necessary tools; so grab your wooden mallet– let’s start learning How To Refinish Parquet Floors!
Supplies You Will Need to Refinish Parquet Floors
- Masking tape
- Floor stripper
- Wood filler
- 80-grit sandpaper
- Vacuum Cleaner
- 120-grit sandpaper
- Polyurethane sealer with applicator brush
Step-by-step Guidelines on How to Refinish Parquet Floors
Step 1: Prepare the Area
Before starting, you will need to prepare the room where you plan to refinish your parquet floors. Begin by removing all furniture and area rugs from the space. Next, use masking tape to cover any gaps in baseboards or outlets near floor level. This will protect them from potential damage during refinishing. Prepping is essential to save time and energy.
Step 2: Remove Old Finish
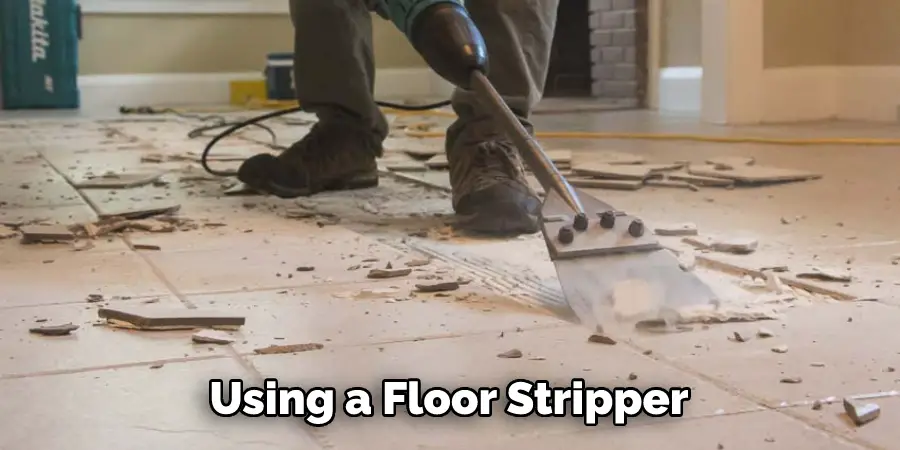
To get started, you will need to strip the old finish off your parquet floors. This can be done using a floor stripper and a wooden mallet or scraper. Follow the directions on the label of your chosen stripper and use long strokes along the grain of the wood. Repeat this process until all remnants of the old finish are removed. While working, make sure to wear gloves and protective eyewear for safety.
Step 3: Fill in Any Gaps
Next, use a wood filler to fill in any gaps or cracks that may have formed on your parquet floors. Allow the filler to dry completely before proceeding. Once dry, sand down any excess filler using 80-grit sandpaper. This step will help create an even surface for the next coat of finish to be applied. This readiness will ensure that the end result is smooth and even.
Step 4: Sanding Your Parquet Floors
Now comes the most labor-intensive step of refinishing your parquet floors – sanding. You will need to sand your floors with 80-grit and then 120-grit sandpaper using a floor buffer or hand sander. This process helps remove any remaining old finish, smoothen out the surface, and prepare it for staining. Make sure to vacuum up any dust or debris between each sanding step.
Step 5: Apply Polyurethane Finish
After all the hard work of prepping and sanding, it’s time to apply your chosen polyurethane finish. Begin by using an applicator brush to carefully apply the first coat, following the direction of the wood grain.
Allow this coat to dry completely before applying a second coat in the same manner. It is essential to follow the specific drying times mentioned on your chosen finished product for the best results. Once the second coat has dried, your parquet floors should look rejuvenated and have a beautiful sheen!
Step 6: Finishing Touches
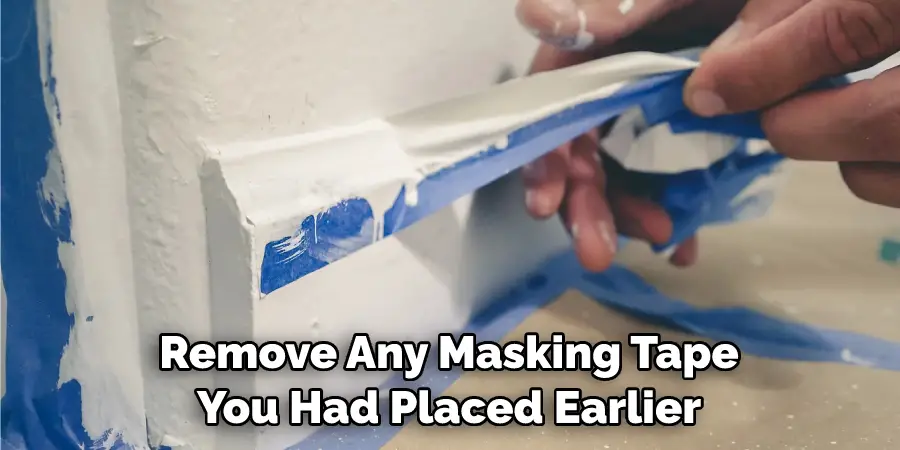
After the final coat of finish is applied, it’s time to put the finishing touches on your newly refinished parquet floors. Remove any masking tape you had placed earlier and use a clean cloth to remove any dust or debris that may have accumulated during the refinishing process. Finally, allow yourself some time to admire your restored parquet floors!
Following these six steps, you can successfully refinish your parquet floors and achieve professional-looking results. Although it may seem like a challenging task at first, with the right preparation and equipment, anyone can bring life back into their dull or damaged parquet floors. So why wait? Get started on restoring your own unique geometric patterns today! Happy refinishing!
Additional Tips and Tricks to Refinish Parquet Floors
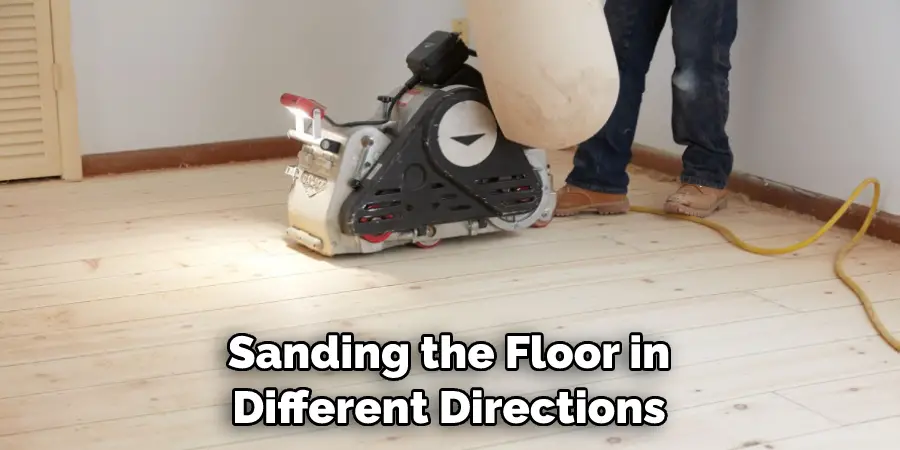
- Consider sanding the floor in different directions to avoid unevenness. Start with a diagonal direction, then switch to a horizontal or vertical direction.
- When applying stain, use an applicator pad or brush specifically designed for floors to ensure even application. Avoid using rags or cloths, as they can leave streaks.
- Let the stain dry completely before applying a sealant or topcoat. This usually takes around 24 hours, but it’s always best to check the manufacturer’s instructions for specific drying times.
- When applying the sealant or topcoat, use a lamb’s wool applicator for a smooth and even finish. Ensure that you apply it in thin coats, as thick coats can result in a cloudy appearance.
- Consider using a water-based polyurethane instead of an oil-based one. Water-based polyurethane dries faster and has less odor compared to its oil-based counterpart.
- If you’re refinishing a high-traffic area, consider using multiple coats of sealant for added durability. This will also help extend the lifespan of your parquet floors.
- To avoid accidental marks or scratches, place felt pads on the bottom of furniture legs before placing them back onto the refinished parquet floor.
- Regularly clean and maintain your refinished parquet floors to keep them looking their best. Use a soft-bristled broom or vacuum with a hardwood floor attachment to remove dust and debris. Avoid using harsh cleaning chemicals or abrasive materials, as they can damage the finish.
Following these additional tips and tricks can help ensure a successful refinishing process for your parquet floors. Remember to always follow the manufacturer’s instructions and take proper precautions while working with chemicals and machinery. With careful preparation and execution, you can have beautifully refinished parquet floors that will last for years to come. So go ahead and give your floors the TLC they deserve! Happy refinishing!
Benefits of Refinishing Parquet Floors:
- If you have parquet floors in your home, you know how beautiful and unique they can be. Refinishing these floors can restore their natural beauty and charm.
- Over time, due to heavy foot traffic, furniture scraping, and spilling of liquids, the finish on your parquet floors will wear out. This not only makes the floor look dull but also exposes it to potential damage from moisture and dirt. Refinishing the floors will protect them from further damage and ensure they last longer.
- Refinishing parquet floors is a cost-effective way of reviving your home’s aesthetic appeal. Instead of incurring the costs of replacing the entire flooring, refinishing it will give it a brand-new look at a fraction of the cost. This is especially beneficial if you have a limited budget for home renovations.
- Another benefit of refinishing parquet floors is that it allows you to change the color or stain of your flooring. This means you can update the look and feel of your home without having to go through the hassle and expense of installing new floors. You can choose a darker or lighter shade to match your current interior decor or go for a completely new look.
- Refinishing parquet floors also increases the value of your home. If you’re planning to sell your house in the future, having newly refinished parquet floors will make it more attractive to potential buyers. It shows that you have taken good care of your home and adds to its overall appeal. This can lead to a higher selling price and faster sale of your property.
- Finally, refinishing parquet floors is an environmentally friendly choice. By choosing to refinish rather than replace the flooring, you are reducing waste and minimizing the use of new resources. You can also opt for eco-friendly finishes and stains that are better for the environment and your health. This small change can make a big impact in preserving our planet for future generations.
These are just a few of the many benefits of refinishing parquet floors. So if you have beautiful parquet flooring in your home, don’t hesitate to invest in refinishing it and give it a new lease on life. Your floors will thank you for it! For more information on how to refinish parquet floors, check out our detailed guide on the process. Happy renovating!
Frequently Asked Questions
What is Parquet Flooring?
Parquet flooring is a type of wood flooring that consists of small, individual pieces of hardwood arranged in a geometric pattern. It is often used to create decorative and unique floor designs. Parquet flooring can be made from a variety of different woods, including oak, walnut, cherry, and maple.
How Do You Install Parquet Flooring?
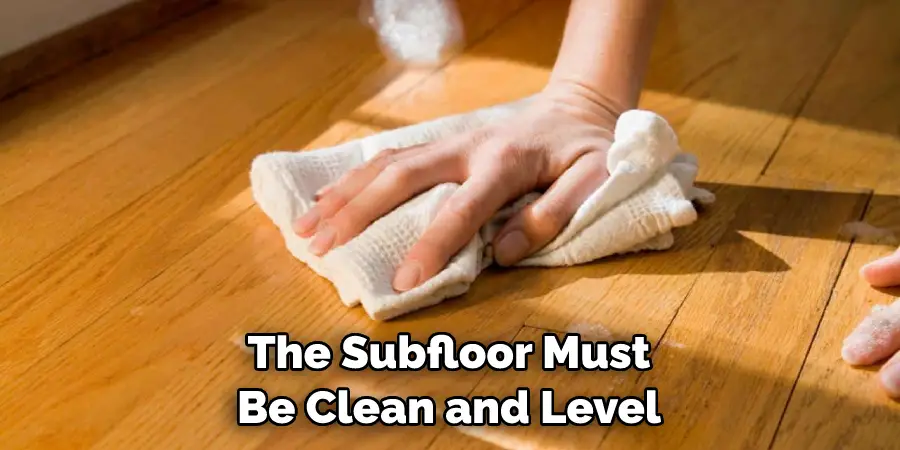
Installing parquet flooring is similar to installing other types of wood flooring. First, the subfloor must be clean and level. The parquet pieces should then be laid down in the desired pattern and secured with adhesive or nails. Once the floor is fully installed, it can be sanded and finished to give it a smooth surface.
How Often Should Parquet Flooring Be Refinished?
The frequency of refinishing parquet flooring depends on the amount of foot traffic it receives. Generally, it is recommended to refinish parquet floors every 5-10 years or as needed. Signs that it may be time for a refinish include noticeable wear and tear, scratches, and dullness of the finish. Regular maintenance, such as sweeping and mopping with a damp cloth, can help prolong the need for full refinishing.
Conclusion
Knowing how to refinish parquet floors can help you maintain the beauty and longevity of your flooring. With proper installation, regular maintenance, and timely refinishing when needed, parquet flooring can add a touch of elegance to any room for years to come.
So if you’re ready to give your parquet floors a new lease on life, don’t hesitate to follow these tips and techniques for a successful refinish. Keep in mind that it’s always recommended to consult with a professional before attempting any major refinishing projects. Happy renovating!

