Renovating your home can be daunting, especially if you have hardwood floors. Without the proper preparation, you could end up with damaged floors that need to be refinished. Protecting your hardwood floors during a renovation is important but can seem daunting.
Here are some tips to help you keep your floors in good shape. This will protect it from getting scratched or dusty. If you can’t move the furniture out of the room, then be sure to cover it with a blanket before you start sanding or drilling.
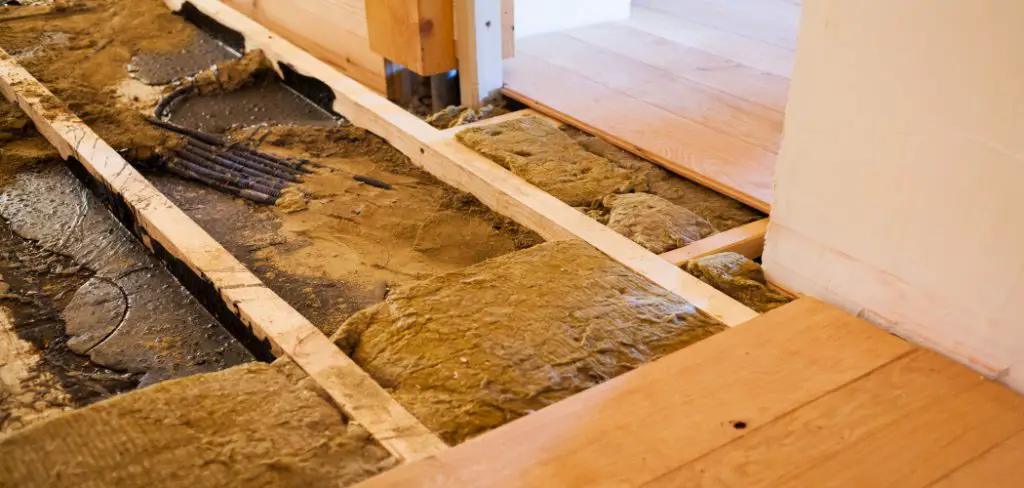
Lay down a layer of tarps or plastic sheeting on the floor to protect it from paint splatters, debris, and dust. You may also want to put down a layer of insulation if you’re going to be working with heaters or flames.
Use doorstops and weights to keep the tarps in place while you work. And be sure to clean up any messes as soon as they happen so that you don’t have to worry about them later. Following these tips, you will know how to protect hardwood floors during renovation.
Why Its Important to Protect Hardwood Floors During Renovation
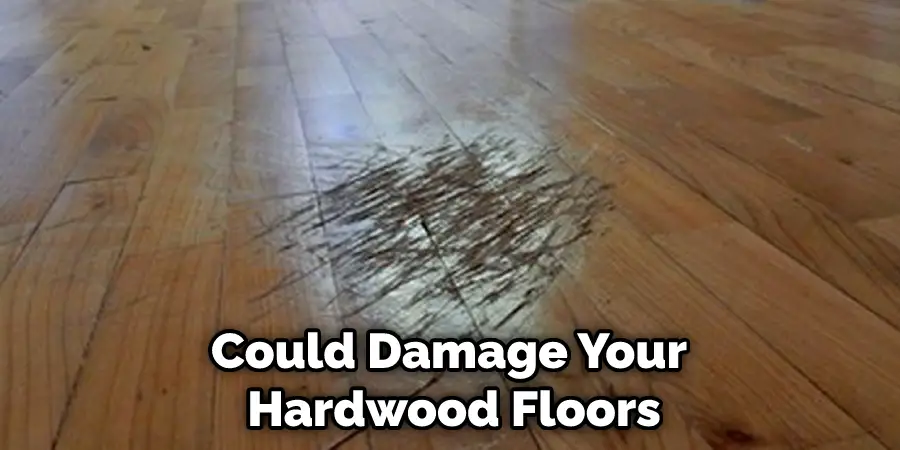
Hardwood floors are a beautiful and classic addition to any home. But they can be expensive to install and refinish, so you’ll want to take steps to protect them during a renovation. Dust, paint, and debris can all damage hardwood floors, so it’s important to cover them up before you start your project. Tarps or plastic sheeting are a good option; you can use doorstops or weights to keep them in place.
Be sure to clean up any messes immediately so your floors will stay in good condition. Following these tips will help you keep your hardwood floors looking like new for years to come.
When your floor is seriously damaged, You will have to spend a lot of money on refinishing it. It would be best if you took some time now to protect your floors to avoid costly repairs down the road. Avoid high costing repairs by taking the time to protect your floors!
A Detailed Stepwise Guide on How to Protect Hardwood Floors During Renovation
Step 1: Use Temporary Floor Covering
If you are planning any type of renovation requiring heavy equipment or a lot of foot traffic, it’s important to use some temporary floor covering. This will protect your hardwood floors from being scratched, chipped, or dented by tools or debris.
Masonite boards are a good option for covering large areas, while carpet runners or felts pads can be used to protect smaller sections. The adhesive floor protection film is also a good option to protect your hardwood floors from paint, dirt, and debris during renovation. You can find temporary floor coverings at most home improvement stores.
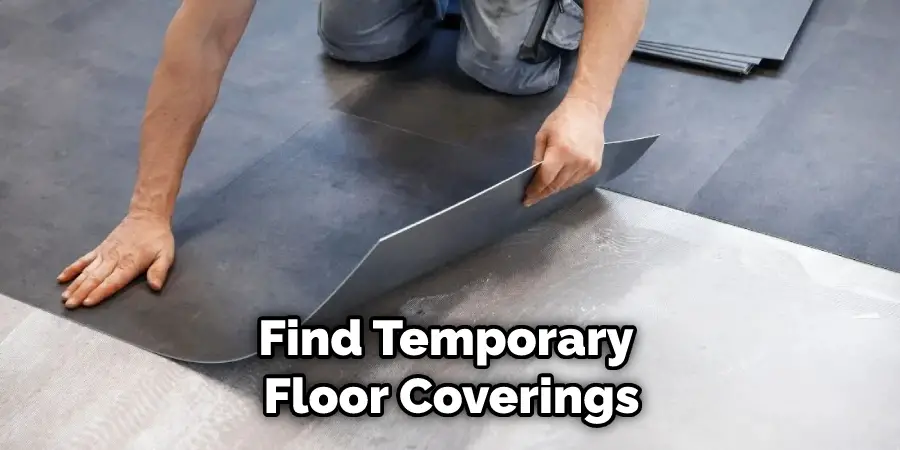
Step 2: Applying Printer’s Tape to Non-adhesive Floor Coverings
If you use a non-adhesive floor covering, such as masonite boards or carpet runners, you will need to apply painter’s tape along the edges to prevent them from sliding around. Use Drop Cloths for Painting and Other Messy Tasks.
For painting or any other messy tasks that could potentially damage your hardwood floors, it’s best to use drop cloths. Always try to use medium adhesive tape and clean up any spills immediately. Always try to avoid using newly finished hardwood floors.
Step 3: Determine Walking Route
Protect the walkway to and from your work area to minimize the amount of dirt and debris that is tracked onto your hardwood floors. It’s also a good idea to place a mat at all exterior doors to help trap dirt and debris before it has a chance to get on your floors.
If possible, ask everyone to remove their shoes when entering the home. This will help to prevent dirt and debris from being tracked onto your hardwood floors. Another way to keep your hardwood floors clean during renovation is to wear shoe covers or booties whenever you are working in the area. This will help to prevent dirt and debris from being tracked onto your floors.
Step 4: Keep the Site Clean and Well Ventilated
A construction site can be a breeding ground for dust, so it’s important to keep the area clean and well-ventilated. This will help minimize the amount of dust tracked onto your hardwood floors. Use a damp mop or cloth to wipe down surfaces daily, and make sure to vacuum regularly.
You may also want to consider using an air purifier to help remove dust from the air. In addition, it’s important to keep the windows open and use fans to circulate the air. This will help remove any dust or fumes that could damage your hardwood floors.
You Can Check It Out to Care for Newly Refinished Hardwood Floors
Step 5: Seal the Rest of the Room
If you are renovating multiple rooms, it’s a good idea to seal off the rest of the house to prevent dust from spreading. You can do this by closing all doors and windows and using plastic sheeting to seal off any openings.
Appliances and furniture should be covered with plastic sheeting to prevent them from getting dusty. This will help to contain the dust and debris on the construction site and minimize the amount of cleaning you must do.
Step 6: Clean Up Thoroughly When You’re Done
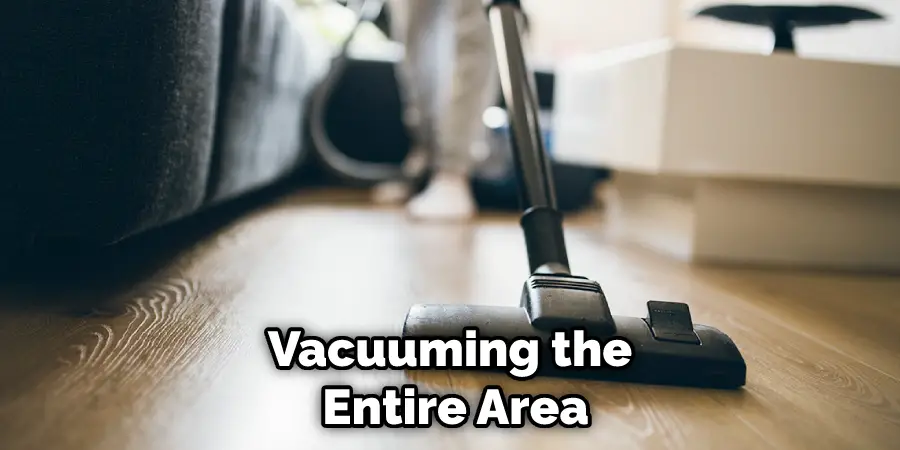
Once the renovation is complete, cleaning up the site thoroughly is important. This will help remove any dust or debris damaging your hardwood floors. Start by vacuuming the entire area and then mop with a damp cloth.
You Can Check It Out to Protect Unfinished Wood Floors
After cleaning the floors, you will need to remove any floor coverings you used during the renovation. Be sure to dispose of them properly, so they don’t end up in landfills. And that’s it! By following these simple steps, you can protect your hardwood floors from damage during a renovation.
You Can Check It Out To Protect Hardwood Floors From Walkers
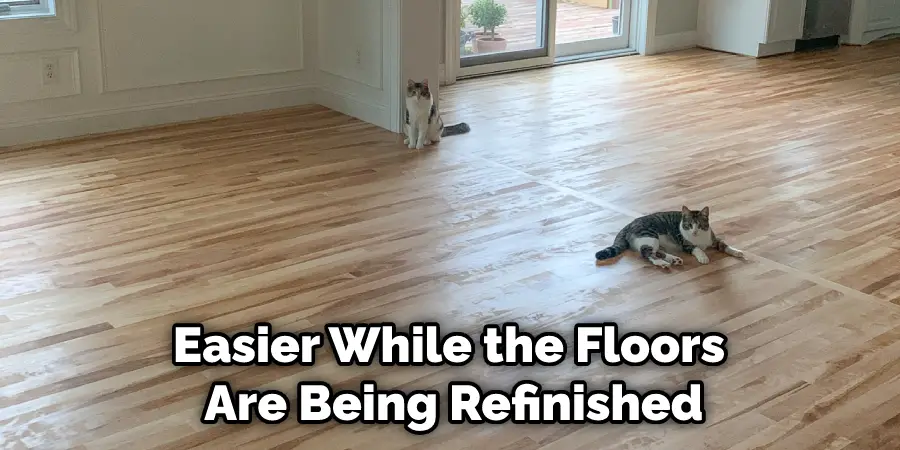
Can I Stay at My House While the Floors Are Refinished?
Yes, you can stay at your house while the floors are being refinished. But taking some precautions is important to keep the dust down. The biggest concern people have when refinishing floors is dust. And it’s a valid concern. You can do some things to help keep the dust down, though.
First, you’ll want to seal off any rooms that aren’t being worked on. This will help contain the dust to some extent. You can hang plastic sheeting over doorways and seal any cracks or gaps with tape. You’ll also want to keep the windows closed and use fans to circulate the air. Another thing you can do is to cover any furniture or items in the room with plastic sheeting. This will help keep the dust off of them.
One more thing, you may want to consider staying out of the house altogether while the work is being done. If that’s not possible, just be sure to wear a dust mask and avoid the areas where the work is being done as much as possible. Taking these precautions can help keep the dust down and make breathing easier while the floors are being refinished.
When Can You Put Furniture on Refinished Floor?
You’ll need to wait at least 24 hours after the floors are refinished before you can put furniture on them. This will give the finish time to cure and harden. You can put felt pads on the bottoms of furniture legs to help protect the floors from scratches. Once it’s cured, it will be more resistant to scratches and scuffs.
You may be able to put furniture on the floors sooner if the temperature and humidity are just right. But it’s always best to err on the side of caution and give the finish time to cure fully before putting anything on it.
Some Important Tips for Protecting Hardwood Floors During Renovation
- Be careful when moving heavy furniture or appliances. Lift them instead of dragging them across the floor.
- Place mats or rug runners on high-traffic areas to reduce wear and tear.
- Wipe your feet before coming inside to avoid tracking in dirt or debris.
- If you must use a power tool, put a piece of plywood down first to distribute the weight evenly.
- When painting or staining, use a drop cloth to avoid spillage.
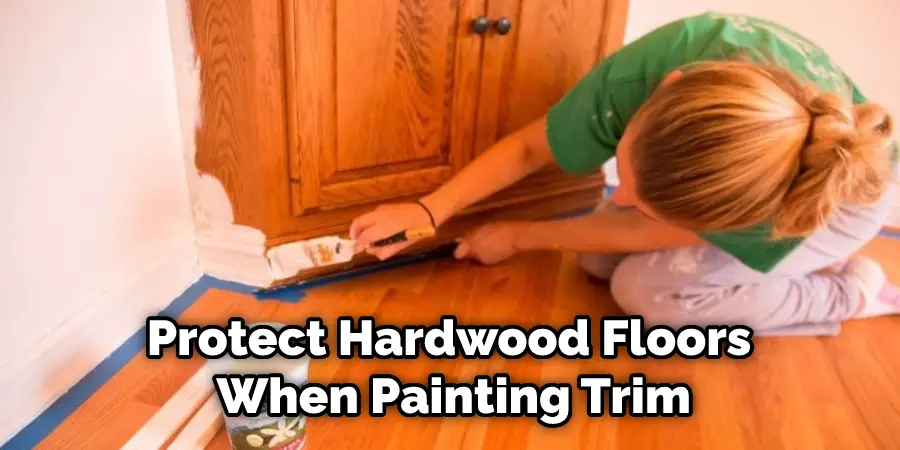
How Do You Protect Hardwood Floors When Painting Trim
If you’re like most people, the thought of painting your hardwood floors might seem a bit daunting. After all, it’s not every day that you come across someone who says they’ve successfully painted their hardwood floors without any damage!
The good news is, however, that with the right preparation and execution, painting your hardwood floors can be a relatively easy and pain-free process. When painting trim we need to make sure that we don’t get any paint on the hardwood floors. If possible, it’s always best to cover the hardwood floors with a drop cloth or tarp to protect them from any potential paint drips or splatters.
Conclusion
Applying these five tips will help ensure that you have beautiful hardwood floors to show off after your renovation is complete. If you’re unsure how to protect your hardwood floors properly or what products to use, consult with a professional before starting your project. A little bit of planning and extra care during renovations can go a long way in preserving your hardwood floors for years to come.
Following these simple tips, you can protect your hardwood floors from damage during renovation. Preparing your home before starting any projects can help ensure that your hardwood floors remain in good condition for years to come. We hope this article has been beneficial for learning how to protect hardwood floors during renovation. Always ensure professionals carry out the steps discussed here to avoid any form of damage.
You Can Chack It Out Make Cherry Wood Furniture Look Modern
