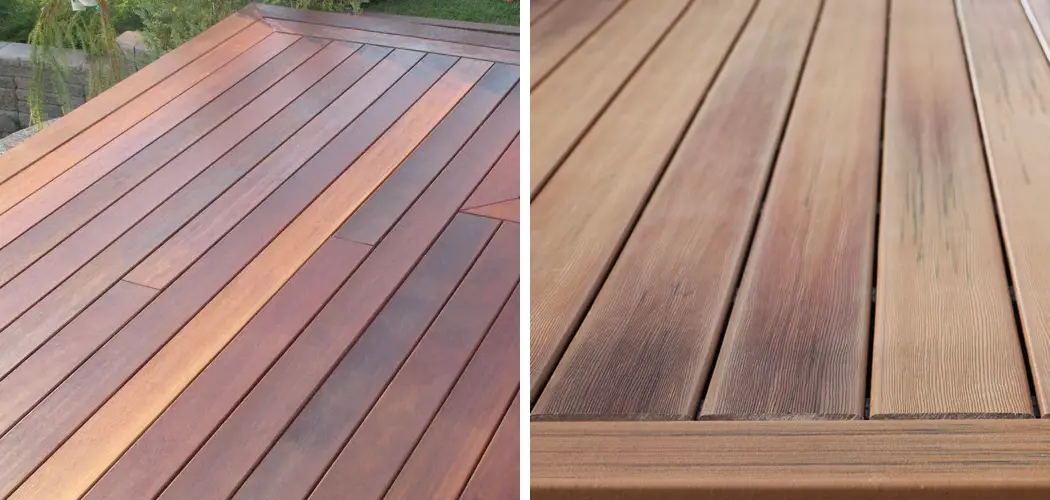
Are you looking for a quick and easy way to add some life to your outdoor living space? Picture framing a deck is an excellent option. Picture framing can help define the edges of your deck, create visual barriers, protect it from the elements, and enhance its overall look. It’s also relatively inexpensive compared to other remodeling projects. In this step-by-step guide, we’ll explain exactly how to picture frame a deck so that you can breathe new life into yours in no time!
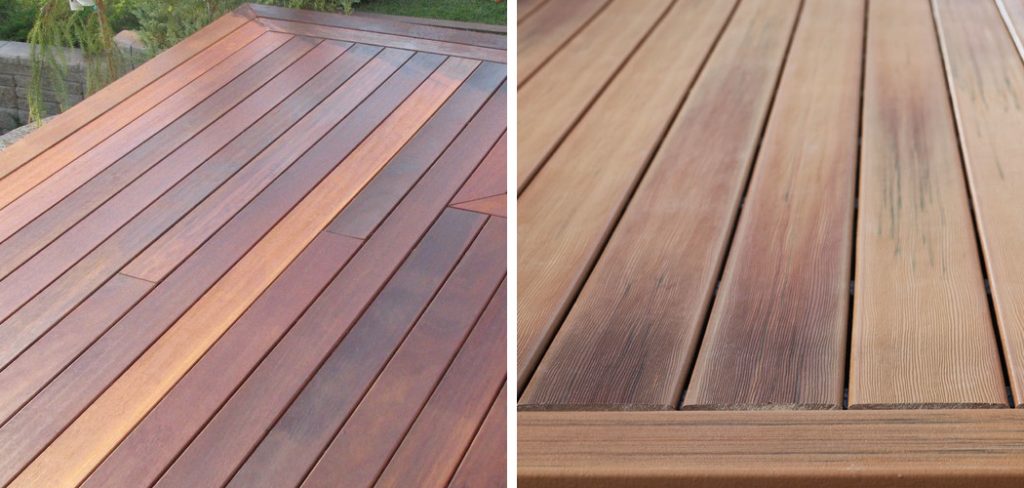
Picture framing a deck is one of the most effective and affordable ways to spruce up your outdoor area. Adding some framing can increase its longevity due to improved support and make it safer for foot traffic. In addition, picture framing adds an aesthetic element that creates visual interest around a deck, making it look more polished and finished compared to flat edges or posts without any detail. Whether you’re looking for a way to enliven an existing deck or are constructing something from scratch, let’s take a look at how you can start framing your deck like an expert!
Why May You Want to Picture Frame a Deck?
There are many reasons why you may want to picture frame your deck. Such as:
1. Provide a Clean Look
One of the main reasons to picture frame your deck is for aesthetic appeal. Picture framing gives a clean, finished look that stands out from the rest of your backyard. So if you want to make your deck look different from the rest of the landscape, picture framing is a great option.
2. Make Your Deck More Durable
Picture framing your deck also adds an extra layer of durability to protect it from weather and wear and tear. By reinforcing the edges of your deck with a picture frame, you can make sure that your deck will last longer and look better for years to come.
3. Accentuate Your Deck
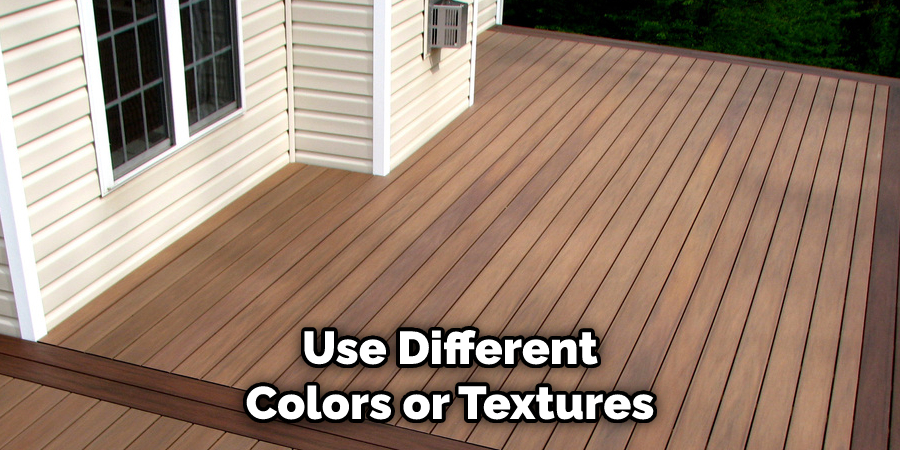
Picture framing also helps accentuate the edges of your deck, making it stand out more from the rest of the backyard. For example, you can use different colors or textures to highlight the picture frame and draw attention to the deck.
These are just some of the reasons why you may want to picture-frame your deck. Regardless of your reason, this guide will show you how to do it properly and safely.
How to Picture Frame a Deck in 6 Easy Steps
Step 1: Measure the Length of Your Deck
The very first step to picture-framing your deck is to measure the length of the deck’s perimeter. You will need this measurement to determine how much material you need. Also, make sure to measure any curves or angles on the deck.
Step 2: Choose a Material for Your Picture Frame
Once you have the measurements of your deck, it’s time to decide what material you want to use for your picture frame. Generally speaking, it is best to use a composite or pressure-treated wood material. This will give you the best performance and longevity for your picture frame.
Step 3: Cut the Material
Once you have selected the material, it’s time to cut it to size. Be sure to use a straight edge and a saw or router when cutting the lumber so that all edges are even. This will ensure that your picture frame looks professional and neat.
Step 4: Secure the Picture Frame to Your Deck
Now it’s time to secure the picture frame to your deck. To do this, you will need to use screws or nails. Make sure to place the screws or nails at regular intervals along each side of the picture frame so that it stays in place.

Step 5: Stain or Paint the Picture Frame
Once your picture frame is secured to the deck, you can give it the look and color you want by staining or painting it. Choose a color that complements your deck for an attractive and polished finish.
Step 6: Double Check
Finally, make sure to double check your work. Look around the deck and ensure that all nails or screws are secure, that the picture frame is level, and that there aren’t any uneven or jagged edges.
And you’re done! With these steps, you now know how to picture frame a deck like an expert. You’ll have a deck that looks great and will last for years to come.
Some Additional Tips to Picture Frame a Deck
1. Avoid Making Straight Lines Too Long
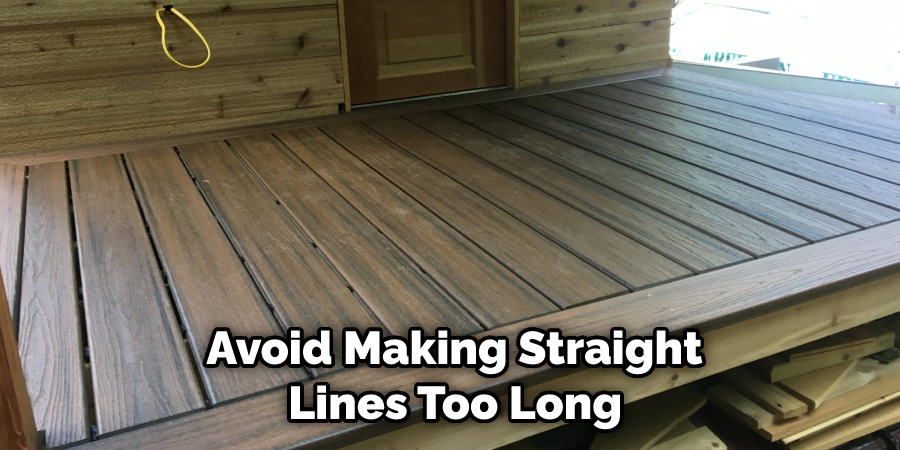
One of the most important tips to remember when picture framing a deck is to avoid making straight lines too long. Doing so will create an unbalanced look and make it more difficult for the eye to follow through the design. Try to keep the line lengths in check by breaking them up with curves or other shapes to break up the monotony of a straight line.
2. Use a Mitre Saw for Precise Cuts
A mitre saw is an invaluable tool when it comes to picture framing a deck because it allows you to make precise cuts with ease. When using the miter saw, make sure you measure twice and cut once to ensure accuracy. Also, be sure to use clamps to hold the boards in place while you work.
3. Use Matching Materials
When picture framing a deck, using materials that match and complement each other is important. For example, if you are using wood for your decking material, make sure to select a compatible wood species for the picture frame boards as well. This way, the deck will look cohesive and professional.
4. Use Quality Fixings
Choosing quality fixings is essential when it comes to picture framing a deck. Ensure you use good quality screws and nails designed for exterior uses such as decks and fences. With the right fixings, you can ensure that your picture frame will stay secure and look great for years to come.
By following these tips, you can soon have a professionally finished deck that adds an attractive accent to your outdoor space. With the right tools and materials, picture framing a deck is easier than ever. So start building today!
Frequently Asked Questions
What Precautions Should I Take When Picture Framing a Deck?
When picture framing a deck, it is important to take precautions for safety. Make sure you wear proper protective gear, including gloves, goggles and a dust mask. It’s also important to use the appropriate tools for the task at hand – power drills and saws can come in handy when it comes to cutting and drilling into the deck. Lastly, use caution when working on ladders or elevated heights – make sure you’re using a spotter if needed, and be aware of your surroundings.
What Materials Do I Need for Picture Framing a Deck?
The materials you need for picture framing a deck will vary depending on the specifics of your project. Generally, you will need some lumber for framing and bracing, deck screws or nails, a drill/driver and saw, caulk or sealant, and fasteners such as joist hangers and struts. You may also want to consider using flashing or other weather-resistant materials to protect against moisture and rot.
What Is the Best Way to Install Picture Framing on a Deck?
The best way to install picture framing on a deck is to measure and mark out your desired frame using chalk or paint – this will help provide a visual guide for where the lumber should go. Next, cut and attach the framing material, making sure all joints are secure. Finally, use screws or nails to attach the frame to the underlying joists and struts. Once that’s done, check to make sure everything is level and secure before applying caulk or sealant to waterproof the frame.
What Are Some Other Ways To Enhance My Picture Framed Deck?
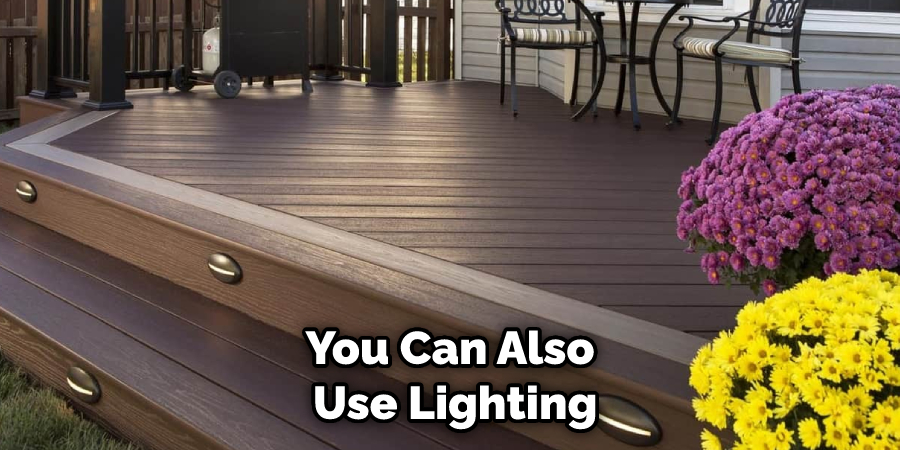
There are many ways to enhance your picture-framed deck. Consider adding in benches, planters, or other decorative elements to make the space even more inviting. You can also use lighting fixtures such as post caps, pendant lights, and chandeliers to create a unique look. And if you want an extra pop of color, consider painting or staining the frame for an extra decorative touch.
No matter what you decide to do, the possibilities are endless when it comes to enhancing your picture-framed deck. With a little creativity and some DIY know-how, you can create a beautiful outdoor living space that will last for years to come.
Conclusion
Now that you know how to picture frame a deck, you can get started on your project. Remember to take into account the size and shape of your deck when planning the framing. If you need help, plenty of online resources and books are available. With a little time and effort, you’ll be enjoying your new outdoor space in no time.
By following these easy steps, you can quickly picture frame your deck and give it a polished look. Be sure to take measurements first and allow for extra lumber, just in case. With a little bit of time and effort, you’ll have a beautiful frame around your deck that will make it the envy of the neighborhood.
You Can Check It Out to Remove Paint From Wood Deck With Pressure Washer

