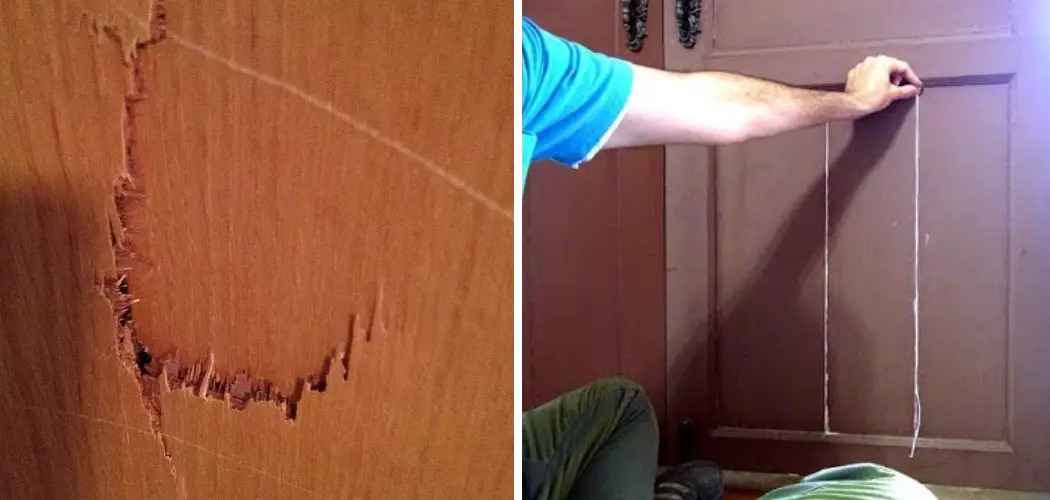
Do you want to learn how you can easily spruce up a tired wooden door with minimal effort? Are you tired of the unsightly holes and cracks that have developed in your wooden door over time? Whether it is due to weathering, general wear and tear, or an accident, these blemishes can be unattractive and detract from the overall beauty of the door.
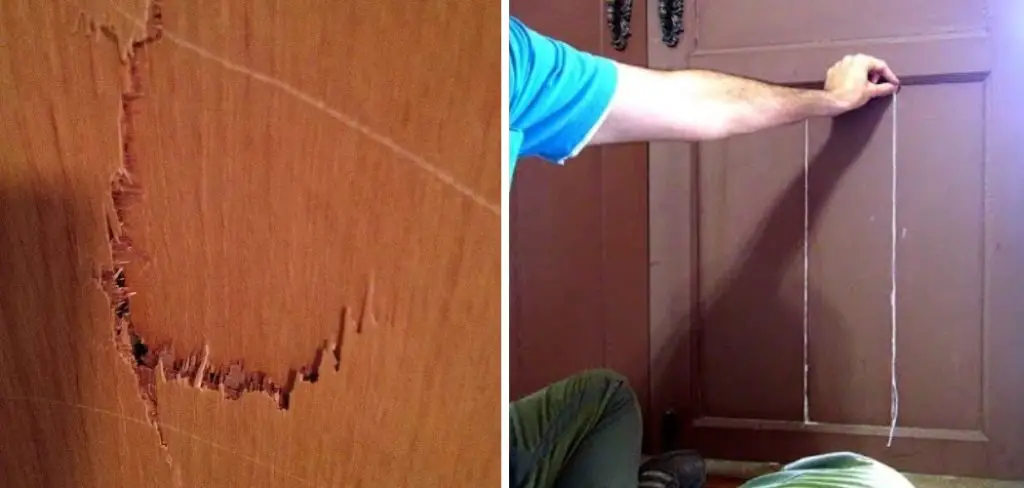
Fortunately, patching a wooden door is easier than you might think! In this blog post on how to patch a wooden door we’ll cover everything you need to know about how to repair and patch a wooden door so that it looks as good as new. Continue reading if you’re ready to tackle this project and add a little extra spice to any room in your house!
Why Do You Need to Patch a Wooden Door?
1. Structural Integrity
Patching a wooden door is necessary to maintain the structural integrity of the door and prevent further damage. Wood doors are susceptible to splitting, cracking, or warping due to exposure to weather conditions such as rain or snow. Patching wood doors will help keep out moisture that could rot the wood while also preventing air leaks that can drive up energy costs.
2.Aesthetics
Patching a wooden door is also necessary to keep the appearance of your door looking great! Wood doors can develop unsightly bumps, gaps, or discoloration due to wear and tear over time – patching these areas will help restore the look of your door and make it look like new.
Things to Remember Before Patching a Wooden Door
1.Safety
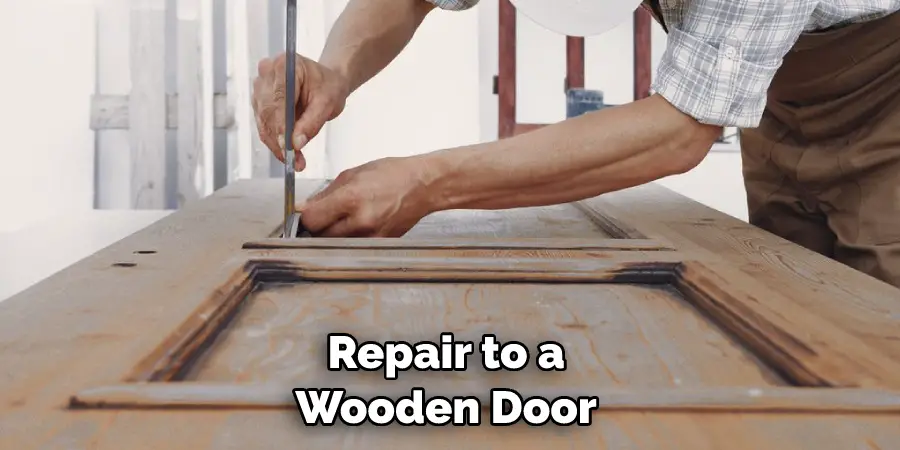
Before attempting any repair to a wooden door, make sure to take all necessary safety precautions. Wear protective gear such as gloves and eye protection when handling sharp tools or saws, and make sure to check for electrical wiring in the area before beginning your patching job.
2. Material Selection
Select material that is appropriate for the job. Most repair jobs will require wood filler, but be sure to select a type that is suitable for outdoor use if you are patching an exterior door – some types may not be able to withstand exposure to rain or snow. Additionally, choose a color of wood filler that closely matches your existing door and make sure the sealant used is compatible with the type of wood your door is made from.
3. Tools
Gather all necessary tools and materials before beginning a patching job. In addition to wood filler, you may need a tape measure, screwdriver, sandpaper, saw (if needed), sealant, and paintbrush.
Now that you have all the necessary tools and materials, you are ready to start patching your wooden door!
Needed Items
- Wood filler
- Tape measure
- Screwdriver
- Sandpaper
- Saw (if needed)
- Sealant
- Paintbrush
10 Ways How to Patch a Wooden Door
1. Measurement
Measure the area to be repaired. Take accurate measurements of the area that needs patching and mark it off with a pencil or marker. The right measurement will ensure that your patch matches the existing door.
2. Prepare the Area
Clean away any dirt or debris from the area to be patched, then use sandpaper to smooth out any rough edges around the hole. This will make it easier for you to apply the wood filler later on. Preparing the area will also help ensure a strong bond between the filler and the door surface.

3. Apply Wood Filler
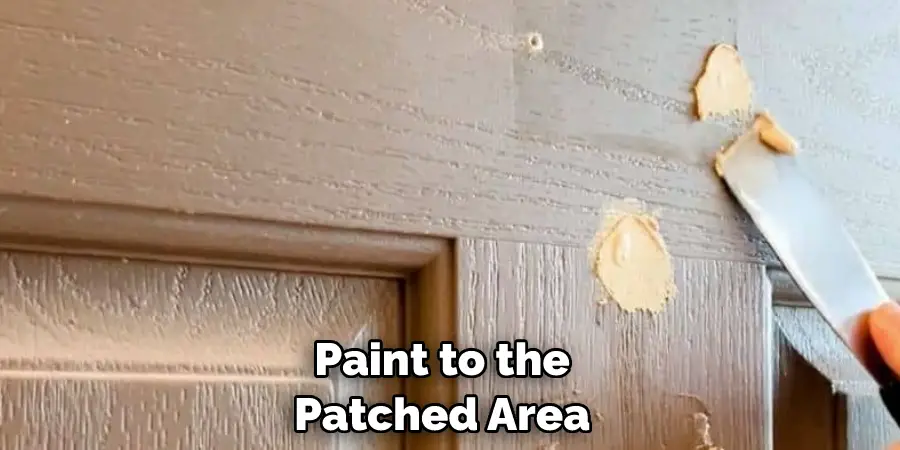
Using a putty knife or other suitable tool, apply the wood filler to the hole or damaged area on your door. It is important to fill in any gaps completely, as this will help create a stronger connection between the patch and the door surface.
4. Let the Filler Dry
Allow the wood filler to dry for at least 24 hours before sanding or painting over it. This will ensure that the filler has had enough time to set properly, creating a strong bond between the two surfaces.
5. Sand the Filler Smooth
Once the wood filler has completely dried, use fine-grit sandpaper to sand away any excess material and create a smooth surface. Be sure to sand with the grain of the wood and not against it.
6. Apply Primer
For best results, apply primer to the patched area before painting over it. This will seal in the wood filler, making it more durable and helping to prevent damage from weather conditions. The primer should be compatible with the type of paint you will be using.
7. Paint Over the Area
Using a brush or roller, apply paint to the patched area and surrounding surface. Painting over a repair job will not only help protect it from future damage, but also make it blend in more seamlessly with the existing door.
8. Apply Sealant
To further protect the patched area from weather conditions, apply a coat of sealant to the surface. This will help prevent moisture from penetrating into the wood and causing damage. Make sure to use a sealant that is suitable for outdoor use if you are patching an exterior door.
9. Let the Sealant Dry
Allow the sealant to dry completely before using the door again. This will ensure that it has had enough time to set properly and form a strong bond with the surface. The sealant will also need to be reapplied regularly in order to keep the repair job protected from weather conditions.
10. Enjoy Your Repaired Door
That’s it! You have now successfully patched your wooden door and can enjoy its new look for years to come. With proper maintenance and care, this repair job should last for a long time.
And there you have it – 10 easy steps for patching a wooden door. From gathering the necessary tools and materials to painting over the patched area, now you know how to do it yourself when it comes to this type of repair job.
8 Maintenance Tips
- Check Smoke Alarms and Carbon Monoxide (CO) Detectors. Every home should have at least one smoke alarm and CO detector on each floor, as well as in any sleeping areas. Test them monthly and replace the batteries twice a year or when they start to chirp. Make sure to check the expiration date and replace any alarm that is more than ten years old.
- Clean Gutters and Drains. Make sure to clear out the gutters and drains of your home at least twice a year (in the spring and fall). This will help prevent water damage or clogged drains due to debris build-up. It’s also a good idea to check for any cracks or holes in the gutter and repair them quickly.
- Inspect Windows & Doors. Regularly inspect your windows and doors to make sure they are properly sealed, as this can help reduce energy costs due to air leaks. You should also make sure that the window and door locks are functioning properly.
- Inspect the Roof for Damage. Have your roof inspected at least once a year, preferably in the spring or fall after any strong storms have passed through the area. This will help ensure that repair work can be done promptly if any damage is found.
- Clean & Service HVAC System. Make sure to have your heating and cooling system serviced annually and cleaned to make sure it’s running efficiently. This will help decrease energy costs as well as reduce the risk of any dangerous carbon monoxide emissions from the unit.
- Test Water Pressure & Plumbing Fixtures. Make sure to test your water pressure regularly by using a water pressure gauge. If you find that the pressure is low, it may indicate a problem with your plumbing system and should be addressed immediately. Additionally, check all of your faucets, sinks, toilets, and showers to make sure they are functioning correctly.
- Check for Pests & Rodents. Regularly inspect your home for the presence of any pests or rodents. Make sure to check the basement, attic, and other areas where pests may be hiding or breeding. If you find any signs of infestation, contact a pest control company for help.
- Test Ground Fault Circuit Interrupters (GFCI). GFCIs protect against electrical shock by detecting ground faults and cutting off power when they occur. Make sure to test your GFCIs at least once a month and replace any outlets that are not functioning properly.
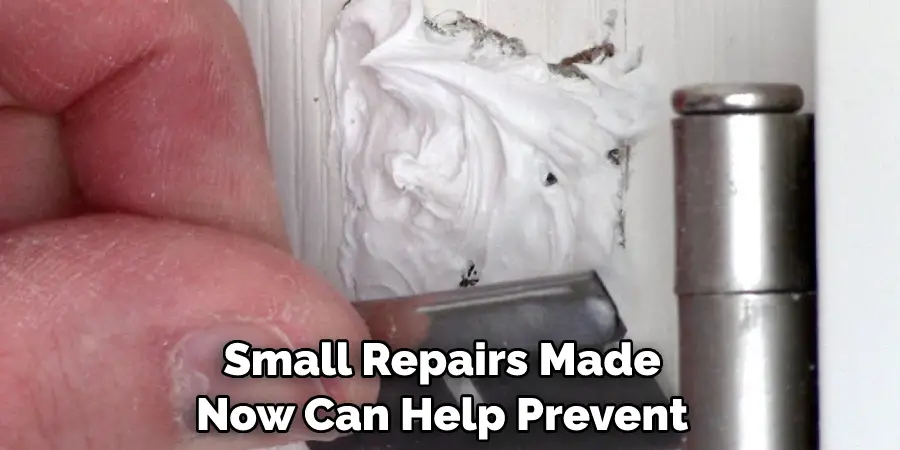
These are just a few of the maintenance tasks you should do on a regular basis in order to keep your home safe and running smoothly. Remember, even small repairs made now can help prevent
Conclusion
Repairing a wooden door is an easy task that all homeowners should be familiar with. Patching wood doors, if done correctly, will restore the structural integrity of your door, protect it from weather conditions, and add years of life to your existing door. The job does not require any special tools or skills, just basic tools such as a tape measure and screwdriver.
Follow the steps on how to patch a wooden door presented in this article, and you’ll be able to repair your own wooden door quickly and easily! Additionally, by patching your wooden door on a regular basis, you can reduce energy costs associated with air gaps caused by unpatched holes in the door surface.
Try to inspect your wooden doors at least every six months for any areas that may need patchwork – this attention to detail will make sure that your home stays comfortable and inviting for years to come!

