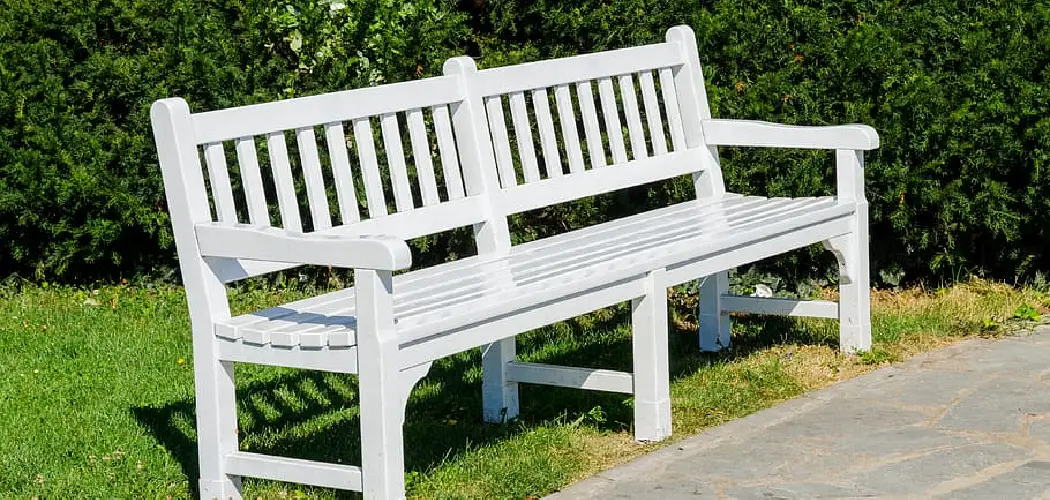
Are you tired of the same old wood furniture in your home? Maybe it’s time to bring a beachy, shabby chic style into your space. Painting your old wooden dresser, sideboard, or console white is an easy way to give new life to any piece and make it look polished.
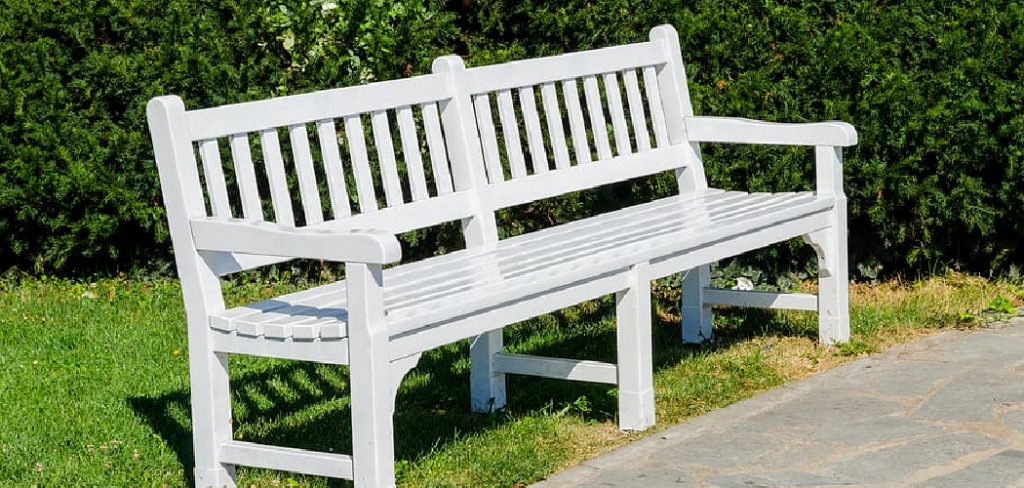
And the best part is that you don’t have to sand! With this simple step-by-step tutorial on how to paint wood furniture white without sanding, you’ll be able to give any piece a fresh coat of paint quickly and effortlessly. So what are you waiting for? Let’s get started!
Needed Materials
Given below are the items you will need for painting your wood furniture white without sanding:
- Paintbrush
- Primer
- White Paint
- Sandpaper (Optional)
- Dust Clothes and Rags
- Polyurethane Sealer
11 Step-by-step Instructions on How to Paint Wood Furniture White Without Sanding
Step 1: Clean the Surface
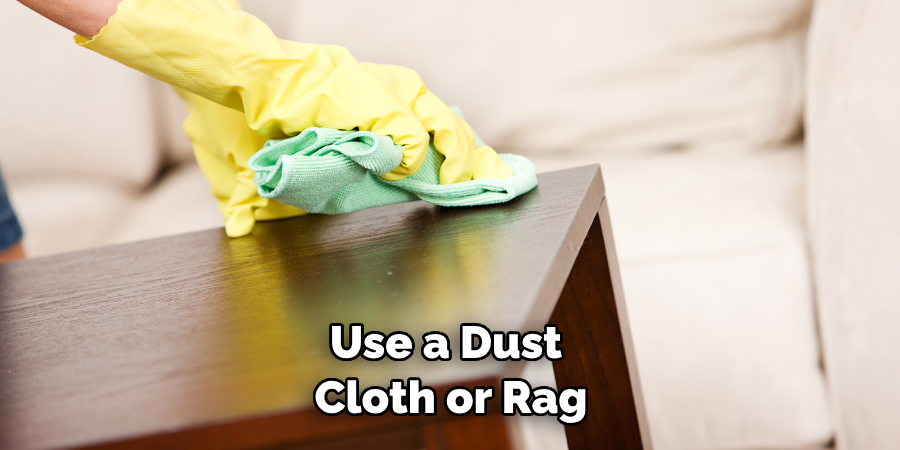
Before you begin painting, it’s important to make sure the surface is clean. Use a dust cloth or rag to wipe away any dirt and debris from the wood. This will help ensure that the paint adheres to the wood and looks its best when it’s done.
If you’re working with an unvarnished piece, you may want to give it a light sanding as well. But if the piece has already been painted or varnished, you can skip this step. It’s important to note that this step is only necessary if the wood has not been treated with a sealer.
Step 2: Apply Primer
Once you’ve cleaned the surface, it’s time to apply a primer. This will help ensure that your paint adheres properly and won’t chip or flake off. You can use either a brush or roller for this step. This is the most important step in this whole process, so make sure to take your time and apply the primer evenly.
It’s best to use a water-based primer, as this will dry faster and won’t leave behind any residue. Although you may be tempted to skip this step, it’s essential if you want the paint to look its best.
Step 3: Allow Primer to Dry
Allow the primer to dry completely before beginning the painting process. This could take anywhere from 30 minutes up to several hours depending on the type of primer you are using. You can use a fan or hairdryer to speed up the drying process if needed.
However, it’s important to make sure that the piece is completely dry before continuing. It’s also a good idea to give the piece a light sanding with fine-grit sandpaper once it is dry. This will help create a smoother surface and get rid of any bumps or imperfections.
Step 4: Apply Paint
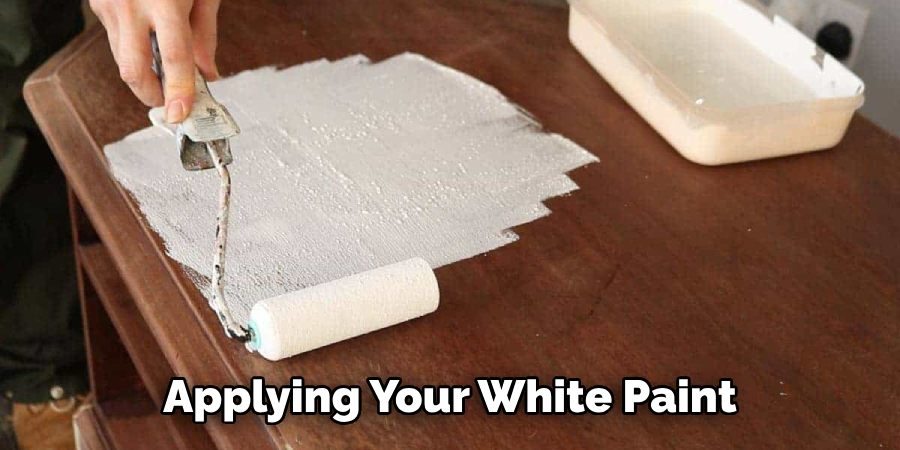
Once the primer is dry, you can begin applying your white paint. Again, you can use either a brush or roller for this step. When applying the paint, be sure to use even strokes and go with the grain of the wood.
It’s important to note that you should apply two coats of paint for the best results. This will help ensure that your piece is completely covered and the white color looks even and consistent. This can also help protect the wood from damage in the future.
Step 5 (Optional): Sand Between Coats
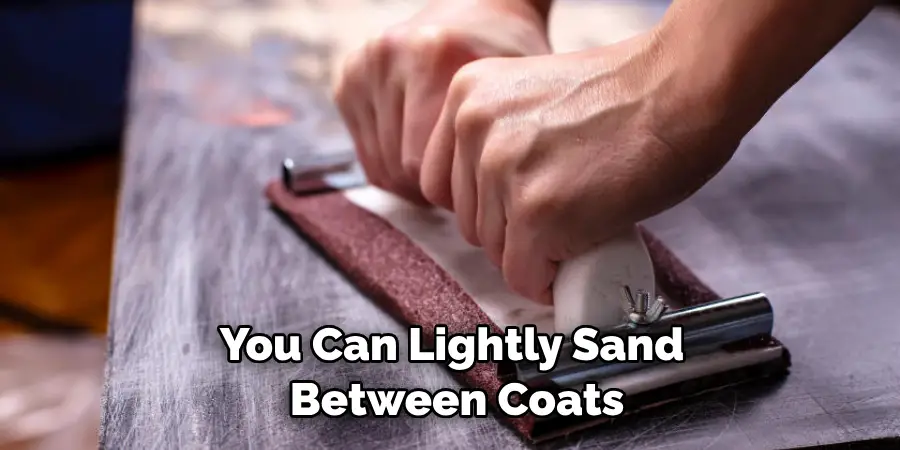
If you want to achieve a perfectly smooth finish, you can lightly sand between coats of paint using fine-grit sandpaper. This will help remove any bumps on the surface and create a smooth finish.
It’s important to note that this step is optional and not necessary if you want a more rustic, weathered look. This is a great way to add character and charm to your piece without having to do any sanding. It’s also a great way to create an aged, vintage look.
Step 6: Allow Paint to Dry
Allow your paint to dry completely before moving on to the next step. This could take several hours depending on the type of paint you are using. Before continuing, make sure the paint is completely dry.
Otherwise, it may not adhere properly and could start to flake off. It’s also a good idea to give the piece a light sanding with fine-grit sandpaper once it is dry. This will help create a smoother surface and get rid of any bumps or imperfections.
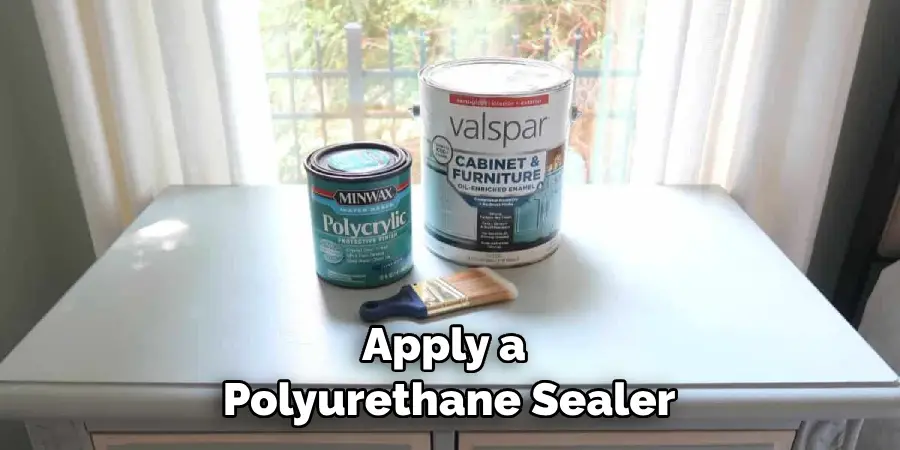
Step 7: Apply Polyurethane Sealer
Once your paint is dry, it’s time to apply a polyurethane sealer. This will help protect your painted wood furniture from wear and tear and ensure that it lasts for years to come. This is important to note that you should apply two coats of sealer for the best results.
This will help ensure that your piece is completely covered and the finish looks even and consistent. But make sure to allow the first coat of sealer to dry completely before applying the second one.
Step 8: Allow Sealer to Dry
Allow the sealer to dry completely before handling. This could take up to 24 hours depending on the type of sealer you are using. Whenever possible, try to keep the piece out of direct sunlight while it’s drying.
This will help prevent any UV damage and ensure that your sealer is completely dry when you’re ready to move on. If you’re in a rush, you can use a fan or hairdryer to speed up the drying process. It’s important to note that this step is only necessary if the wood has not been treated with a sealer.
Step 9 (Optional): Sand Surface
If desired, you can lightly sand down your furniture with fine-grit sandpaper for a perfectly smooth finish. Just be sure that all the paint and sealer is dry before doing this step. Sanding between coats will help create a smoother surface and get rid of bumps or imperfections. It’s important to note that this step is optional and not necessary if you want a more rustic, weathered look.
Step 10: Clean Surface
Once everything is dry, use a dust cloth or rag to wipe away any dirt and debris from the surface again. This will help ensure your furniture looks its best once it’s complete! Cleaning the surface before you begin painting will also help ensure that your paint adheres properly and won’t chip or flake off.
It’s also a good idea to give the piece a light sanding with fine-grit sandpaper once it is dry. However, if the piece has already been painted or varnished, you can skip this step.
Step 11: Enjoy Your Handiwork!
You’re finished! Now it’s time to take a step back and enjoy your handiwork. Your furniture should look fresh, bright, and chic. Enjoy! Always remember to take your time and follow the steps outlined above for best results.
If you’re feeling extra ambitious, you can always add a few extra coats of paint or a unique finish to your furniture. The possibilities are endless! With the right supplies and a little bit of patience, you can easily transform any piece of wood furniture into a beautiful work of art. Without sanding, of course.
With this simple tutorial on how to paint wood furniture white without sanding, you can easily transform any piece of wooden furniture in your home. By following these steps carefully, you can give your tired old dresser or sideboard a new lease of life with minimal effort. So grab that paintbrush and get started today! Good luck!
Frequently Asked Questions
Q: Do I Need to Sand the Wood Before Painting?
A: Not necessarily! This tutorial explains how to paint without sanding, but if you want to achieve a perfectly smooth finish you can lightly sand between coats. It’s important to note that sanding is only necessary if the wood has not been treated with a sealer.
Q: What Kind of Paint Should I Use?
A: Any kind of paint that is suitable for wood furniture should work fine. Just make sure it is specifically designed for the surface you are painting! Otherwise, it may not adhere properly.
Q: How Long Does It Take for the Paint and Sealer to Dry?
A: This will depend on the type of paint and sealer you are using, but generally speaking it should take around 24 hours for everything to be completely dry. It’s important to note that you should allow the first coat of sealer to dry completely before applying the second one.
Q: Can I Use a Spray Paint?
A: Yes, you can use spray paint for this project. Just make sure to follow the instructions on the can carefully and always wear protective gear such as gloves and eye protection when spraying. It’s also a good idea to do this in a well-ventilated area.
That’s it! Now that you know how to paint wood furniture white without sanding, you can easily give any piece of wooden furniture in your home a fresh new look in no time. So grab those supplies and get started today! Good luck!
Conclusion
With this comprehensive guide, you can now confidently paint wood furniture white without sanding. Keep in mind that some extra preparation is needed to achieve the desired end result, but that the effort is well worth it! You can now have a freshly-painted white wooden furniture piece that will look beautiful and hold up for many years.
So, why not try it today? And if you want to take your home project even further, check out our next article on how to install a subfloor on concrete. With this guide, you can take your DIY project skills to the next level! So don’t be afraid and start making something great today! Thanks for reading this article on how to paint wood furniture white without sanding.

