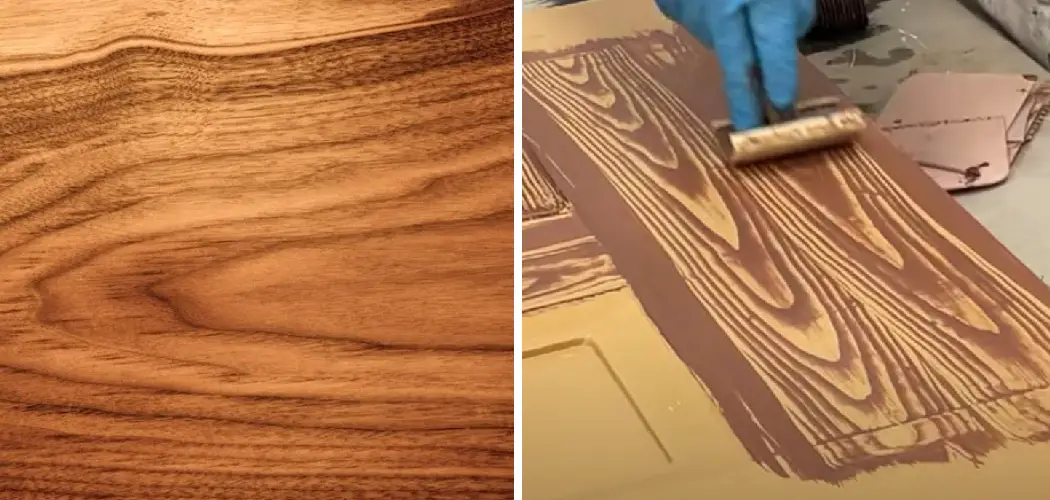
Are you looking to give your old furniture a new life, but don’t want to invest in expensive woodworking tools and supplies? Look no further – painting your furniture is an easy way to create the same beautiful wood grain look without breaking the bank!
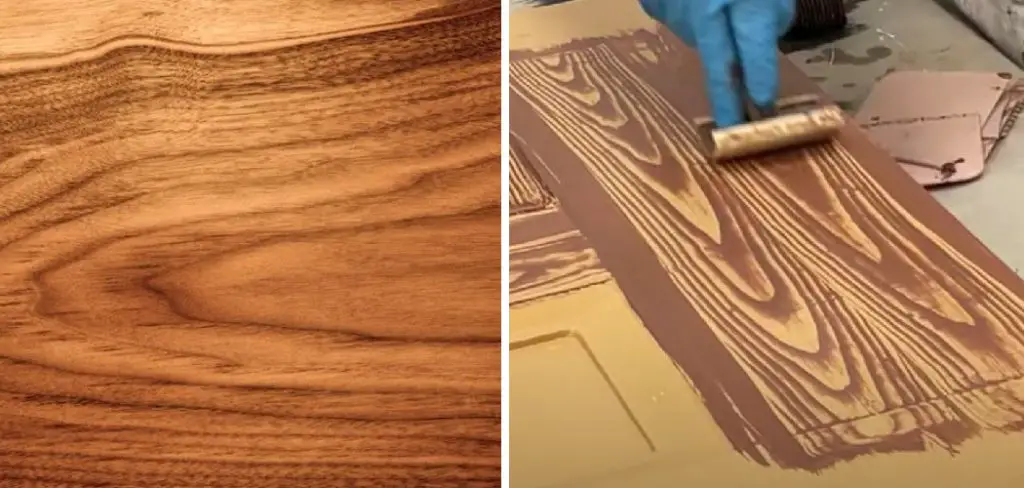
In this blog post, we’ll go over the basics of how to paint a wood grain look on any surface. From picking out the right paints and primers to creating just the right stippling technique, we have all the tips and tricks you need to transform your tired tabletop into something entirely extraordinary. Ready to get started? Let’s dive in!
Tools and Materials You Will Need to Paint a Wood Grain Look
Before you begin, make sure you have all the necessary materials on hand. Here’s what you’ll need:
- Sandpaper (medium and fine grit)
- Painter’s tape
- Primer
- Acrylic paint (in your desired wood color)
- Topcoat sealant
- Paintbrushes (small to medium sizes)
- Sea sponge (for stippling technique)
- Old rag or cloth
Step-by-step Guidelines on How to Paint a Wood Grain Look
Step 1: Prep Your Surface
The key to a successful paint job is proper surface preparation. Start by sanding down your furniture piece with medium-grit sandpaper, focusing on any rough or uneven spots. Once you’ve created a smooth surface, wipe away any dust with a damp cloth and let it dry completely. Preparing your surface will ensure that the paint adheres smoothly and evenly.
Step 2: Tape Off Edges and Details
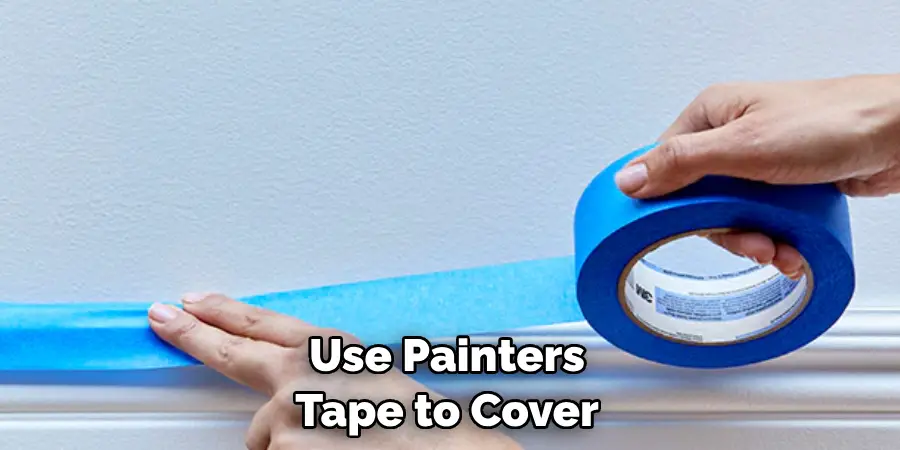
To protect any edges or intricate details on your furniture, use painter’s tape to cover these areas. This will ensure that you have clean, crisp lines when you’re finished painting. You can also use painter’s tape to create a wood grain pattern if you’re feeling extra creative – simply lay down strips of tape in a criss-cross pattern for a more natural look.
Step 3: Apply Primer
Using a brush, apply a layer of primer on your sanded and taped furniture piece. This will help the paint adhere better and give you a smoother finish. Let the primer dry completely before moving on to the next step. While you wait, now is the perfect time to prepare your paints. This is also a good time to decide on the direction and style of wood grain you want to achieve.
Step 4: Choose Your Paint Colors
One of the great things about painting a wood grain look is that you can use any color you want! From light oak to dark walnut, there are endless possibilities. Just make sure to choose an acrylic paint that closely resembles your desired wood color. For a more realistic look, you can mix in a darker and lighter shade of the same color to create depth.
Step 5: Paint Your Base Coat
Using a paintbrush, apply your base coat evenly on your furniture piece. This will act as the foundation for your wood grain pattern. Make sure to cover all surfaces, even those that will eventually have a different wood grain pattern (such as drawers or doors). Let the base coat dry completely before moving on to the next step.
Step 6: Stipple on Wood Grain
Once the base coat is dry, it’s time to create the wood grain! Dip a sea sponge into your darker paint and lightly dab it on your furniture surface. This stippling technique will create the look of wood grain by creating small dots in random patterns. You can also use different sizes of sponges or even crumpled-up paper towels for a more varied effect. Continue stippling until you have achieved your desired wood grain look.
Step 7: Add Detail and Texture
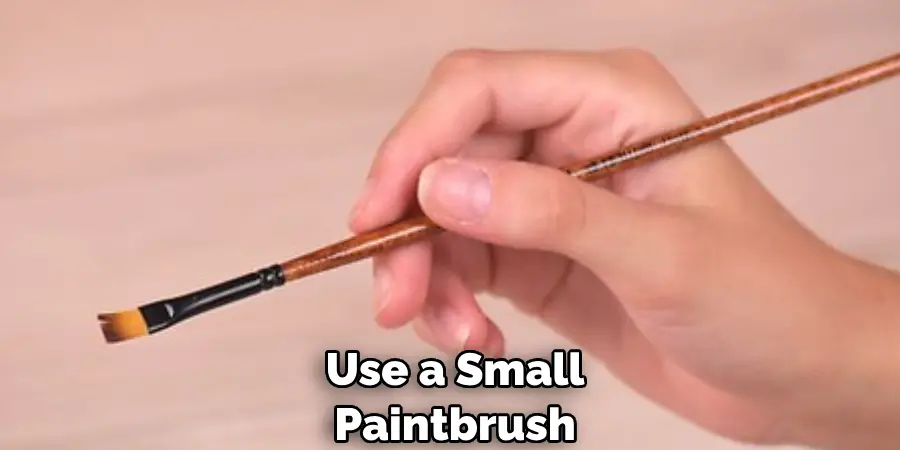
To add more depth and texture to your wood grain, use a small paintbrush to create lines and knots in the pattern. You can also lightly drag a dry brush over the surface to create a more realistic wood grain appearance. Don’t be afraid to play around and experiment with different techniques to achieve a unique look.
Step 8: Seal Your Wood Grain Look
Once you’re happy with your wood grain pattern, let it dry completely before sealing it with a topcoat sealant. This will protect your paint job and give it a glossy finish. Apply the sealant evenly using a paintbrush and let it dry according to the instructions on the product. Make sure to apply multiple coats for added protection.
Step 9: Remove Tape and Admire Your Creation
Once the sealant is dry, carefully remove any painter’s tape. You should now have a beautifully painted wood grain look on your furniture! Take a step back and admire your handiwork – you’ve just transformed an old piece into something unique and stunning. While removing the tape, make sure to pull it at a 45-degree angle for the cleanest lines.
Now that you know the basics of how to paint a wood grain look, you can use these techniques to revamp all sorts of furniture pieces. From dressers and tables to picture frames and wall art, the possibilities are endless. Get creative and have fun with your new DIY skill – happy painting!
Additional Tips and Tricks to Paint a Wood Grain Look
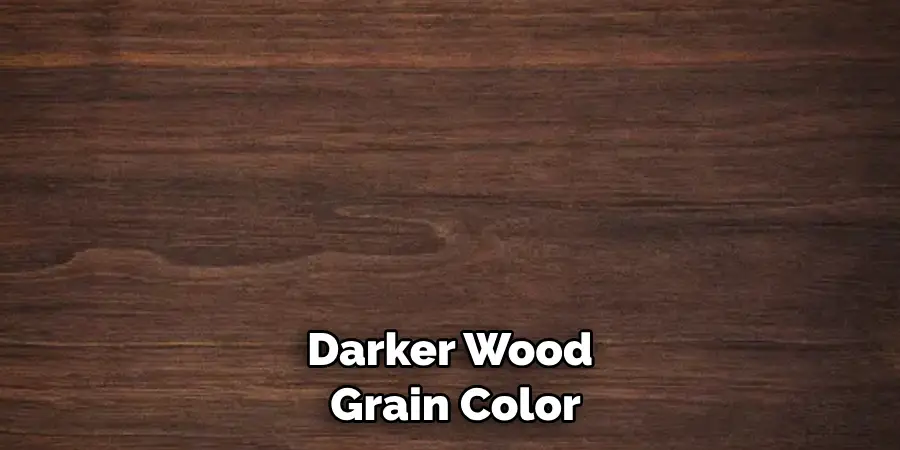
- Before you begin painting, make sure the wood surface is free of any dirt, dust, or grease. Sand down any rough patches or imperfections to ensure a smooth base for your paint.
- When choosing your wood grain colors, opt for shades that are slightly darker than the base color of your wood. This will help create a more realistic and natural-looking wood grain.
- Use a high-quality paintbrush or foam brush to apply the base color onto your wood surface. Allow it to fully dry before moving on to the next step.
- To create a wood grain effect, use a dry brush technique. Dip your paintbrush lightly into the darker wood grain color and remove any excess paint by dabbing it on a paper towel. Then, gently drag the brush across the surface of the wood in long, vertical strokes. This will create thin lines that mimic the look of real wood grain.
- To add more depth to your wood grain, you can also use a feather or sponge to lightly dab on the darker color in certain areas. This will create a more textured and natural-looking effect.
- Don’t be afraid to experiment with different shades of colors and techniques to achieve the perfect wood grain look. Practice on scrap pieces of wood before applying it to your final project.
- To add even more realism to your wood grain, you can also use a wood graining tool. These tools have different patterns and textures that can be rolled or dragged onto the surface of the wood.
- If you make any mistakes along the way, don’t worry! You can easily fix them by lightly sanding down the area and reapplying paint using the same techniques.
- After you have achieved your desired wood grain look, seal the surface with a protective finish to ensure longevity and durability.
- Finally, remember to have patience and take your time when painting a wood grain look. With practice and these tips, you will be able to create a realistic and beautiful wood grain finish on any wooden surface.
Following these tips and tricks will help you achieve a professional-looking wood grain finish that will impress everyone who sees it. So, grab your paintbrush and get ready to transform any wooden surface into a work of art! Happy painting!
Frequently Asked Questions
What is the Best Way to Prepare Wood for Painting a Wood Grain Look?
Some recommended steps to prepare wood for painting a wood grain look include sanding the surface, applying a coat of primer, and using high-quality paint suitable for the application.
Can I Use Any Type of Brush for Painting a Wood Grain Look?
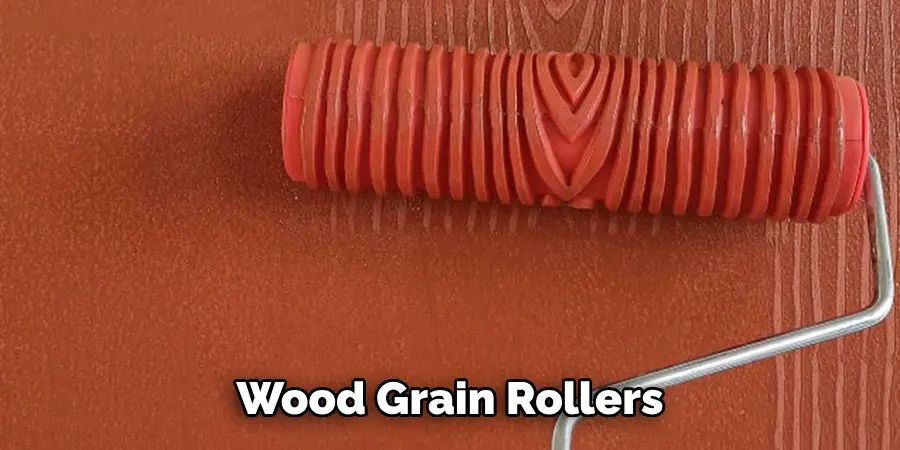
While you can technically use any type of brush for painting a wood grain look, it is recommended to use specialized brushes such as graining combs or wood grain rollers. These will help create a more realistic and natural-looking wood grain texture.
Do I Need to Seal the Painted Wood Grain Look?
It is generally recommended to seal painted wood with a clear sealer to protect the finish and make it more durable. This is especially important for high-traffic areas or if the wood will be exposed to moisture.
What Types of Wood are Best for Painting a Wood Grain Look?
Softwoods such as pine, cedar, and fir are commonly used for painting a wood grain look because they have visible and defined grains. However, hardwoods can also be used with proper preparation and techniques.
Can I Achieve a Realistic Wood Grain Look with Paint?
Yes, it is possible to achieve a realistic wood grain look with paint if the proper techniques and tools are used. This includes choosing the right colors, using graining tools, and practicing on test pieces before applying them to the final project.
Conclusion
Now you know how to paint a wood grain look on various types of wood. Remember to properly prepare the surface, use specialized tools, and seal the finish for long-lasting results. With practice and patience, you can create beautiful and realistic wood grain textures using paint.
Happy painting! So why wait? Grab your supplies and start creating unique and eye-catching wood grain looks today! Keep experimenting with different techniques and colors to find your perfect wood grain finish. With the right tools and knowledge, you can transform any piece of wood into a stunning work of art. Happy painting!

