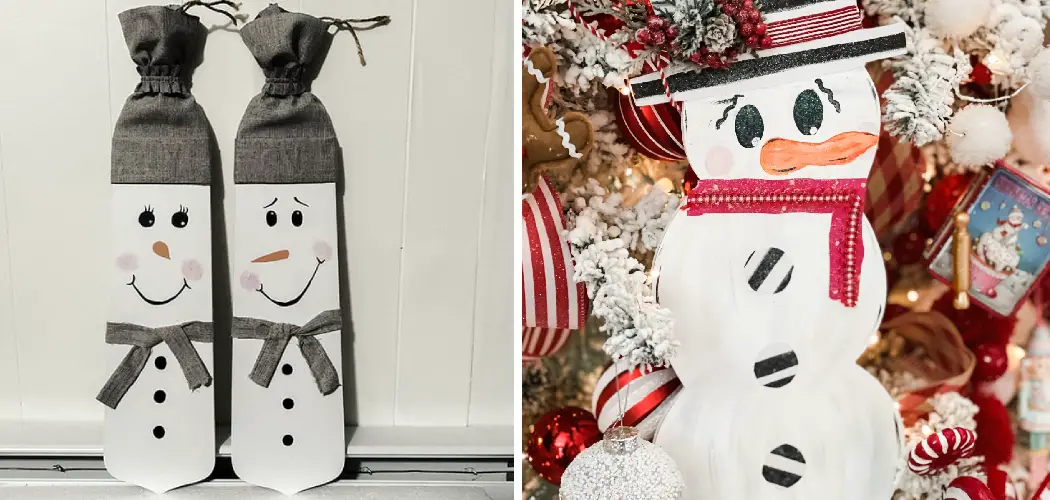
Are you looking for a fun and festive way to decorate your home this winter? Look no further than painting a snowman on wood! This simple project will turn an ordinary piece of wood into something that will bring everyone a smile. You can create colorful decorations with just a few supplies that draw attention and admiration throughout the holiday season.
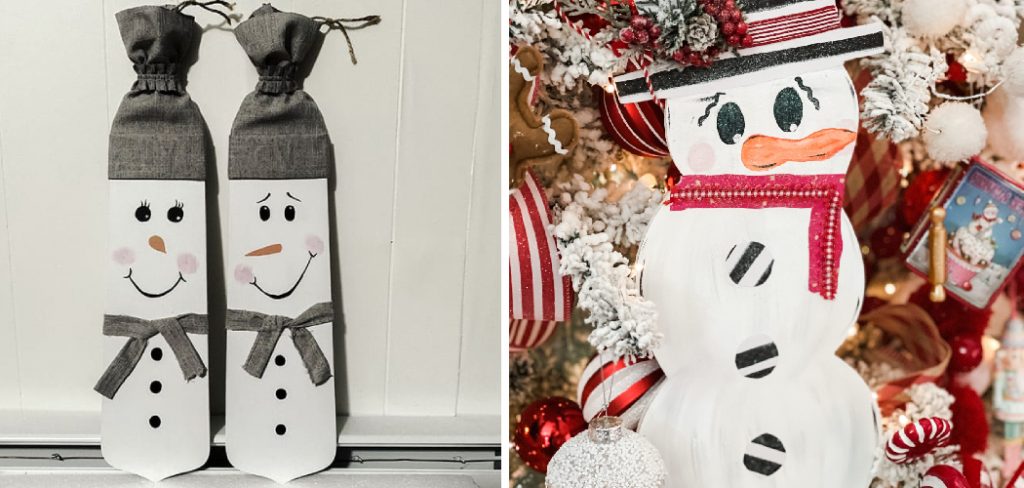
The process remains the same whether you paint your snowman on a plain wood plank, a wooden cutting board, or an old picture frame. Here’s how to paint a snowman on wood in just a few simple steps.
Read on for step-by-step instructions on how to paint your charming snowman scene.
What Will You Need?
Before you begin your project, make sure to gather the following supplies:
- The wood of your choice
- Sandpaper
- Primer paint
- Acrylic paints (white, black, and colors of your choice)
- Paint brushes
- Varnish or clear sealant
Once you have all your supplies ready, it’s time to begin painting!
10 Easy Steps on How to Paint a Snowman on Wood
Step 1: Prepare the Wood
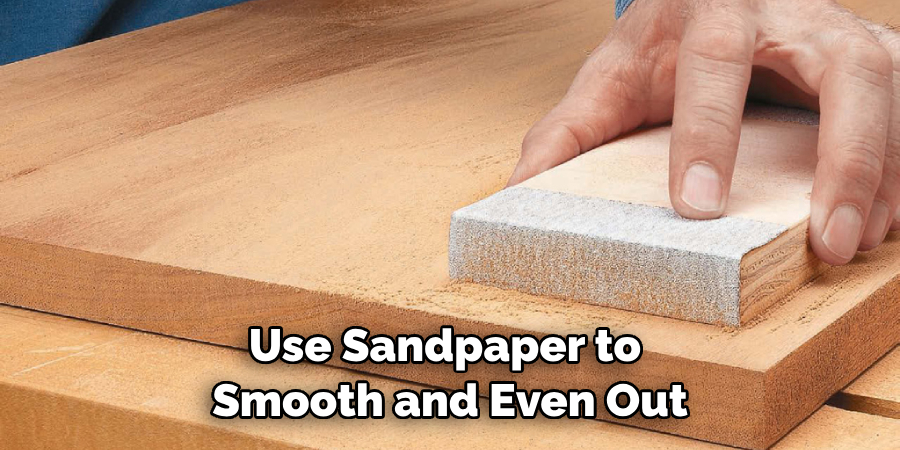
Begin by preparing the wood. Use sandpaper to smooth and even out any rough surfaces on your piece of wood. Then, use primer paint to cover the entire surface. This will help give your paints a smoother finish when you apply them later.
Step 2: Draw a Snowman
Once the primer coat of paint is dry, use a pencil to draw your snowman. You can design it, however you want – with two eyes, a carrot nose, and many buttons. Add some wintery elements such as trees, stars, and snowflakes for added detail.
Step 3: Paint the Outline
Once you are happy with your design, use a thin paintbrush and white paint to outline your scene’s snowman and other elements. As you outline, remember that your lines will be filled with color later. It is important to be precise in your outlining so that the colors blend well when you fill them in.
Step 4: Add Color
Using different shades of acrylic paint, add color to your snowman scene. Feel free to get creative with your colors and experiment with different tones. If you make a mistake, don’t worry – white paint is easy to cover up!
Step 5: Paint the Details
Once all the colors are dry, use a thin brush and white paint to add additional details to your snowman. You can draw on eyes, a mouth, or even give him some rosy cheeks. If you’re feeling extra creative, try adding in a hat or scarf for your snowman.
Step 6: Varnish or Seal Your Piece
Once you are happy with the look of your painted wood, protect it from wear and tear by applying a sealant or varnish to the surface. This will ensure that your snowman painting lasts for years to come! Remember to wait for the sealant to dry before hanging your piece.
Step 7: Hang It Up
Now, you are ready to hang your masterpiece! Use nails or a saw-tooth hook to hang your snowman scene on the wall securely. To finish the look, add some festive decorations around it that complement the colors in your painting.

Step 8: Try Again!
Don’t worry if you don’t quite get the look you want when painting your snowman, don’t worry. You can always try again by beginning with a new piece of wood and starting from the first step. With practice, you will be able to create beautiful winter scenes in no time at all!
Step 9: Show It Off
Once your snowman painting is finished and hung up, show it off! Take pictures and share them with your friends and family. You may even inspire others to create their own wintery decorations.
Step 10: Enjoy!
Above all else, remember to enjoy the process of creating something special for your home this holiday season. Painting a snowman on wood is a fun and creative way to bring some festive cheer into your home. Get creative and have a blast!
With these easy steps, you can quickly and easily paint a snowman on wood and create an amazing winter scene for your home. Feel free to experiment with different colors and designs to find the perfect look for your space. So grab your supplies and get ready to make some art!
5 Additional Tips and Tricks
- If you have the time, adding a couple of layers of paint to your snowman is helpful. The extra coats will give more texture and depth to the overall effect.
- Use smaller brushes for more precise lines when adding details like eyes, nose, or buttons.
- Give it a white or light-colored outline to make sure your snowman pops out of the wood.
- If you want to add a bit of sparkle to your snowman, consider using glitter paint for the eyes and buttons.
- Use dark brown paint to create a shadow under the snowman’s body and head to bring your snowman to life. This will help make the snowman look like it’s popping out of the wood.
Adding a scarf or hat can make your snowman even more unique! Experiment with different colors and designs to make your snowman stand out. With these tips, you can create the perfect snowman painting on wood in no time!
5 Things You Should Avoid
- Avoid using too much paint at once, as it can make your snowman look messy.
- Be careful not to make the lines for the eyes and nose too thick, or your snowman will look cartoon-like.
- Remember to seal the painting after you’re done to protect it from wear and tear over time.
- Don’t rush the process; take your time when painting, as mistakes can be harder to fix.
- Remember to clean your brushes after you’re done! The paint can dry on them if not taken care of properly, making them unusable for future projects.
With these tips and tricks in mind, you can create the perfect snowman painting on wood. Just remember to have fun and let your creativity flow!
5 Different Design Ideas
- A wintery scene with a snowman, trees, stars, and snowflakes.
- A colorful abstract painting of a snowman with multiple shades and patterns.
- A snowy landscape with your favorite cartoon characters playing in the snow.
- An icy blue painting featuring an elegant snowman surrounded by swirls of white paint illustrating the falling snow
- A bright and cheerful painting of a snowman wearing different outfits, like a Santa hat or a scarf.
With these ideas in mind, you can create a unique and original piece of art for your home every time! Experiment with colors, patterns, and details to make your painting stand out. Painting on wood is an amazing way to create a stunning and one-of-a-kind holiday decoration. Have fun and get creative!
How Do You Draw a Cool Snowman?
Drawing a cool snowman is easy! All you need to do is start with a basic shape, such as an oval, and then build the snowman from there. Add details like eyes, buttons, hats, or scarves to make it look more interesting.
You can also draw snowflakes or stars around your snowman for added effect. To make the snowman stand out, use a dark color to draw a shadow underneath the body and head. Finally, if you’re feeling creative, try experimenting with different colors and patterns for a truly unique look!
With these tips in mind, you can create your cool snowman drawing in no time! Have fun!
How Do You Color a Snowman?
Coloring a snowman is just as easy! Start by picking out the colors you want—typically, white, black, and brown are used for a traditional look. Then, begin coloring your snowman with the base color of white.
Once that’s done, use black, brown, and other colors to add details like eyes, buttons, or accessories. Don’t forget to draw a shadow underneath the snowman with dark colors, this will make it look like it’s popping out of the page.
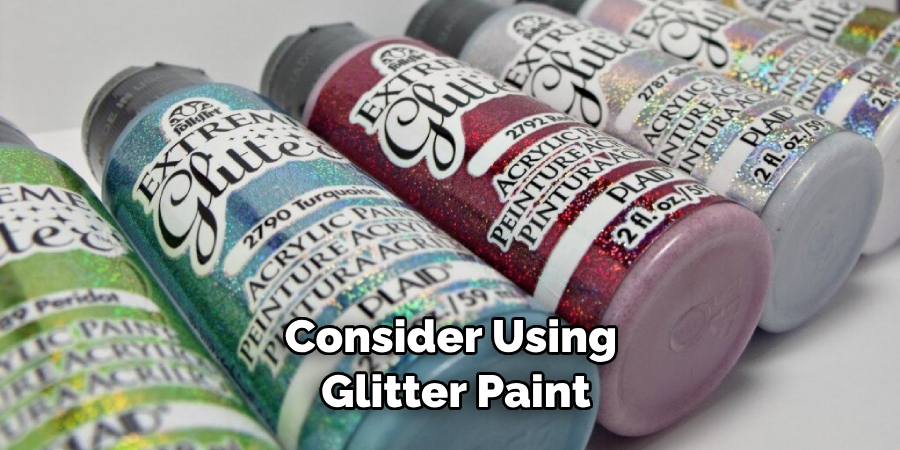
Additionally, if you want to add sparkle to your snowman, consider using glitter paint for the eyes and buttons. Experiment with different colors and patterns to create a truly unique look. With these tips in mind, you can color your snowman in no time!
Finally, experiment with different shades or patterns if you want to add more color and texture to your snowman. You can even use glitter paint for added sparkle!
Conclusion
Congratulations! You have now completed painting your unique snowman on wood. Whether you are giving it as a gift or planning to display it in your home, the final result will be sure to add cheer and color to any room or environment in which it is placed.
If you feel inspired, consider creating more painted wood pieces in winter as decorations or holiday gifts. Beyond this project, there are many other great ways to express your creativity through art and craft projects with wood.
Have fun experimenting with paints, stains, and other materials as you work on future projects – don’t be afraid of making mistakes, as they can lead to happy surprises! And lastly, allow yourself some well-deserved pride for executing this creative endeavor successfully.
The article on how to paint a snowman on wood was helpful and inspiring. Enjoy your snowman painting, and have a wonderful winter season!

