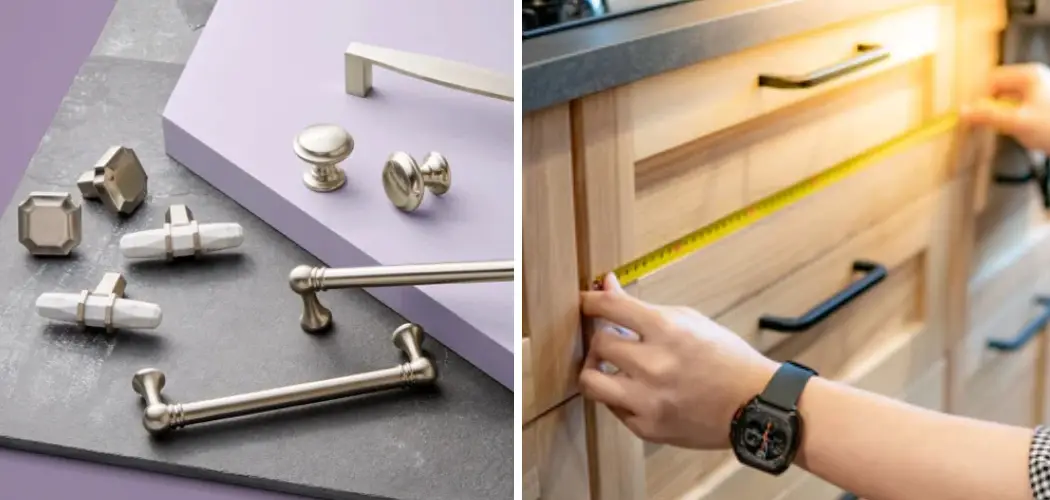
Are you a homeowner looking to update your kitchen’s hardware or replace outdated hinges and knobs? Before purchasing new cabinet pulls, knowing the exact size of each knob and pull that needs replacing is important. We understand it can be confusing to find exactly what size you need for your cabinets, so we are here to help!
Cabinet pull size is typically measured in two ways: center-to-center and overall length. Read on for our step-by-step guide on how to measure cabinet pull size.
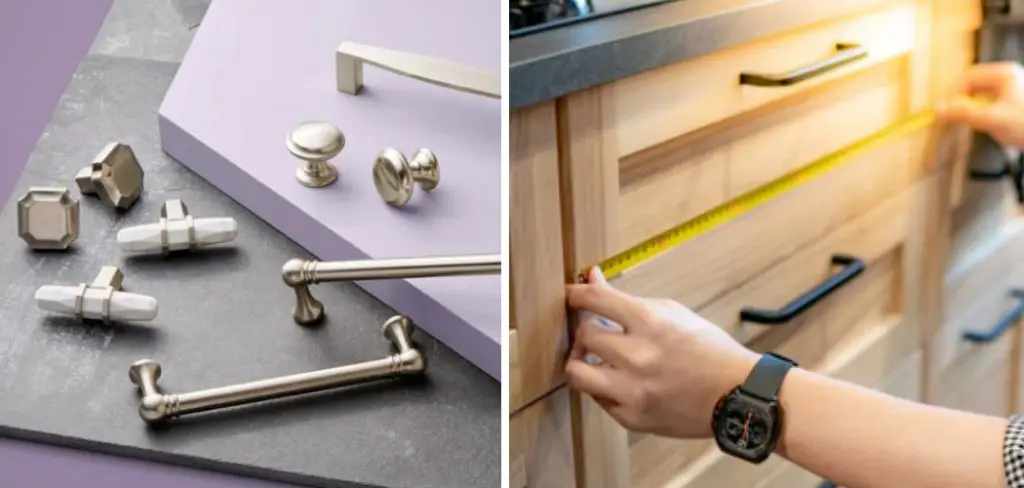
In this blog post, we’ll guide you through how to measure cabinet pulls – from properly measuring center-to-center distances for each hole in your drawer fronts and doors to determining the width of the pull itself. Let’s get started!
What Will You Need?
To measure cabinet pull size, you will need a few simple tools:
- Tape Measure
- Pencil or Marker
- Ruler or Straight Edge
- Paper and Pen (for note-taking)
With these tools in hand, you’ll be ready to determine the size of your cabinet pulls accurately.
10 Easy Steps on How to Measure Cabinet Pull Size
Step 1. Identify the Starting Point:
Begin by identifying the existing holes in your cabinet door or drawer front. These holes are where the screws will go through to secure the pull. If you’re replacing an existing pull, remove it first. This will make it easier to measure and ensure you get an accurate size.
Step 2. Measure the Center-to-Center Distance:
Using your tape measure, calculate the distance from the center of one screw hole to the center of the other. This measurement is known as the center-to-center distance, the most crucial dimension when choosing a new cabinet pull.
Be sure to make your measurements as precise as possible, measuring to the nearest 1/16″ of an inch if possible. Record this measurement to guide your selection of new cabinet pulls.
Step 3. Measure the Overall Length of the Pull:
After determining the center-to-center distance, you’ll want to measure the overall length of the pull. This measurement is from one end of the pull to the other, including any decorative ends.
Use your tape measure for this task and record this measurement as well. This will help you understand how much space the pull will occupy on your cabinet door or drawer front.
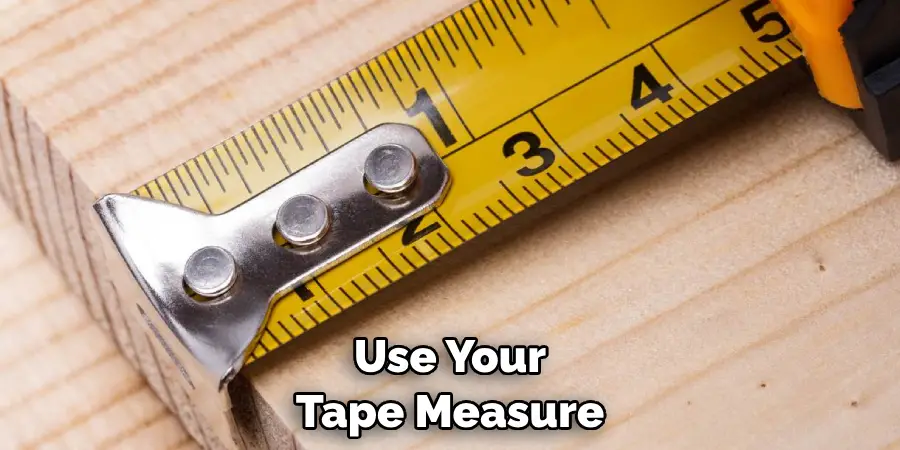
Step 4. Measure the Width of the Pull:
Next, measure the width of the pull. This refers to the diameter of the pull, which is important to know for aesthetic and functional reasons. A wider pull may be easier to grasp but could look oversized on a smaller cabinet or drawer.
Make sure to take this measurement at the widest point of the pull. Note it down as well, as this information will be useful when selecting new cabinet pulls.
Step 5. Consider the Projection of the Pull:
The projection of a cabinet pull is the distance it extends out from the cabinet or drawer surface. To measure this, place the end of your tape measure on the cabinet or drawer’s surface and extend it to the furthest point of the pull.
This measurement gives you an idea of how much the pull will protrude from the cabinet or drawer, which can impact your kitchen or bathroom’s overall look and feel. Document this measurement carefully.
Step 6. Repeat Measurements for All Pulls:
Remember, if your cabinets or drawers have different sizes or styles of pulls, you’ll need to measure each type. Repeat steps 1 through 5 for each cabinet pull in your kitchen or bathroom. It’s important to take individual measurements for each design, as different styles can have different center-to-center distances or overall lengths.
Take careful notes of each measurement to ensure you can easily find replacements or upgrades that will fit perfectly.
Step 7. Compile Your Measurements:
Compile your measurements once you’ve finished measuring all of your cabinet pulls. Write down each pull’s center-to-center distance, overall length, width, and projection. This record will serve as a reference when shopping for new pulls. Make sure to double-check your measurements for accuracy to avoid any fitting issues later on.
Step 8. Choose Your New Pulls:
Now that you have all your measurements, you can shop for new pulls. Keep the center-to-center distance as your primary reference. But also consider overall length, width, and projection while making your selection.

Choose pulls that match or closely align with your measurements. Remember, the style and design of the pull can significantly impact the look and feel of your kitchen or bathroom, too.
Step 9. Install Your New Pulls:
Once your new pulls arrive, it’s time to install them. Use your measurements as a guide to ensure correct placement. If the new pulls match the center-to-center distance of your old ones, installation should be straightforward. But if the new pulls are a different size, you may need to drill new holes. Always measure twice and drill once to avoid mistakes.
Step 10. Enjoy Your Updated Cabinets:
With all the new pulls installed, step back and enjoy your updated cabinets. The right cabinet pulls can transform the look of your kitchen or bathroom, making it more modern, classic, or whatever style you aim for. Remember, if you ever want to update the pulls again, repeat this process starting from the first step.
By following these ten easy steps, you can confidently measure cabinet pull size and easily upgrade your cabinets. Remember to take accurate measurements and keep them handy for future reference.
5 Additional Tips and Tricks
Tip 1. Use High-Quality Tools:
Invest in a high-quality tape measure and straight edge for the best results. Accuracy is essential; these tools will help you get the most precise measurements possible.
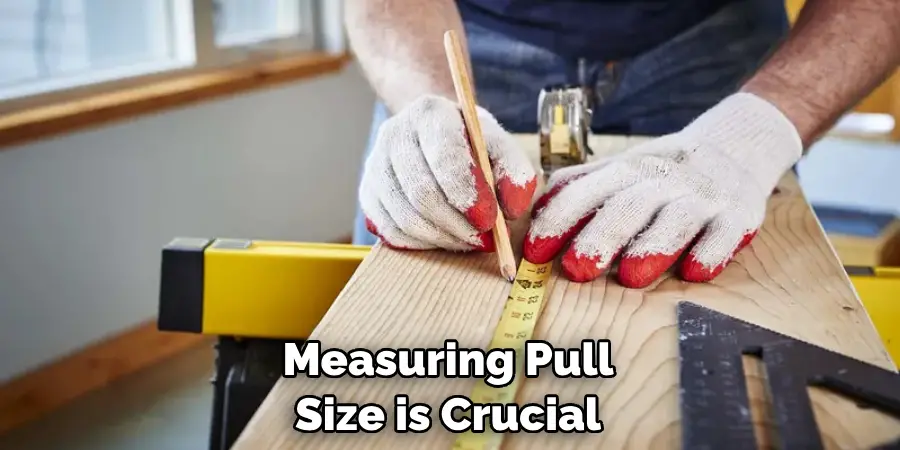
Tip 2. Measure Twice, Cut Once:
This age-old advice applies to cabinet pulls, too. Double-check your measurements before installing new pulls to avoid mishaps or costly mistakes.
Tip 3. Consider Your Style:
While accurately measuring pull size is crucial, don’t forget to consider your style. Choose pulls that you love and will complement the overall aesthetic of your kitchen or bathroom.
Tip 4. Think About Functionality:
Different cabinet pull sizes can impact functionality as well. For example, larger pulls may be easier for those with mobility issues to grasp, while smaller pulls may be more suitable for children’s cabinets.
Tip 5. Don’t Be Afraid to Ask for Help:
If you need clarification on any of your measurements or need guidance on selecting the right pulls, feel free to ask for help. You can consult with a professional at your local hardware store or reach out to an interior designer for expert advice. Feel free to seek assistance when needed.
With these additional tips and tricks, you can confidently measure cabinet pull size and upgrade your cabinets like a pro. Remember to take your time, be precise, and have fun transforming your kitchen or bathroom look with new cabinet pulls.
5 Things You Should Avoid
Avoid 1. Guessing Measurements:
Never rely on guesswork when measuring cabinet pull size. Always use a tape measure or a ruler for precise results. Guessing can lead to inaccurate measurements, which may result in pulls that need to fit properly.
Avoid 2. Ignoring the Center-to-Center Distance:
The center-to-center distance is crucial when choosing cabinet pulls. Ignoring this measurement could result in pulls that don’t align with existing holes in your cabinets, requiring additional drilling and potential damage to your cabinets.
Avoid 3. Overlooking Comfort and Ease of Use:
While aesthetics are important, pay attention to the comfort and ease of use of your cabinet pulls. A pull that looks great but is uncomfortable to use isn’t a wise choice.
Avoid 4. Forgetting to Document Your Measurements:
Always note down your measurements as soon as you take them. It can be easy to forget or mix up measurements, leading to ordering the wrong size pulls.
Avoid 5. Rushing the Process:
Take your time when measuring and installing new cabinet pulls. Rushing the process can lead to mistakes, potentially requiring you to start over or resulting in a finished look that could be more polished.
Avoiding these common mistakes will ensure a smooth and successful cabinet pull upgrade. Take the time to measure accurately, choose pulls that fit your personal style and functionality needs, and enjoy the process of transforming your cabinets into a stylish and functional space.
Conclusion
Putting a properly sized cabinet pull on a door or drawer is an easy way to instantly update the look of your cabinets and make them easier to open and close. To ensure you get the perfect fit, measure the size of your existing pull or opt for a large size to give a bold look to your cabinets. Now that you know this sizing tip, why not give it a try?
Take these measurements with you when you go shopping, and prepare to be amazed at how much of an impact new cabinet pulls can have in transforming your home. Feel free to experiment with different sizes and shapes- picking out hardware can be fun!
Hopefully, the article on how to measure cabinet pull size has helped guide you through the process and provide valuable tips and tricks. Remember, accurate measurements are key for a flawless cabinet pull upgrade. Happy measuring!

