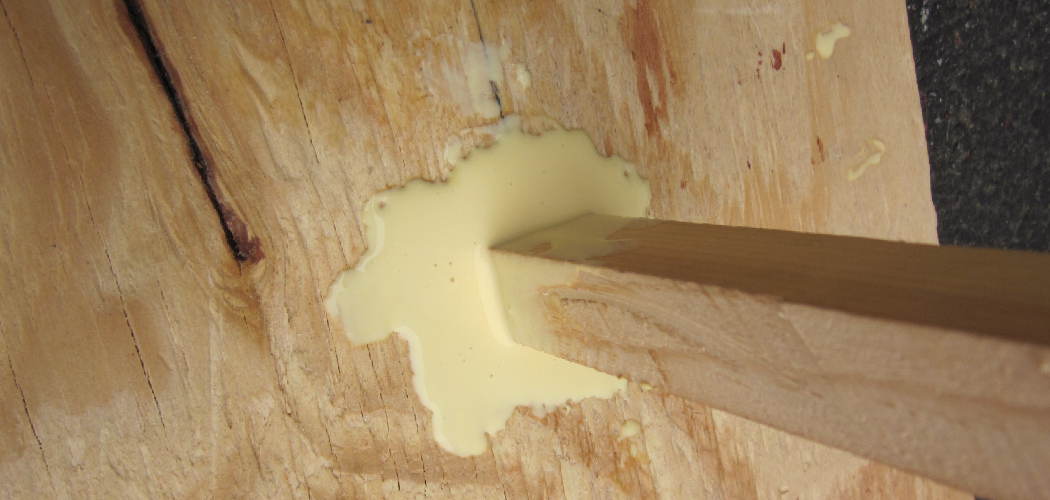
Have you ever noticed an annoying crack in the wood of your furniture, door frames, or trim work that no amount of sanding seems to fix? You’re probably not alone! Cracks can be stubborn and hard to repair for even experienced DIYers.
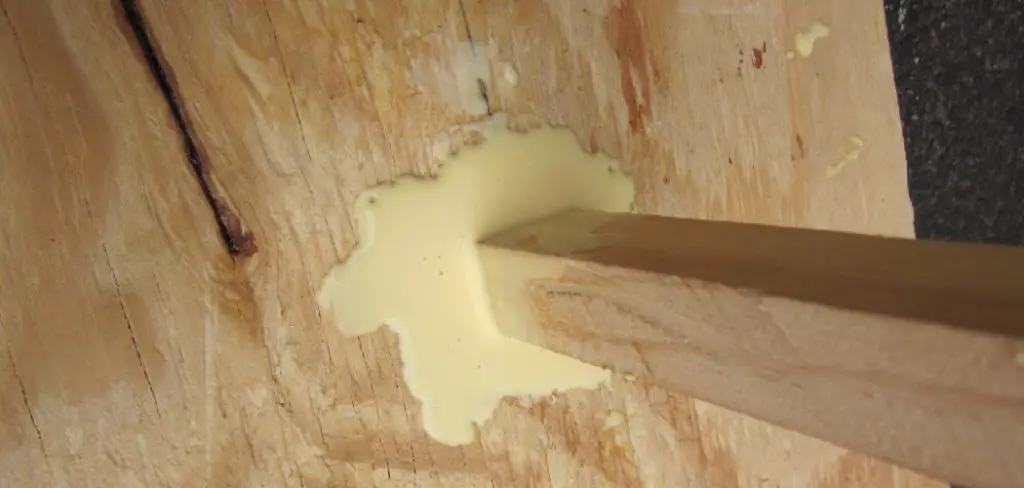
Fortunately, with a little bit of sawdust and glue, you can create some easy-to-use wood filler to help care for those pesky cracks. In this blog post, we will walk through step by step how to make wood filler with sawdust and glue. Ready to get started? Let’s dive in!
Tools and Materials You Will Need to Make Wood Filler With Sawdust and Glue
- Fine sawdust from the same species of wood as your repair piece
- A liquid hide glue (or a white carpenter’s glue)
- Water
- A container to mix in
- A plastic spoon or wooden stick for stirring
- Sandpaper (optional)
Step by Step Guidelines on How to Make Wood Filler With Sawdust and Glue
Step 1: Start by Gathering All Materials
Begin by gathering all the materials needed to make your wood filler. Be sure to make sure that you are using sawdust from the same species of wood as your repair piece so that you can match the color and texture of the wood. Before taking another step, double-check that you have all the items on the list above.
Step 2: Create a Paste with Glue and Sawdust
In a clean container, mix together one part glue to two parts sawdust until it forms a paste-like consistency. Be sure to use liquid hide glue rather than white carpenter’s glue, as hide glue is more durable and effective. You can also add a few drops of water as needed to create the desired consistency.
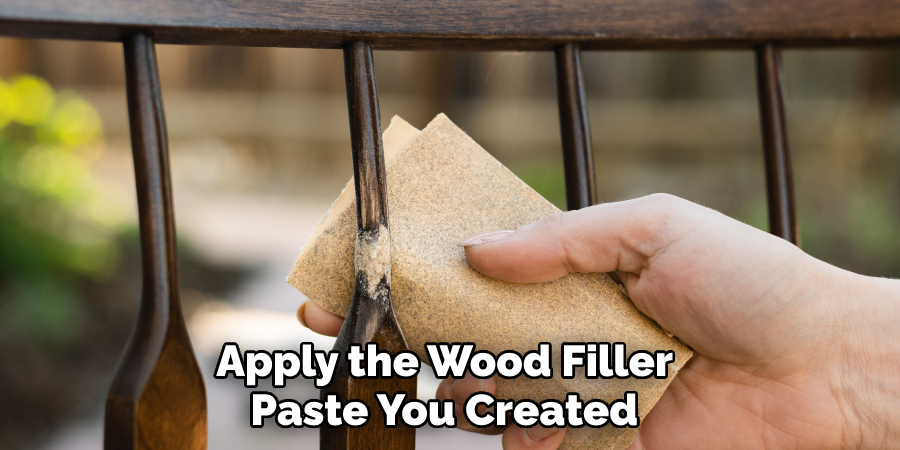
Step 3: Apply the Wood Filler Paste to Your Repair Piece
Apply the wood filler paste you created in step two onto the repair piece using your plastic spoon or wooden stick. Make sure to fill any cracks or holes with the paste and that it is evenly distributed. While applying the wood filler, do not be tempted to use a wet brush because it will cause the glue to separate from the sawdust.
Step 4: Let It Dry
Let your wood filler dry for several hours or overnight before sanding it down. The drying time may vary depending on the thickness of the paste and the amount of moisture in the air. If you dry sanded, you can use a piece of very fine sandpaper to smooth out the area lightly.
Step 5: Sand It Down
When the wood filler is completely dry, use sandpaper to smooth out the surface. Depending on the size of your repair project, you may need coarse or fine-grit sandpaper. If the wood filler has dried unevenly, feel free to add additional layers until it is even and smooth.
And there you have it! With just a few simple steps, you can easily create some wood filler with sawdust and glue to help fix any cracks or holes in your furniture, door frames, trim work, and more.
We hope this blog post was helpful for you and that you are able to take care of those pesky cracks in no time! Good luck, and have fun with your DIY projects.
Additional Tips and Tricks to Make Wood Filler With Sawdust and Glue
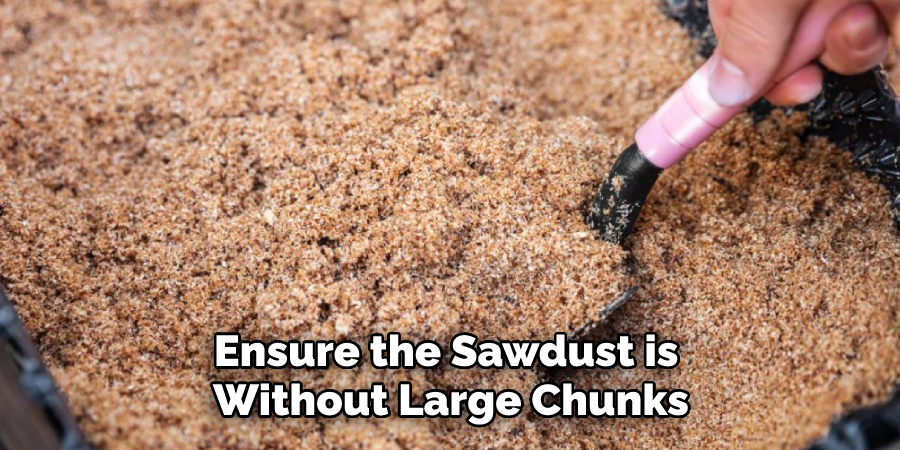
1. It’s important to use fine sawdust, as it will result in a smoother filler. Ensure the sawdust is without large chunks or knots that may make the mixture lumpy and uneven.
2. When mixing your sawdust and glue, knead it until you get a consistent texture that’s not too stiff or soft. You can also add a small amount of water to the mixture if needed.
3. If you’re using sawdust that is from a different type of wood than the repair project, you may want to mix in some stain or paint before applying it. Doing this will make the wood filler blend better with the existing wood.
4. Before applying the wood filler, make sure to test a small amount on a piece of scrap wood first to ensure you are happy with the consistency and color before using it on your project.
5. Applying the wood filler evenly and in thin layers is important. Allow it to dry completely between layers, and lightly sand it smooth after each application.
6. Once the wood filler is dry, you can finish off your project with an oil-based stain or a clear coat of protective sealant for additional protection from moisture and wear and tear.

With the following tips and tricks, you can easily make your own wood filler with sawdust and glue for any repair project! Have fun, and happy repairing.
Precautions Need to Follow for Making Wood Filler With Sawdust and Glue
1. Always use dust masks and gloves when handling sawdust and glue. Sawdust can be irritating to the skin, eyes, and throat, and breathing in large amounts of it can lead to health problems.
2. Wear protective clothing such as long sleeves, pants, shoes, socks, and a hat while making wood filler with sawdust and glue.
3. Make sure to use a well-ventilated area when making the wood filler with sawdust and glue, as the fumes from the glue can be harmful if inhaled in large quantities.
4. Ensure the workspace is clean and free of any materials that can become flammable or cause any kind of burning or fire.
5. Measure and mix the sawdust and glue in a disposable bowl or container to avoid contamination. Take care not to make too much wood filler at once, so you can use it quickly.
6. Always store extra containers of sawdust and glue away from any potential flames or sources of heat.
7. Keep the area free of any sparks or open flames when working with sawdust and glue, as it can be highly flammable.
8. Discard wood filler that has become clumpy or dry, as it will no longer work properly to fill in gaps and cracks on wood surfaces.
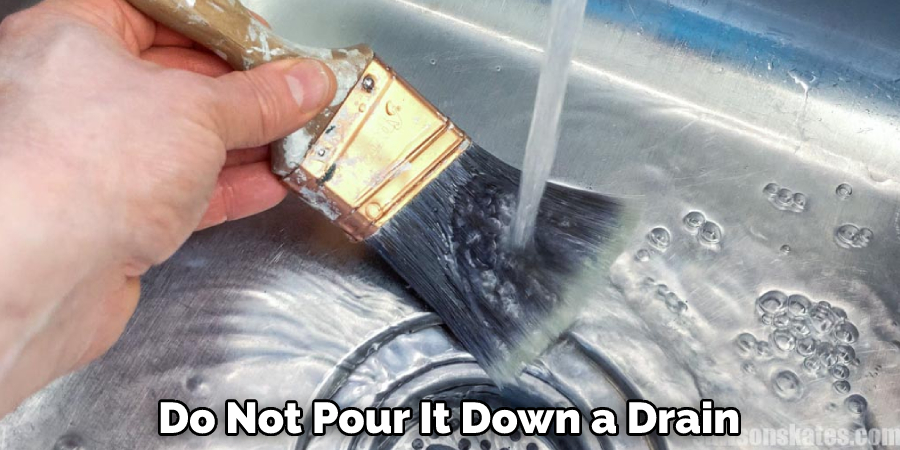
9. Dispose of any leftover sawdust and glue according to local regulations. Do not pour it down a drain or flush it away, as it can cause blockages in the plumbing system.
Following these precautions will help you make wood filler with sawdust and glue safely and effectively without any risks to your health or safety.
Things You Should Consider While Making Wood Filler With Sawdust and Glue
1. Select the Right Sawdust for Your Project:
The type of sawdust you use will depend on the type of wood filler you are making. For example, if you use a hardwood like oak or walnut, you should use finer sawdust to give a smoother finish to your wood filler. For selecting the right sawdust, consider the finish and color you are trying to achieve.
2. Use Quality Glue:
You should only use quality glue when making your wood filler. Cheap glues can cause the mixture to be brittle and break apart easily, so investing in good-quality glue is important for the best results. The best glue to use for wood filler is a high-quality epoxy or polyurethane.
3. Mix the Sawdust and Glue Together:
Once you’ve selected the right sawdust and glue, you can start mixing them together. Start by adding a small amount of sawdust into the glue and mix until it forms a paste-like consistency. You can then increase the sawdust until you get the desired consistency for your wood filler mixture.
4. Apply the Wood Filler:
Once you’ve mixed together your sawdust and glue, it’s time to apply your wood filler. Use a putty knife or spatula to press the mixture into any holes, cracks, or gaps in your wood. Make sure to spread it evenly and fill in all of the spaces.
After you’ve applied the mixture, allow it to dry before sanding and finishing with a sealer. Making your own wood filler with sawdust and glue is a great way to make repairs to furniture and other wood items. Following these tips will help you get the best results when making your wood filler, allowing you to make repairs that last!
Frequently Asked Questions
Is It Possible to Make Wood Filler With Sawdust and Glue?
Yes, making a wood filler using sawdust and glue is possible. The sawdust should be very finely ground or sifted, as any large pieces will not adhere properly to the surface of the wood. It is best to use a wood glue that dries clear, such as PVA or white glue. The sawdust and glue should be mixed together to form a paste-like consistency before being applied as a wood filler.
How Long Will the Wood Filler Last?
The longevity of the wood filler depends on how well it is sealed after application. If properly sealed, it should last for several years. It is important to note that sawdust and glue are not as durable as other wood fillers, so regular maintenance may be necessary in order to keep the filler looking its best.
Is This a Good Alternative to Store-bought Wood Filler?
Yes, making your own wood filler with sawdust and glue is a great alternative to store-bought wood filler. It allows you to customize the color of your filler as well as save money in the long run. The only downside is that it may require more upkeep than pre-made fillers, depending on how often the area needs to be resealed or touched up.
What is the Best Way to Apply Wood Filler?
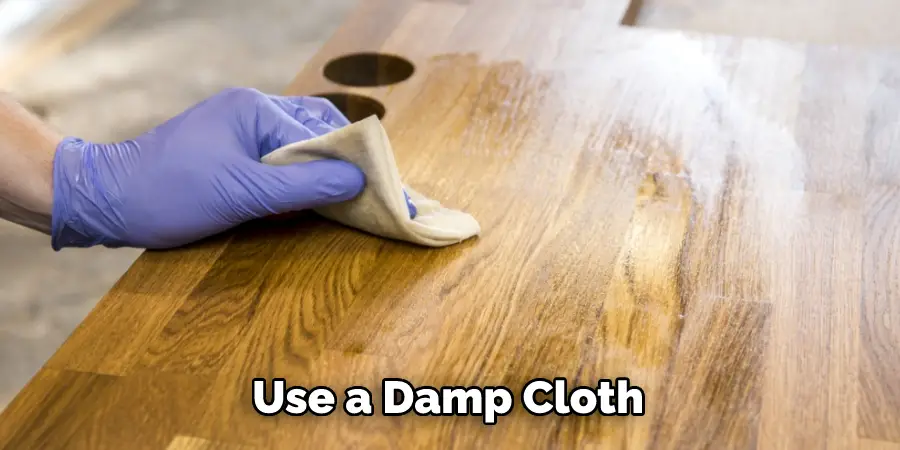
The best way to apply wood filler is to use a putty knife. This will help spread the mixture evenly and ensure that it adheres properly to the surface of the wood. When applying, press firmly and completely fill in any cracks or gaps. Once finished, use a damp cloth to wipe away any excess filler and smooth the surface.
What Type of Glue Works Best for Making Wood Filler?
Wood glues such as PVA or white glue are the most effective for creating a wood filler. These types of glues dry clear and are not prone to yellowing over time like other types of glue. They are also non-toxic, so they are safe to use in areas that may be exposed to food or moisture.
Conclusion
So there you have it, the process of how to make wood filler with sawdust and glue. With this DIY wood filler recipe, you can easily fix up any nicks or scratches in your furniture. And it doesn’t take a lot of time or energy either, making this an easy and affordable DIY repair.
Of course, sawdust and glue aren’t the only things you can use to make wood filler – you can also find commercial wood filler products on the market if needed. Ultimately, however, this method will save you time and money in the long run. So why not give it a try next time you need to do some filling? You might be surprised by the results!
You Can Check It Out to How to Oil a Deck

