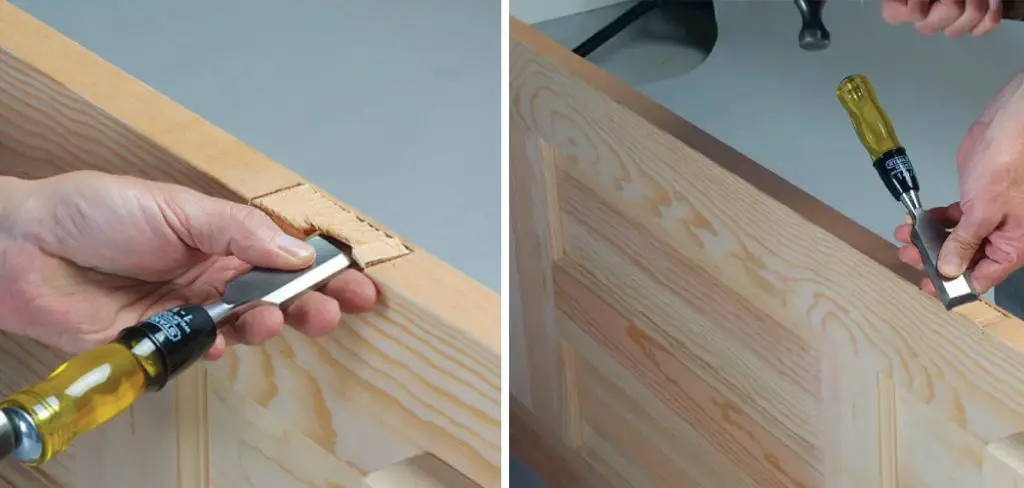
Notching the door frame for hinges is an important part of installing a new door. If you don’t do it correctly, your door won’t fit properly and could result in serious structural damage to your home. The notches should be made accurately so that the hinges are placed correctly so that the door opens and closes without binding or rubbing against the frame.

One of the main advantages of making notches for door hinges is that it allows you to install the hinge in a more secure manner. Notches help keep the screws secure, making sure they won’t come loose over time.
Additionally, when done properly, notching provides additional support to the door and prevents it from sagging or warping. You can find step-by-step instructions on how to make notches for door hinges in this blog article.
Step by Step Processes for How to Make Notches for Door Hinges
Step 1: Inspect the Door
Before beginning any project, it is important to inspect the door first. Check for any signs of damage, such as splits in the wood, warping or other issues that may affect how you proceed with the notch-making process.
Step 2: Measure and Mark Notch Area
Once you have inspected the door and determined it is structurally sound, measure and mark the area where the notch will be made. Determine the size of the notch needed and ensure it is within one-eighth inch of accuracy before marking the area for cutting.
Step 3: Cut Groove in Door
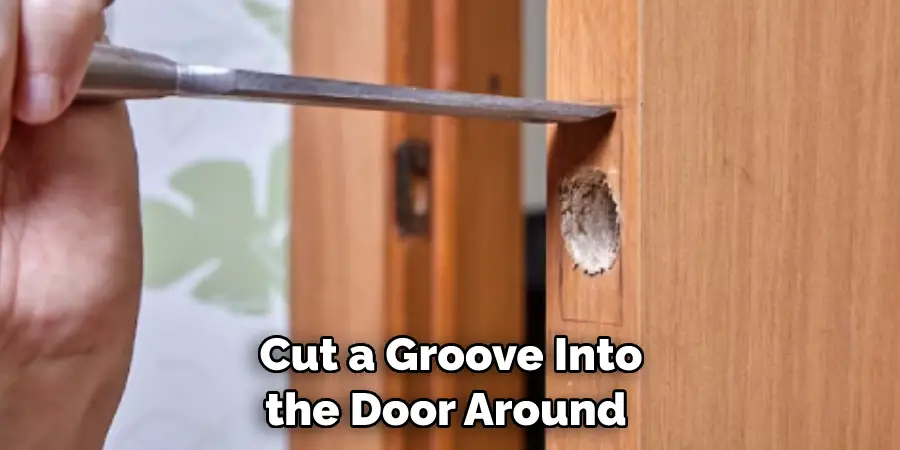
Cut a groove into the door around the marked area using a router. Ensure the groove is at least one-eighth inch deep to provide a guide for accurately cutting the notch. Using a template or ruler, trace the outline of the notch onto the door. This will provide a guideline when sawing out the shape.

Step 4: Cut Out the Notch with a Hand Saw
Carefully cut out the notch along the marked outline using a hand saw. Take care to ensure that the sides and edges remain at a neat angle, and be sure to check that all corners are properly shaped. After cutting out the notch, test fit the hinge in the opening to ensure it fits nicely before proceeding.
Step 5: Smooth Edges of Notch
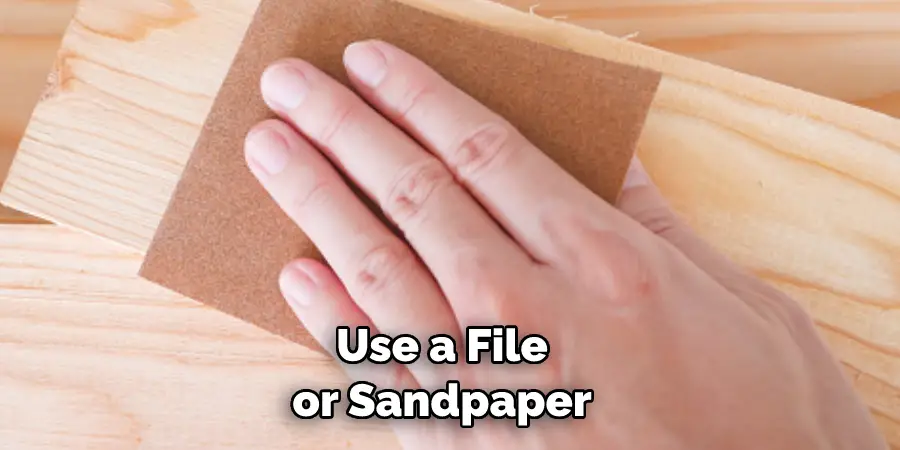
Using sandpaper or a file, smooth out any sharp edges or corners on the notch so that the hinge can sit flush. Measure the distance between the hinge’s mounting holes and mark them on the door. Using a drill, make pilot holes as guides for accurately chiseling out the mortise holes.

Step 6: Chisel Out Mortise Holes
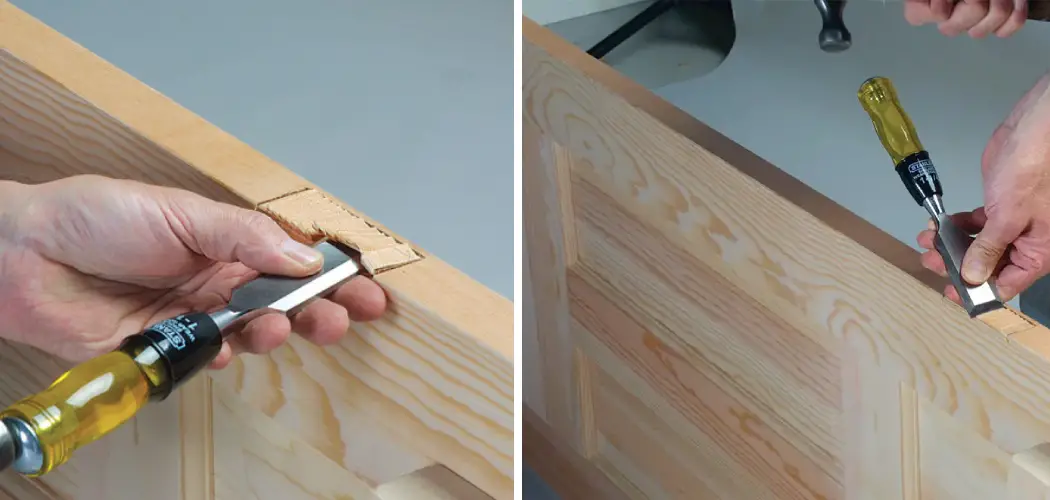
Using a hammer or rotary chisel, carefully chisel out the mortise holes in the door. Be sure to make them slightly larger than the mounting screws so that they fit firmly. Use a countersink bit to create small recesses for the screws. This will ensure that the hinge sits flat and is less likely to become loose over time.
Once you have followed these steps, the door should be ready for the installation of the hinges. Always take proper safety precautions when working with power tools and when handling sharp objects such as a chisel or saw.
Tips for How to Make Notches for Door Hinges
- Wear protective gear when cutting the door and making notches for hinges to ensure your safety. This includes safety glasses, gloves and a dust mask.
- Ensure you have read the instructions manual that came with your saw before using it so you know the correct way to use it safely.
- Measure twice, and cut once. Follow the measurements you made carefully when cutting the door so that it fits securely in the frame.
- Make sure to use a sharp blade for a clean, precise cut and to reduce splintering the.
- Secure the clamp or hold down the door using your saw to prevent any accidents from happening.
- Check for any nails or screws that may be protruding from the door and remove them to avoid accidents.
- Use caution when using a router to make notches for hinges, as it can be very dangerous if handled improperly. Keep your fingers away from the bit, and always switch off the power before making adjustments.
By following these tips and taking the necessary safety precautions, you can ensure that you make notches for door hinges safely and successfully.

How Can You Modify an Existing Door Frame to Accommodate a New Set of Hinges?
Making notches for door hinges is a relatively simple task that can be done with the right tools. The first step is to measure the area in the door frame where you need to make notches. You should then mark off this area using a pencil and then use a chisel or a jigsaw to cut out the notches. If you are unsure about the exact measurements, it is a good idea to measure twice just to ensure.
Once you have created the notches in the door frame, you can then fit your hinge into place by inserting it into the pre-cut notch openings. You will need to be careful when doing this, as hinges can easily break if they are not properly fitted. Once you have placed your hinges in the door frame,
it is important to screw them in place. You should use long screws and make sure that they are screwed in securely, as this will help ensure that the hinges remain firmly attached to the door frame.

What is the Best Way to Finish Off the Notch After It Has Been Cut?
Once you have cut your notches, the next step is to finish them. The best way to do this is by sanding the edges and corners of the notch. This will ensure that it fits snugly against the hinge plate and door jamb, giving you a tight fit for your door hinges. A sandpaper grit of 80 to 100 should do the trick. After you have sanded the edges and corners, use a chisel or router bit to remove any remaining burrs from the notch. Finally, apply wood filler if necessary for an even finish.
Are There Any Particular Techniques You Should Use to Make Sure Myches for Door Hinges Look Neat and Professional?
When making notches for door hinges, it is important to use the right techniques and tools to ensure they look neat and professional. As a starting point, it is important to measure twice before cutting once in order to ensure that the notches will fit onto your door frame correctly.
To start, make sure you are using the right tools for the job. A cordless drill, a jigsaw, and a chisel are all important pieces of equipment to have on hand when making notches for door hinges. The drill will be used to create pilot holes, and the jigsaw will be used to make precise cuts. When using the chisel, keep in mind that you should use gentle, short strokes to avoid damaging the wood.
Once the initial cutouts have been made, it’s important to make sure they fit snugly on your door frame To do this, use a file or sandpaper to shape and smooth out any rough edges of the notch until it fits perfectly.

This will give the notch a professional finish and ensure it is secure on your door frame. Finally, make sure you clean up any sawdust or debris created during the process. This will ensure that no dirt gets stuck in the hinges and could potentially damage them over time.
What Maintenance Tips Should You Follow to Ensure Your Door Hinges Stay in Great Condition?
If you want to keep your door hinges in great condition, there are several maintenance tips to follow. Of check the screws and bolts regularly; they should be tight and not loose at all. Ensure that the hinges are lubricated with a silicone-based lubricant or any other lubricant suitable for metal.
This will ensure that the doors open and close smoothly. Also, inspect your door hinges regularly for signs of rust or wear and tear so that you can replace them if necessary. Finally, occasionally clean your door hinges with a damp cloth to keep it looking great.
By following these tips, you can ensure that your door hinges will stay in great condition and keep your doors functioning properly. As an added bonus, they can also increase the lifespan of the hinges and save you money in the long run. Making notches for door hinges is a simple task, but ensuring that they are properly maintained is key to prolonging the life of your door hinges.
How Can You Make Sure That the Notches Are Cut at the Correct Size and Shape for the Hinges?
The most important part of making notches for door hinges is correctly cutting the size and shape. Before you begin, measure the thickness of your hinges to get an accurate idea of the size and shape you need to cut.
It’s also a good idea to trace the hinge onto a piece of scrap wood so that you can use it as a template. Once you have your measurements and template, you’re ready to begin cutting the notches. Start by marking the area where you need the notch to be on the door frame or jamb.
Use a pencil to make sure that you don’t make any mistakes in your measurement or placement. Then, use a jigsaw to cut the notch from the door frame or jamb. Make sure that your cuts are clean and precise so that the hinge fits snugly into the notch.

After you have finished cutting the notches, use a chisel and hammer to smooth out any rough edges. Finally, test fit each hinge in its respective notch to make sure that it fits correctly. Use a file or sandpaper to make any adjustments before installing the hinges.
Is There Any Way to Adjust a Hinge So It Fits Better in a Notch?
Yes, there are a few ways to adjust a hinge to fit better in a notch. First, you can adjust the depth of the hinge to make it fit better with the notch by adjusting the screw on the back of the hinge. This will cause the hinge to protrude further or less from the door.
Second, you can adjust the shape of the notch by using a chisel to deepen or widen it. This way, the fit between the hinge and notch will be more snug and secure. Finally, if the edge of your door is uneven or rough, you can sand it down with sandpaper so that the hinge fits better in the notch.
By following these simple steps, you can ensure that your hinges fit securely and snugly in their notches for a secure door. This will help ensure that your doors open and close properly, keeping your home safe from intruders.
Conclusion
The primary disadvantage of making notches for door hinges is the accuracy required to achieve a proper fit. If the notch is too small, it won’t allow enough space for the hinge to move freely and could cause binding or damage. If it’s too large, the hinge will be loose and may even fall out completely.
In conclusion, making notches for door hinges is a relatively simple process that doesn’t require any special tools or skills. To do so, you should first measure the width of the hinge, mark out the position of the notch on your door frame and then use either a saw or router to create it.
Once complete, you can install your hinges and hang your door. You can achieve a professional-looking finish to any door installation with a few simple steps. I hope this article has been beneficial for learning how to make notches for door hinges. Make Sure the precautionary measures are followed chronologically.

