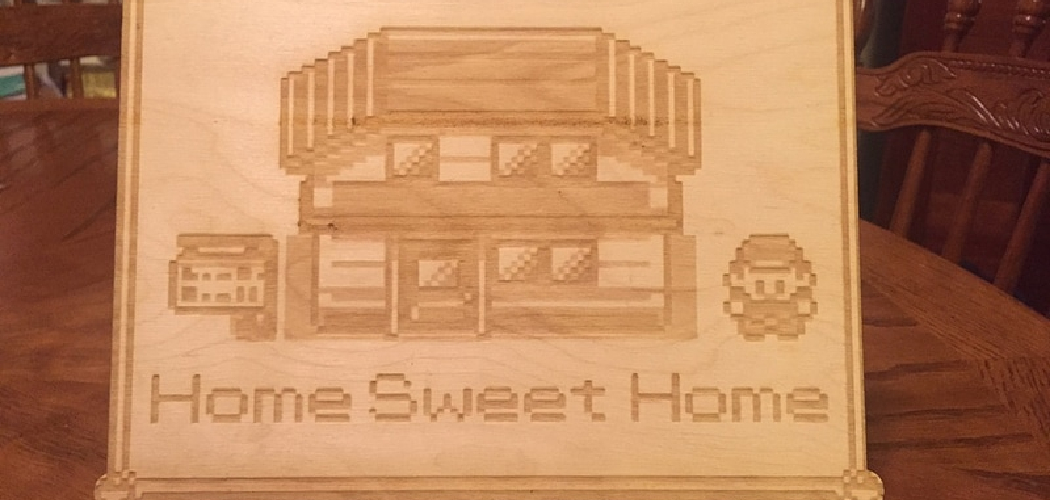
Are you seeking a unique and stylish way to express yourself or showcase your business? Laser cut wood signs are the perfect solution! With laser cutting technology, complicated designs can be etched on various types of wood to create beautiful one-of-a-kind pieces.
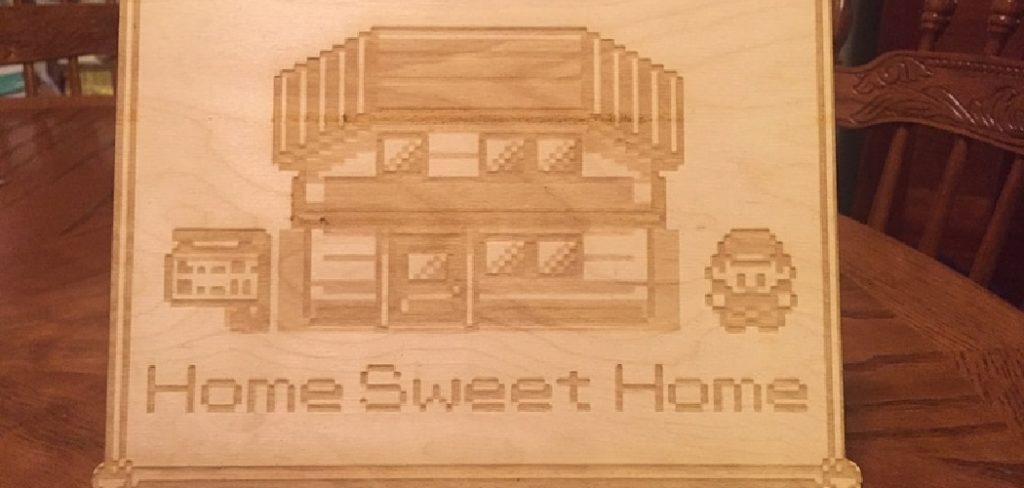
Not only do these intricate signs make great decorations around the home or office, but they also represent an investment in quality craftsmanship. This guide shows you how to create stunningly detailed wooden signs with laser cutting machines!
We’ll go over how to design and prepare artwork that looks its best when engraved into the wood and discuss the materials and techniques required for successful results.
Finally, we’ll cover some tips on how to make laser cut wood signs with minimal fuss and expense without compromising on quality.
What is the Importance of Design Considerations in Laser Cutting Wood Signs?
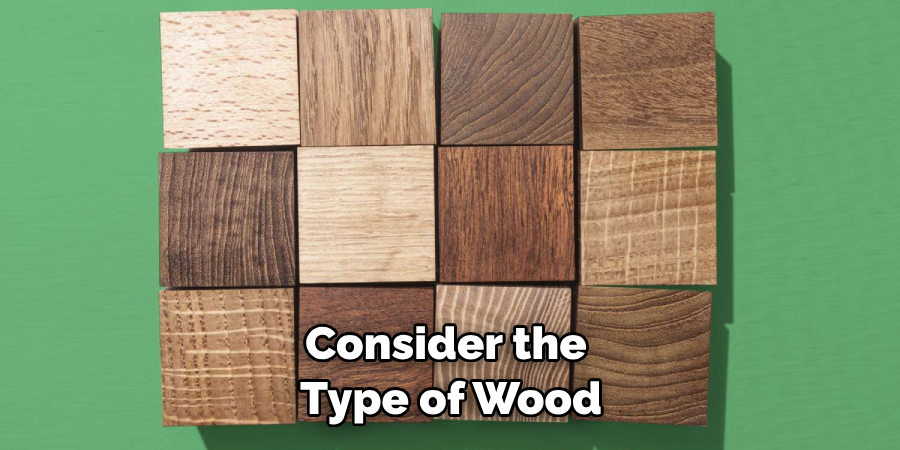
Before diving into the laser cutting process, it’s important to consider your design and its compatibility with wood materials. Generally, laser cutters can engrave on various woods, including plywood, MDF, hardwoods like maple or oak, and even bamboo. It is always best to check with your material supplier to ensure that the wood you use is suitable for laser cutting.
When designing artwork, it’s also important to factor in some practical considerations like the size and thickness of the material as well as how intricate or detailed the design will be. A great tip when creating intricate designs is to keep thin line widths at a minimum, generally 0.5mm or less. This will help avoid potential breakage or burning of the wood during cutting.
What Materials and Supplies are Necessary for Laser Cutting Wood Signs?
In addition to the correct type of wood, you’ll also need some additional supplies to make your laser cut wood signs look great:
- Laser cutting machine
- Laser engraving software (such as CorelDraw, Illustrator, or Inkscape)
- Masking tape
- Paint marker
- Sandpaper
- Varnish or sealer
- Wood glue
Once you have gathered your supplies and materials together, the next step is to set up your laser cutting machine. Ensure to follow any safety guidelines provided by the manufacturer to avoid any potential hazards related to laser cutting.
10 Easy Steps on How to Make Laser Cut Wood Signs
Step 1. Prep the Artwork
If you need to gain experience using design software, check out some online tutorials to understand better the features and how to use them. This will help you create the perfect artwork for your sign. Once familiar with the software, open up a new file and begin drawing your design onto it. Leave enough space around the edges so the sign can fit into the laser cutter.
Step 2. Preparing the Wood
Before cutting, make sure the wood you are using is of a suitable thickness and size that fits within your machine’s bed size. If necessary, you may need to cut it down to size with a saw or bandsaw. Once trimmed, lay out the wood on a clean, flat surface and secure it with masking tape so it won’t move while cutting.
Step 3. Load the File into the Laser Cutter
Load your artwork into the laser cutter’s software. This will allow you to adjust settings like power, speed, and resolution depending on the type of wood you’re using. Ensure the artwork is properly aligned with the wood before cutting.
Step 4. Adjust Settings and Test Cut
Once everything looks good, adjust the settings as needed for your specific wood type and then run a test cut to ensure there will be no issues during the cutting process. This is an important step that should be taken! Try to adjust the settings as needed until you get a clean, accurate cut.
Step 5. Begin Cutting
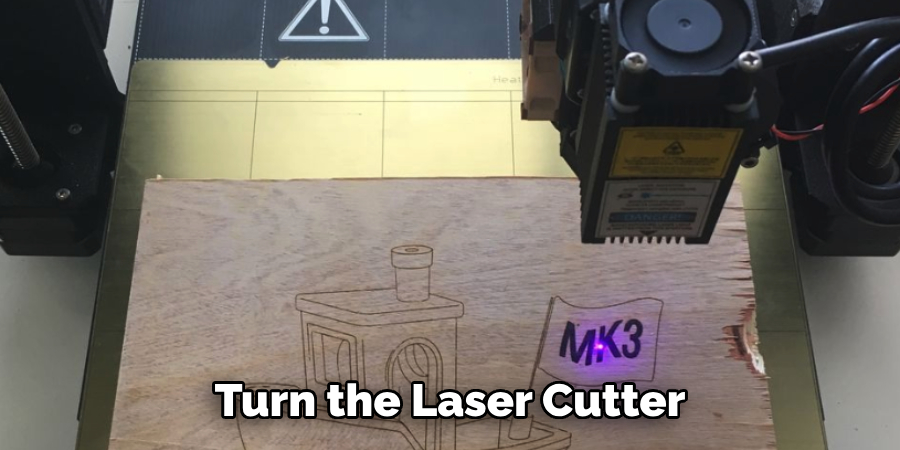
Now it’s time for the actual cutting process. Turn the laser cutter on and adjust any settings as needed before hitting “start.” Depending on how intricate your design is, this could take anywhere from a few minutes to several hours.
Step 6. Check Cut Quality
Once the cutting is finished, you can check the cut quality to make sure everything looks good. If imperfections or mistakes exist, you may need to adjust the settings and run another test cut before continuing. Take advantage of this step!
Step 7. Clean Up Any Burnt Wood
If your sign has any burnt areas, use sandpaper to remove them gently. Make sure to use a light touch and only sand the affected areas so you don’t damage the rest of your sign. It will also help to apply a coat of wood sealer or varnish for additional protection.
Step 8. Apply Varnish or Sealer
If desired, you can apply a coat of varnish or sealer to protect and preserve your sign. This will also help bring out the richness and beauty of the wood grain. Additionally, consider adding a few coats of paint or stain for extra protection and aesthetic appeal.
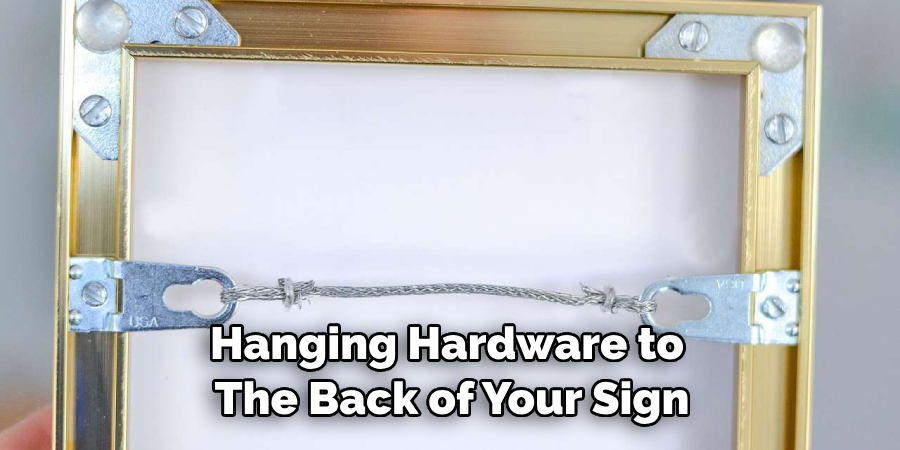
Step 9. Attach Hanging Hardware
Finally, you can attach any necessary hanging hardware to the back of your sign if desired. This could include nails, screws, or other hangers, depending on your preference. Keep in mind that the weight of your sign may require additional hardware or support.
Step 10. Enjoy Your Creation
And that’s it! Now you can enjoy your beautiful laser cut wood sign and show it to your friends and family. Whether you choose to display it inside or outside, your one-of-a-kind creation is sure to be admired.
Making laser cut wood signs is an easy and cost-effective way to create beautiful, custom pieces of art that will last for years to come. You can make something unique and special with a few simple steps and some basic supplies. So grab your tools and get started! Your amazing results are just around the corner.
5 Additional Tips and Tricks
- If you plan on using a light color wood such as balsa for your sign, consider applying a few layers of paint before laser cutting. This will prevent the laser from scorching or burning the material.
- To create intricate details and engravings in your design, use a higher power setting on your laser cutter but be careful not to overdo it. Too much power can cause the wood to char and possibly catch on fire.
- Always remember to use protective eyewear when working with a laser cutter, as it emits light that can be harmful to your eyes.
- Not all woods are suitable for laser cutting, so be sure to research which types of wood will work best with your machine before starting your project.
- If you’re making a sign for outdoor use, consider sealing it with a clear coat or other type of weatherproofing to protect it from the elements. This will help ensure your sign lasts and looks great for years to come.

These tips are just the beginning of what you can do when laser cutting wood signs. With patience and practice, you’ll soon become an expert in your craft.
6 Things You Should Avoid
- Don’t put too much pressure on the wood when laser cutting, as this can cause it to warp or burn.
- Avoid using too high of a power setting, as this can ruin your design by scorching or charring the material.
- Never operate a laser cutter without its protective guards in place; always wear safety gear such as goggles.
- Use wood suitable for laser cutting, as this can clog the machine and cause it to malfunction.
- Avoid placing your sign outdoors without weatherproofing, as this will decrease its longevity and make it look worse over time.
- Remember to clean your laser cutter after each use, as this will help ensure it stays in top condition and is ready for your next project.
By following these simple tips, you’ll be able to make the perfect laser cut wood sign every time! With enough practice, you can create intricate, detailed designs that will draw everyone’s attention. So get creative and have fun with your projects!
5 Different Design Options
- If you’re looking for a classic look, try experimenting with different font styles and sizes to create the perfect sign.
- For a unique twist, why not add some color to your design? You can use colored paint or wood stain on your laser cut pieces and let them dry before assembling.
- Create an intricate pattern with intricate details and engravings by varying the power settings on your laser cutter.
- Try incorporating different materials, such as metal or glass, into your design for a truly one-of-a-kind piece.
- You can also add textured elements to your sign with raised lettering, beading, etching, etc., to really make it stand out.
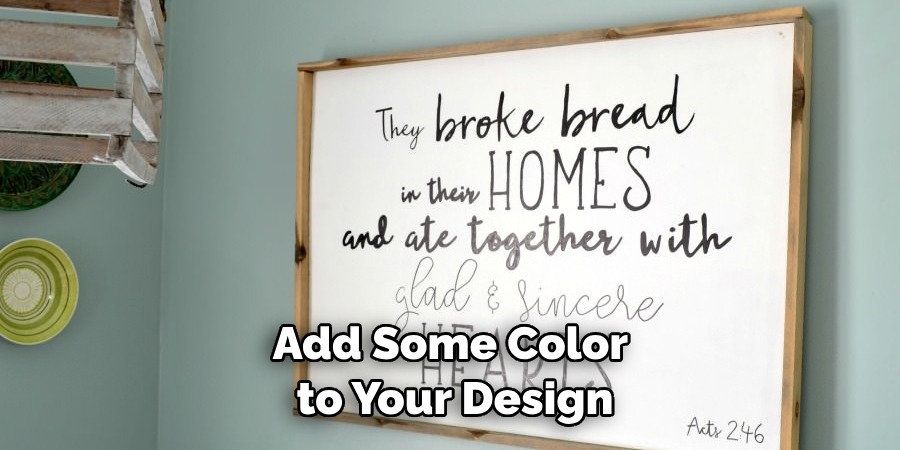
Whichever design option you choose, the possibilities are endless for creating laser cut wood signs. Have fun and get creative with your projects! Remember – practice makes perfect!
DIY vs. Professional Signs
When it comes to making a laser-cut sign, there are two main options: doing it yourself (DIY) or hiring a professional.
Doing it yourself can be very rewarding, as it allows you to create your own unique design with the exact details that you want. It also gives you the freedom to make changes or adjustments along the way without having to pay extra fees for modifications.
However, DIY laser cutting can be time-consuming and requires some experience with the machine and in-depth knowledge of what type of wood to use and how to set the laser properly.
Alternatively, hiring a professional allows you to enjoy a high-quality product without worrying about any details. Professional sign makers are experienced and knowledgeable when it comes to working with lasers so that they can create intricate designs quickly and easily. However, hiring a professional can be more expensive than making your own sign, and you may lose some of the creative freedom of DIY projects.
Deciding which option is best for you will depend on your budget, experience level, and desired design. Knowing what to expect from both DIY and professional signs can help you make the right decision for your project.
What is the Best Laser for Wood Signs?
When choosing a laser cutter for your wood sign project, there are several factors to consider. The most important is the size of the work area. A larger work area will allow you to create bigger designs and make multiple signs at once. You should also consider the type of wood you plan on using, as some materials require more power than others. Additionally, think about the type of detail you would like to create, as some machines are better suited for intricate designs.
For general use, a CO2 laser cutter with a-50 watt power output is usually sufficient. However, if you’re looking for detailed engraving or etching, invest in a higher powered machine such as a fiber laser.
No matter which laser cutter you choose, make sure to do your research and purchase one that is suited for wood signs. This will ensure that you get the best results with minimal effort.
Conclusion
Crafting laser cut wood signs is an enjoyable, rewarding experience. Once you have made your laser cut signs, you can have them hung or placed around your home as a reminder of the time and effort you spent on creating them. Not only do they lend a decorative touch to any room, but they also add an artistic flair that adds stunning visual interest.
Whether as a gift for someone special or simply an interesting piece of decor for yourself, there are countless possibilities to explore when it comes to making beautiful laser cut wood signs. Give it a try and see the difference in your home today!
Hopefully, the article on how to make laser cut wood signs has been helpful, and you now feel more confident about getting started on your project. With the right tools and patience, you’ll be able to create beautiful signs that will last for years. Good luck!
Happy creating!
you can check it out also Hang a Round Wooden Sign

