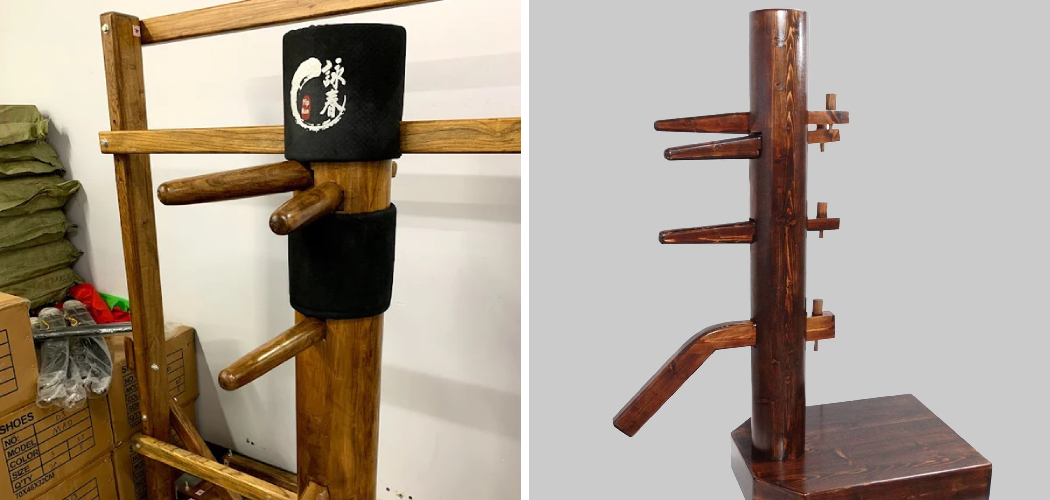
Do you want to learn how to craft a wooden dummy? Working with wood is a great way to flex your creative muscles, it can also be immensely satisfying. There’s nothing quite like seeing the fruit of your labor take shape in front of your eyes. If you’re eager to explore this fun and rewarding hobby, here is all you need to know on how to make a wooden dummy!
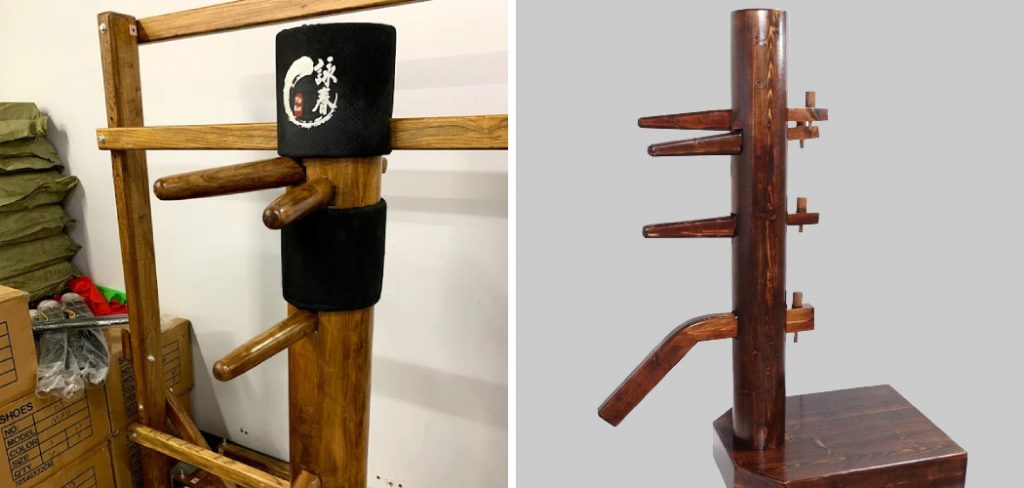
If you’re looking to develop your martial arts skills, it’s essential that you have a good practice partner. But what if you don’t have someone to spar with? One great solution is to invest in a wooden dummy. Wooden dummies can help improve your punches, kicks and grappling techniques while also providing additional strength and discipline training.
In this blog post, we’ll walk through all the steps necessary for making a wooden dummy from start to finish — from selecting the correct wood type to installing the arms correctly — so that when you’re done, you have an effective training tool at hand for boosting your martial arts skills!
Benefits of Making Wooden Dummy
1. To Improve Your Punches, Kicks, and Grappling Techniques
One of the greatest benefits of making a wooden dummy is that it allows you to practice your punches, kicks, and grappling techniques. This can help improve your accuracy, strength, and speed with each strike or hold. It also helps you develop proper form and technique in order to make the most out of your strikes and holds.
2. To Increase Your Balance and Coordination
Making a wooden dummy can also help you increase your balance and coordination. This is because it requires you to maintain proper posture while striking and grappling with the dummy. This helps you learn how to shift your weight effectively, which is essential for improving your martial arts skills.
3. To Develop Muscle Memory
Using a wooden dummy can also help you develop muscle memory. This means that as you practice your techniques on the dummy, your body will start to remember the movements and forms associated with each technique. This can help make it easier for you to perform these same techniques in a real-life situation without thinking about them too much.
4. To Improve Your Mental Focus

Finally, making a wooden dummy can help you improve your mental focus. This is because it requires you to remain focused on the task at hand while practicing strikes and grappling techniques. This can help increase your concentration when working with the dummy, as well as in any other martial arts situation.
Overall, making a wooden dummy can have many benefits for martial artists of all levels. It can help improve your accuracy and strength with punches, kicks, and grappling techniques, as well as increase your balance and coordination.
It can also help you develop muscle memory for each technique and improve your mental focus during practice sessions. With just a few simple steps, anyone can make their own wooden dummy to start reaping the benefits of it.
How to Make a Wooden Dummy in 6 Easy Steps
Step 1: Gather the Materials
You will need to make your dummy, including four 2x4s, one 3/4-inch plywood sheet, screws, glue, and a saw. This is essential to gather before you begin so that the construction process is easier.
Step 2: Cut the 2x4s to the Correct Length
For your dummy’s arms, legs, and torso support, cut four 2×4 pieces of lumber into 24-inch lengths each. You have to be careful when cutting the lumber, so it’s best to use a handsaw and wear protective gear.
Step 3: Attach the 2x4s to Form a Cross-Shape
Place two of the 24-inch pieces on the ground in a cross shape, with one piece running horizontally and the other vertically. Securely attach the two pieces together using screws. Also, be careful while doing it.
Step 4: Make a Plywood Base
Cut the plywood to fit exactly onto the cross-shaped frame you just created. Securely attach it to the top of your dummy’s frame by drilling screws into it and adding glue for extra support. Make sure the plywood can comfortably fit into the frame.
Step 5: Add Arms, Legs, and Torso Support
Next, add arms, legs, and torso support to your dummy. Cut four 24-inch pieces of 2×4 lumber for this purpose and attach them with screws. Make sure they are securely attached or else your dummy won’t be able to support any weight.
Step 6: Finish Up the Wooden Dummy
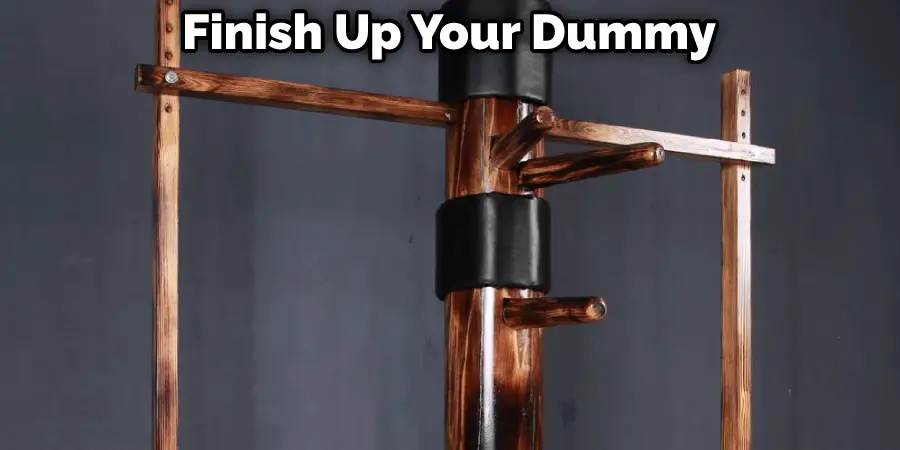
Finally, finish up your dummy by adding a few more pieces of lumber for extra support and decoration. You can paint it or leave it natural; either way, you have now completed making your wooden dummy!
Some Additional Tips to Make a Wooden Dummy
1. Do Not Forget to Sand the Wood
It is important to sand down your wood before you start building in order to ensure a smooth surface and prevent any splinters. Also, sanding can help the wood to accept stains and finishes better.
2. Pre-Drill Holes for Nails
Before hammering in any nails, it is important to pre-drill small holes with a drill bit slightly smaller than that of the nail you plan on using. This will ensure that your nail goes in straight and does not split the wood.
3. Cover Screw Heads with Wood Filler
If you decide to use screws instead of nails, it is important to cover the screw heads with wood filler before painting or staining your dummy. This will create a smooth surface and help to prevent water from seeping into the holes in the future.
4. Glue Is Your Friend
For best results, use wood glue when assembling the pieces of your wooden dummy together. This will help keep it sturdy and make sure everything fits securely together. Make sure to also use clamps when you glue the pieces together so that it will hold tight.
5. Use Caulk to Seal Cracks
If you notice any cracks or gaps in the wood, use a small amount of caulk to seal them up and prevent any water from seeping in and damaging your dummy. Be careful not to use too much caulk as it can be difficult to sand off.
6. Paint or Stain Your Dummy
Once your dummy is built and all the wood pieces are securely attached together, it’s time to give it a finish. You can choose to paint it, stain it, or leave it natural; whatever you decide will help complete the look of your wooden dummy.
7. Have Fun
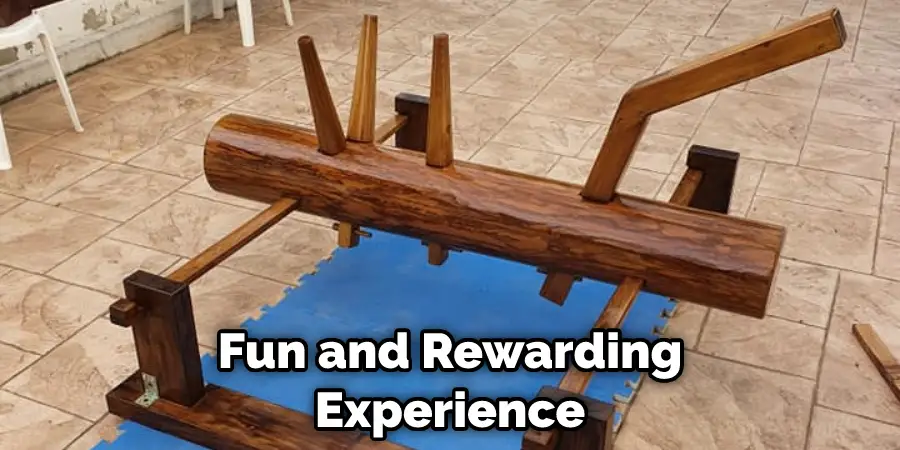
Making your own wooden dummy can be a fun and rewarding experience, so don’t forget to enjoy the process! With patience and a few tips from this article, you should have no problem making one that is strong and durable. Good luck!
8. Avoid Unnecessary Cost
When building a dummy, it is important to avoid unnecessary costs. Instead of buying expensive lumber, try to reuse scrap wood if possible or look for pieces that have been discarded from other projects. This will save you both time and money in the long run.
Making a wooden dummy may seem like a daunting task but it doesn’t have to be! With the right materials and a little bit of patience, you can create your own wooden dummy in no time. Just remember these tips and you’ll be on your way to having a great addition to any home or training session. Good luck!
Frequently Asked Questions
What Precautions Should I Take When Making a Wooden Dummy?
When making a wooden dummy, it is important to take safety precautions. Wear protective glasses and gloves while cutting wood to avoid injury. Make sure any power tools are unplugged when not in use.
Avoid using nails, as they can create splinters and be difficult to remove if needed. Also, be sure to sand all parts of the dummy to smooth out any rough edges. Lastly, make sure you have a firm grasp of basic woodworking techniques before attempting this project.
What Wood is Best for Making a Wooden Dummy?
The best wood to use for making a wooden dummy is birch or poplar. These woods are strong and durable, making them ideal for creating the dummy. Additionally, they are easier to work with than other types of wood. Be sure to select lumber free from knots or splits that could weaken the structure.
What Tools Do I Need to Make a Wooden Dummy?
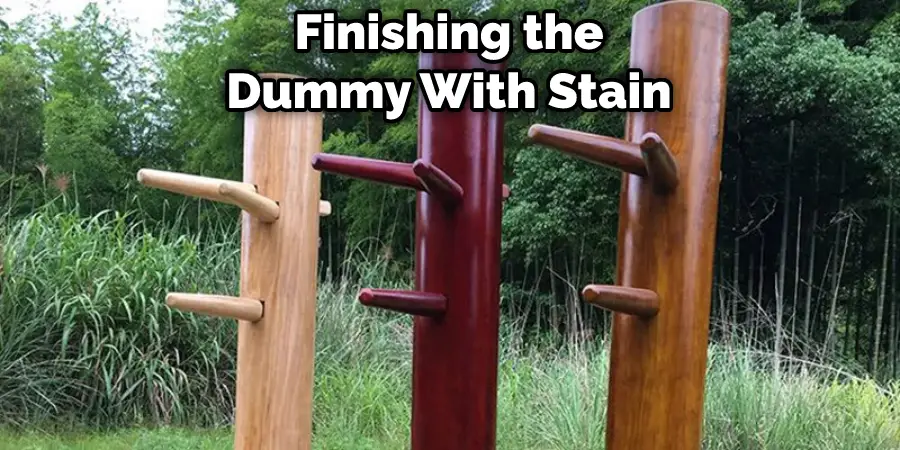
Tools required for making a wooden dummy include saws, clamps, a drill, sandpaper, chisels, and measuring instruments. You may also need an electric sander if you plan on finishing the dummy with stain or paint. Be sure to have all of these tools available before beginning your project. Additionally, gather any additional supplies such as screws, glue, and wood putty that you might need.
What Are the Steps to Make a Wooden Dummy?
The steps for making a wooden dummy include preparing the lumber, cutting and shaping the pieces, drilling holes and attaching hardware, and finishing. Start by cutting the wood into desired shapes with saws or power tools.
Chisel out any corners or edges you want to be rounded. Drill holes and attach hardware where desired. Finish the dummy by sanding all parts of it, then add sealant or paint. Once complete, your wooden dummy is ready to use!
How Much Does it Cost to Make a Wooden Dummy?
The cost of making a wooden dummy depends on the materials you choose and how much labor is involved. Generally, the wood itself will cost anywhere from $25-$100 depending on what type you select. Other materials such as glue, screws, and hardware will add to the total cost.
If you decide to hire someone to help build the dummy, this will add additional costs. However, by following the steps in this article and gathering materials wisely, you can keep the cost of making a wooden dummy as low as possible.
Can I Make a Wooden Dummy Out of Pallet Wood?
Yes, you can make a wooden dummy out of pallet wood. This is a great way to save money while still creating a strong structure. Be sure to inspect the wood for nails or other possible hazards before using it. Additionally, sand all parts of the dummy to smooth out any rough edges. With proper preparation, you can make a sturdy and durable wooden dummy from pallet wood.
What Size Should I Make My Wooden Dummy?
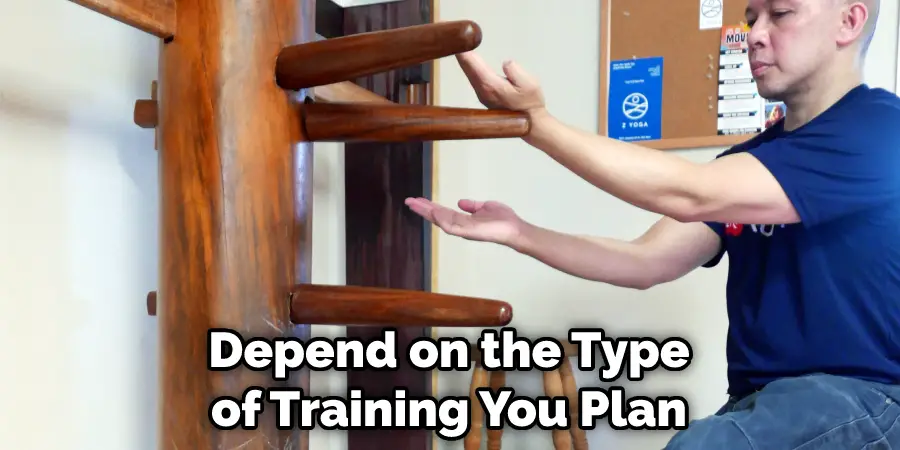
The size of your wooden dummy will depend on the type of training you plan to use it for and how much space you have available. Generally, dummies range in height from four to five feet.
Make sure to measure the space you have available before starting your project. Additionally, consider the weight of the dummy when planning its size and structure. A heavier dummy might require extra support or thicker wood for safety reasons.
How Long Does it Take to Make a Wooden Dummy?
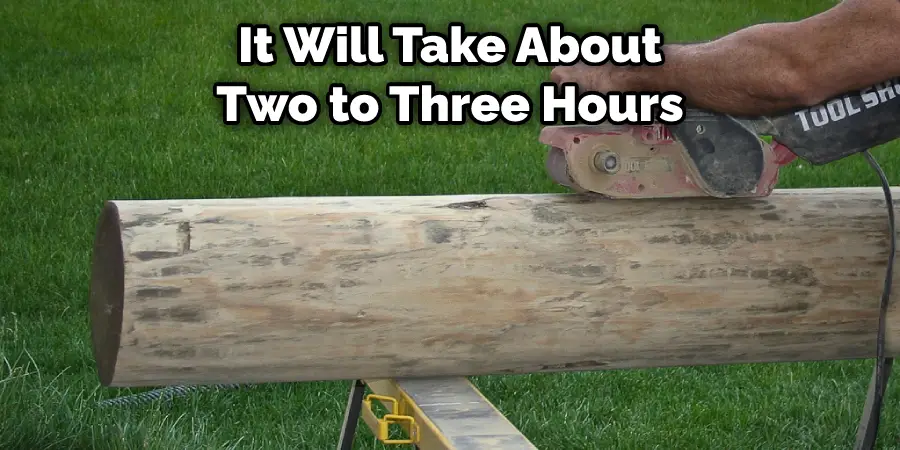
On average, it will take about two to three hours to make a wooden dummy. This time can vary depending on the complexity of the project and how experienced you are with woodworking tools. Make sure you have all of your materials ready before starting and set aside enough time for the job. By taking your time and following instructions, you can create a safe, sturdy wooden dummy in no time!
Conclusion
Now that you have a step-by-step guide on how to make a wooden dummy, you can show off your skills in your woodworking shop. Not only is it fun and useful, but it also helps to pass knowledge from one generation to the next. Remember to stay safe when working with wood, wear safety glasses and use tools appropriately.
Regardless if it’s for martial arts purposes or because you simply love building things, this project will require dedication and commitment. Start by sketching out what you want your wooden dummy to look like then grab your tools and get crafting! Always remember to enjoy the process because that is an important element in learning all sorts of skills. Have fun building your dummy – may all of your projects be successful!

