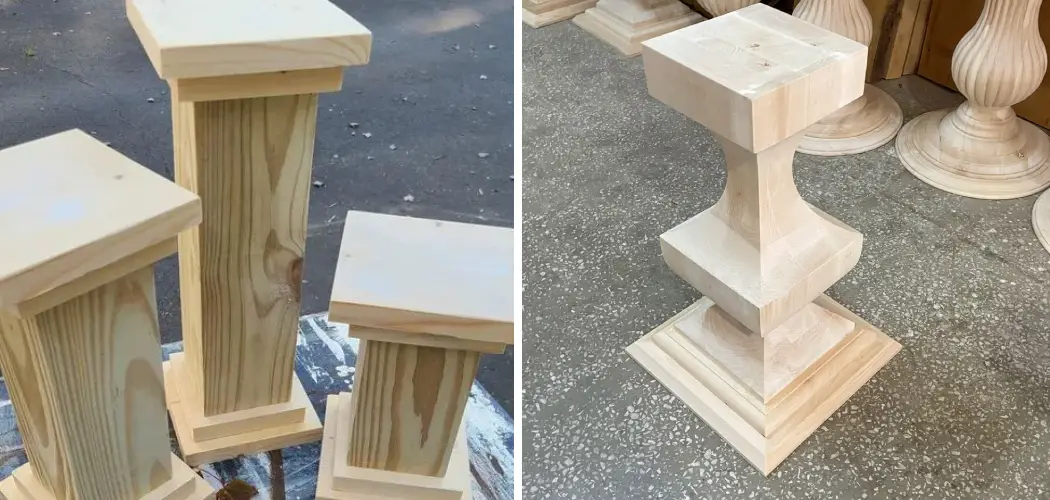
Making a wood pedestal is a great way to add a unique and personalized touch to your home decor. Not only can it serve as a functional piece of furniture, but it can also be a beautiful statement piece in any room. Plus, making something by hand is always satisfying and rewarding.
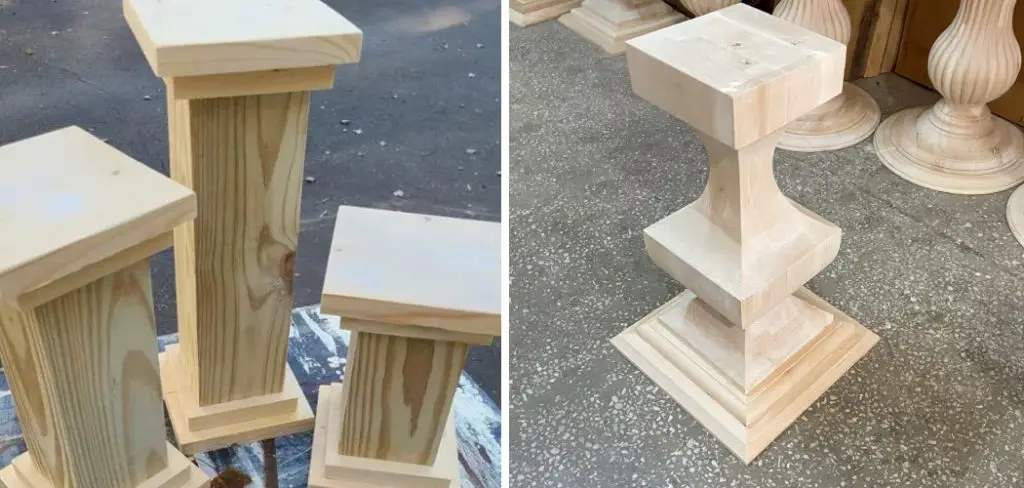
The main advantage of making a wood pedestal is the ability to create a custom and unique piece that fits perfectly in your space. With wood, you have endless options for customization including different types of wood, finishes, and designs. Additionally, making your own wood pedestal can be a cost-effective option compared to purchasing one from a store. Read this blog post to learn how to make a wood pedestal.
Tools You Will Need
- Table Saw
- Jigsaw
- Power Drill
- Wood Clamps
- Sander
- Orbital Sander or Belt Sander
- Screwdriver Set
- Measuring Tape and Ruler
- Carpenter’s Square
Step-by-step Instructions for How to Make a Wood Pedestal
Step 1: Inspect Your Wood Pieces
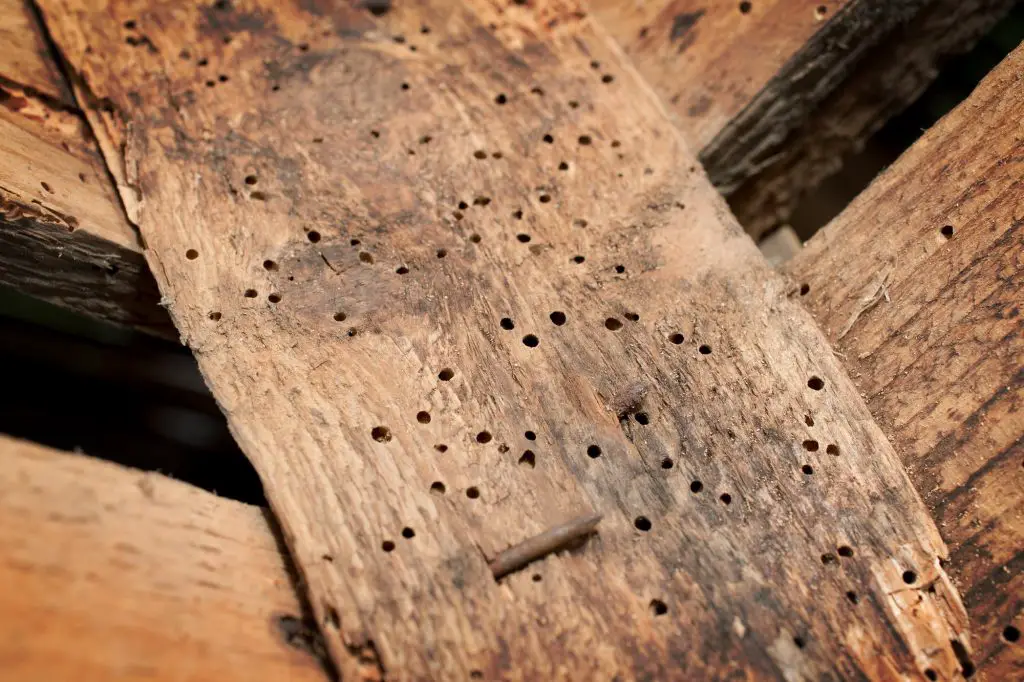
Before starting any woodworking project, it’s important to inspect your materials. Check for any damage or defects in the wood that may affect the stability of your pedestal. Choosing the right type of wood is crucial for a successful project. Opt for a hardwood such as oak, birch, or maple for its strength and durability.
Step 2: Cut Your Wood Pieces to Size
Using a saw or other cutting tool, cut your wood pieces to the desired size. For a standard pedestal, you will need two square pieces for the base and top, and four rectangular pieces for the sides. Take the time to sand down all of your wood pieces. This will create a smooth surface and prevent any splinters or rough edges.
Step 3: Create a Template
To ensure that your pedestal is symmetrical, create a template using cardboard or paper. This will serve as a guide for placing your wood pieces in the correct position. ww, assemble the two square pieces to create the base of your pedestal. Use clamps to hold them together until the glue dries.
Step 4: Attach Side Pieces
Next, use wood glue and clamps to attach the four rectangular pieces to the base. Make sure they are evenly spaced and aligned with the edges of the base. Once the glue has dried, add the top square piece using wood glue and clamps. This will complete the basic structure of your pedestal.
Step 5: Sand Down Any Rough Edges
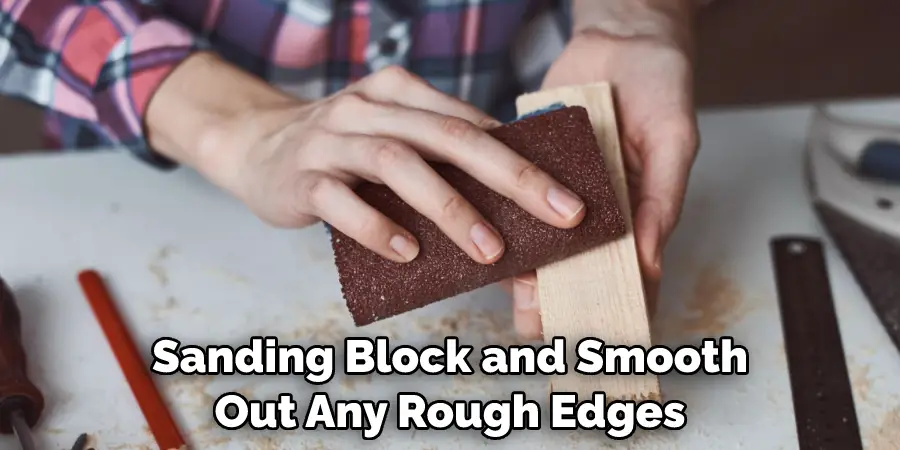
Take a sandpaper or sanding block and smooth out any rough edges or imperfections on your pedestal. If desired, you can stain or paint your pedestal to match your existing furniture or decor. Allow the stain or paint to dry completely before moving on to the final step.
Step 6: Apply a Protective Finish (Optional)
To add extra protection and durability, you can apply a clear coat finish to your pedestal. Allow it to dry completely before handling. Keep practicing and experimenting with different woodworking techniques to continue improving your skills.
Precautions for How to Make a Wood Pedestal
- Always wear protective gear such as safety glasses, gloves, and a dust mask when working with wood.
- Use caution when operating power tools and follow all manufacturer instructions for safe use.
- Make sure your work area is clean and free of clutter to prevent injuries or accidents.
- Never leave power tools unattended while they are still running.
- Double check your measurements before cutting any wood to avoid wasting materials.
- Take breaks and rest your hands and arms frequently to prevent strain or fatigue.
- If you are new to woodworking, seek guidance from someone with more experience or take a class before attempting more complex projects. Safety should always be the top priority when working with any type of tools or materials.

By following these precautions, you can ensure a safe and successful woodworking experience.
What Technique Should You Use to Sand and Finish the Wood for a Smooth Surface?
Sanding and finishing are crucial steps in creating a wood pedestal. The right technique can make all the difference in achieving a smooth, flawless surface for your project. Here are some tips on how to sand and finish your wood pedestal for optimal results.
Step 1: Choose the Right Sandpaper
Choosing the right sandpaper is key to achieving a smooth surface on your wood pedestal. The grit of the sandpaper will determine how rough or fine the surface will be after sanding. Generally, a lower grit number (around 80-100) is used for more aggressive sanding to remove any imperfections or rough spots on the wood. A higher grit number (around 180-220) is then used for finer sanding to achieve a smooth finish.
Step 2: Sand with the Grain
Always sand with the grain of the wood to avoid creating scratches or marks in the surface. This will also ensure that your final finish looks consistent and uniform.
Step 3: Use an Orbital Sander for Efficiency
For larger surfaces, such as a wood pedestal, using an orbital sander can save you time and effort. This type of sander moves in a circular motion, making it less likely to leave any marks or swirls on the wood.

Step 4: Finish with Fine Sandpaper
After sanding with the lower grit sandpaper, switch to a higher grit (around 180-220) for a final smooth finish. Be sure to remove any dust or debris between sanding steps to avoid scratching the wood.
Step 5: Apply Finish for Protection and Shine
Once you have achieved a smooth surface, it’s important to apply a finish to protect the wood and give it a glossy shine. You can choose from various finishes, such as varnish, polyurethane, or wax, depending on your preference.
Step 6: Apply Multiple Coats for a Durable Finish
For added durability, it’s recommended to apply multiple coats of finish. This will not only protect the wood from wear and tear but also enhance its appearance.
By following these techniques, you can achieve a smooth surface that will make your wood pedestal stand out. So, before you start building your next wood project, keep these tips in mind for a flawless finish.
What is the Best Way to Attach the Top Surface of the Pedestal to the Base?
After sanding and finishing your wood pedestal, the next step is attaching the top surface to the base. This is an important step as it ensures that your pedestal stays stable and secure. Here are some methods to consider for attaching the top surface of your pedestal to the base.
1. Glue and Clamps
Using a strong wood glue, apply a generous amount to the top of the base and carefully position the top surface on it. Use clamps to hold the two pieces together while the glue dries. This method provides a strong bond between the two pieces.
2. Screws
Another option is to use screws to attach the top surface to the base. Pre-drill holes in both pieces, then use screws that are long enough to go through the top surface and into the base. This method provides a secure hold and allows for easy disassembly if needed.
3. Dowels
Dowels are wooden pegs that can be used to join two pieces of wood together. To use this method, drill holes in both the top surface and base, insert dowels into one piece, and then fit the other piece onto the dowels for a strong connection.
4. Pocket Holes
Pocket holes are created using a jig and allow for hidden screws to be used in joining two pieces of wood together. This method provides a clean, seamless look on the surface of your pedestal.
Consider which method will work best for your specific wood pedestal project based on durability, appearance, and ease of assembly. Whichever method you choose, make sure to follow the instructions carefully for a sturdy and secure attachment.
How Long Does It Typically Take to Create a Wood Pedestal From Start to Finish?
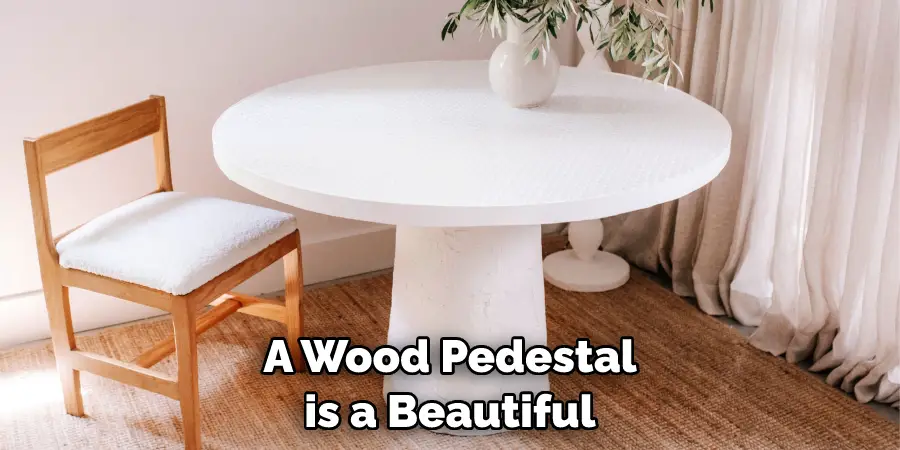
A wood pedestal is a beautiful addition to any home decor, adding rustic charm and a touch of nature to any room. Whether you’re using it as a display stand for your favorite vase or creating a unique side table, making a wood pedestal can be a fun and rewarding project.
But if you’ve never made one before, you may be wondering how long the process will take. This can vary depending on your level of experience, the complexity of the design, and the type of wood you’re using. In this guide, we’ll give you a general idea of how long it typically takes to create a wood pedestal from start to finish.
What Types of Wood Are Best for Making a Pedestal?
When it comes to making a wood pedestal, choosing the right type of wood is essential. Not all woods are created equal and some may be better suited for different projects than others. The first thing to consider when selecting wood for your pedestal is the purpose and function of the final product. Will it be used indoors or outdoors? Will it be supporting heavy objects or just decorative items? These factors will help determine the type of wood that is best suited for your project.
Some of the most common types of wood used for making pedestals include oak, maple, walnut, and cherry. These hardwoods are known for their durability and strength, making them ideal for supporting heavy objects. They also have a beautiful grain pattern that adds to the aesthetic appeal of the pedestal.
Other factors to consider when choosing wood for your pedestal are cost, availability, and workability. Some woods may be more expensive or harder to find than others. You should also consider how easy it is to work with a particular type of wood. For beginners, woods that are easier to cut and shape may be more suitable.
How Do You Prevent Warping or Cracking of the Wood Over Time?
While there are no set measurements or angles that you must follow for a wood pedestal design, it is recommended to use the golden ratio of 1:1.618 for optimal proportions. This means that the height of your pedestal should be 1.618 times the width. As for preventing warping or cracking of the wood over time, here are some steps you can take:
- Choose the right type of wood – hardwoods like oak, maple, and cherry are less prone to warping and cracking than softwoods.
- Properly seal or finish the wood to protect it from moisture. This can be done with a varnish or polyurethane coating.
- Allow the wood to acclimate before building – this means leaving it in the space where you will be using it for a few days so it can adjust to the temperature and humidity.
- Use proper joinery techniques – strong joints will help keep your pedestal sturdy and prevent warping.
- Avoid placing your pedestal in direct sunlight or near sources of heat, as this can cause the wood to warp or crack.
By following these steps, you can ensure that your wood pedestal will last for many years to come without any issues.

Conclusion
In conclusion, learning to make a wood pedestal can be a fun and rewarding experience. However, like any other project, there are certain disadvantages that come with it. These may include the need for specialized tools and materials, as well as the potential for mistakes or mishaps during the construction process.
One of the main challenges in making a wood pedestal is ensuring precise measurements and cuts. It requires a high level of precision and accuracy, which can be difficult for beginners or those without experience in woodworking. Additionally, obtaining the necessary tools and materials can be expensive, making it less accessible to some individuals. I hope this article has been beneficial for learning how to make a wood pedestal. Make Sure the precautionary measures are followed chronologically.

