Are you looking for a creative DIY project to add more storage and charm to your home? Making a wall shelf is an accessible and rewarding project that can suit any budget or style.

Whether you’re interested in taking up woodworking as a hobby, are a first-time do-it-yourselfer or are simply looking for an inexpensive way to gain space and impress guests with your craftsmanship: learn how here!
This blog post offers step-by-step instructions on how to make a wall shelf– one built with high-quality materials that will stand the test of time!
Why Make a Wall Shelf?
A wall shelf is a functional and versatile piece of furniture that can serve as both storage and décor. It’s a great way to add dimension and style to any room, especially those with limited floor space. Plus, creating your own wall shelf allows you to customize its size, shape, color and design to perfectly match your unique taste.
Materials Needed
The materials needed for this project may vary depending on the design of your shelf. However, here are some basic items that are typically required:
- Wood (Sizes and Types May Vary)
- Screws or Nails
- Wall Anchors
- Sandpaper
- Paint or Stain (Optional)
- Saw
- Drill or Hammer
11 Step-by-step Instructions on How to Make a Wall Shelf
Step 1: Measure the Area
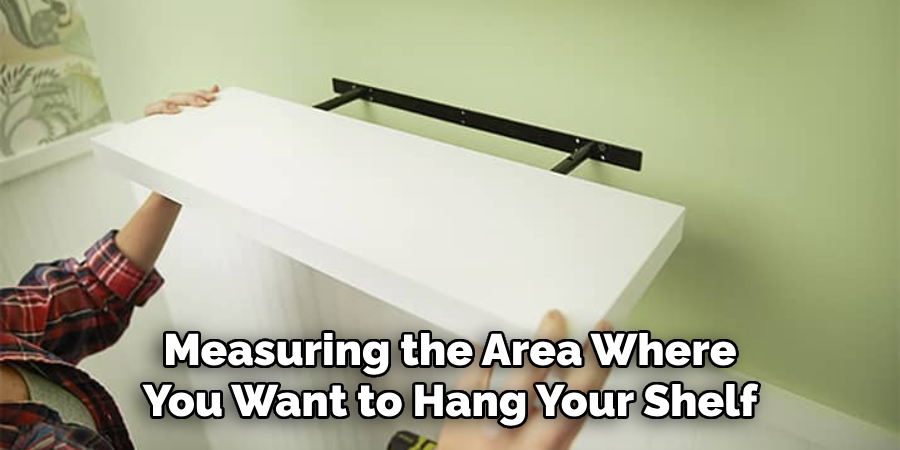
Start by measuring the area where you want to hang your shelf. This will determine the length, width and depth of your shelf. Keep in mind that the shelf should be at least 6 inches shorter than the total length of the wall to allow for wall anchors on either end. It’s always better to err on the side of caution and make your shelf slightly smaller. But, if your shelf is too long, it may not be able to hold enough weight.

Step 2: Choose the Wood
Select a type of wood that’s strong enough to support the items you plan on storing on the shelf. The thickness of the wood should also be taken into consideration based on its length. Popular choices for wall shelves include pine, oak, and cedar. It’s also important to choose wood that is free of knots and other imperfections, as these can weaken the structure.
Step 3: Cut the Wood
Using a saw, cut your wood to the desired length and width. If possible, have this done at the hardware store where you purchase your wood for added convenience. You can also choose to have the wood cut into different shapes or even add decorative edges using a router. This step can be omitted if you opt for pre-cut wood pieces.
Step 4: Sand the Wood
Using sandpaper, smooth out any rough edges or imperfections on your wood pieces. You want your shelf to have a clean and polished look, so make sure to take your time with this step. It’s also important to sand the corners and edges of your shelf to prevent splinters. This step can also be done before cutting the wood. You may want to use different grades of sandpaper for a smoother finish.
Step 5: Stain or Paint (Optional)
If you prefer a natural wood look, you can skip this step. But if you want to add some color and personality to your shelf, now is the time to stain or paint it. Make sure to let the wood dry completely before moving on to the next step. Otherwise, the paint or stain may affect the adhesion of the wall anchors. But if you’re using pre-finished wood, you can go straight to the next step.
Step 6: Drill Holes
Using a drill or hammer, create holes in each corner of your shelf where it will be attached to the wall. These holes should be slightly smaller than the screws or nails you plan on using so that they can securely hold the weight of the shelf.

It’s important to make sure the holes are level and evenly spaced. It may be helpful to mark the areas beforehand. But if you have a pre-finished wood, you can use screws or nails without drilling holes.
Step 7: Attach Wall Anchors
Wall anchors are essential for securely hanging your shelf on the wall. These expandable plastic pieces help distribute the weight of your shelf and prevent it from pulling out of the wall. Follow the instructions provided with your wall anchors to properly install them into the wall at each marked spot. It may be helpful to use a level to ensure the anchors are straight.
Step 8: Hang Shelf
Once the wall anchors are in place, carefully hang your shelf by aligning the holes with the wall anchors and gently pushing in screws or nails through each hole. Make sure everything is level before fully securing the screws or nails into the wall. Use a level again to double-check if needed. You can also use a stud finder to locate the studs in your wall for added stability.
Step 9: Add Support Brackets (Optional)
If you’re planning on storing heavier items on your shelf, it may be necessary to add support brackets underneath. These can be installed by drilling holes into both the wall and shelf and attaching them with screws. For a more seamless look, you can choose to paint or stain the brackets to match your shelf. It’s always better to be safe than sorry when it comes to the weight your shelf can hold.
Step 10: Decorate
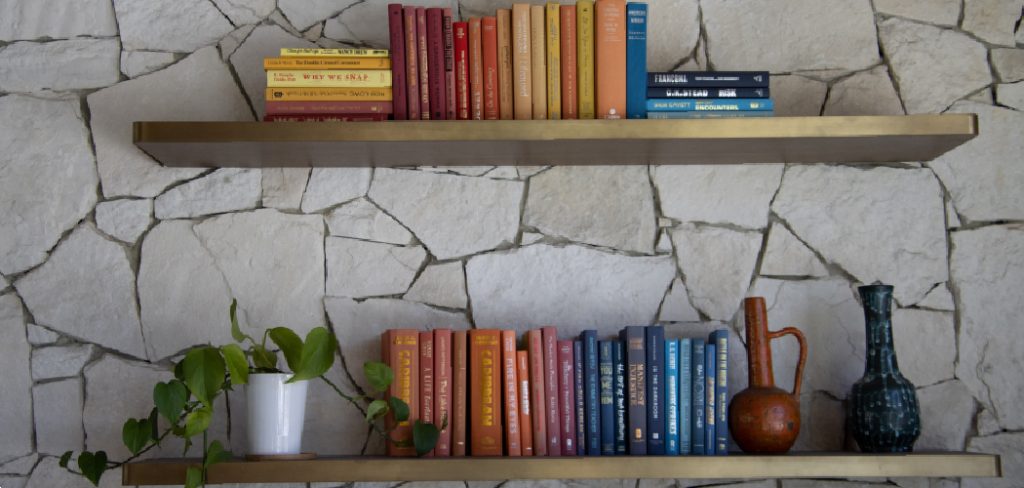
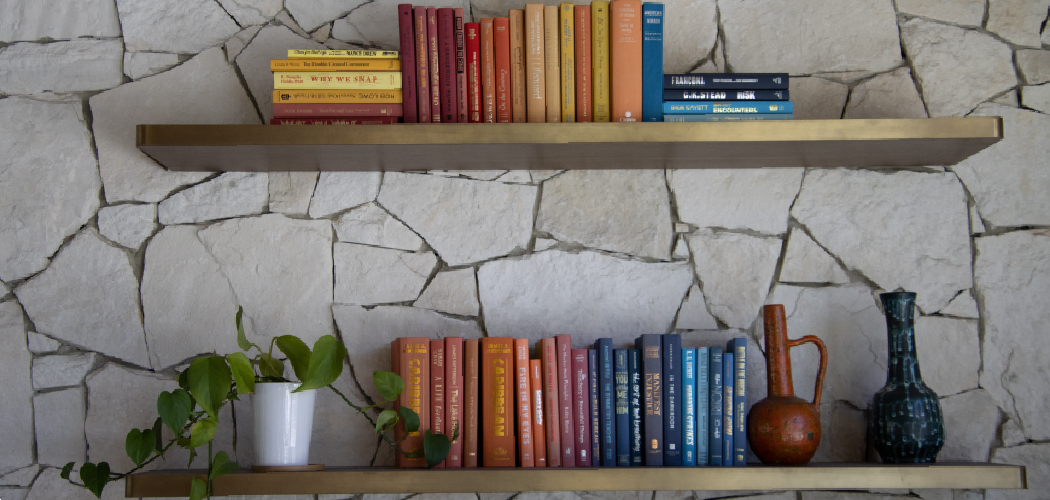
Now that your shelf is securely mounted on the wall, it’s time to decorate it! You can add books, plants, picture frames or any other items that you want to display. Make sure not to overload the shelf and stick to the weight limit recommended by your wall anchors. You can also change up the décor on your shelf based on seasons or occasions.
Step 11: Enjoy Your Custom Wall Shelf!
Congratulations, you’ve successfully made your own custom wall shelf that’s both functional and decorative. Not only did you save money by making it yourself, but you also have a unique piece of furniture that perfectly fits your space and style. Now sit back, relax and enjoy your new creation! So why wait? Start making your very own customized wall shelf today with these simple step-by-step instructions!
Following these steps on how to make a wall shelf, you can create a wall shelf that not only serves as storage but also adds character to your living space. Remember to use high-quality materials and tools for a sturdy and long-lasting shelf.

You can also experiment with different designs and finishes to make your shelf truly one-of-a-kind. And don’t be afraid to ask for help or seek inspiration from online tutorials or DIY blogs.
Do You Need to Hire a Professional?
Making a wall shelf is a relatively simple and straightforward process, but if you’re unsure or uncomfortable with using power tools, it may be best to hire a professional to ensure the safety of your shelf. Additionally, if you plan on attaching the shelf to plaster walls or have specific design requirements, seeking professional help may be necessary.
Overall, creating a DIY wall shelf can be a fun and rewarding project for anyone looking to add some organization and style to their home. With careful planning and execution, you can proudly display your belongings on a custom-made piece that reflects your personal flair. So why not give it a try? Happy crafting!
Frequently Asked Questions
Q: Can I Use Any Type of Wood for My Wall Shelf?
A: You can use any type of wood that is strong enough to support the weight of your desired items. However, it’s important to note that softer woods may be more prone to warping or bending over time. Hardwoods like oak or pine are recommended for their strength and durability.
Q: How Do I Determine the Weight Limit of My Wall Shelf?
A: The weight limit of your shelf will depend on the type of wall anchors used. Most wall anchors have weight limits stated on the packaging, so be sure to check before installing them. It’s also important to evenly distribute the weight on your shelf and not overload it with heavy items.
Q: Can I Make a Floating Shelf Using These Steps?
A: Yes, you can make a floating shelf using these steps by omitting step 7 (attaching wall anchors) and instead using a special bracket designed for floating shelves. This type of bracket is hidden within the shelf itself, giving it a floating appearance. So, go ahead and have fun creating your custom wall shelf!
Q: Do I Need to Use a Stud Finder for Installing Wall Anchors?
A: While using a stud finder is not necessary, it is recommended as it can provide added stability and support for your wall shelf. If you’re unsure about the structure of your walls or plan on storing heavier items, using a stud finder can help ensure the safety of your shelf.

Conclusion
In conclusion, we have explored how to make a wall shelf in great detail. We have discussed the materials needed for the shelf, how to plan and design it, the steps for cutting the wood and assembling the shelf, as well as how to hang it securely on your wall.
Now that you know this essential DIY skill, you can finally create your own beautiful shelf for displaying objects of any size or shape! No longer wait to bring style and organization into your house – get creative and make your wall look amazing with a handcrafted shelf today!

