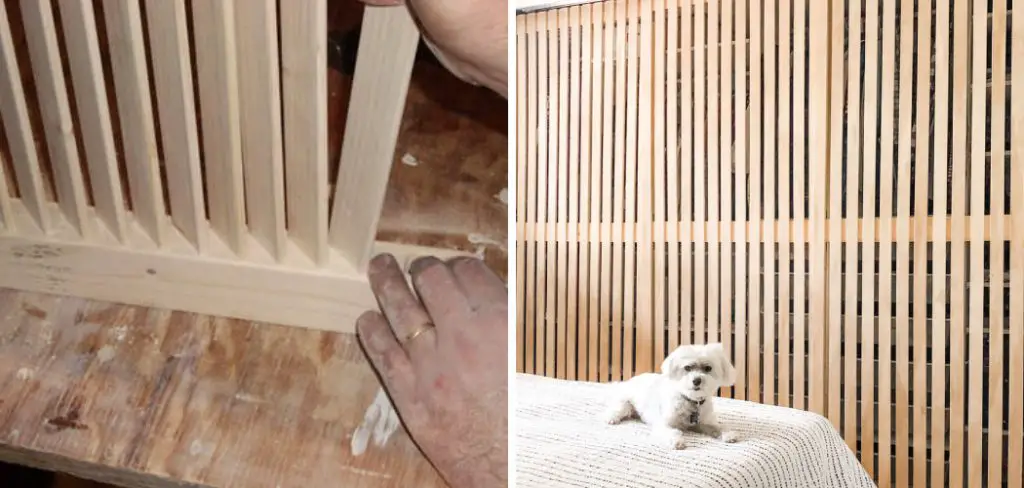
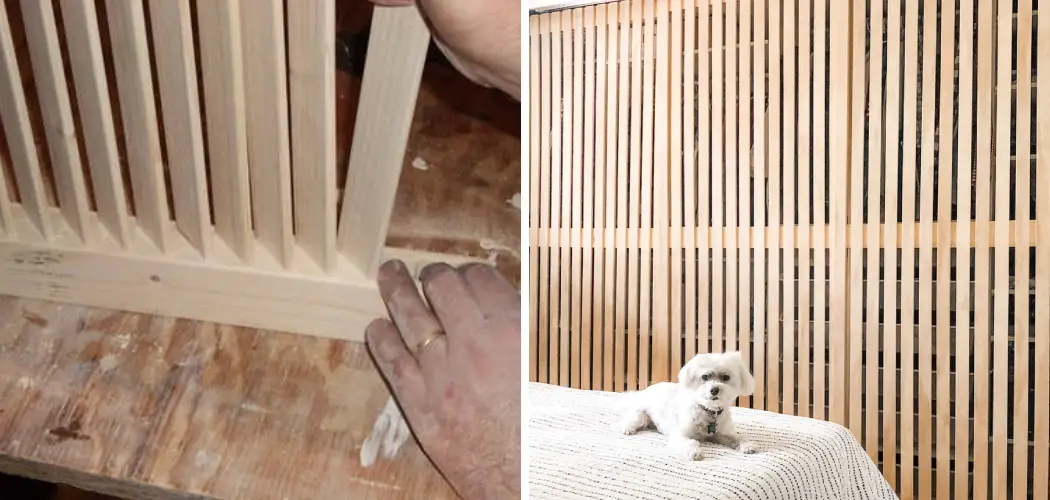
If you’re looking for a unique and interesting way to add character to your home, try making your slatted door. Not only is it simple enough for anyone to do at home, but the slats allow different levels of light inside while still providing a sense of privacy from the outside world. It is important to know how to make a slatted door.

Plus, with so many different design possibilities, there’s sure to be something that fits your taste and décor. In this blog post, we’ll teach you all the steps involved in creating a beautiful slatted door —from materials and tools selection right through to installation —so that you can easily transform any doorway into an eye-catching accent piece!
Tools You Will Need
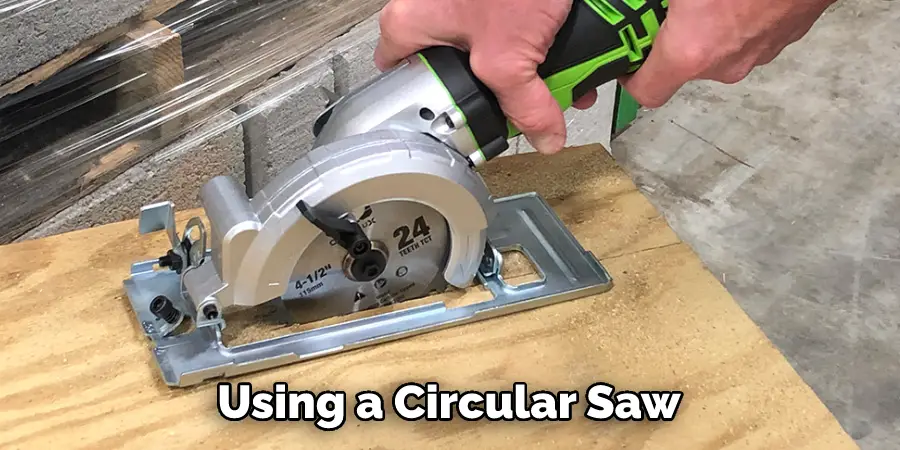
- Circular Saw
- Tape Measure
- Pencil
- Hammer
- Nails
- Chisel
- Sandpaper
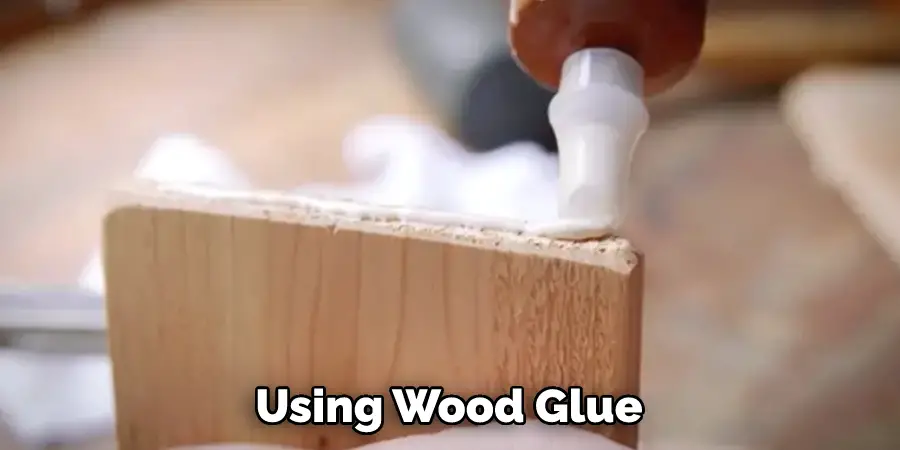
- Wood Glue
Materials
- Hardwood boards of your choice, approximately 1/4 inch thick and 8 inches wide. The number you need will depend on the size of the door you are making
- 1×4 boards for the frame
- 2x4s to support the frame
- Stain or paint of your choice
Top 5 Steps on How to Make a Slatted Door
Step 1: Measure and Cut The Frame
Start by measuring the opening where the door will fit. With a pencil, mark on the wall where you will cut out the frame. Using a circular saw, cut out the marked frame. To ensure a good fit, you can use an edge trim to adjust any uneven edges.
Making a custom door is not as difficult as one may think; it all starts with measuring the frame and cutting the wood for the slats. You will want to measure the width and height of the frame first before cutting, making sure to leave enough space between each slat to allow air ventilation.

A jigsaw saw, or power drill can all be used to make your cuts once you have taken your measurements. To finish off your project, use nails and panel pins to attach the slats securely into place in the pre-existing frame. With just these few easy steps you can have your custom door ready for installation in no time!
Step 2: Assemble The Frame
Lay out the 1x4s and attach them with wood glue and nails, forming a box that fits the opening where the door will fit. Lay two 2x4s across the top and bottom of the frame to provide additional support.
If you’re looking for an eye-catching and easy-to-assemble door, consider building a slatted door. To begin assembling the frame, start with the stiles – two long pieces running down the sides of your door. Once those are in place, measure out the middle of each rail using a ruler and then cut it to fit.
Depending on your particular design, you may need to bevel or shape the ends of the rail strips before assembly. Once all of this is complete and you’ve double-checked that every piece is level and aligned correctly, you can secure everything in place with brad nails or a nail gun. Finally, after many hours of hard work and attention to detail, your slatted door will be finished!
Step 3: Cut The Slats
Measure and mark on each hardwood board where you will cut out the slats. Make sure that all of your cuts are even and uniform in size. Use a chisel or other suitable tool to cut out the slats.
Cutting the slats for your slatted door can be a tedious task, but if done with patience and precision, you will end up with a beautiful finished product. Measure and marking each hardwood board according to your designated dimensions.

Make sure all cuts are uniform in size! Using a chisel or any other suitable tool, chip away at the wood until you have reached your designated width and length. Pay close attention to not overcutting too much material which could otherwise compromise the structural integrity of the slats. After cutting out all of the necessary pieces, assembling the door should be a breeze!
Step 4: Attach The Slats To The Frame.
Apply a thin layer of wood glue on each side of the frame and place each slat in turn, nailing it in place with 2-3 nails. Make sure that all of your slats are even and level before you move on to the next step.
After gathering the necessary materials and tools, it’s time to assemble the door frame by attaching the slats. Start by applying a thin layer of wood glue on each side of the frame and set each slat in place, securing it with two or three nails.
Working carefully and slowly, make sure all of the slats are even and level before you move on to the next step. Take your time when measuring, cutting, sanding, and hammering the wooden slats into place to ensure that the door fits perfectly in its designated space. With patience and precision, you can build an attractive door that is durable enough to stand up to everyday wear and tear.
Step 5: Finish and Install.
Once the glue has dried, you can sand down your frame and slats for a smooth finish. Apply stain or paint to the door as desired and voila —your homemade slatted door is ready for installation! Make sure that the hinges are securely attached so that the door is balanced and stable when opened.
Finishing and installing your slatted door may sound like a complicated task, but it can be done with a few simple steps. Begin by sanding down the frame and slats for a perfectly smooth finish. Once dried, you can apply stain or paint to give your new door the desired look.
When all is ready, install the door using secure hinges so that it will be balanced and stable when in use. With a bit of effort, you’ll have your very own homemade slatted door up in no time, adding style and convenience to any room in the house.

Congratulations on making your slatted door! With this guide, you can now easily add a unique touch of character to any room in your home. Enjoy showing off your newfound skills with friends and family —it’s sure to be the perfect conversation starter!
Tips to Make a Slatted Door
- When choosing wood for your slatted door, it is important to select a type that is both strong and durable. Cedar is a good option, as it is naturally resistant to rot and insect damage. You will also want to choose a wood that is easy to work with, such as pine or fir.
- Once you have selected the wood you will be using, cut the slats to size using a saw. The slats should be the same width as the door frame and about 1/2 inch thick.
- Next, drill holes for the slats in the door frame. The holes should be evenly spaced and slightly larger than the width of the slats.
- Insert the slats into the holes in the door frame, making sure that they are snugly fit. If necessary, use a hammer to lightly tap them into place.
- If desired, add L-brackets to the back of the door for additional support. The brackets should be placed at both the top and bottom of the door.
- Attach hinges to the door frame using screws or nails. There should be two hinges placed evenly on each side of the door.
- Place the door in its desired location and use screws or nails to attach it to either side of the opening. Make sure that it is level before completely attaching it in place.
- If desired, add a latch or lock to keep the door closed. There are many different types available, so choose one that best suits your needs.
How to Choose the Right Wood for Your Slatted Door?

When selecting the right wood for your slatted door, there are a handful of key things to consider. First, you will want to select a type of wood that is sturdy and will last a long time when exposed to nature’s elements.
Another important factor to keep in mind is that some woods can be treated so they are pest and insect resistant, whereas others will not hold up as well over time. Additionally, certain woods are better suited for doors with intricate designs or multiple panels; these types must be strong enough to hold the weight of the design.
Visual appeal is also an important point to consider when choosing the right wood; depending on your needs and preferences, you may want a lighter or darker hue or a patterned grain. Finally, make sure that you select wood that is certified to ensure sustainability for years to come.
Making Your Own Slatted Door from Scratch
Creating your custom-made slatted door is a fantastic project that can be both immensely fulfilling and functional. This DIY task may seem intimidating, but with careful planning, the right tools, and plenty of patience, you can have a fabulous new entryway in no time. Begin by measuring the door space and designing a template to ensure all pieces are tailored to fit the frame perfectly.
If this is your first time giving carpentry a go, it may be helpful to practice a few cuts on scrap lumber before working on the important pieces. Once everything is measured out and cut accordingly, the assembly should be a breeze using wood glue and screws to firmly secure each board in place.

Creating an attractive door ready for staining or painting to finish off the look. With effort and attention to detail, handmade slatted doors will add character and polish to any home décor.
How to Create an Attractive, Durable Slatted Door at Home?
If you’re looking for a project that will give your home an updated look while being functional and durable, creating a slatted door is the perfect solution. By simply cutting individual strips of your desired material – such as wood, metal, or other composite materials – and installing them in overlapping rows to create a lattice pattern, you can make an attractive, long-lasting doorway that will be the talk of your neighborhood.
When choosing the material for your door, it’s important to consider the climate in which it will be used. Some materials may work better than others depending on temperature swings, humidity, or salt content in the air. You also need to factor in weight when deciding on thinner materials like wood slats.
This can affect the hardware and hinges you choose for long-term use and security. With careful planning and patience, it is possible to construct a unique slatted door at home that will offer years of beauty and function with minimal maintenance requirements.
Conclusion
With a few hours and some straightforward supplies, you can make your slatted door add style and function to any space. You should carefully determine how to make a slatted door.
Whether you’re looking for extra privacy or simply want to update the look of your home, this is a project anyone can tackle. So gather your materials, clear some workspace, and get started on making your very own slatted door!
You Can Check It Out to Straighten a Warped Barn Door

