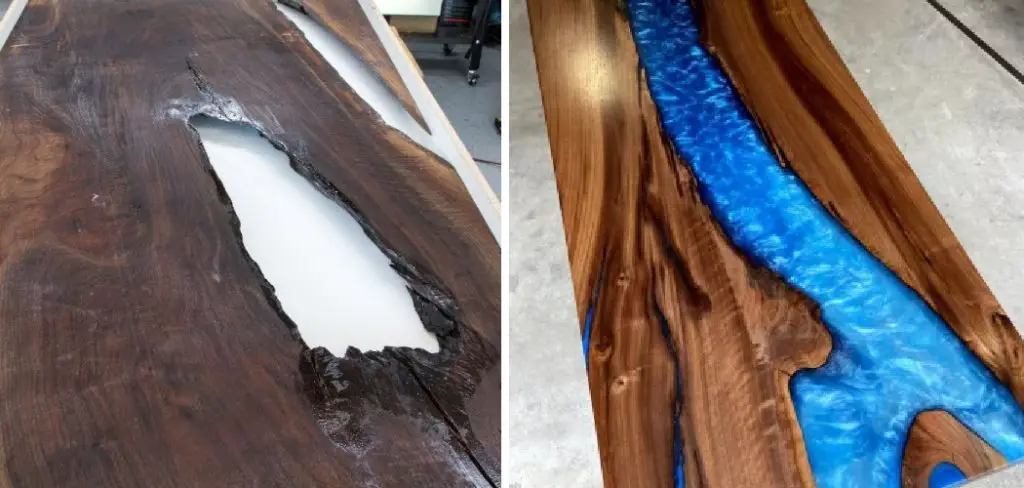
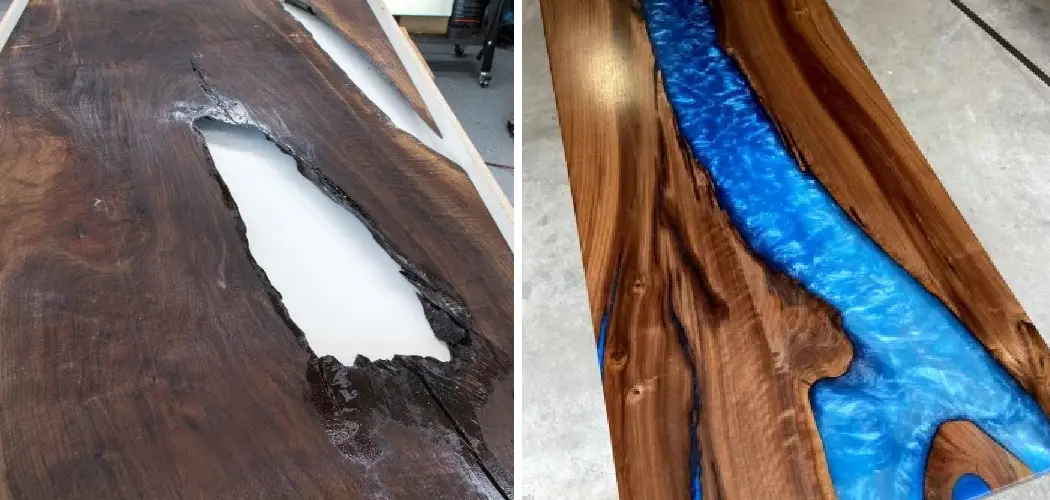
Making a resin table mold can be an exciting and rewarding experience. Not only does it allow you to create unique and personalized pieces of furniture, but it also gives you the freedom to experiment with different designs and techniques. By making your own resin table mold, you have the opportunity to showcase your creativity and artistic skills.

Resin tables have become increasingly popular in recent years, mainly due to their unique and eye-catching look. These tables are made using a combination of resin and wood, resulting in a beautiful and one-of-a-kind piece of furniture. One of the key components of making a resin table is creating a mold that will hold the resin as it cures. In this blog post, You will learn in detail how to make a resin table mold.
Materials You Will Need
- Epoxy Resin
- Hardener
- Mold Release Spray
- Mixing cups
- Stir sticks or a drill with a mixing attachment
- Gloves
- Dust mask
- Clear plastic sheeting or drop cloth to cover your work area
- Painters tape
- Table base or legs (or other object you want to create a mold of)
Step by Step Processes for How to Make a Resin Table Mold
Step 1: Inspect the Table for Imperfections
Before starting to make a resin table mold, it is important to inspect the table for any imperfections. This can include scratches, dents, or uneven surfaces. If the table has imperfections, it may affect the final result of the mold.
Step 2: Clean and Sand the Table Surface
Once you have inspected the table and identified any imperfections, it is time to clean and sand the surface. This will help remove any dirt or debris and create a smooth surface for the mold. Next, apply a release agent to the table surface. This will ensure that the resin does not stick to the table and can be easily removed once it has cured.
Step 3: Build a Mold Box
To create the mold, you will need a mold box. This can be made using wood or cardboard and should be slightly larger than the table to allow for the thickness of the resin. Once your mold box is ready, secure the table in place using hot glue or screws. Make sure it is centered and level in the mold box.
Step 4: Mix and Pour Resin
Now it’s time to mix your resin according to the manufacturer’s instructions. Once mixed, pour the resin over the table, making sure to cover all surfaces evenly. To prevent air bubbles from forming in your mold, use a heat gun or blowtorch to gently remove them. Be careful not to apply too much heat, as this can cause the resin to cure too quickly.
Step 5: Allow Resin to Cure

After removing any air bubbles, allow the resin to cure according to the manufacturer’s instructions. This can take anywhere from 24-48 hours depending on the type of resin used. Once the resin has fully cured, carefully remove the mold box and release agent from the table. Use a sharp knife to gently pry any edges that may be stuck.
Step 6: Sand and Finish
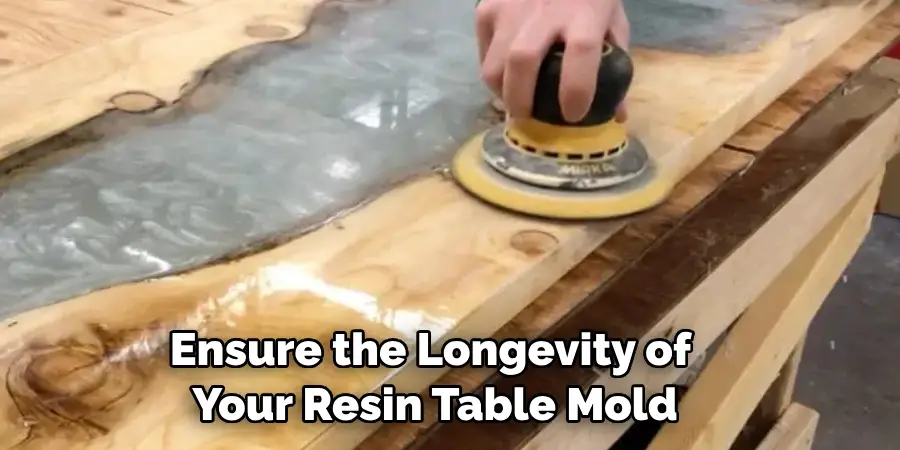
Finally, sand down any rough edges or imperfections on the mold using sandpaper. You can also add a finishing coat or polish for a glossy appearance. Your resin table mold is now complete and ready to use for your next project.
With these simple steps, you can easily make a resin table mold and create unique and beautiful pieces of furniture. Keep experimenting with different colors and techniques to achieve stunning results every time.
Safety Precautions for How to Make a Resin Table Mold
When working with resin, safety should always be a top priority. Here are important tips to keep in mind when making a resin table mold:
- Resin can be toxic and irritating to the skin and lungs, so it is important to wear gloves, long sleeves, and a respirator mask when handling it.
- Make sure to work in a well-ventilated area and avoid inhaling fumes by using a respirator mask or setting up a fan to blow the fumes away from you.
- Always read the instructions and warnings on your resin product carefully before use.
- Use protective measures such as plastic sheeting or drop cloths to cover your workspace and protect it from spills and splatters.
- Avoid contact with food or drinks while working with resin, as it can be harmful if ingested.
- Keep children and pets away from your workspace when working with resin, as they may accidentally come into contact with the toxic material.
- Dispose of any unused resin and its containers properly according to local regulations.

In addition to these safety precautions, it is also important to have a clear understanding of the process and materials involved in making a resin table mold. Proper preparation and technique can result in a successful and safe project.
What is the Best Way to Remove Air Bubbles From the Resin Before It Cures?
One important aspect to consider when making a resin table mold is the curing time of the resin. Curing refers to the process of hardening and solidifying the resin, which can vary based on the type and brand of resin used. Typically, it can take anywhere from 12-24 hours for a layer of resin to fully cure. However, factors such as temperature and humidity can also affect the curing time.
To ensure a smooth, flawless finish on your resin table mold, it is important to remove any air bubbles that may have formed during the pouring process. To do so, you can use a heat gun or kitchen torch to carefully and quickly pass over the surface of the resin. This will cause any air bubbles to rise to the surface and pop, leaving behind a smooth surface. Alternatively, you can also use a needle or toothpick to carefully poke and remove any visible air bubbles.
Some Common Mistakes People Make When Creating a Resin Table Mold
1. Not Using Enough Release Agent
One of the most common mistakes people make when creating a resin table mold is not using enough release agent. Release agents are used to prevent the resin from sticking to the mold, making it easier to remove once it has cured. If you don’t use enough release agent, your mold may end up getting stuck to the resin and ruining your project. It’s important to thoroughly coat your mold with release agent before pouring in the resin.
2. Using the Wrong Type of Release Agent

Another mistake people make is using the wrong type of release agent for their specific mold and resin combination. Different types of resins may require different types of release agents, so it’s important to do your research and choose the right one for your project. Using the wrong release agent can lead to a failed mold and wasted materials.
3. Improperly Measuring Resin and Hardener
Resin molds require precise measurements of both resin and hardener in order to properly cure. If you don’t measure these components correctly, your mold may not fully cure or could end up brittle and break easily. Be sure to carefully follow the instructions provided by your resin manufacturer and accurately measure both components before mixing.
4. Not Properly Preparing the Mold
Before pouring in the resin, it’s important to properly prepare your mold. This includes making sure it is clean and free of any dust or debris that could affect the final result. You may also need to seal any porous surfaces with a sealer to prevent leakage or bubbles from forming in your mold.
5. Choosing the Wrong Type of Mold
When making a resin table, it’s important to choose the right type of mold for your project. Some molds may not be suitable for resin casting and could end up melting or warping when exposed to the heat of curing resin. It’s best to use a silicone or polyurethane mold specifically designed for resin casting.
6. Rushing the Curing Process
Patience is key when it comes to creating a resin table mold. Rushing the curing process can lead to a failed mold and an uneven surface on your final product. It’s important to follow the recommended curing time provided by your resin manufacturer and avoid moving or touching the mold until it has fully cured. This will ensure a smooth and durable mold for your resin table.
How Do You Properly Clean and Maintain Your Resin Table Mold After Use?

Resin tables have become increasingly popular in recent years, thanks to their durability and unique designs. These tables are made by pouring resin into molds and allowing it to cure into a solid shape. However, just like any other tool or equipment, proper maintenance is necessary to ensure the longevity of your resin table mold. Here are some tips on how to properly clean and maintain your resin table mold after use:
1. Clean the Mold After Each Use
The first and most important step in maintaining your resin table mold is to clean it thoroughly after each use. Resin can be quite sticky and difficult to remove once cured, so it’s crucial to clean the mold while the resin is still wet. This will make the cleaning process much easier and prevent any buildup over time.
To clean your mold, simply wipe it down with a damp cloth or paper towel. If there are any stubborn resin spots, you can use a plastic scraper or old toothbrush to gently remove them. Be sure to avoid using sharp objects that could potentially damage the mold.
2. Use Release Agents
Release agents are substances used to create a barrier between the mold and the resin. They prevent the resin from sticking to the mold and make it easier to remove once cured. There are various types of release agents available, such as silicone spray, petroleum jelly, or cooking oil. Before using any type of release agent on your mold, be sure to read the manufacturer’s instructions and test it on a small area first.
3. Avoid Harsh Chemicals

When cleaning your resin table mold, it’s essential to avoid using harsh chemicals such as bleach, alcohol, or acetone. These substances can damage the mold and affect its lifespan. Stick to mild soapy water or specialized cleaners specifically designed for resin molds.
4. Store Properly
Proper storage is also crucial in maintaining your resin table mold. After cleaning, make sure the mold is completely dry before storing it to avoid any moisture buildup. It’s also best to store the mold in a cool, dry place away from direct sunlight.
5. Inspect Regularly
Lastly, it’s essential to inspect your resin table mold regularly for any signs of wear and tear. Check for any cracks, scratches, or deformities that could affect the quality of your molds. If you notice any damage, it’s best to replace the mold to ensure your resin tables come out perfectly every time.
With proper cleaning and maintenance, your resin table mold can last for many years, allowing you to continue creating beautiful and unique resin tables. So remember to clean after each use, use release agents, avoid harsh chemicals, store properly, and inspect regularly.
Conclusion
In conclusion, making a resin table mold is not as difficult as it may seem. With the right tools, materials, and techniques, you can create a beautiful and unique piece of furniture that will last for years to come.
One important thing to remember when making a resin table mold is to be patient. The process takes time and rushing through it can result in mistakes or imperfections in your final product. Take your time, follow the steps carefully, and don’t be afraid to make adjustments along the way.
Another key factor in creating a successful resin table mold is to have a clear vision of what you want the end result to look like. This will help guide your design choices and ensure that all elements of your mold work together harmoniously. I hope this article has been beneficial for learning how to make a resin table mold. Make Sure the precautionary measures are followed chronologically.

