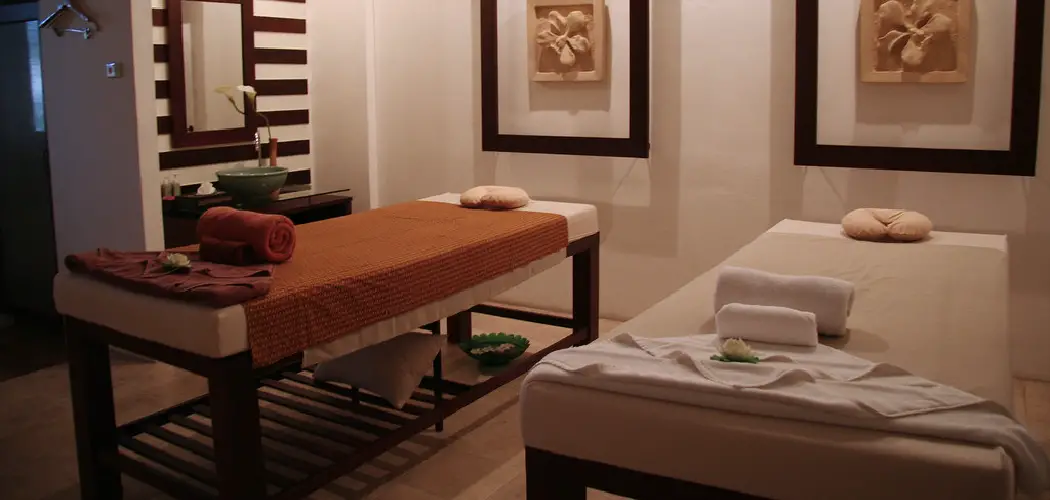
Creating your own massage table is a rewarding endeavor that allows you to tailor a massage surface to your specific needs and preferences. Crafted with care and precision, a homemade massage table can offer comfort and functionality, enhancing the massage experience for both the masseuse and the recipient.
This article is a comprehensive guide on how to make a massage table, covering essential steps such as choosing the right materials, design considerations, construction, and finishing touches.
From selecting the appropriate wood and upholstery to incorporating features like height adjustability and portability, we’ll provide you with detailed instructions and insightful tips to help you build a sturdy, comfortable, and aesthetically pleasing massage table.
Whether you’re a DIY enthusiast or a professional massage therapist seeking a custom table, this guide will equip you with the knowledge and guidance to create a massage table that meets your specific requirements and ensures a relaxing and enjoyable massage experience.
The Benefits of a Homemade Massage Table
A massage table is an essential piece of equipment for any professional masseuse or masseur. It provides a stable and comfortable surface for clients to lie on during their massage treatments. While there are many different types and styles of massage tables available on the market, making your own homemade massage table can bring added benefits that go beyond just saving money.
One of the main benefits of making your own massage table is customization. When you make your own table, you have the freedom to choose the materials, dimensions, and design that best suit your needs and preferences. This allows for a more personalized experience for both you and your clients.
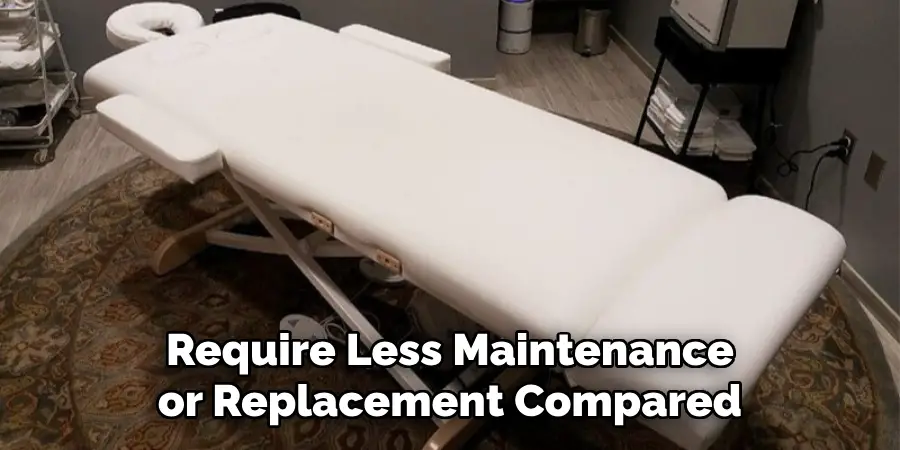
Another benefit is durability. Homemade massage tables are often made with high-quality materials that can withstand heavy use over time. This means that your table will last longer and require less maintenance or replacement compared to store-bought tables. Additionally, you can also make any necessary repairs or adjustments yourself, saving you both time and money.
Sketching Your Massage Table Design
Once you have a clear idea of the dimensions and features you want for your massage table, it’s time to start sketching out your design. This can be done by hand or using a digital program such as CAD (Computer-Aided Design).
Start with a basic rectangle shape that represents the surface of your table. Then, add in any additional features such as armrests, face cradles, or storage shelves. Make sure to include the measurements for each feature and account for them in your overall dimensions.
It’s also a good idea to create multiple sketches with different angles and perspectives so you can get a better sense of how your table will look in 3D. This will help you identify any potential design flaws or areas that may need adjustments.
Once you have a final sketch, make sure to double-check all the measurements and adjust as necessary. It’s always better to catch any errors at this stage rather than during the actual construction process.
Also, consider consulting with a professional or experienced woodworker for their input on your design. They may have valuable insights and suggestions that can improve the overall functionality and durability of your massage table.
Remember, the design stage is crucial in creating a high-quality and functional massage table. Take your time and make sure you are satisfied with every aspect before moving on to the construction phase. So, don’t rush through this step, and be open to making changes as needed.
10 Methods How to Make a Massage Table
1. Gather Materials and Tools
Before you begin building your massage table, you will need to gather all of the necessary materials and tools. This includes wood, screws, bolts, nuts, washers, hinges, clamps, glue, foam padding, vinyl upholstery material and a saw.
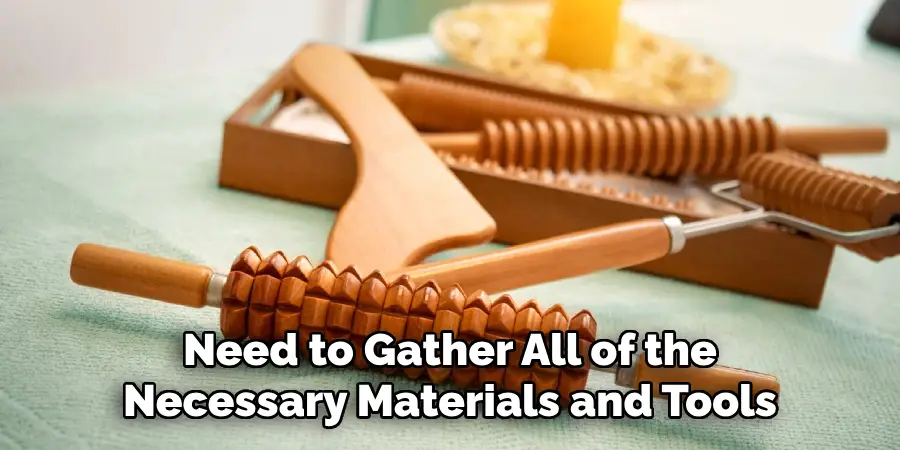
You may also want to get some sandpaper for smoothing out rough edges. Once you have all of the materials and tools ready to go, you can start building your massage table.
2. Cut the Wood
Once you have all of your materials and tools gathered together, it’s time to start cutting the wood for your massage table. You will need two pieces of wood that are the same size for the top and bottom of the table. The size depends on how large or small you want your massage table to be. You will also need four pieces of wood that are slightly smaller than the top and bottom pieces for the legs of the table. Make sure that all of your cuts are precise so that everything fits together correctly later on in the process.
3. Assemble Legs
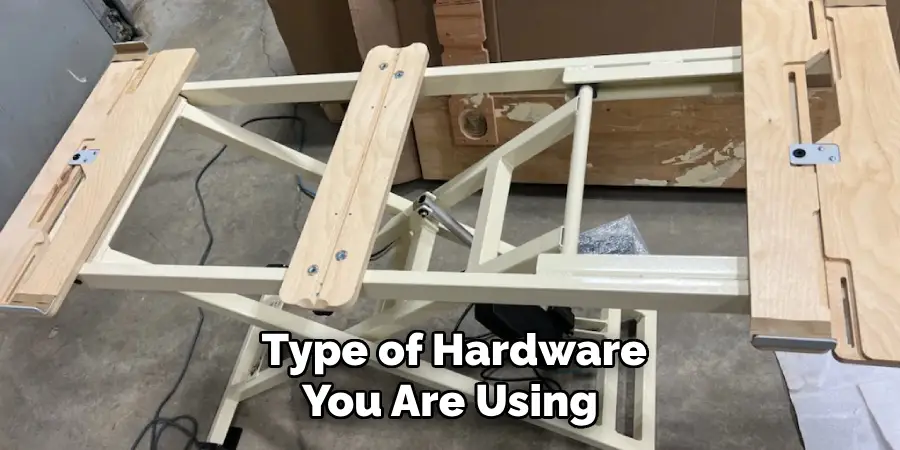
Now it’s time to assemble the legs of your massage table. Take two pieces of wood that were cut for the legs and place them parallel to each other with their edges touching at one end. Secure them together using screws or bolts depending on what type of hardware you are using. Repeat this process with the other two pieces of wood so that you have two sets of legs for your massage table.
4. Attach Legs
Once you have assembled both sets of legs for your massage table it’s time to attach them to each other and then to the top and bottom pieces of wood that were cut earlier in this process. Place one set of legs at each end so that they are parallel with each other and secure them into place using screws or bolts depending on what type of hardware you are using. Make sure that they are firmly attached before moving onto step five in this process.
5. Add Hinges
Now it’s time to add hinges to your massage table so that it can fold up when not in use or be adjusted as needed during a session with a client. Place three hinges along one edge where two pieces meet (top/bottom) at even intervals so that they line up perfectly when folded over in order to create a tight seal when closed up tight against itself after use is complete.
Secure them into place using screws or bolts depending on what type of hardware you are using then move on to step six in this process once finished here.
6 . Add Foam Padding
After adding hinges it’s now time to add foam padding which creates comfortability while lying down on top surface area providing extra cushioning support during massage sessions. Measure out foam padding exactly according to size measurements from top piece. Cut foam padding accordingly then glue securely into place making sure there are no gaps between edges. Allow glue ample drying time before proceeding to the next step.
7 . Add Vinyl Upholstery Material
Now it’s time to add vinyl upholstery material which provides a protective layer over foam padding while also creating aesthetic appeal. Measure out vinyl upholstery material exactly according to size measurements from ththe top piece. Cut vinyl upholstery material accordingly then staple securely into place making sure there are no gaps between edges. Allow staples ample drying time before proceeding to the next step.
8. Attach Clamps
Now its time to attach clamps that provides the ability to adjust height settings during massage sessions by simply loosening/tightening knobs located underneath the surface area allowing user easily customize height settings as needed during a session with clientele.

Measure out clamps exactly according to size measurements from underside piece making sure they’re evenly spaced apart from each other allowing easy access while adjusting height settings .. Securely attach clamps into place using appropriately sized screws/nuts/washers making sure they’re firmly secured before moving onto next step.
9. Sand Edges
Now its time to sand down any rough edges left behind from cutting wood prior to giving final touches before use is complete .. Take sandpaper lightly and run across any rough edges ensuring smooth finish before proceeding to last step.
10. Final Touches
Lastly its time to give the final touches such as adding a handle located middle section allowing the user to easily carry it around without any issues while transporting from location A-B.
Measure out handle exactly according to the size measurements from the middle section making sure its firmly secured before use is complete. Give the entire surface area once over ensuring everything is properly tightened/secured before use is complete .. Finally enjoy the newly built custom-made massage table!
Things to Consider When Making a Message Table
When it comes to making your own massage table, there are a few things to keep in mind before starting the project. These considerations will not only ensure that you create a high-quality massage table but also make the process smoother and more enjoyable.
- Size and Dimensions: The first thing you need to consider is the size of your massage table. Will it be for personal use or for clients? If it’s for personal use, you can tailor the table to your own height and preferences.
- Materials: The type of materials used for the massage table will greatly impact its durability and comfort. Wood is a common choice, but make sure to choose a strong and sturdy type such as oak or maple. The padding should be made from high-density foam for optimal support and comfort.
- Stability: A stable massage table is crucial for safety and effectiveness during massages. Make sure to choose materials that can support the weight of both the person receiving the massage and the masseuse.
- Portability: If you plan on using your massage table in different locations, portability should be a key consideration. Look for lightweight materials and design features such as foldable legs to make transportation easier.

Conclusion
In conclusion, making your own massage table is a great way to save money and is also fun, hands-on project. The materials you carefully select, the amount of time you invest in the construction process, and your attention to detail can make all the difference when it comes to your DIY massage table.
If you are passionate about learning to make a massage table but need a bit of help getting started, be sure to check out our comprehensive guide on how to make a massage table for step-by-step instructions that you won’t find anywhere else. Hopefully this blog post has inspired you to take up the challenge of crafting your very own Massage Table! With enough dedication and effort, you can create something that will last for years.

