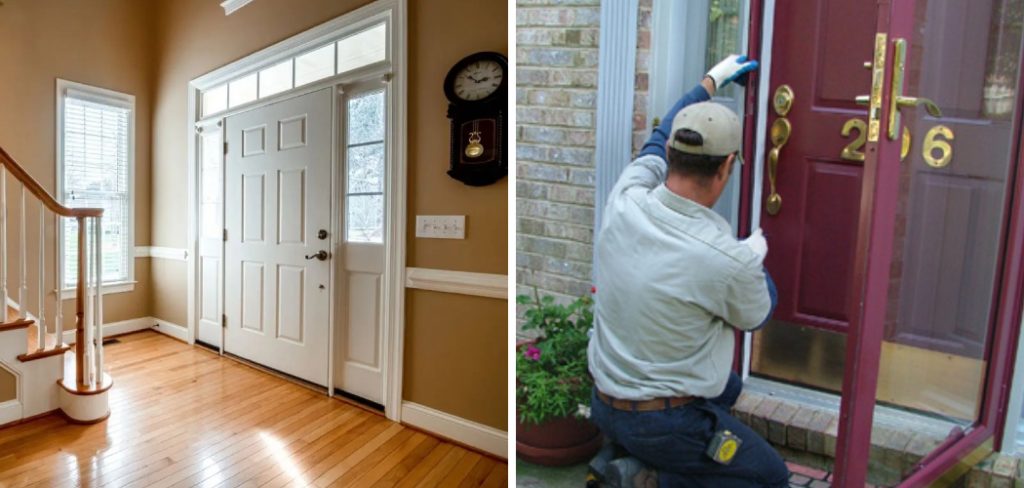
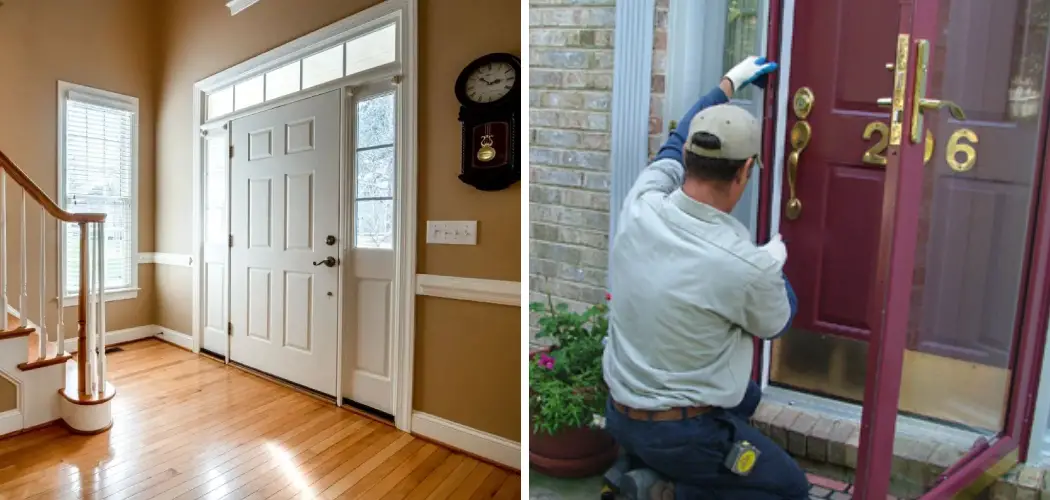
Insulating a wooden front door can help to maintain a comfortable temperature inside your home, reducing energy costs associated with heating and cooling. Additionally, it helps reduce sound transmission from the outside, providing quiet and privacy for you and your family.

Insulating a wooden front door offers several benefits. The most important benefit is improved energy efficiency. Insulation can help reduce heat transfer through the door, keeping your home at a more consistent temperature and reducing your monthly heating and cooling costs. In addition, insulation helps to absorb noise coming from outside, providing increased quietness in the home’s interior. Furthermore, insulation can help to reduce drafts and create a more comfortable environment in your home. In this blog post, You will learn in detail how to insulate a wooden front door.
Materials You Will Need
- Weatherstripping
- Door Sweep
- Caulk or Foam Sealant
- Acrylic Latex Paint
- Exterior Grade Plywood
- Screws and Nails
- Fiberglass Insulation Batts
- Adhesive Spray (optional)
- Wood Putty or Glazing Compound
- A Drill (optional).
Step-by-Step Processes for How to Insulate a Wooden Front Door
Step 1: Inspect the Front Door
Before starting the project, inspect the door for any cracks or holes that need to be filled. Check if the weather stripping is in good condition and if it needs replacing. Take off all of the hardware from the front door; this includes doorknobs, locks, knobs, and hinges. Once removed, set the hardware aside in a safe place.
Step 2: Clean and Prepare the Door
Once you have determined that your wooden front door needs insulation, cleaning and preparing the door is next. Begin by removing any existing paint or varnish from the door’s surface using a chemical stripper. Once this has been completed, thoroughly clean the entire door with a cloth and mild detergent solution. Finally, use a sander to smooth out any rough patches on the door. Once these steps have been completed, your door will be ready for further insulation.

Step 3: Apply Foam Insulation to the Door
Cut foam insulation sheets into pieces that fit around the doorframe. Place the pieces of foam onto the door and use a caulking gun to apply adhesive to glue them in place. Make sure you get all of the edges sealed, paying close attention to cracks or gaps. Once this has been completed, use a knife or razor to trim off any excess foam. You may also want to seal the edges of the foam with caulk for extra protection.
Step 4: Install Weatherstripping
Once you have applied the insulation, you can begin installing weatherstripping around the door. Begin by measuring the doorframe and cutting strips of weatherstripping to size. Attach them to the frame using nails or screws, making sure that the strip is slightly recessed so that it will make contact with it when the door closes. Once all of the weatherstrippings have been installed, use caulk around the edges for additional protection from drafts.
Step 5: Paint and Finish the Door
Once all of the insulation is in place, you can paint and finish the door. First, use a primer to seal the foam insulation so that it will not be damaged by moisture or other elements. Allow this to dry completely before proceeding. Next, you can apply your chosen paint or varnish to the door. Once this has been applied, you can add any decorative touches like stained glass, hardware, or other accents.
Now that you have insulated your front door, you can enjoy a more comfortable home and energy savings in the months ahead. For more tips on how to improve energy efficiency in your home, consult an experienced contractor. With their help, you can ensure your home is as energy efficient as possible.

Safety Tips for How to Insulate a Wooden Front Door
- When handling insulation materials, such as gloves, goggles, and a dust mask, wear protective clothing and safety gear.
- Ensure your work area is properly ventilated to avoid breathing in any hazardous fumes from the insulation materials.
- Securely fasten the door to ensure it remains stationary while you are working.
- Be aware of any exposed wires or electricity sources that may be present near your work area, and take steps to minimize the risk of shock or electrocution.
- Place a drop cloth on the ground beneath the door to ensure that insulation materials remain contained within your work area.
- Properly mark and measure the door before cutting insulation materials to ensure a proper fit.
- Follow all of the manufacturer’s instructions carefully when handling, mixing and applying insulation materials.
By following these safety tips, you can be sure that your Insulation a Wooden Front Door project is performed safely and effectively.
Are There Any Risks Associated With Insulating a Wooden Front Door?
When you choose to insulate your wooden front door, you should be aware of some risks associated with the process. The most common risk is moisture damage, which can occur when moisture becomes trapped in the insulation material and starts to rot the wood on your door. In order to prevent this from occurring, make sure that you use a waterproof insulation material when insulating your wooden front door. Additionally, it is important to ensure that the area between the door frames and the wall is properly sealed off so that no moisture can get inside.
Another risk associated with insulating a wooden front door is fire safety. If you choose an insulation material that has a low flame resistance rating, it can potentially be a fire hazard. Make sure you select insulation materials tested for flame resistance and meet the necessary standards.
How Can You Maintain a Wooden Front Door That is Insulated?

- Keep your wooden front door clean and free from dust, dirt, and debris by wiping it down regularly with a damp cloth.
- Inspect the weather stripping along the edges of the door to ensure that it is still in good condition; replace any damaged weather stripping as needed.
- Apply a fresh coat of paint or wood finishes to your door every few years to keep it looking its best. This will also help protect the wood from weather damage and wear and tear.
- Inspect the insulation around your door for any signs of deterioration, such as cracks or gaps in the material; replace any damaged insulation with fresh material if needed.
- Consider having a professional install an insulated door if your current wooden front door is not properly insulated. An insulated door will help increase your home’s energy efficiency and reduce overall energy costs.
- If you use a storm door, inspect the weatherstripping around it to ensure it’s still in good condition; replace any damaged or worn weatherstripping as needed.
- Ensure that your wooden front door is properly sealed and airtight; any gaps or cracks should be filled with caulk to prevent airflow.
- Keep the area around your front door clean; remove leaves, dirt, and debris from the doorstep to minimize problems with moisture buildup.
- If you live in a cold climate, consider investing in a door sweep to seal the gap between the door and the threshold. This will help keep cold air out, increasing your home’s energy efficiency.
By following these steps, you can ensure that your wooden front door is well-maintained and insulated, helping to keep your home energy efficient and comfortable.
How Often Should You Check the Seals Around Your Wooden Front Door for Any Drafts or Air Leaks?
When insulating your wooden front door, one of the most important steps is ensuring that all seals are properly fitted around the door frame and that any air leaks or drafts have been eliminated. It’s recommended to check these seals every few months to make sure they are in good condition and aren’t allowing air to pass through.
If the seals are not tightly fitted, you can use weatherstripping or foam tape to seal any gaps, which will help to insulate your door and save energy costs. Additionally, it’s a good idea to check for any signs of mold or mildew around the seals, as this could indicate that air is passing through. If the seals look worn, it’s time to replace them with new ones.
Apart from checking the seals, you should also ensure that your wooden door is properly maintained and free of any damage or splintering that could cause air leaks. Inspecting the frame for cracks or gaps and filling these in with caulk or sealant can help reduce air leakage and protect the door from further damage. Additionally, if your wooden door is painted or stained, consider adding a coat of paint or stain every few years to ensure that it remains in good condition and that seals around the frame remain tight.

Conclusion
In conclusion, insulating a wooden front door is an important home improvement project to undertake. Not only can it help keep your home more energy-efficient, but it can also provide soundproofing and increase the security of your entryway. By following the steps outlined in this article, you can easily insulate your own wooden exterior door with weatherstripping, insulation strips, or foam insulation. With the right tools and materials on hand, you can complete this project in no time. I hope this article has been beneficial for learning how to insulate a wooden front door. Make Sure the precautionary measures are followed chronologically.
You Can Check It Out to Protect Front Door From Sun

