Insulating a pole shed is a pivotal step in optimizing its functionality, comfort, and energy efficiency. Pole sheds, also known as post-frame buildings, are versatile structures that serve various purposes, from storage to workshops.
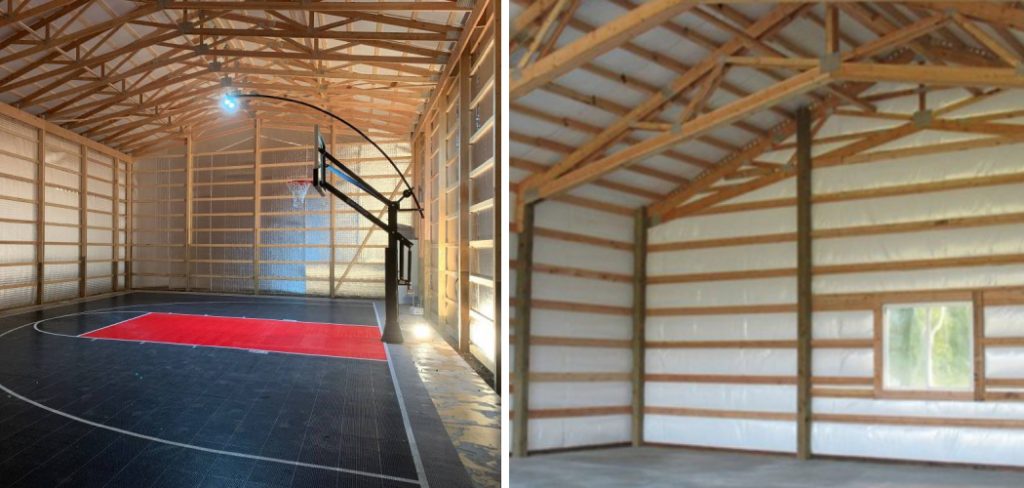
However, without proper insulation, these spaces can become uncomfortable in extreme temperatures, leading to energy wastage and limited usability. This article explores the essential process of insulating a pole shed, encompassing a range of methods and considerations to effectively regulate indoor temperatures and create a more conducive environment.
Whether you’re utilizing the space for hobbies, storage, or even as a living area, understanding how to insulate a pole shed empowers you to transform it into a well-insulated, energy-efficient, and comfortable space that aligns with your needs and preferences.
Importance of Insulating a Pole Shed for Temperature Control
Insulating a pole shed is important for temperature control and energy efficiency. It can help to maintain a comfortable temperature inside the shed, as well as reduce energy costs in the long run. This article will discuss why insulation is important, provide tips on how to insulate a pole shed, and offer advice on purchasing the right materials for the job.
When insulating a pole shed, it is important to remember that the material should be able to provide both air and thermal insulation. This means choosing materials that prevent air leakage and also provide some sort of barrier against the heat of the sun. Some popular options for insulating a pole shed include fiberglass, polystyrene foam, spray-on foam, cellulose and mineral wool.
Fiberglass is a popular option due to its affordability and availability. It can be easily installed with batt insulation and vapor barriers, providing good air-sealing capabilities and good temperature control. Polystyrene foam, on the other hand, is more expensive but provides better results in terms of air sealing and thermal insulation.
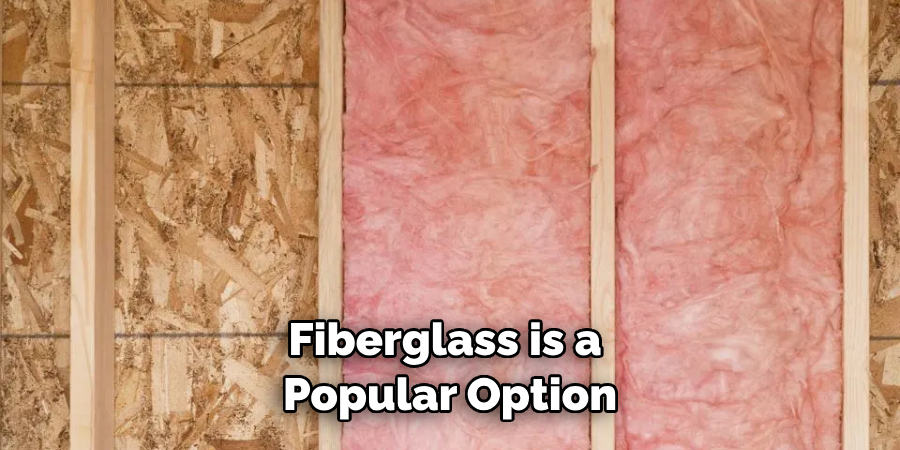
Spray-on foam is another great choice for insulating a pole shed, as it is easy to install and provides excellent air sealing and thermal insulation.
Cellulose and mineral wool are also popular options for insulating a pole shed. Both materials can provide good air-sealing capabilities but mineral wool offers better thermal insulation capabilities. When deciding on which material to use for your pole shed, it is important to consider the climate in which you live and what type of insulation will be best for your particular situation.
Benefits of Energy Efficiency and Comfort
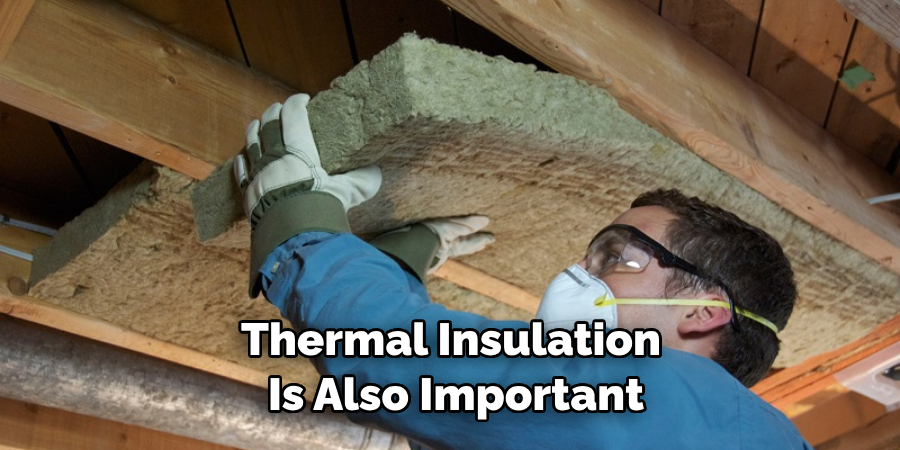
Adding insulation to your pole shed has both functional and financial benefits that will make a big difference to how you use your shed. With the right insulation in place, you can keep your shed warm or cool depending on the time of year, keeping energy costs down. Thermal insulation is also important for keeping the temperatures inside the shed more comfortable which makes it easier to work or relax in the space.
As well as helping to maintain temperature levels, insulation also has sound proofing properties which will add to the comfort of your pole shed and be appreciated by those living nearby!
When you’re deciding what type of insulation to use for your pole shed, it’s important to take into account factors such as the size and shape of the shed, as well as what it’s used for and how often you plan to use it.
For instance, if you’re looking to insulate a large pole shed that you plan on using all year round then a more comprehensive insulation setup will be beneficial. Whereas, if you have an open-sided storage structure in your garden which will be used infrequently, you can opt for a less expensive and basic insulation.
10 Steps How to Insulate a Pole Shed
1. Define Your Purpose: Tailor Insulation to Need
Begin by understanding the intended purpose of your pole shed. Is it a workshop, a storage area, a hobby room, or perhaps a living space? Each function demands a distinct level of insulation and temperature control. Defining your purpose allows you to customize the insulation approach accordingly.
2. Survey Insulation Options: Unraveling the Spectrum
Take time to acquaint yourself with the array of insulation options available. Among the choices are fiberglass batts, spray foam, blown-in insulation, and rigid foam panels. Each type possesses unique attributes and characteristics, ranging from thermal resistance (R-value) and moisture resistance to ease of installation and cost-effectiveness. Your selection should harmonize with your goals and budget.
3. Prepare the Ground: Blank Canvas for Transformation
Preparing the interior of the pole shed is paramount before insulation installation. Clear the space of any obstacles or items that might obstruct the insulation process. Address moisture concerns by identifying and addressing any existing issues. This preliminary step lays the groundwork for a seamless insulation endeavor.
4. Combat Air Leaks: The Battle Against Infiltration
Air leaks can significantly diminish the effectiveness of insulation. To fortify the insulation’s impact, meticulously seal gaps and cracks in the walls, roof, and floor. Utilize caulk or expanding foam to ensure an airtight envelope. Windows, doors, and joints are prime areas for potential leakage.
5. Implement Vapor Barrier: Barrier Against Moisture
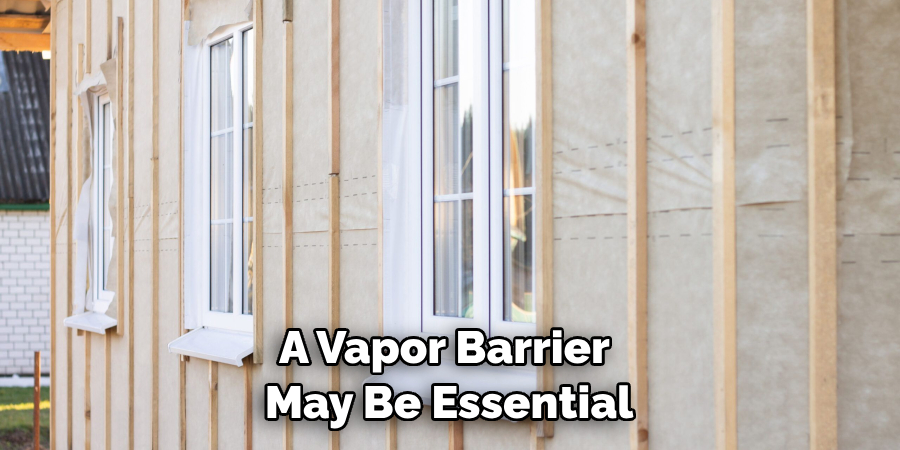
Depending on your geographic location and climate, a vapor barrier may be essential. This barrier prevents warm, humid air from penetrating the insulation and condensing on cooler surfaces, a common issue in colder environments. Properly installing the vapor barrier ensures a dry and conducive interior environment.
6. Wall Insulation: Unfolding the Approach
The insulation journey unfolds with the walls. Depending on your shed’s construction, opt for insulation between the studs (for framed walls) or rigid foam panels affixed to the exterior (for pole-style construction). For framed walls, customize insulation batts to fit snugly between the studs, avoiding compression. Seal any openings around the edges with insulation or foam to maintain the insulation’s integrity.
7. Roof Insulation: Shaping the Overhead Haven
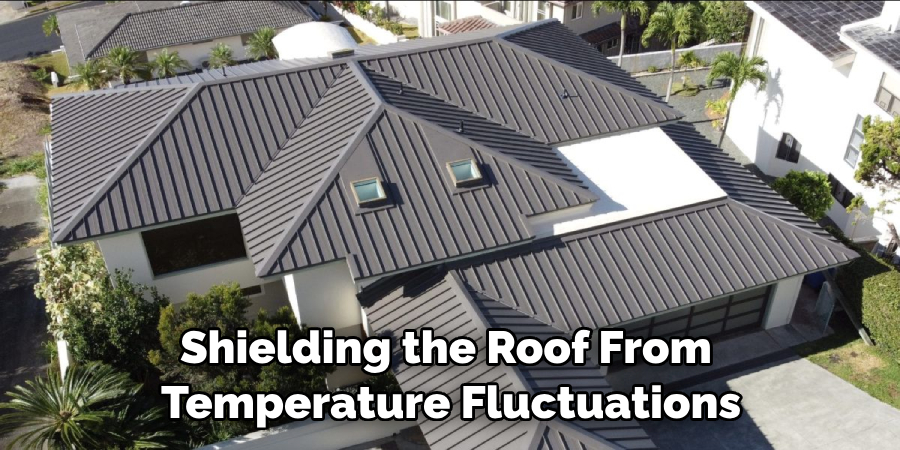
Shielding the roof from temperature fluctuations is crucial. As with wall insulation, you have the choice of insulation batts between rafters or rigid foam panels on the exterior. Ensuring a precise fit and sealing all potential gaps contribute to a well-insulated roof, minimizing heat gain or loss.
8. Flooring Enhancement: Comfort from Below
If your pole shed includes a floor, insulating it contributes to overall comfort. Incorporate insulation batts or rigid foam panels beneath the floor surface. If the shed is elevated, ensure proper ventilation between the insulation and the ground to thwart moisture buildup.
9. The Essence of Ventilation: Guarding Against Dampness
The equilibrium of proper ventilation is imperative in insulated spaces. Prevent moisture buildup and mold growth by installing vents or exhaust fans to facilitate air circulation. Adequate ventilation is particularly crucial in sheds where activities such as woodworking or painting generate humidity.
10. Evaluation and Adaptation: Honing the Approach
After insulation installation, assess the effectiveness of your efforts. Monitor temperature regulation, energy consumption, and overall comfort levels. Adapting and fine-tuning your approach based on real-world performance ensures optimal results.
Things to Consider When Insulating a Pole Shed
Insulating a pole shed is an important step in ensuring its structure and contents are protected from the weather. With that said, there are several factors to consider when insulating your pole shed.
- The Type of Insulation You Will Use: There are two main types of insulation used for pole sheds—fiberglass batts and spray foam insulation. Fiberglass batts are the most common insulation option and are best for climates with moderate temperatures. Spray foam insulation is more versatile, providing better air sealing and moisture control and is ideal for colder climates.
- The R-Value You Need: Every type of insulation has a specific R-value—this represents its ability to resist heat flow through it. Depending on the climate in your area and the purpose of your pole shed, you may need insulation with higher R-values.
- Preparation Work: Before installing insulation, you will need to ensure that all gaps, crevices and cracks are sealed. Also take care to seal any areas where air can get through the outside walls or roof of your pole shed.
- Ventilation: Proper ventilation is key to a well-insulated pole shed. Make sure there are vents in the walls and roof of your shed, as this will help reduce condensation and keep your insulation from becoming too hot or cold.
- Cost: Depending on the type of insulation you choose and the size of your pole shed, the overall cost of insulation can vary significantly. Do your research to get a better understanding of how much different types of insulation may cost and then decide which one is best for you.
By taking into account these factors when insulating your pole shed, you can rest assured that it will be properly insulated and protected from the elements.
Some Common Mistakes to Avoid When Insulating a Pole Shed
Insulating a pole shed can be a tricky process, and it’s important to make sure you take the right steps to avoid common mistakes. Here are some of the most common mistakes people make when insulating their pole shed:
- Not Using Enough Insulation Material – Inadequate insulation is one of the biggest mistakes that can be made when insulating a pole barn. Make sure to use enough insulation material to ensure you meet the recommended R-value for your region.
- Not Sealing Properly – It’s important to seal all seams and any other openings in the pole shed, such as vents, windows, and doors. Unsealed gaps can lead to air leakage and a decrease in the efficiency of your insulation.
- Not Using a Vapor Barrier – A vapor barrier is essential to preventing moisture from entering your pole shed, and it should be installed on top of the insulation material. Make sure to use the proper type of vapor barrier for your region and climate.
- Not Installing Insulation in Attic Spaces – Many people fail to insulate the attic spaces of their pole shed, which can lead to a significant decrease in efficiency. Make sure that all attic and roof areas are properly insulated with the correct R-value for your region.
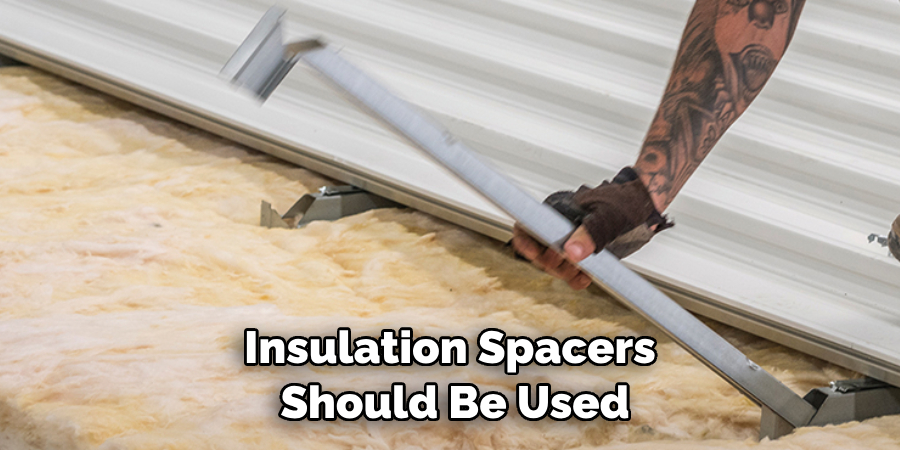
- Not Using Insulation Spacers – Insulation spacers should be used in between insulation boards to ensure that they are adequately spaced out and not compressed when installed.
Conclusion
Having an insulated pole shed can be a huge blessing during the harsh winter months. Not only will it provide protection from snow and freezing temperatures, but it will also give your stored items some additional protection as well. Insulating your shed is not difficult and any DIYer with moderate knowledge of construction tools and materials should be able to do it with ease.
Make sure you have all the necessary materials on hand before starting the project, and take your time in measuring each space for insulation properly. Be sure to follow all instructions on how to insulate a pole shed carefully, and always consult an expert when in doubt. Happy insulating!

