Are you considering completing your own subfloor installation project? If so, then you’re likely looking for a cost-effective solution for creating the most durable foundation to install your flooring on. Plywood is one of the most common materials used for this type of job – but what’s the best and most reliable way to install it over joists?
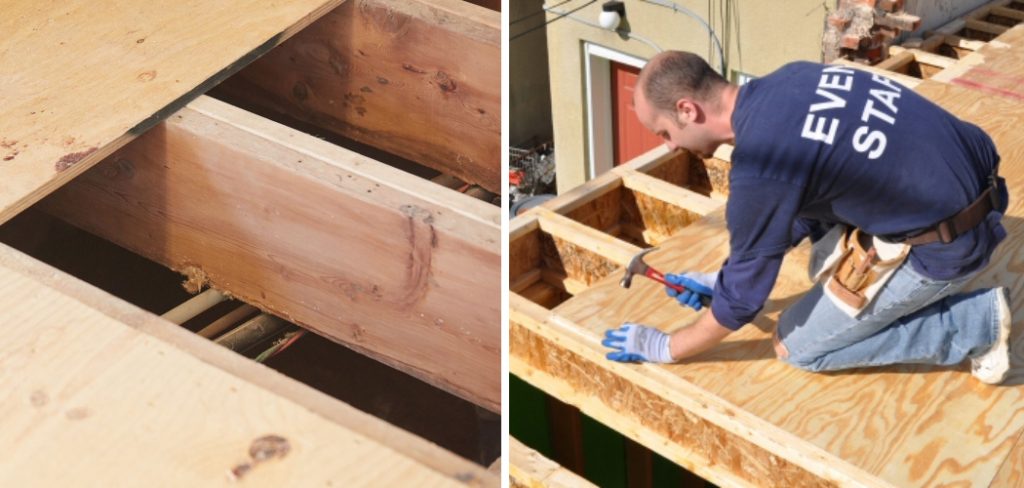
In this blog post, we take an in-depth look at how to install plywood subfloor over joists that will withstand heavy traffic and regular use. Read on to learn more about how to complete such a task with confidence!
Tools and Materials You Will Need to Install Plywood Subfloor Over Joists
- Plywood sheets
- Hammer
- Nails or screws
- Joist hangers
- Tape measure
- Circular saw
- Level
- Chalk line
- Jigsaw (optional)
Step by Step Guidelines on How to Install Plywood Subfloor Over Joists
Step 1: Measure the Floor Space
Before you begin, take detailed measurements of the floor area to determine how much plywood material you’ll need. Be sure to account for any irregularities or corners in the space as well. Measuring the exact width and length of the room helps to ensure that you don’t end up using too much or too little plywood for your project.
Step 2: Cut the Plywood Sheets
Using a circular saw, cut each sheet of plywood to fit your floor space perfectly. When cutting panels for corners or irregular shapes, use a jigsaw instead! Take extra care to ensure that plywood panels fit together tightly, so there are no gaps when the floor is laid out. While cutting the plywood, be sure to wear safety glasses and a dust mask.

Step 3: Install Joist Hangers
Start by installing joist hangers along the perimeter of the room. These will provide support for your subflooring and should be spaced appropriately according to manufacturer instructions. Be sure that joists are at least 16 inches apart or closer when installing subflooring over joists. Make sure the joist hangers are level before securely fastening them with nails or screws.
Step 4: Secure the Plywood
Using a hammer or an electric screwdriver, secure the plywood panels to the joists with screws or nails. Be sure to place screws and nails roughly 8 to 12 inches apart for maximum durability. When laying out your flooring, make sure that each panel fits tightly together with the one next to it. This will create a stronger bond and prevent squeaking noises over time.
Step 5: Level and Secure the Plywood
Before securing the plywood sheets in place, use a level to make sure that they are even. If you need to adjust any panels, do this now before nailing or screwing them into place. Once everything is leveled, secure the plywood with nails or screws on each joist. Make sure that you are using the correct screw or nail size for your project.
Step 6: Install a Chalk Line
Once all the plywood sheets are in place, install a chalk line along the edges of each panel. This will help to keep your subflooring straight and prevent it from shifting over time. Make sure to use a quality chalk line that won’t break or fade with use. This will also help to ensure the longevity of your installation.

That’s it! You now know how to install plywood subfloor over joists – and you should now be able to confidently take on this project yourself with the help of these steps. Good luck, and happy flooring!
Additional Tips and Tricks to Install Plywood Subfloor Over Joists
- Pre-drill the boards before nailing them to the joists for a more secure fit. This will help reduce splitting and prevent future problems.
- Allow at least one inch of space between the edge of the plywood and any walls or other obstructions, to allow room for expansion.
- Always use screws when attaching the plywood to the joists, as this will provide a more secure fit and prevent them from coming loose over time.
- Use a moisture meter to make sure the subfloor is completely dry before installation. Moisture can cause warping and rotting of the materials over time.
- Make sure that the sub-floor is level and even before installing the plywood. This will help ensure a smooth installation and provide a stronger foundation for the flooring.
- Use construction adhesive to secure the boards in place, especially around any outlets or other areas where nails won’t do a good job of holding them down.
- Apply sealant or caulk along the edges of the subfloor to prevent water from seeping in and damaging it.
- If possible, use a pneumatic nail gun for faster and easier installation of the plywood. This will also help reduce fatigue when working on larger projects.
- Be sure to wear proper safety gear when installing plywood over joists, including a dust mask and safety glasses.
- Lastly, always use the highest-grade plywood you can afford for the best results. This will help ensure that your subfloor is durable enough to last for many years to come.
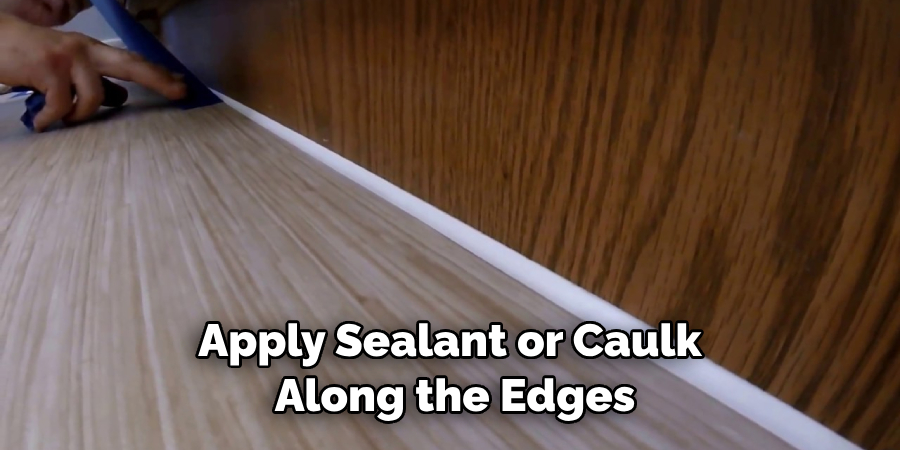
Follow these tips and tricks for a secure, level, and long-lasting plywood subfloor installation over joists. Good luck!
Things You Should Consider to Install Plywood Subfloor Over Joists
1. Type of Plywood:
Before you begin the installation process, make sure to select the right type of plywood for your subfloor. Different types of plywood are available in the market and have different thicknesses, sizes, and strengths. Choose a product that is suitable for your specific application and use it to ensure a strong and stable subfloor installation.
2. Joist Spacing and Layout:
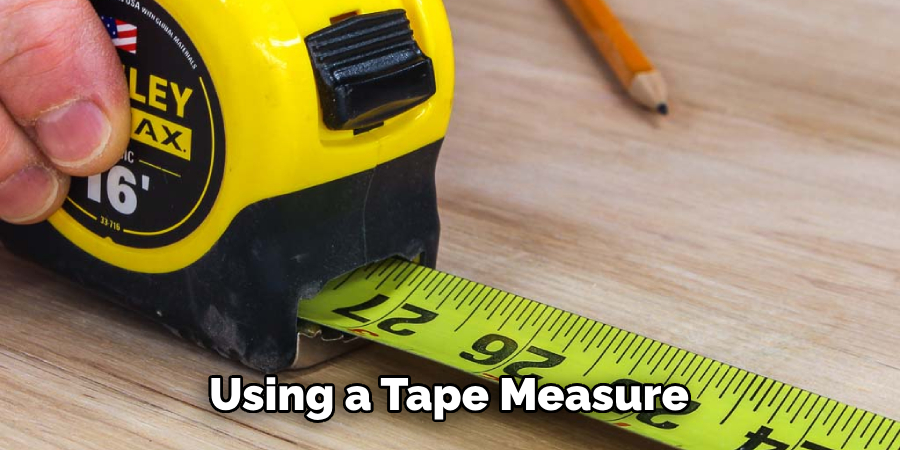
Before you begin the installation of the plywood, it is important to check the joist spacing and layout of your floor structure. Using a tape measure, measure from one end to another and ensure that all joists are spaced evenly apart. This will help you create an even subfloor surface when laid down later.
3. Number of Subfloor Sheets:
The number of plywood sheets you will need to install your subfloor depends on the size of your space, and how much coverage you require. Generally speaking, it is best to use at least two layers of plywood when installing a subfloor over joists. This will ensure that the subfloor is strong and secure.
4. Cut the Plywood:
Once you have determined how many sheets of plywood you need, measure and mark out where each piece should be cut. Use a circular saw to make these cuts, as a jigsaw can tear the material if it is not done correctly. Make sure that each sheet fits into place before securing it with screws or nails.
5. Secure the Plywood:
Once all of the plywood sheets are in place, they must be secured to the joists with screws or nails. This will ensure that the subfloor is firmly fixed into place and cannot move around when walked on or during any other type of activity. Make sure to use a drill for this purpose, as hand-driving screws and nails can be difficult and time-consuming.
6. Finishing Touches:
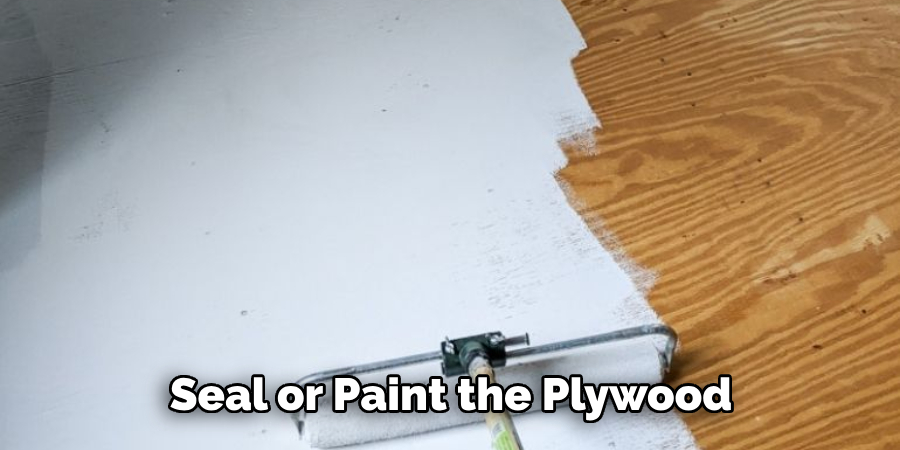
Finally, you should seal or paint the plywood before it is exposed to traffic. This will help protect the material from water damage, mold, and rot. It will also make your subfloor look more attractive and professional when finished. Be sure to apply a quality sealant or paint to ensure that the job is done properly.
Following these considerations will help you install a strong and secure plywood subfloor over joists in your home. With proper preparation and installation, this type of flooring can last for years with minimal maintenance required. Be sure to research your options before committing to any particular product or method, so that you can get the most out of your investment.
Precautions Need to Follow for Installing Plywood Subfloor Over Joists
1. Prior to installation, make sure that the joists are level and secure. Any uneven or bowed joists can cause problems when you’re laying the plywood sheets. Joists should be spaced evenly at 16 inches on the center for most floors.
2. Check for any hidden nails in existing subfloors before nailing down new plywood. Use a nail finder to locate them and remove them. This will help you avoid having the new plywood damaged by nails when it is nailed down.
3. Wear appropriate safety gear including a dust mask, gloves, safety glasses, and steel-toe boots for protection during installation.
4. Use 1/2 inch or thicker exterior grade plywood sheets for the subfloor. Thinner plywood may not be strong enough to hold up long-term and could result in sagging or even worse, structural failure of the floor system.
5. Use construction-grade nails when securing the plywood sheets for best results. Making sure you’re using nails specifically designed for this application is important as thinner gauge nails may not provide a secure hold.
6. Install the plywood sheets perpendicular to the joists for maximum strength and stability. Depending on the size of your space, you may need to run the sheets in both directions in order to cover the entire area.
7. Use a level when installing each sheet to ensure that it is level before nailing it down. This will help avoid uneven or wobbly floors in the long run.
8. Use a vapor barrier between the joists and plywood sheeting for added moisture resistance. This will help protect your subfloor from potential water damage due to high levels of humidity.
Following these precautions will help ensure that you install a safe and strong plywood subfloor over your joists. By taking the time to properly prepare the floor before installation, you can avoid potential problems down the road. Make sure to take your time and be as accurate as possible when installing your new subfloor for the best results!
Common Mistakes in Installing Plywood Subfloor Over Joists
1. Not Using Adequate Joist Spacing:
Plywood subfloor is typically installed over 16 inches on center joists, however, if your floor is particularly bouncy, you may need to adjust the spacing of joists to 12 inches on center. Make sure that all installation instructions are followed carefully and that any additional bracing needed is also properly installed.
2. Not Sealing Gaps Around Perimeter of Room:
When installing a plywood subfloor, make sure to seal any gaps around the perimeter of the room with caulk or foam insulation. This will ensure that air leakage is prevented and that the flooring has a solid foundation on which to attach itself. Failure to do so can lead to an uneven subfloor, which could be susceptible to damage over time.
3. Not Using Screws:
Using screws instead of nails is essential when installing plywood subfloor over joists. Nails are not as secure and can easily work their way out of the wood with time or with other movement in the flooring system. Make sure to use the proper length and screw type for your project.
4. Not Leveling Subfloor:
Leveling the plywood subfloor is an important step that should not be overlooked. If it is not done properly, unevenness in the floor can result in weak spots or squeaking floors. Make sure to check for levelness before moving on with the installation and adjust as necessary.
5. Not Installing Underlayment:
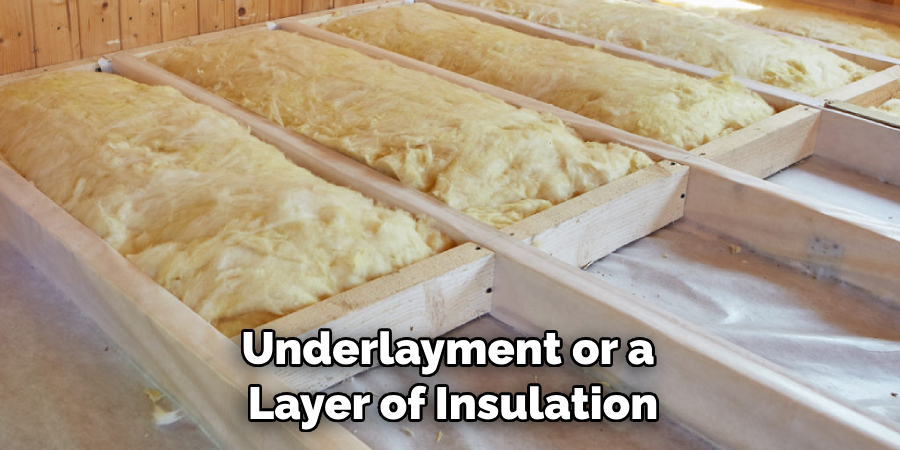
Underlayment, or a layer of insulation between the subfloor and your flooring material, is critical in creating a comfortable and level surface. It also helps to absorb some sound from foot traffic on the floor. Make sure to install underlayment before laying down any additional flooring material.
Avoiding these common mistakes while installing plywood subfloor over joists will help ensure that your project is a success. Following the installation instructions provided by the manufacturer and taking the time to carefully check for levelness and seal all gaps around the perimeter of the room are essential steps in helping create a safe and durable flooring system.
Conclusion
All in all, knowing how to install plywood subfloor over joists, and avoiding common mistakes in doing so, is essential to having a safe and stable flooring system. Be sure to follow the manufacturer’s instructions closely and to take the time to check for levelness and seal any gaps before completing your project. With these steps in mind, you will be able to successfully install plywood subfloor over joists on your own. Good luck!

