Lifeproof vinyl flooring is a great choice for any home. It is easy to install, low-maintenance, and comes in various styles to fit different decorating needs. This type of flooring has a protective coating that helps it resist scratches and wear, making it ideal for high-traffic areas like kitchens and hallways. It is also water-resistant, making it a great choice for bathrooms and laundry rooms.
One of the main advantages of installing Lifeproof vinyl flooring is its enhanced durability. It’s designed to be resistant to moisture, scratches, and stains. Thanks to its superior construction and design, it can last for many years without requiring repair or replacement. Plus, it has a protective top layer that helps protect the flooring from wear and tear. In this blog post, You will learn in detail how to install lifeproof vinyl flooring.
Tools You Will Need
- Tape measure
- Utility knife
- Straightedge
- Hammer
- Chisel
- Rubber mallet
- Vinyl adhesive
- Flooring trowel
- Underlayment (if necessary)
- Spacers, transitions and thresholds (optional)
Step-by-Step Processes for How to Install Lifeproof Vinyl Flooring
Step 1: Inspect the Subfloor
Before you begin installing the Lifeproof vinyl flooring, you will need to inspect the subfloor. Make sure that there are no holes, uneven areas, or gaps in the subfloor, as these can cause issues with the installation and longevity of the floor.
Step 2: Lay Out the Flooring Planks
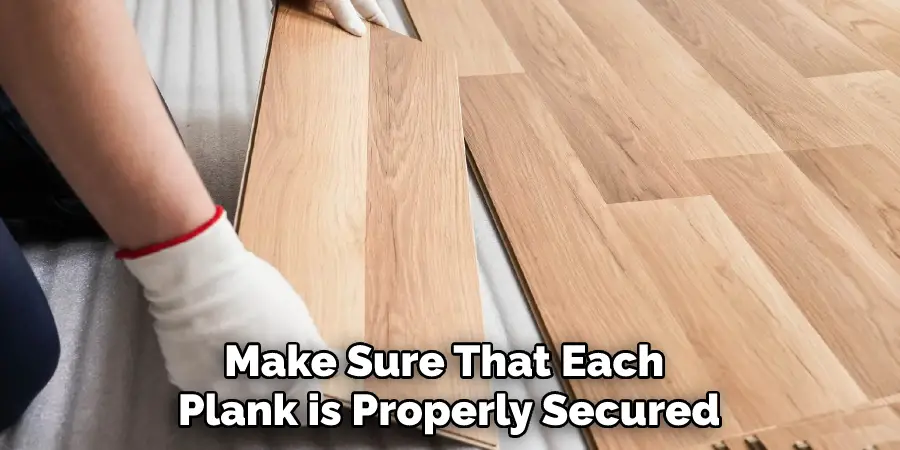
Take a few minutes to lay out the Lifeproof vinyl planks on the floor. This will give you a better understanding of how the flooring will look and make it easier to install since you can get an idea of where each plank should go before beginning installation. Start by installing each plank along the wall of the room. Make sure that each plank is properly secured to the subfloor using adhesive and/or nails, depending on your specific installation instructions.
Step 3: Connect the Planks Along All Walls
Once you have finished installing all of the planks along the longest wall in the room, it’s time to start connecting the planks together along all the walls. Complete this step by using adhesive and nails, depending on your installation instructions. Once you have finished connecting all of the planks, it’s time to install the trim around the perimeter of the room. Ensure that each piece is securely attached to the subfloor and each other.
Step 4: Lay Down Adhesive Tape
Before installing the flooring, lay down adhesive tape along all the seams between planks and trim pieces. This will help ensure a secure connection between them and prevent water from seeping in underneath. Now, beginning before installing the Lifeproof vinyl flooring, it’s important to lay down an underlayment. This will provide extra cushioning and help protect the subfloor from damage caused by heavy foot traffic or furniture.
Step 5: Lay Down the Flooring Planks
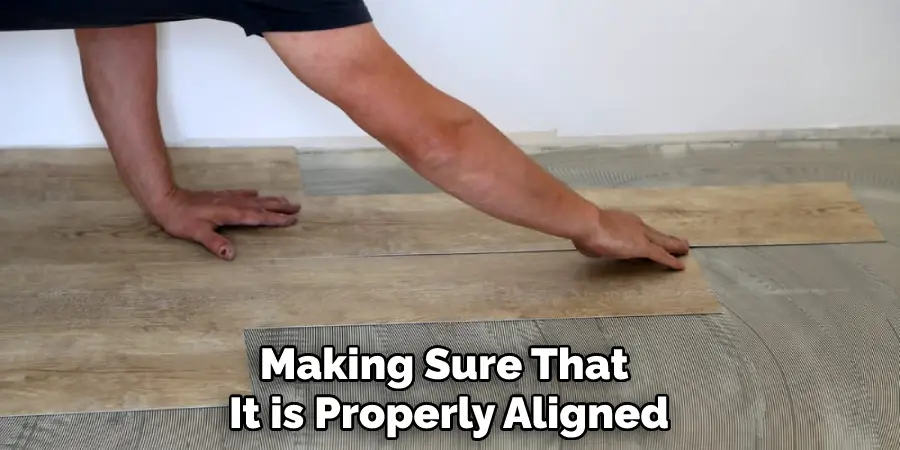
Now that the subfloor is ready and the underlayment is installed, it’s time to start laying down the Lifeproof vinyl flooring. Begin by inserting each plank into place, making sure that it is properly aligned with the rest of the planks. Once all the planks are laid down, it’s time to connect them. Make sure that each plank is properly secured to the underlying subfloor and to each other by using adhesive and nails, depending on your specific installation instructions.
Step 6: Install Finishing Touches
Once you have finished installing all of the planks, it’s time to install the finishing touches. This may include trim molding, door bars or other accessories to complete the project. Take your time and make sure that all pieces are properly secured to ensure a professional-looking finish. Once you have completed all of these steps, your new Lifeproof vinyl flooring should be secure and ready for use.
Tips for How to Install Lifeproof Vinyl Flooring
- Wear the proper safety gear (e.g., goggles, gloves, protective clothing) when installing Lifeproof Vinyl Flooring to protect yourself from any potential harm during installation.
- Ensure that the room or space where you are installing Lifeproof Vinyl Flooring is well-ventilated to reduce the risk of inhaling toxic fumes while working.
- Only use tools and supplies specifically designed for the installation of Lifeproof Vinyl Flooring to minimize the risk of damaging or voiding your warranty.
- Be sure to read all product instructions before starting the installation, paying close attention to any special care requirements that need to be considered.
- Make sure that the surface you are installing Lifeproof Vinyl Flooring on is level and clean – this will help ensure that your installation is successful.
- Avoid walking or standing on Lifeproof Vinyl Flooring before it has been fully installed, as you could damage the product during this time.
- Take extra care when cutting the Lifeproof Vinyl Flooring, as sharp tools can easily cause damage to the product.
- Double-check that all connections are secure before using your newly installed Lifeproof Vinyl Flooring to ensure its long-term durability and safety.
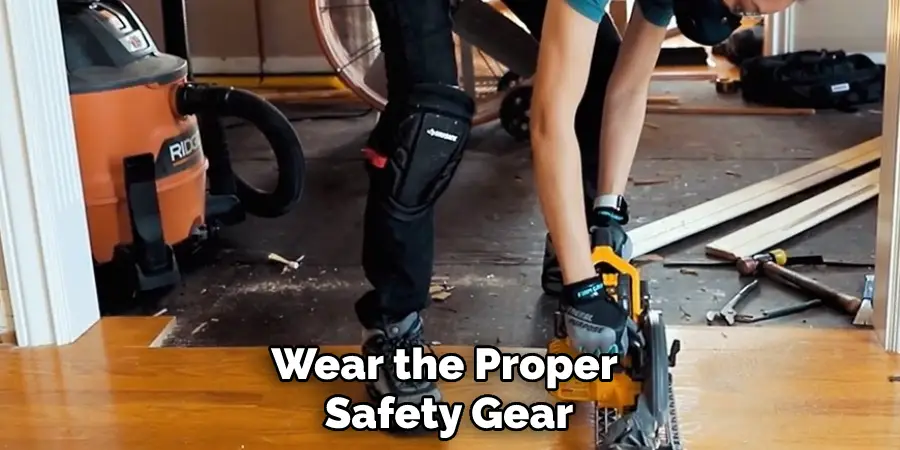
Follow these tips, and you will be well on your way to a successful installation of Lifeproof Vinyl Flooring.
How Should the Area Be Cleared Before Installation Begins?
Before beginning the installation of Lifeproof vinyl flooring, it is important to make sure that the area is completely cleared. All furniture and items should be moved out of the room, and any existing carpet or other floor coverings must be removed.
Be sure to inspect the subfloor for any debris that may have been left behind by previous flooring and remove it. Any irregularities in the subfloor, such as nails or cracks, should be repaired to ensure that the Lifeproof vinyl flooring installation is successful. Once the area has been cleared and prepped, you can begin installing your Lifeproof vinyl flooring.
How Should the Floor Be Maintained After Installation?
Once the Lifeproof vinyl flooring is installed properly, it should last for many years with minimal maintenance To keep your floor looking like new and to ensure its longevity, here are a few tips on how to maintain it:
- Vacuum or sweep regularly. This will help prevent dirt, dust and other debris from accumulating on the floor and causing scratches or discoloration.
- Wipe up spills as soon as possible to keep the surface clean and prevent staining or discoloration.
- Use doormats at exterior doorways to reduce dirt and debris that is brought in from outside.
- Use furniture pads on heavy furniture legs or other objects that could cause scratches or indentations.
- Use a damp mop with a mild detergent to clean the floor and keep it looking like new.
- Avoid using harsh cleaners, abrasives, or scouring pads as these can damage the finish.
- Refinish the floor occasionally to restore its shine and protect its finish.
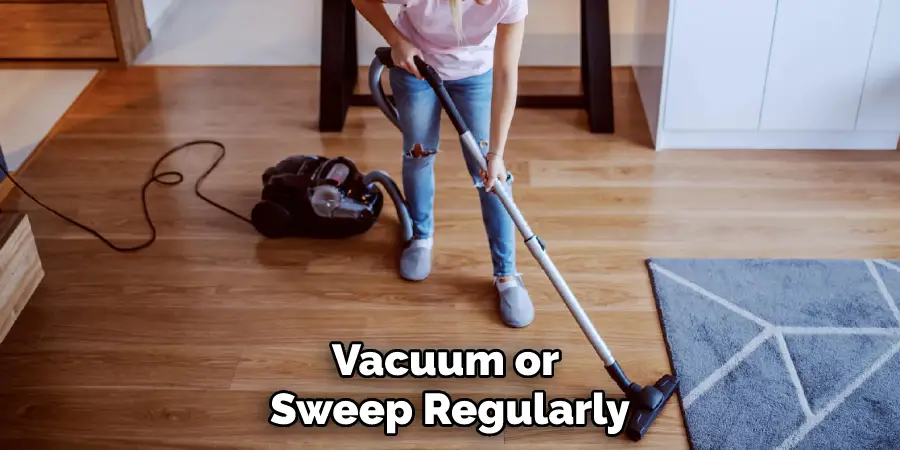
Following these maintenance tips will help ensure your Lifeproof vinyl flooring looks great and lasts many years. If you have any questions about the care and maintenance of the floor, it’s best to contact a professional contractor or the manufacturer.
Is It Possible to Repair Damaged Sections of the Floor After Installation is Complete?
Yes, repairing damaged sections of Lifeproof vinyl flooring is possible after installation is complete. If there are small gouges or scratches on the surface of your floor, you can use a special touch-up kit that contains wax and colorants that match the existing flooring. In more severe cases where there is a rip or tear in the flooring, you will have to replace the section.
To do this, use a utility knife to cut out the damaged area, leaving at least two inches of overlap onto an intact part of the floor. Then measure and cut a replacement piece from your spare material and glue it into place using vinyl adhesive. Finally, use a roller to press the area flat and ensure proper adhesion.
For more information on how to repair damaged sections of Lifeproof vinyl flooring, contact your local flooring specialist or visit the manufacturer’s website. With proper maintenance and care, your new vinyl floors should last many years.
What is the Best Way to Clean Up After Installation is Complete?
Once you have installed your Lifeproof Vinyl Flooring, it is important to properly clean up any remaining debris and fragments that may be present. Using a damp cloth or mop will help you remove any dirt and dust buildup that occurred throughout the installation process.
Use a mild detergent in warm water to clean the surface if necessary. Allow the surface to dry thoroughly before walking on it or placing any furniture on top of it. Regular mopping with a PH-neutral cleaner and warm water to remove dirt, dust, and stains is recommended to keep your vinyl floors looking their best.
Be sure to follow the manufacturer’s instructions for properly cleaning and maintaining your Lifeproof Vinyl Flooring. Additionally, avoid using abrasive cleaners or stripping agents on your floors, as this can cause damage and discoloration. With proper care, you can keep your Lifeproof Vinyl Flooring looking beautiful for years to come.
Are There Any Other Special Considerations When Installing Lifeproof Flooring?
When it comes to installing Lifeproof vinyl flooring, there are a few special considerations to take into account. First, the floor should be dry and clean before installation begins. You must also ensure that the subfloor is flat, which may require additional work, such as leveling or reinforcing the subfloor with plywood. Additionally, it is important to keep the temperature in the room consistent throughout the installation.
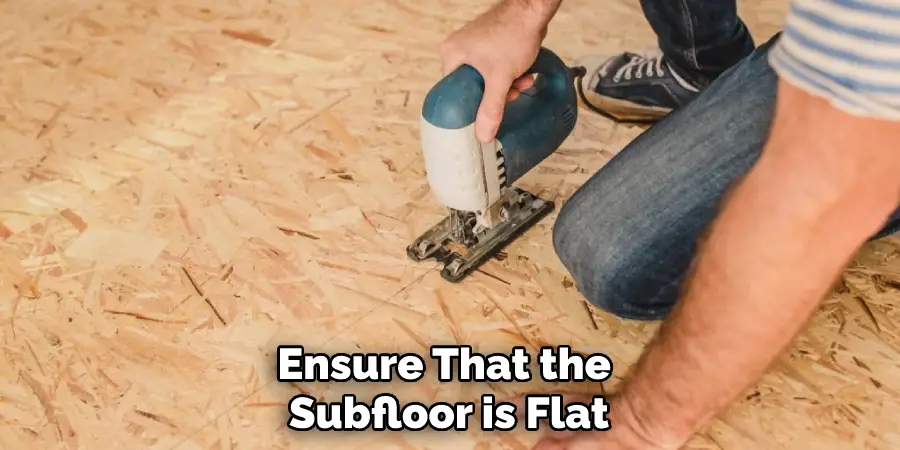
When cutting Lifeproof flooring pieces, a sharp utility knife should be used to ensure a clean cut and prevent chipping or damaging the material. Finally, make sure to leave an expansion gap of at least 1/8th inch around all walls and other objects in the room. This gap will prevent the flooring from buckling due to any changes in temperature or humidity throughout its lifetime. Following these steps will help ensure a successful installation of Lifeproof vinyl flooring.
Conclusion
One of the most common disadvantages of installing Lifeproof vinyl flooring is that it can be difficult and time-consuming. Vinyl floors tend to expand or contract due to temperature changes, making installation more complicated. Additionally, if not installed properly, the seams between pieces can easily show up and damage the floor’s overall look.
In conclusion, installing Lifeproof vinyl flooring is a relatively easy task with the right tools and a bit of patience. Taking your time, checking measurements, and making sure to use the appropriate adhesive will help you achieve a beautiful, long-lasting result.
With so many different styles and colors available, you’ll be sure to find the perfect fit for your project. I hope this article has been beneficial for learning how to install lifeproof vinyl flooring. Make Sure the precautionary measures are followed chronologically.

