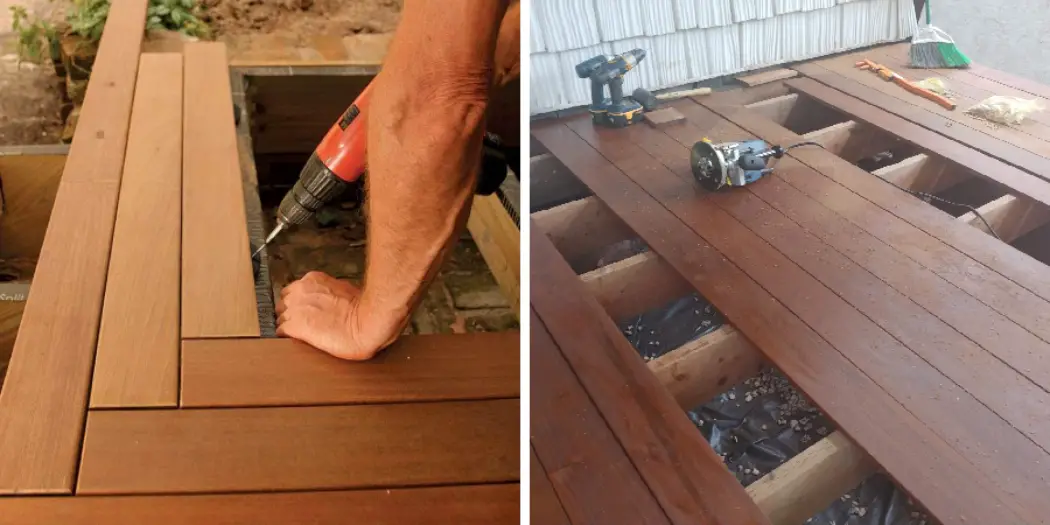
Installing Ipe Decking can be daunting, but it can be a breeze with the right instruction and tools. In this post, we will go over the steps you need to take to install your new deck. We have you covered, from measuring and cutting the wood to drilling pilot holes and attaching screws.
So if you are considering installing an Ipe Deck, keep reading! If you’re thinking about installing an Ipe deck, this is your blog post on how to install ipe wood decking! Keep reading for ten steps instructions on how to get the job done right.
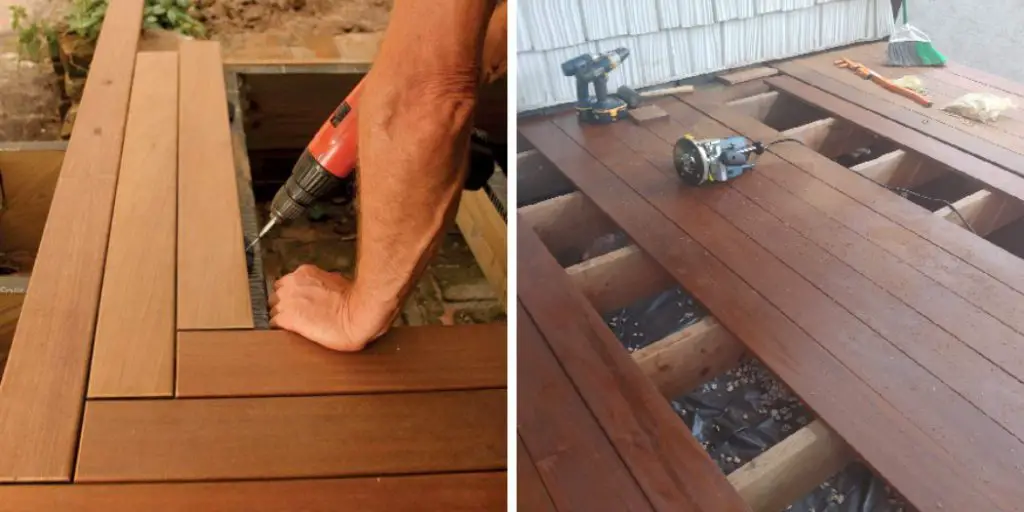
Summary: If you’re looking for a beautiful and durable decking option for your home, Ipe wood decking is definitely worth considering. With its natural look and feel, Ipe wood decking is perfect for any style of home. In this tutorial, we’ll show you how to install Ipe wood decking on your own.
What Tools Are Needed to Install Ipe Wood Decking?
Before you begin installing your Ipe wood decking, it is important to gather the necessary tools. You will need:
- A power drill
- 1/8″ drill bit
- T-20 star drive bit
- Cordless impact driver
- 7/16″ wrench or socket
- Tape measure
- Circular saw
- Speed square or framing square
- Pencil
- Ipe Oil
- Stainless steel screws (2-1/2″ or longer)
- Ipe plugs (optional)
These are the essential tools you will need to install your Ipe wood decking. Please consult a professional contractor or deck builder if you have questions about which tools to use.
10 Steps on How to Install Ipe Wood Decking
If you want to install ipe wood decking, follow these simple ten steps:
Step 1: Choose the Right Ipe Wood Decking
First, you must make sure you purchase the right Ipe wood decking. Many types of Ipe wood exist, and not all are created equal. You want to ensure that you get the best quality Ipe wood possible to ensure that your deck will last for years.

Step 2: Measure the Area Where You Will Be Installing the Decking
Once you have the right Ipe wood, it is time to measure the area where you will install it. This is important to know how much wood you need to purchase. You also want to ensure that you leave enough space for the expansion and contraction of the wood.
Step 3: Cut the Ipe Wood Decking to Size
After you have measured the area, it is time to cut the Ipe wood decking to size. First, you want to make sure you use a saw designed for cutting hardwood. This will ensure that you get a clean and straight cut. To do that, set your saw to the correct depth and ensure the blade is sharp.
Step 4: Pre-drill Holes for the Deck Screws
Once you have cut the Ipe wood decking to size, it is time to pre-drill holes for the deck screws. This will make it easier to install the decking and will also prevent the wood from splitting. To do this, use a drill bit slightly smaller than the diameter of the deck screws. Before doing that, mark where you will be drilling the holes.
Step 5: Apply Wood Glue to the Edges of the Ipe Wood Decking
Now it is time to apply wood glue to the edges of the Ipe wood decking. This will help to create a stronger bond between the decking and the joists. You want to use a generous amount of glue so that it seeps into the wood’s pores. Ensure that you wipe off any excess adhesive, so it does not create a mess.
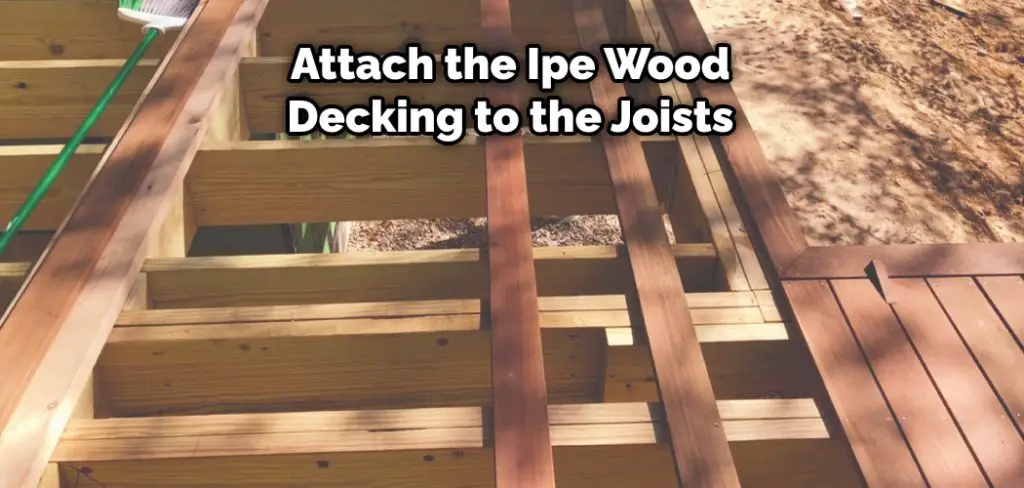
Step 6: Attach the Ipe Wood Decking to the Joists
Now it is time to attach the Ipe wood decking to the joists. To do this, simply screw the decking into the joists using the pre-drilled holes. You want to ensure that you do not over-tighten the screws so that the wood does not split. Otherwise, the decking will be securely attached.
You Can Check It Out To Refinish Ipe Wood
Step 7: Trim Any Excess Ipe Wood Decking
Once you have attached all of the Ipe wood deckings, it is time to trim any excess. You can use a saw or a chisel to do this. Just be sure to make clean and straight cuts so that the deck looks professional. After that, you can sand down the edges to make them smooth. Be careful not to sand too much, or you will damage the wood.
Step 8: Stain or Paint the Ipe Wood Decking
Now that the Ipe wood decking is installed, it is time to protect it. First, you can paint the wood. This will help prevent damage from the elements and give the deck a finished look. Choose the color, but a natural wood stain will usually look best.
Step 9: Apply a Deck Sealer
After you have stained or painted the Ipe wood decking, it is time to apply a deck sealer. This will help protect the wood further and give it a nice shine. You want to ensure that you apply the sealer evenly, so there are no streaks. Remember to follow the manufacturer’s instructions for the best results.
Step 10: Add Deck Furniture and Accessories
Now that the Ipe wood decking is installed and protected, it is time to add furniture and accessories. This will make the deck more inviting and give you a place to relax and enjoy the outdoors. You can choose any furniture, but be sure to get pieces designed for outdoor use.
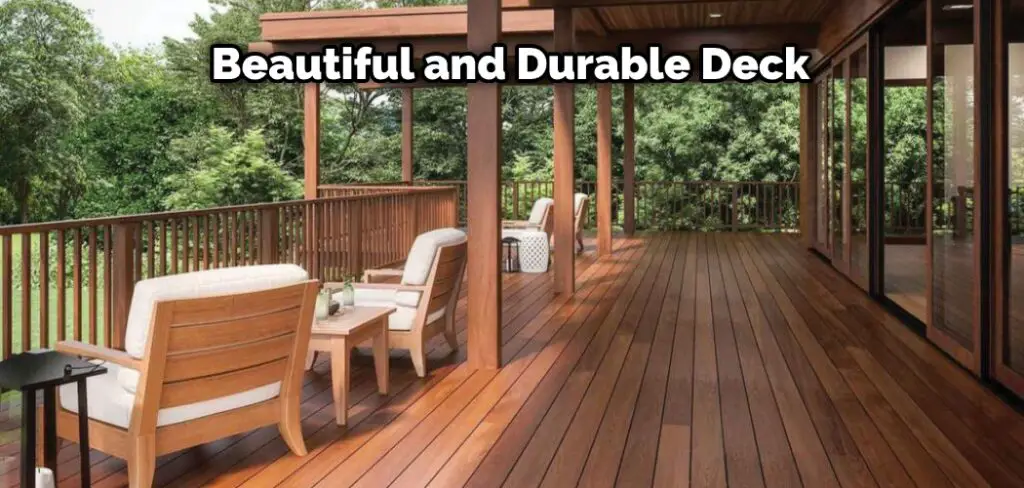
And there you have it! These are the steps for how to install Ipe wood decking. Just be sure to take your time and follow the instructions carefully. Otherwise, you will not be happy with the results. But if you do it right, you will have a beautiful and durable deck that will last for years.
5 Common Problems of Ipe Wood Decking and Their Solutions
1. Cupping
- Description: Cupping occurs when the center of the board is higher than the edges, creating a concave shape. This happens when the wood loses its moisture content unevenly, causing the wood to shrink more on one side than the other.
- Solution: Install the boards with the concave face up. This will allow the sun and rain to even out the moisture content and make the board lie flat again.
2. Checking
- Description: Checking is the splitting of the wood along the grain. This is caused by the wood drying too quickly, causing the surface to shrink while the inside remains moist.
- Solution: Sand the affected area and apply a finish to the wood. Covering the wood with a finish slows down moisture loss and helps prevent further checking.
3. Fading
- Description: The natural color of the wood fades when exposed to sunlight over time. This is especially true for the rich, dark tones of Ipe wood.
- Solution: Apply a finish to the wood that contains UV inhibitors. This will slow down the fading process and keep the wood looking great for longer.
4. Scratching
- Description: Ipe wood is a very hard wood, but it is still susceptible to scratches from furniture and other heavy objects.
- Solution: Cover the feet of furniture with felt pads or area rugs to prevent scratching. If the wood does get scratched, sand the area and refinish the wood.
5. Warping
- Description: Warping occurs when the wood dries unevenly, causing one side of the board to become curved or bent.
- Solution: Install the boards in the proper orientation with the bark side up. This will allow the wood to dry evenly and prevent warping. Removing and replacing the affected board is best if the wood has already warped.
By taking the necessary precautions and properly maintaining the wood, the beauty and durability of Ipe wood decking can be enjoyed for many years.
Safety Precautions You Need to Keep in Mind Before Installing Ipe Wood Decking
Ipe wood is a beautiful, durable option for decking, but it is important to take some safety precautions before installation. Here are some important things to keep in mind:
- Always wear protective gear when working with Ipe wood. This includes gloves, eye protection, and a dust mask.
- Be aware of the risk of splinters when working with Ipe wood. Splinters can be painful and difficult to remove, so avoid them.
- Use the proper tools when working with Ipe wood. Make sure you have a saw designed for cutting Ipe wood, a drill, and other necessary tools.
- Make sure the area where you will be working is well-ventilated. Ipe wood emits fumes that can be harmful if inhaled, so it is important to work in an area with fresh air.
- Follow the manufacturer’s instructions when using any products on Ipe wood. This includes cleaners, sealers, and stains.
- Inspect the Ipe wood before beginning the installation process. Look for any damage or defects that could affect the deck’s stability.
- If you are working with pressure-treated Ipe wood, be aware of the risks associated with handling it. Pressure-treated wood contains chemicals that can be harmful if they come into contact with your skin or eyes.
- When cutting Ipe wood, be sure to use a saw blade that is designed for cutting hardwood. Ipe wood is very dense, and the wrong type of saw blade can damage the decking.
- Be careful when nailing Ipe wood. Make sure the nails are the proper size and type for Ipe wood and be sure to predrill pilot holes to avoid splitting the wood.
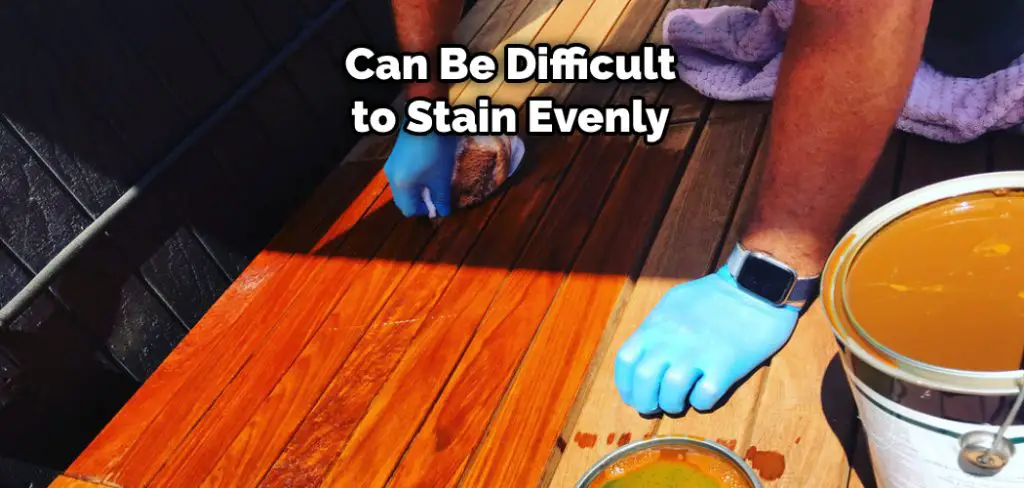
- When staining or sealing Ipe wood, use a product specifically designed for hardwood decking. Ipe wood is very dense and can be difficult to stain evenly,
How Long Do Ipe Decks Last?
Ipe decks are known for their exceptional durability and long lifespan. These hardwood decks can last up to 75 years or more with proper maintenance, which is significantly longer than most other decking materials on the market. The natural oils and dense grain of the ipe wood make it resistant to rot and insect damage, which only adds to the lifespan of the deck.
One of the biggest benefits of an ipe deck is its low-maintenance requirements. Ipe is naturally resistant to moisture, mold, and mildew, which means it does not require regular sealing or staining to maintain its appearance. However, it is recommended to clean the deck periodically to remove debris and prevent any potential staining.
Furthermore, ipe decks have the added benefit of aging gracefully. Over time, the wood will develop a unique silver-gray patina that adds character to the deck. Alternatively, it can be maintained with the use of a hardwood oil finish to keep its original rich appearance.
Do You Have to Pre-Drill Ipe?
Ipe wood is an incredibly dense material, so it can be challenging to work with. As a result, many contractors choose to pre-drill holes to avoid splitting the wood. While this isn’t strictly necessary, it may make the installation more manageable.
If you choose to pre-drill, use a 3/8″ drill bit and countersink the holes slightly. This will allow the screws to sit flush with the surface of the decking.
Do Termites Eat Ipe Wood?
Ipe wood is known for its durability, strength, and resistance to decay, making it a popular choice for outdoor construction projects. However, no wood is completely immune to damage from pests, including termites. Termites are known to feed on cellulose, the main component of wood, and while Ipe wood is extremely dense and hard, it is not entirely immune to termite damage.
Ipe wood has a natural resistance to insect infestations, including termites, due to its high density and natural oils. In general, termites are less attracted to Ipe wood than other types of wood, making it a good choice for outdoor construction projects in areas where termites are a concern.
It’s always best to take preventive measures to protect any type of wood from termite damage, such as treating it with insecticides, using pressure-treated wood, or avoiding ground contact.
How Much Space Do You Need Between Ipe Decking?
Ipe decking is a beautiful, durable, and long-lasting material used for various projects, including decks and patios. Ipe is a type of tropical hardwood typically imported from Brazil and is known for its exceptional hardness and strength.
When installing ipe wood decking, it is important to leave enough space between the boards so that they can expand and contract without warping or buckling. Depending on the climate, you will need to allow a 1/4″ to 3/8″ gap between the boards. You can use a spacer tool or chisel to create this gap as you install the decking.
Once the decking is installed, you can choose to leave it unfinished or apply a sealant or stain to protect the wood from the elements. Ipe wood decking is an excellent choice for any home improvement project.
Do You Need to Sand Ipe Decking?
Yes, sanding Ipe decking is recommended to achieve a smooth and even surface. Ipe is a dense hardwood that is naturally resistant to rot and decay, making it a popular choice for outdoor decking. However, due to its density, Ipe can be more challenging to sand than other woods. Sanding helps to remove any rough spots, raised fibers, or splinters on the wood’s surface.
It also helps to open up the pores of the wood so that any sealant or stain applied can penetrate more deeply and evenly. When sanding Ipe, it’s important to use fine-grit sandpaper, as coarse sandpaper can cause scratches and damage to the wood. Sand in the direction of the grain, and be sure to wear protective gear such as a dust mask, gloves, and safety glasses.
Conclusion
Ipe wood decking is a beautiful, sustainable option for your outdoor living space. Follow the instructions if you read the how to install ipe wood decking article.
Make sure you have all of the necessary tools and materials before you start, and take your time to do the job correctly. You can create a beautiful and long-lasting deck using Ipe wood with little effort.

