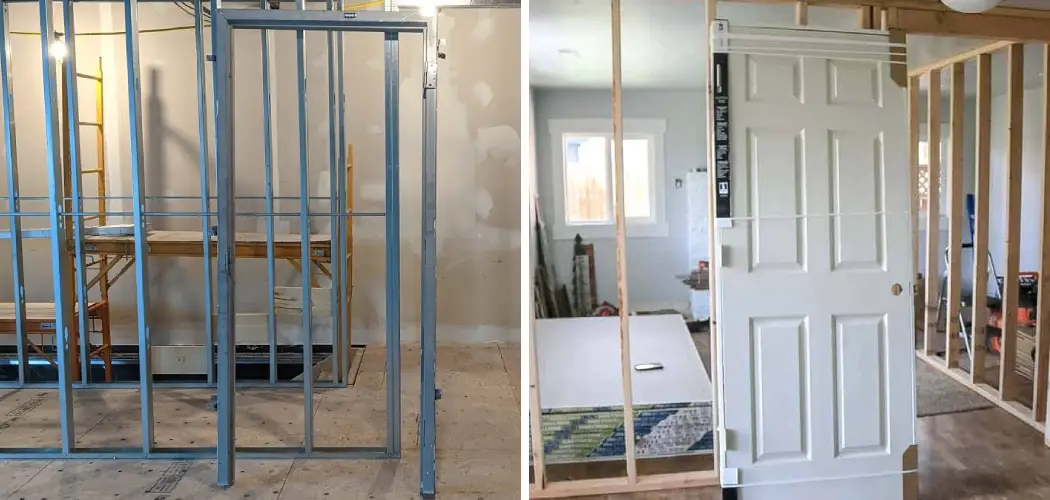
Are you ready to replace an old door or install a completely new one? Installing a prehung wood door on metal studs is not difficult but requires some attention to detail. Here’s how it’s done.
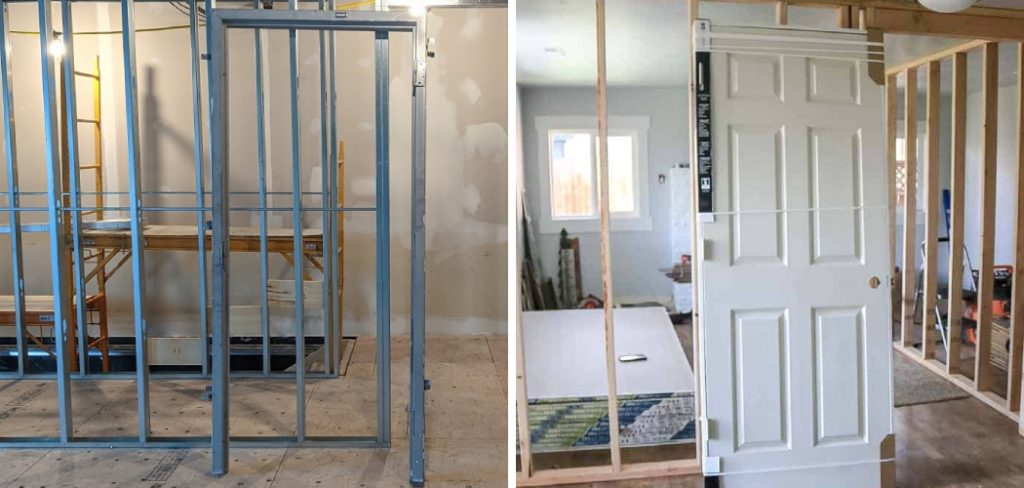
Installing a prehung wood door is not as daunting of a task as it may initially seem. Prehung doors are already attached to their respective frames and designed for easy installation in any standard doorway. Even if you’re only installing the door onto metal studs, all that’s required are some simple tools and materials – plus a bit of elbow grease!
In this article, we will take you through each step of how to install a prehung wood door on metal studs, so don’t miss out on this essential information! With detailed instructions and helpful photos accompanying them, you can feel confident knowing your project will be successful!
What Will You Need?
Before you begin installing your prehung wood door, make sure you have the following items:
- A hammer or impact driver
- Metal screws and anchors
- Wood shims
- Level
- Tape measure
- Your chosen prehung door
Once you’ve gathered all of the necessary materials, you’re ready to move on to the installation process.
10 Easy Steps on How to Install a Prehung Wood Door on Metal Studs
Step 1. Measure the Doorway:
Use a tape measure to determine the width and height of the doorframe, including any trim. It is important to measure how deep the door is due to the thickness of the metal studs. Because metal studs are thinner than wood, the depth of your prehung door should not exceed 1-3/4 inches.
Step 2. Attach the Doorframe:
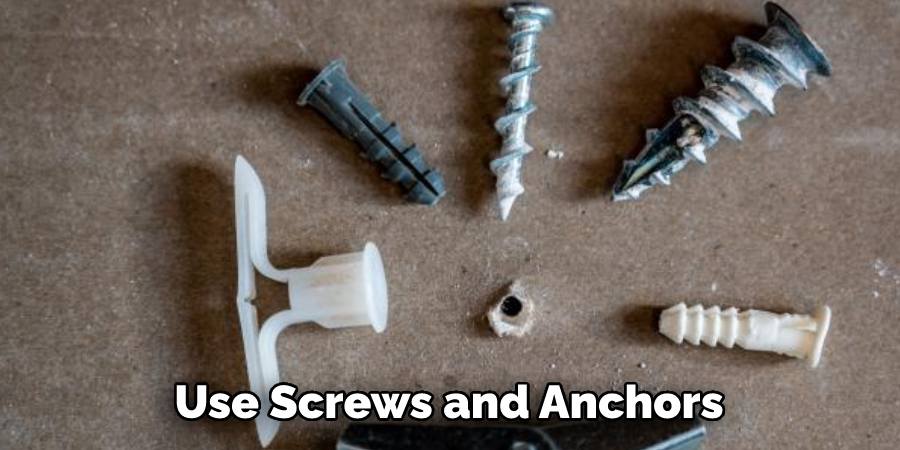
If you’re working with a metal door frame, use screws and anchors to attach it to the wall. If there is no existing frame, you can just screw directly into each stud using metal screws and anchors. Make sure to securely attach the frame, so it doesn’t move around when installing the door.
Step 3. Place Your Prehung Wood Door into Frame:
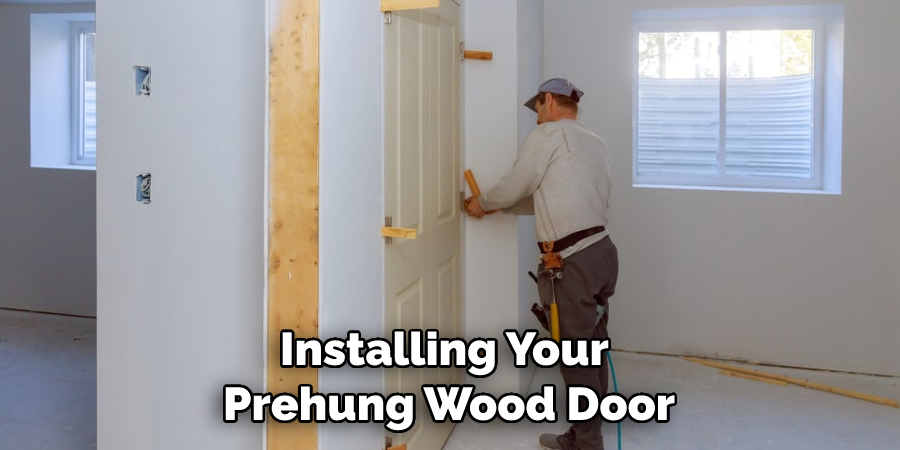
Next, place your prehung wood door into the metal studs by sliding it in from one side of the opening at a slight angle until it is in the center of the frame. To ensure the door is level, use a level and adjust as necessary. Don’t forget to check how the door swings open too.
Step 4. Shim and Secure the Door:
Using wood shims, place them between the door and the frame at the top, sides, and bottom. This will help to keep the door in place. Then use screws and anchors to secure the doorframe together with the metal studs. Ensure that the screws are driven into the metal studs and not just into the drywall.
Step 5. Trim and Install Hardware:
Trim any excess shims if needed, and then you’re ready to install your hardware like handles, locksets, hinges, etc. Follow the manufacturer’s instructions for how to install each one of these items properly. Be careful not to over-tighten the screws, as this can cause damage to the door.
Step 6. Test and Finish:
Before you consider the project finished, make sure to test how the door swings open and closed. If all is in order, go ahead and caulk around the edges of the door to create a seal. You can also paint or stain the door if desired.
Step 7. Paint or Stain:
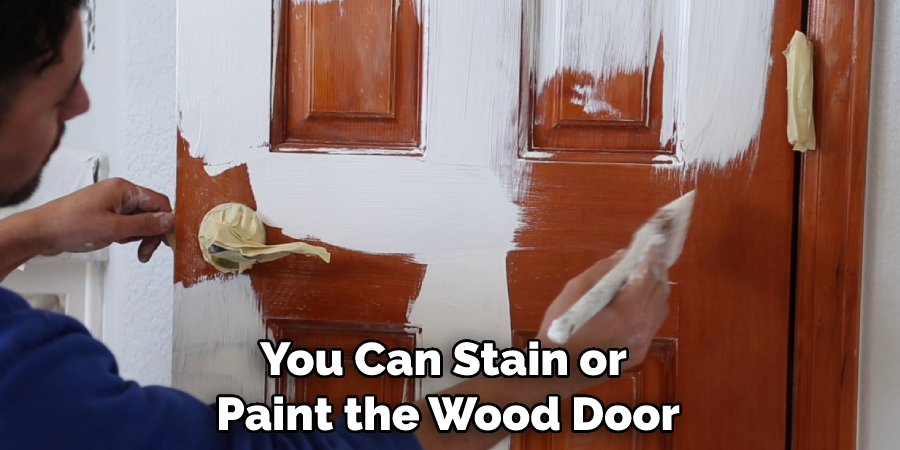
If you’d like, you can stain or paint the wood door to match your décor. Make sure that all of the hardware is removed during this process so it doesn’t get accidentally damaged. You can also use a sealer to protect the door from damage or wear and tear.
Step 8. Clean Up:
Once you’ve completed your project, be sure to clean up any debris from your workspace and any materials left over from the installation. It will be much easier to do this now than wait until later. You can also use a damp cloth to clean off any smudges or fingerprints that may have accumulated while working.
Step 9. Inspect for Damage:
Before you take a step back and admire how great your new prehung wood door looks, make one last visual inspection for any damage that may have occurred during the installation. If you find any, take the appropriate steps to fix it. Signs like scratches, dents, or warping should not be ignored and can lead to bigger problems down the line.
Step 10. Enjoy the Final Result:
Once you’ve completed all the steps above and inspected for any damage, you can enjoy how great your prehung door looks! Be sure to take care of it properly and check on it regularly so that it will last many years. Remember, a little maintenance and care can go a long way.
Congratulations on successfully installing your prehung wood door on metal studs! With a few tools and supplies, plus this easy how-to guide, you can install a new prehung wood door in no time—and with minimal effort. Good luck with your project!
5 Additional Tips and Tricks
- When installing the door frame, be sure to use screws that are suitable for metal studs and not wood.
- Make sure the frame is level and plumb before you attach the door.
- Use shims to ensure that the jamb is properly aligned with the frame and wall.
- Make sure there is a gap between the bottom of the door and the floor to allow for the expansion and contraction of materials due to weather changes.
- Drill pilot holes in the door frame so that you can easily insert screws without damaging or splitting them. This will also help ensure an even weight distribution when hanging your prehung wood door on metal studs.
Following these tips will help make sure you have a successful installation process when installing a prehung wood door on metal studs! With careful preparation, attention to detail, and proper tools, you can create a beautiful, secure entryway for your home that will last for years.
5 Things You Should Avoid
1. Don’t cut the door down to fit.
It can be tempting to trim a prehung door when you are trying to make it fit metal studs. However, metal studs vary in width, and cutting an interior door will cause the frame of the prehung door to become unbalanced and difficult to secure.
2. Don’t try using standard drywall anchors for your screws.
Drywall anchors are not designed for heavy weight-bearing items like steel entryway doors, so they should not be used as anchors on metal studs.
3. Avoid skipping any steps in the installation process.
Installing a prehung wood door on metal studs requires some care and attention, don’t skip any of the recommended steps to ensure a safe and secure result.
4. Don’t rush the installation process.
Installing a prehung wood door on metal studs is time-consuming and requires patience; don’t be tempted to speed things up by skipping any steps or not taking your time with measuring, marking, and securing the doorframe in place before hanging the door itself.
5. Don’t forget to readjust the doors as needed after it has been installed.
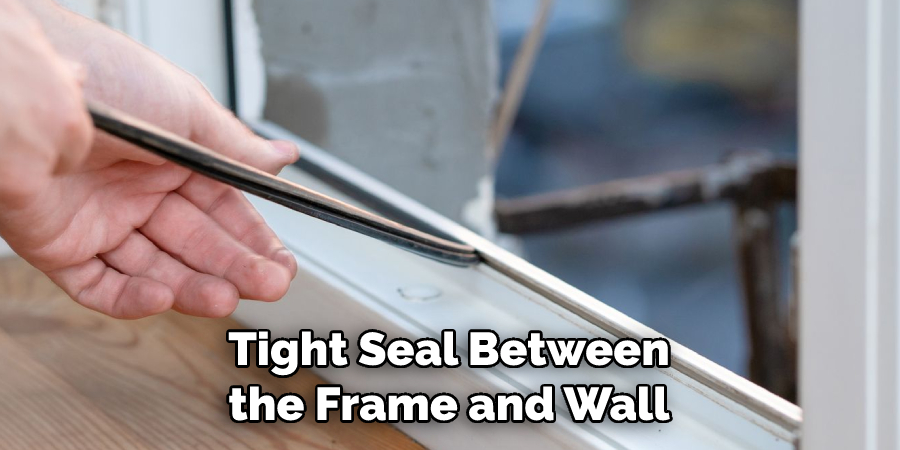
Doors can shift as humidity levels change throughout the year, so remember to check on how well it’s fitting periodically and make any necessary adjustments for a tight seal between the frame and wall.
Taking these extra steps will help ensure you have a secure entryway that looks great!
Is It Ok to Drill Into Metal Studs?
Yes, it is safe to drill into metal studs if you use the correct type of screws and anchors. Make sure to read up on correctly installing prehung wood doors on metal studs before attempting any work.
Additionally, be sure to use a power drill with the right size bit and screwdriver head. Drilling in metal studs requires more force than drilling into wood, so be aware that it might require additional time and effort.
Installing a prehung wood door on metal studs can be tricky, but with the right tools and knowledge, you can easily complete this task yourself! With these tips in mind, you’ll be able to install your new entryway confidently.
Conclusion
Installing a prehung wood door on metal studs is not impossible, but there are some important considerations to remember. It’s essential that you use the right type of screws for the job and ensure that you attach them securely. Additionally, using drywall screws or lag bolts that are twice as long can increase the strength and security of any installation.
Although this project may seem intimidating at first, by following the steps outlined above, you’ll install your door easily and confidently. With careful planning and attention to detail, it’s possible to complete this project with success and satisfaction.
Hopefully, this blog post on how to install a prehung wood door on metal studs has provided you with some helpful tips and advice to get started. Best of luck! Happy Installing!

