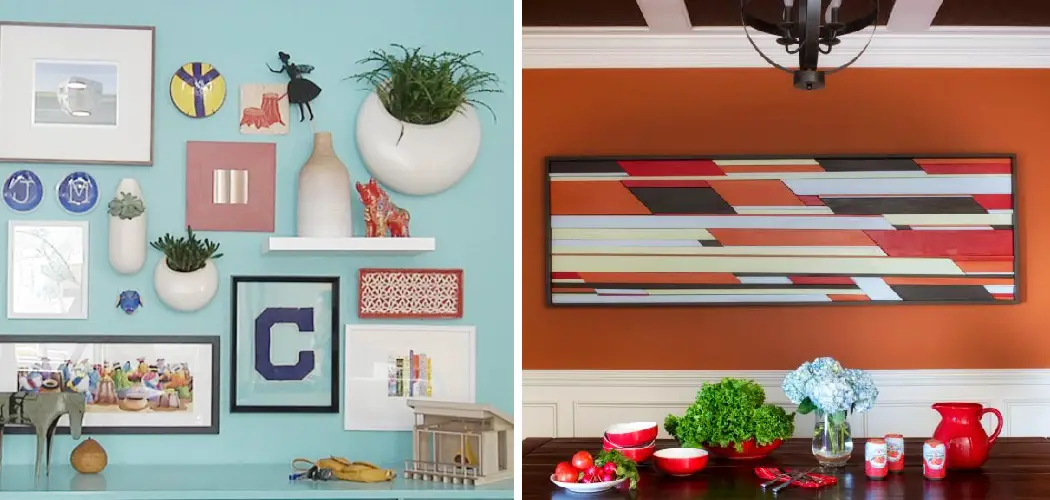
Have you ever wanted to hang plywood art on your wall, but weren’t quite sure what materials and tools to use? You’re not alone! Hanging plywood art can seem like a daunting task for those unfamiliar with the various techniques. But have no fear – we are here to provide you with all of the information necessary for a successful endeavor!
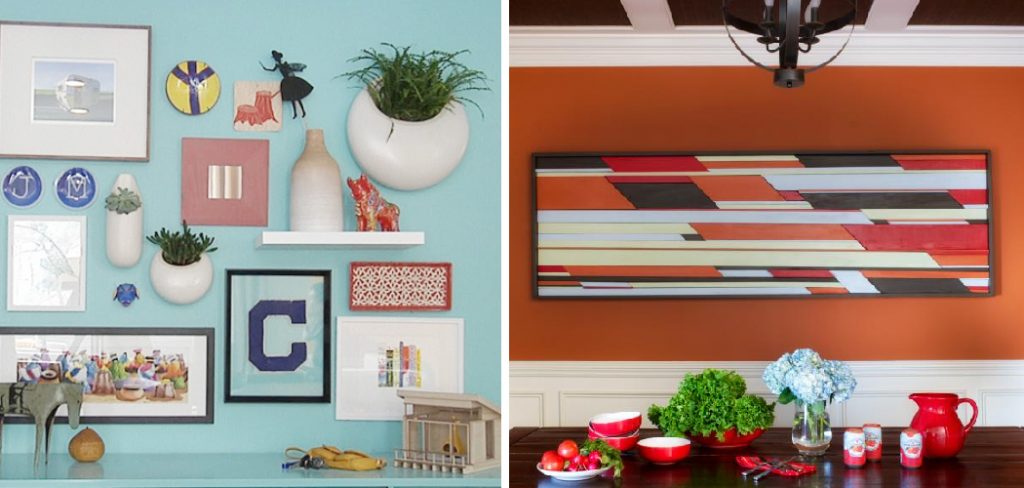
Here, we’ll discuss not only how to select and prepare material, but also explain several methods that can be used when hanging your precious projects. So if you’re ready to make durable displays out of your favorite pieces of wood-based artwork, read on and get ready for your best project yet!
Whether you plan on commissioning someone for custom pieces or trying your hand at making one yourself, the type and size of plywood will be determined by the desired look – from laser-cut designs to wood-burning techniques.
Once you have decided on your project piece, hanging it properly is essential for ensuring longevity. Read on as we take you through our tried-and-true step-by-step guide showing how to hang plywood art on wall like a pro!
Why May You Want to Hang Plywood Art on Wall?
1. To Display Unique Artwork
Plywood art is often unique and can showcase a modern, rustic, or industrial look. It’s perfect for adding a touch of sophistication and style to any room in your home. Also make sure to check out the craftsman and artist behind the plywood art you are interested in. Knowing where your piece comes from, and what inspired it, will add more value to it.
2. To Make a Statement
Plywood art can also be used to make a statement about yourself or your beliefs. Whether you choose an abstract design or something more literal, your piece will always be a conversation starter. Plus, you can pick something that’s meaningful to you and show it off for everyone to see.
3. To Save Money
Hanging plywood art on the wall is also cost-effective since there are no frame or matting costs associated with it. The amount you save may seem small but over time those savings can really add up. Plus, you don’t have to worry about the artwork being damaged since plywood is a durable material and it will last for a long time.
How to Hang Plywood Art on Wall in 5 Easy Steps
Now that you know why you may want to hang plywood art on wall, let’s look into how you can do it correctly.
Step 1: Measure The Plywood Art’s Dimensions
The first step in hanging plywood art on the wall is to measure the exact dimensions of your work. Make sure to note down the height and width values accurately so that you can plan for where it will hang.
Step 2: Purchase The Appropriate Hardware
For large pieces, it is always best to use sturdy hardware that can hold the plywood art effectively in place. Consult with your local hardware store for the best selection of mounting brackets, nails, and screws that will make the job easier.
Step 3: Mark the Position Of the Holes On the Wall
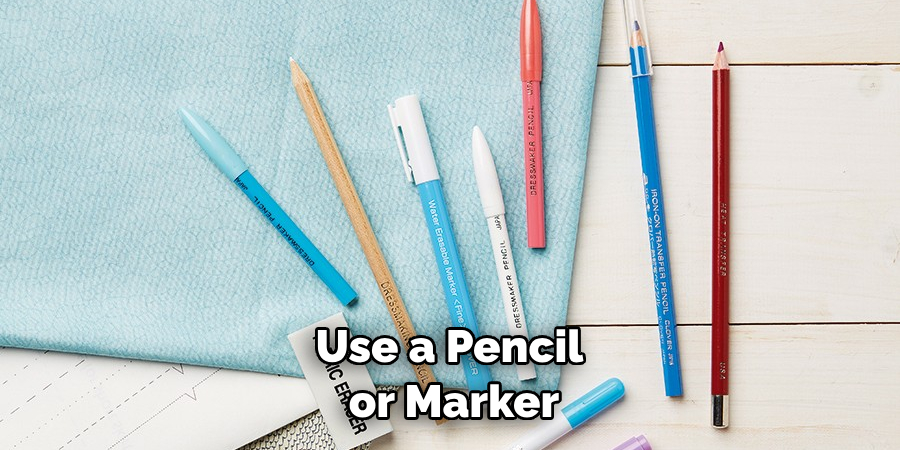
Once you have obtained the correct tools, mark out where on the wall you plan to hang the plywood art. You may wish to use a pencil or marker to draw the outline of the artwork on the wall.
Step 4: Attach The Hardware To The Wall
Now, you can begin attaching the hardware to your wall. Start by hammering in the nails and mounting brackets where needed, making sure that they are placed securely and evenly spaced apart for an even look.
Step 5: Hang The Plywood Art On The Wall
Once the hardware is in place, it’s time to hang your plywood art. Carefully attach the artwork to the wall and press firmly until it feels secure. By following these simple steps, you can now enjoy your beautiful plywood art hanging on the wall!
Now that you know how to hang plywood art on the wall, it’s time to make your creative vision come to life. Get started today and experience the satisfaction of creating something beautiful!
Some Extra Tips to Hang Plywood Art on Wall
1. Do Not Hang the Plywood Art in Direct Sunlight
This is very important to ensure that the artwork does not fade or warp over time. If you must hang it in an area that receives direct sunlight, consider using a UV-blocking window film on the glass of the windows.
2. Choose the Right Wall Anchors and Screws
When hanging anything heavier than a few pounds, wall anchors and screws are essential to provide proper support. Use the appropriate anchors depending on the weight of your artwork and ensure that they are securely screwed in place.
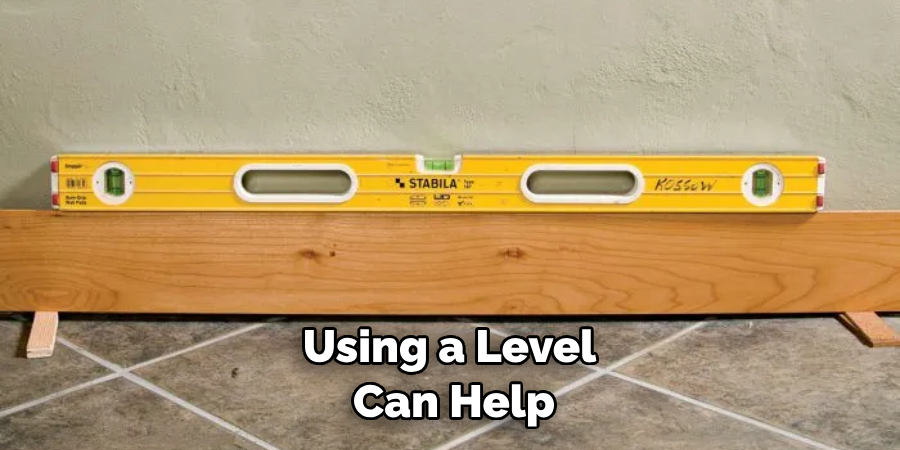
3. Use a Level to Ensure It is Properly Aligned
Using a level can help to ensure that your art is straight and properly aligned on the wall. This will give it an aesthetically pleasing look, as well as make sure it won’t fall off or become uneven over time.
4. Secure the Plywood Art with Picture Wire
The addition of picture wire on the back of your artwork can provide extra support and stability when hanging it on the wall. This will help to ensure that your art piece is secure and will not move or shift.
5. Use a Wall Hook for Added Support
If your artwork is larger and heavier, a wall hook can provide extra security. The additional support will make sure that it won’t fall off the wall and be damaged. Also make sure to place the hook in an area that won’t be seen, as it can detract from the overall look of your art.
Following these tips will help you hang your plywood art securely and safely on the wall. With proper care and maintenance, your art can remain in good condition for many years to come.
Frequently Asked Questions
What Precautions Should Be Taken When Hanging Plywood Art on Wall?

When hanging any kind of wall art, it’s important to take the necessary safety precautions. For plywood art, you should make sure that the wall is strong enough to support the weight of the artwork and that there are no loose screws or nails sticking out from behind the plywood.
Additionally, you may want to reinforce the wall by using additional anchors or mounting hardware such as screws and nails. Once you’ve ensured that your wall is secure, measure out exactly where you want the plywood art to hang before proceeding with the installation.
What Tools Are Required for Hanging Plywood Art on Wall?
The tools required for hanging plywood art on a wall depend on the type of wall and material used for the artwork. Generally speaking, you’ll need something to measure with, a stud finder (if hanging on drywall), an electric drill or screwdriver, screws, mounting hardware such as nails and anchors, and a leveler.
Additionally, depending on what type of plywood your artwork is made from, you may need specialized tools for cutting and drilling.
What Is the Best Way to Hang Plywood Art on the Wall?
The best way to hang plywood art on a wall is by using specialized mounting hardware like nails and anchors. Make sure that you measure out where you want the artwork to be hung before making any holes in the wall, as doing so will help ensure a secure installation.
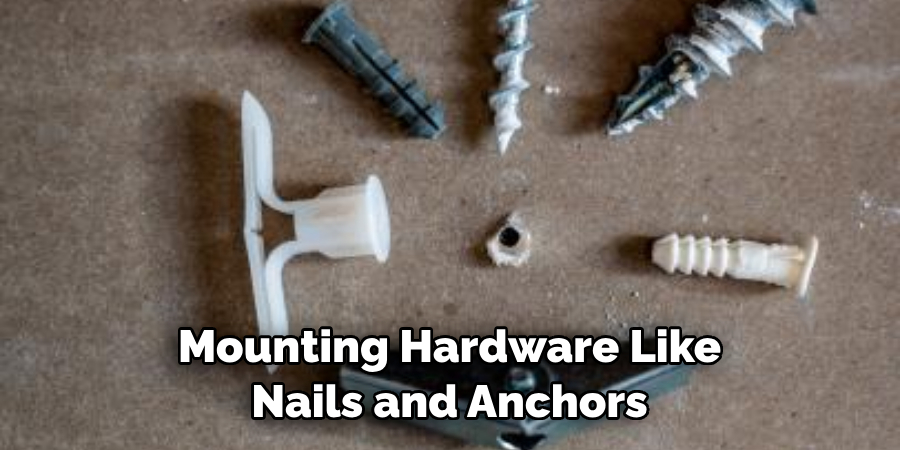
Additionally, use a leveler to make sure that your artwork is hung straight. Finally, if you’re hanging the artwork on drywall, be sure to use a stud finder to locate the studs behind the wall before drilling into them. Doing so will help ensure that the plywood art hangs securely and safely.
What Other Tips Should Be Followed When Hanging Plywood Art on Wall?
When hanging plywood art on a wall, it’s important to make sure that you use the right mounting hardware for the job. Additionally, always make sure that there are no nails or screws sticking out from behind the artwork before hanging it up. It’s also important to be careful not to over-tighten any screws when securing the artwork to the wall – doing so can cause damage to both the artwork and the wall itself. Finally, be sure to check your installation periodically to make sure that everything is secure.
Conclusion
Hanging plywood art can be a great way to spruce up any blank wall or dull space. You now know the steps to make sure your plywood art will be securely affixed to the wall, plus how to take into consideration the weight of the art in order to properly support it.
One final tip: use a level when you are mounting! Not only will this ensure the plywood is centered correctly on the wall and aesthetically pleasing, but it can also help prevent accidents from occurring.
Now that you have all of these tips on how to hang plywood art on wall, go forth and truly make a masterpiece on any wall in your home! Let your inner decorator shine through and add an element of excitement with hanging pieces of plywood art today.
You Can Check It Out to Cut Luan Plywood

