Hanging an old window on a wall is a creative and charming way to add a touch of vintage character to your home decor. Whether you’ve salvaged a weathered window from an old building or purchased one with an antique look, this article will guide you through the process of turning it into a unique wall decoration. Old windows can be repurposed into eye-catching frames for art, mirrors, or even used as standalone decor pieces.

In this comprehensive guide, we’ll explore how to hang an old window on a wall, ensure its stability, and securely attach it to your wall. You’ll learn about the necessary tools, safety considerations, and design ideas to make the most of your old window project. Whether you’re a seasoned DIY enthusiast or a beginner looking for a creative home improvement project, this article will help you transform an old window into a captivating wall decor element.
Reasons for Hanging an Old Window on a Wall
- Repurpose: Hanging an old window on a wall is a great way to repurpose and add character to your home. Instead of throwing away or storing that old window, you can give it new life by using it as a decorative piece in your interior design. This can also help reduce waste and contribute to a more sustainable lifestyle.
- Unique Decor: Old windows have a unique charm that can add a touch of history and character to any room. They come in various styles and designs, such as stained glass, leaded glass, or arched frames. By hanging an old window on your wall, you can create a one-of-a-kind decoration that will stand out and be a conversation starter for your guests.
- Budget-Friendly: Buying new home decor items can be expensive. By using an old window that you already have, you can save money and still achieve a beautiful and unique look for your walls. You can also find old windows at thrift stores or flea markets for a fraction of the cost of new decorative pieces.
- Versatility: Hanging an old window on a wall offers endless possibilities for creativity. You can leave it as is, with its original paint and glass, or you can add your own personal touch by painting the frame or adding decorations like photos, quotes, or plants. You can also use multiple windows to create a collage display or hang them in different rooms of your home for a cohesive design element.
- Easy to Hang: Unlike heavy and bulky wall decor, old windows are lightweight and easy to hang. Most come with a built-in hook or can be easily attached to the wall using picture-hanging hooks. This makes it a simple DIY project that anyone can do without needing special tools or skills.
10 Methods How to Hang an Old Window on a Wall
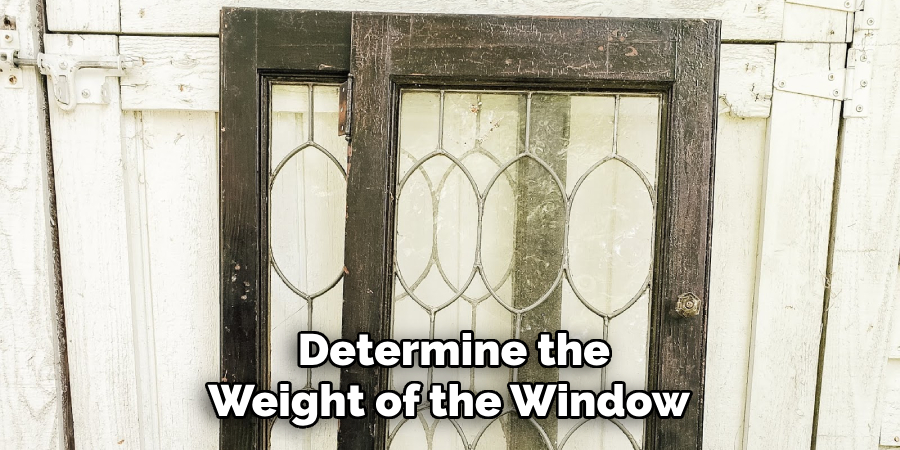
1. Determine the Weight of the Window
Before attempting to hang an old window on a wall, it is important to determine the weight of the window. This can be done by weighing it on a scale or using a measuring tape and calculating its approximate weight. Knowing the weight of the window will help you select the appropriate materials and hardware for hanging it securely on the wall.

2. Choose Appropriate Hanging Hardware
Once you have determined the weight of your old window, you can choose appropriate hanging hardware. You will need two brackets, one for each side of the window, that are rated to support at least twice as much as your window weighs. It is also important to make sure that these brackets are designed for use with wooden frames, as metal frames may require different types of hardware.
3. Measure and Mark the Wall Position
The next step is to measure and mark where you want to hang your old window on the wall. You should make sure that there is enough space around all sides of the window so that it hangs properly without being too close to other objects or walls. Once you have marked where you want to hang your old window, use a level to ensure that it is straight before drilling any holes in the wall.
4. Drill Pilot Holes
Once you have marked where you want to hang your old window on the wall, drill two pilot holes into each side of the frame using an electric drill and masonry bit. These pilot holes should be slightly larger than your mounting screws so that they do not get stuck when inserting them into place later on. Make sure that these pilot holes are drilled deep enough so that they reach into solid wood or masonry behind drywall or plaster walls.
5. Install Brackets
Now it’s time to install your hanging brackets onto each side of your old window frame using screws and anchors if necessary for extra stability in drywall or plaster walls. Once both brackets are installed securely, check again with a level to ensure that they are level before proceeding with any further steps in this process.

6. Hang Window Onto Brackets
Once both brackets are installed securely onto each side of your old window frame, it’s time to hang it onto them by inserting one bracket into each hole in either side of the frame until they fit snugly against each other and hold up securely without wobbling or shifting around too much when moved gently from side-to-side or up-and-down by hand testing them first before letting go completely once satisfied with their secure fitment.
7. Secure With Screws
After inserting both brackets into their respective holes in either side of your old window frame, secure them tightly using screws and anchors if necessary for extra stability in drywall or plaster walls making sure not over tighten them too much as this could damage either bracket itself or even worse crack apart parts of either frame itself which could lead more costly repairs down line if left unchecked now.
8. Add Hooks For Decorative Purposes (Optional)
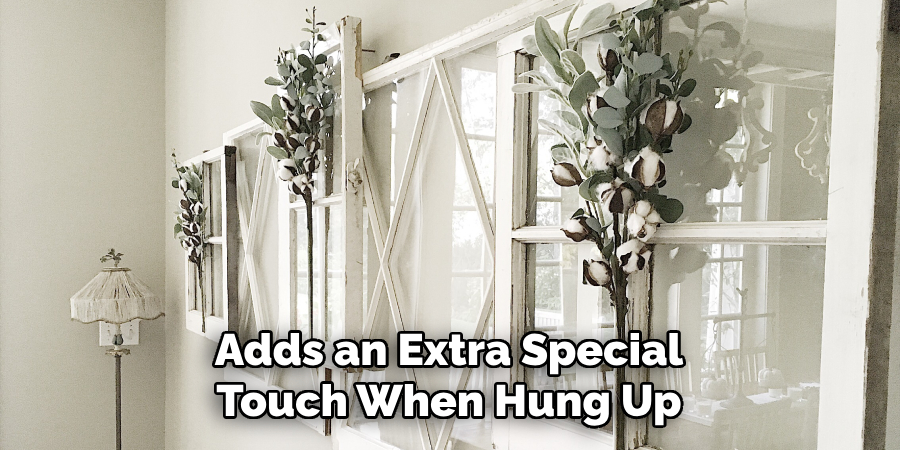
If desired, add some decorative hooks along either side underneath the bottom part of the frame, which can hold light items such as string lights, garlands, wreaths, etc. This adds an extra special touch when hung up, giving off a unique look & feel while also allowing user flexibility when deciding what type of items they’d like to display inside/outside their home.

9. Check Stability & Secure Further If Needed
Finally, after all the steps above have been completed successfully, take a few moments to check overall stability & security, making sure everything is secure & safe before letting go completely once satisfied with the results. If needed, make adjustments, further tighten up screws/anchors if needed until feeling confident everything will remain secure even over a long period of time without having to worry about coming loose anytime soon.
10. Enjoy Your New Look!
Last but not least, enjoy a brand new look achieved through hard work & dedication put forth during the entire process! Be proud of yourself for taking on something new & exciting, adding beauty & character to your home in an entirely unique way that may just inspire others around you to do the same!
Show off your newfound creativity with family/friends neighbors, receiving compliments along the way while remembering this helpful guide that helped get you there every step of the way!
Things to Consider When Hanging an Old Window on a Wall
When hanging an old window on a wall, there are several things that you need to consider in order to ensure that the process is successful. Here are some important factors to keep in mind:
- Stability and Weight Distribution: Old windows can be heavy, so it’s crucial to make sure that the chosen wall can support its weight. You should also consider how the weight of the window will be distributed once hung – will it be evenly balanced or more weighted towards one side? This will help determine the best location for hanging the window.
- Wall Material: The type of wall material is important to consider as well. For example, drywall may not be as sturdy as brick or concrete walls, so you may need to use different hanging techniques for each. If the window is particularly heavy, it’s worth consulting with a professional to determine the best method for hanging on your specific type of wall.
- Hanging Hardware: The right hanging hardware is essential for securely mounting an old window on a wall. It’s important to choose hardware that is strong enough to support the weight of the window and is appropriate for the type of wall it will be hung on. Some options include heavy-duty picture hangers, anchors, or brackets specifically designed for hanging heavier objects.
- Cleaning and Preparation: Before hanging the window, it’s important to clean it thoroughly and inspect for any damage or weak spots that may need reinforcement. You should also consider whether you want to leave the window in its original state or if you plan on painting or staining it before hanging.

Conclusion
With a few simple steps, you will be able to hang an old window onto your wall with ease. Whether it’s for functionality or aesthetic purposes, this reclaimed piece of home decor can be just the touch of uniqueness and beauty you need to complete a room. Finding the right space and preparing it for the window is key; adding proper support behind the walls allows it to look and feel stable.
And doing so in a way that both looks deliberate and compliments the rest of your home is what really brings it all together. So why not give it a go? With knowledge on how to hang an old window on a wall, you’ll be able to do this project with minimal effort in no time!

