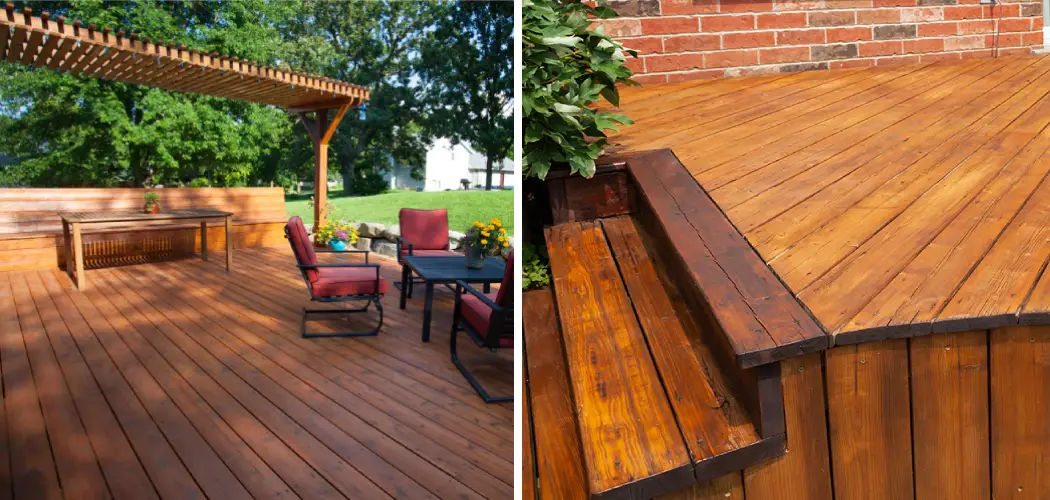
Do you have an uneven deck stain that’s driving you crazy? Deck staining can be a tricky process, and if done incorrectly it can lead to blotched or streaky stains. Fortunately, there are some relatively simple steps you can take in order to fix an uneven deck stain and achieve the perfect finish. In this blog post, we’ll walk through exactly how to fix uneven deck stain so that your outdoor space looks flawless!
With the right knowledge and a little bit of elbow grease, it is possible to fix this issue yourself. In this blog post, we will be taking an in-depth look at how to correct uneven deck staining so that your outdoor area looks better than ever before.
We’ll also be going over steps on preparing the wood surface properly for staining as well as providing advice on what types of stains work best for different climates. So if you’re looking to bring back that original color uniformity and beauty to your stained wood surfaces outdoors, keep reading below!
What Causes Uneven Deck Stain?
1. Improper Preparation of the Deck
Before applying stain to your deck, it is important to properly sand and clean the surface in order to ensure an even stain pattern. If not done correctly, this can lead to an uneven application of the stain.
2. Unsuitable Weather Conditions During Staining
Another common cause of uneven deck stain is the weather. If it’s too hot or windy when staining, this can lead to an uneven stain application.
3. Poor Quality or Wrong Type of Stain Applied
Sometimes, the quality or type of stain used for a particular job isn’t suitable and can result in an uneven finish. It’s important to use the right type of deck stain for the job. Also you have to make sure to choose a good quality stain for better results.
12 Tips On How to Fix Uneven Deck Stain
1. Sand the Deck Again
The first step in fixing an uneven deck stain is sanding the deck surface again. This will remove any old, uneven stains and smooth out any rough patches or flaws on the surface of the wood. Make sure to use medium-grit sandpaper to avoid damaging the deck.
2. Clean the Deck
Once you’ve finished sanding, it’s important to thoroughly clean the deck of any dirt or residue that may have accumulated during the process. Use a mild detergent and scrub brush to make sure all stains are removed before applying a new coat of stain.
3. Apply a Wood Brightener
Before staining your deck, it’s important to use a wood brightener to bring back the color and contrast of the wood. This will help make sure that you get an even-looking finish when staining. Make sure you follow the instructions on the container for best results.
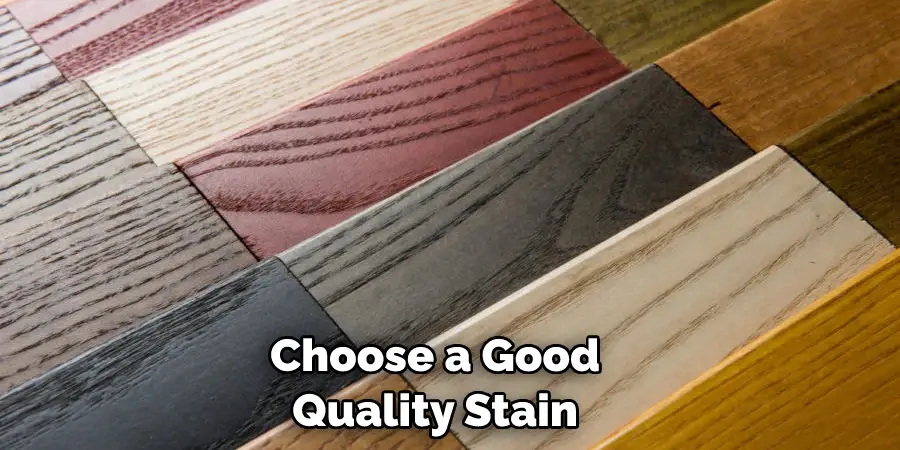
4. Choose a Stain Color
Now that you’ve prepped the deck for staining, it’s time to choose a stain color. Make sure you pick one that will be complementary to any surrounding structures and plants in your yard or garden. Consider lighter shades of wood if you want an even more subtle, natural look.
5. Apply the Stain Evenly
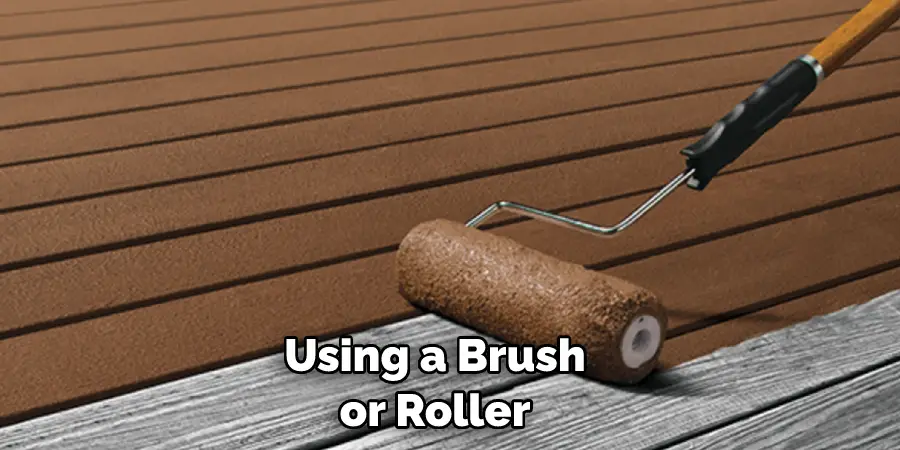
Now that you’ve chosen your stain, it’s time to apply it. Start by using a brush or roller to evenly distribute the stain over the entire surface of the deck. If you are using a sprayer, make sure to hold it further away from the deck to avoid uneven coverage.
6. Don’t Overlap Stains
When applying a new coat of stain, make sure you don’t overlap with any previous coats. This can create an uneven finish and may even cause the stain to peel off in patches over time.
7. Let It Dry Before Moving On
After you’ve finished staining the deck, it’s important to let it dry completely before moving on. The best way to do this is to give the deck at least 24 hours of drying time before applying the next coat of stain.
8. Add Additional Coats
If your deck requires additional coats of stain in order to achieve the desired finish, you should apply them in the same manner as the first coat. Make sure to let each coat dry before adding more so that they will blend together and create a uniform look.
9. Reapply Sealant After Staining
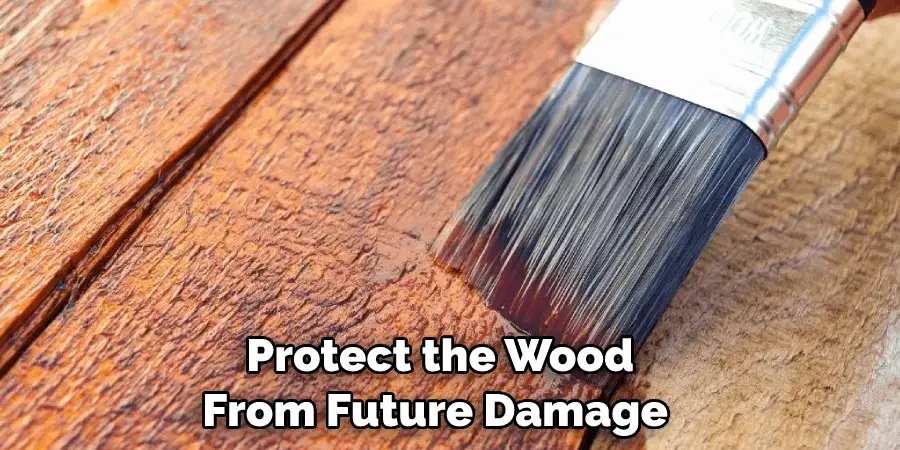
Once your deck is stained, it’s important to reapply sealant or protective coating in order to protect the wood from future damage and fading. Make sure you follow the instructions on the sealant container for best results.
10. Don’t Forget to Clean Up
It’s important to clean up any excess stain or sealant that may have dripped onto other surfaces, such as plants or furniture. Use a damp cloth to wipe away any spills or drips and dispose of the cloth safely.
11. Consider Hiring a Professional
If you’re still not sure how to fix an uneven deck stain, it may be worth hiring a professional who has experience in this area. This can help ensure that your deck is properly prepared for staining and will look its best in the end.
12. Seal and Protect Regularly
In order to keep your deck looking great for years to come, it’s important to seal and protect it regularly. This will help ensure that the stain doesn’t fade or become uneven over time and will also help preserve the wood from damage caused by weather or water. By following these steps, you can easily fix an uneven deck stain and keep your deck looking its best for years to come.
Frequently Asked Questions
What Precautions Should I Take Before Fixing Uneven Deck Stain?
Before attempting to fix uneven deck stains, it is important to take safety precautions. This includes wearing protective eyewear, gloves, and a respirator or mask if you are sanding the area. It is also important to read instructions on any products you use and follow the manufacturer’s safety instructions.
What Is the Best Way to Fix Uneven Deck Stain?
The best way to fix uneven deck stains depends on how extensive the problem is. For areas of light staining, you can use fine-grit sandpaper and gently sand the area until it looks even. For more extensive stain issues, you may need to strip the deck with a chemical stripper and start from scratch.
How Do I Prevent Uneven Deck Stain in The Future?
To prevent uneven staining on your deck, avoid applying too much stain at one time. Use a paintbrush or roller to evenly apply the stain, starting at the far corner of the deck and working your way back toward the house. Additionally, make sure you clean any dust or debris from the deck before staining to ensure a smooth finish. Finally, wait the appropriate amount of time between coats to avoid an uneven look.
Can I Fix the Uneven Deck Stain With Paint?
Yes, in some cases you can fix an uneven deck stain with paint. Before painting, it is important to make sure the stain is completely dry and free of any dirt or dust. Once the surface is prepped, use a high-quality exterior paint in either a semi-gloss or gloss finish to help create an even look.
Regardless of whether you use paint or stain, it is important to always follow the manufacturer’s instructions for best results. Doing so will help ensure you get the most professional-looking finish.
How Much Does Fixing an Uneven Deck Stain Cost?
The cost of fixing an uneven deck stain will depend on the extent of the staining issue and what products you use. If the problem is minor, it may only cost a few dollars for sandpaper and paint or stain. However, if more extensive staining is present, costs could be higher if you need to use a chemical stripper or purchase new stain.

Overall, it is important to assess the area and determine the best course of action before attempting any repairs. This will help ensure that your deck looks beautiful for years to come!
Conclusion
Now you know how to fix uneven deck stain! In conclusion, while getting even stain across a deck can be challenging, it doesn’t have to be impossible. With the help of the tools and tips discussed in this blog post, you can get your deck looking like new again. If you do find yourself having trouble, don’t be afraid to reach out for help.
There are plenty of professionals who specialize in deck maintenance who may be able to provide guidance and assistance. Remember that taking care of your decks is an important part of home ownership – don’t neglect it! With the proper tools, upkeep, and a bit of elbow grease from time to time, you should be able to keep your decks looking great for many years to come. Happy staining!

