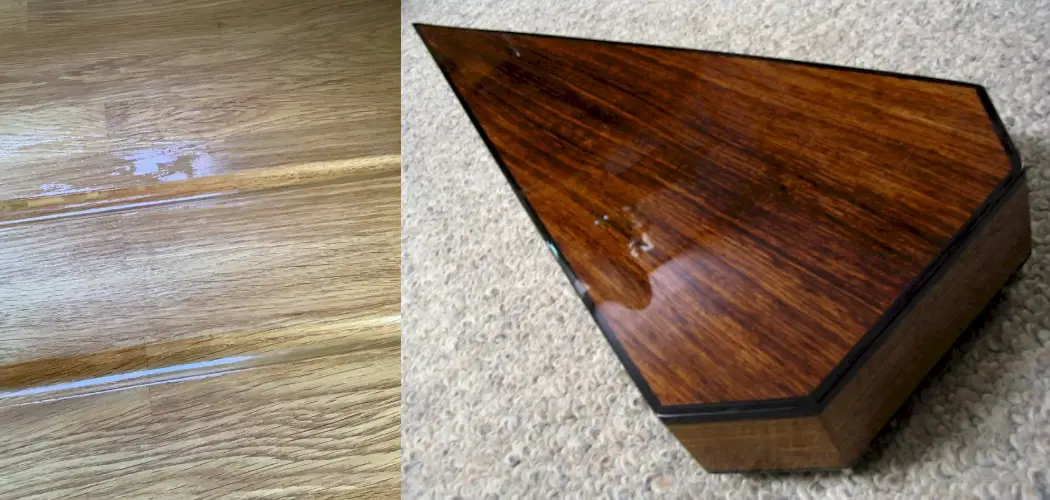
If you’ve ever tried to stain wood, you know that it’s not always a perfect process. Inevitably, you’re going to end up with some sanding marks on the surface of the wood. Fortunately, there are ways to fix this issue and get your finish looking perfect. This blog post will show you How to Fix Sanding Marks After Staining. Keep reading to learn more.
Summary: It can be frustrating when you sand your wood and end up with unsightly sanding marks. Here are a few tips to help fix them: -If the sanding marks are small, use a sandpaper sponge to gently clean them away. -If the sanding marks are larger, use a wet rag to dampen the area and then apply a light sanding with a paper towel. -If the sanding marks are still visible, use a dark stain and a light sanding to create a more subtle look.
What Causes Sanding Marks?
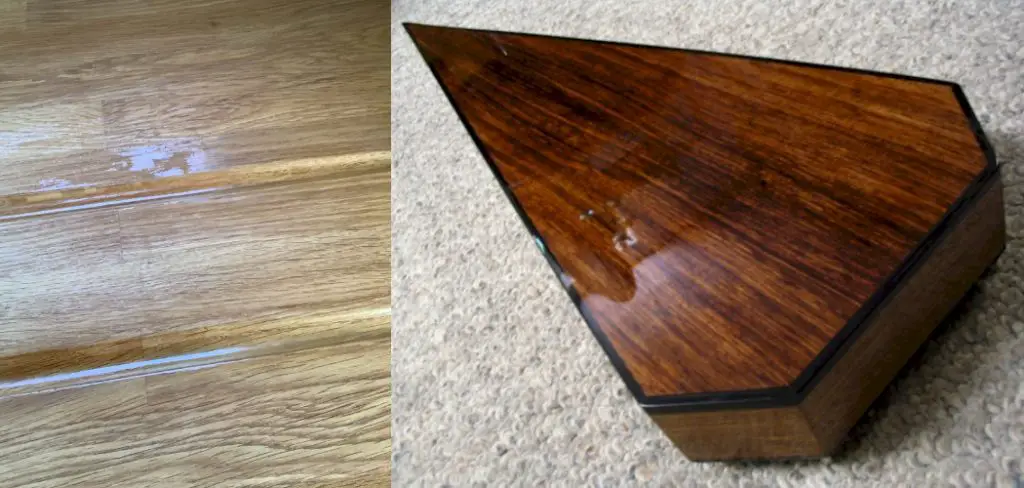
There are a few different reasons why you might end up with sanding marks on your wood. The first is that you didn’t want sand evenly. This can happen if you’re using a power sander and you move too quickly or if you’re hand sanding and you apply more pressure in some areas than others.
Another reason sanding marks might occur is that you’re using the wrong grit sandpaper. If you’re using a grit that’s too high, you can end up with scratches on the surface of the wood. On the other hand, if you’re using a grit that’s too low, you might not be able to remove all of the stains.
The other reason you might end up with sanding marks is that you didn’t wipe off the wood properly after staining. If there’s an excess stain on the surface of the wood, it can cause streaks and marks when you sand. Finally, if you’re using a water-based stain, the water may have caused the wood to swell and created raised grain. This can also lead to sanding marks.
Why Sanding Marks Are Bad
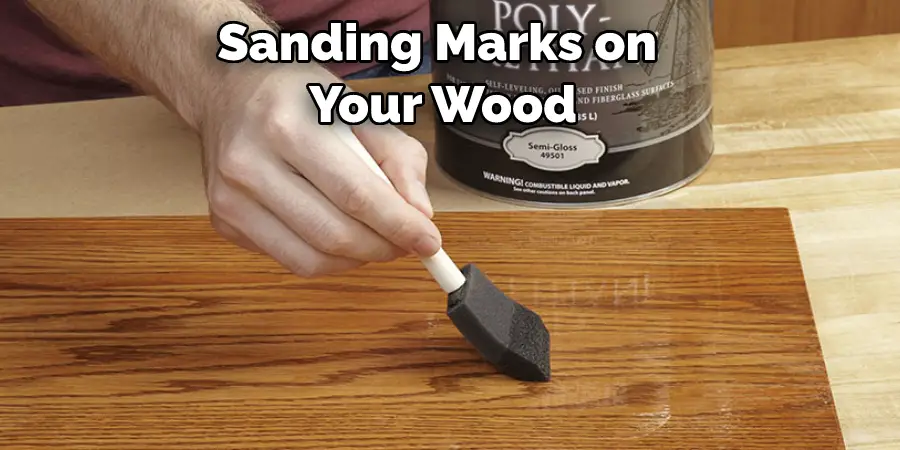
While sanding marks might not seem like a big deal, they can actually ruin the look of your finish. Sanding marks are especially noticeable when you’re using a dark stain. If you have light-colored wood, you might be able to get away with sanding marks, but they’ll still be visible if you’re looking closely. If you have dark-colored wood, sanding marks will be much more noticeable. Not only that, but sanding marks can also lead to an uneven finish. If you’re not careful, you might end up with a finish that’s blotchy and uneven.
You Can Check It Out To Keep Wood Stain From Rubbing Off
Some Effective Ways How to Fix Sanding Marks After Staining
1. Use a Finer Grit Sandpaper
The first thing you can do to fix sanding marks is to use finer grit sandpaper. If you’re using a power sander, switch to finer grit sandpaper. You can also use finer grit sandpaper if you’re hand sanding. This will help to remove the scratches from the surface of the wood.
2. Sand in the Same Direction
When sanding, it’s important to stand in the same direction. If you sand in different directions, you can end up with scratches that are hard to remove. Once you’ve chosen a direction, stick with it until you’ve sanded the entire surface. Then, if you need to, you can go over the surface a few times to make sure all of the scratches are gone.

3. Use a Sanding Block
If you’re hand sanding, it’s best to use a sanding block. This will help to ensure that you’re sanding evenly. A sanding block is also useful for getting into tight corners and hard-to-reach areas.
To use a sanding block, first, apply a thin layer of sandpaper to the block. Then, gently sand the area in question, moving the block in small, circular motions. If you’re using an electric sander, you don’t need to worry about using a sanding block. Just be sure to move the sander in small, circular motions to avoid creating any new sanding marks.
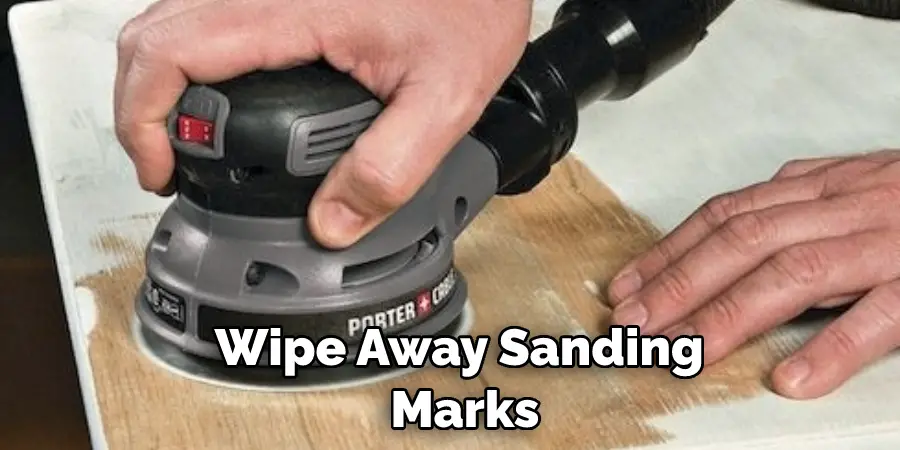
4. Wipe Away Sanding Marks
If you notice any sanding marks while you’re working, it’s important to wipe them away immediately. The longer you wait, the harder they’ll be to remove. To wipe away sanding marks, first, dampen a clean cloth with water.
Then, gently rub the cloth over the sanding marks in a circular motion. Be sure to use light pressure, as too much pressure can damage the wood. Once the sanding marks are gone, allow the area to dry completely before continuing. If the sanding marks are stubborn, you can try using a little bit of white vinegar on the cloth.
5. Wipe Off the Wood After Staining
As we mentioned earlier, one of the reasons sanding marks might occur is that you didn’t wipe off the wood properly after staining. To avoid this, be sure to wipe off any excess stain with a clean, dry cloth.
First, apply the stain to the wood using a rag or a brush. Then, immediately wipe off the excess with a clean cloth. It’s important to do this while the stain is still wet; if you wait too long, the stain will dry and be more difficult to remove.
6. Use a Pre-stain Conditioner
If you’re having trouble with sanding marks, you might want to try using a pre-stain conditioner. This product helps to even out the absorbency of the wood, making it easier to apply a uniform stain. To use a pre-stain conditioner, apply it to the wood with a clean cloth and let it sit for about 15 minutes before wiping it off. You can then proceed with staining the wood as usual.
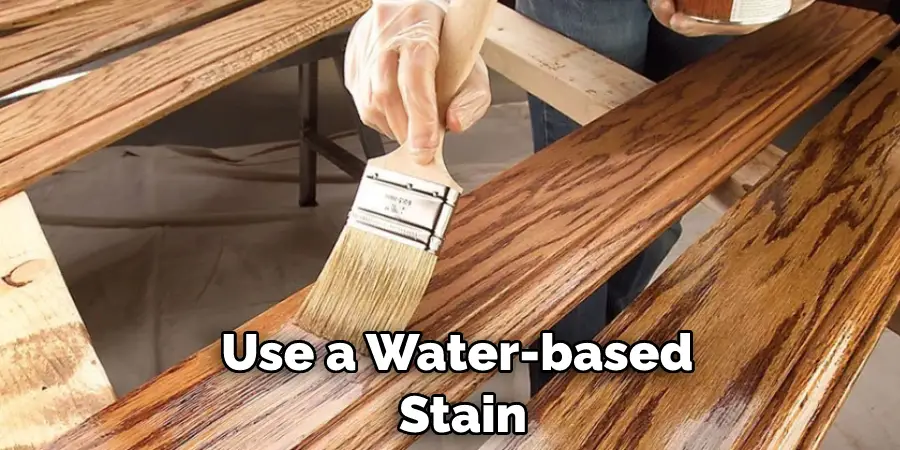
7. Use a Water-based Stain
If you’re using an oil-based stain, you might want to switch to a water-based stain. Water-based stains are easier to work with and don’t require the use of a pre-stain conditioner. To apply a water-based stain, pour it onto the surface of the wood and spread it around with a brush or a rag. Be sure to work the stain into the wood grain for best results. Once you’re finished, wipe off any excess stain with a clean cloth.
8. Use a Gel Stain
If you’re having trouble getting an even stain, you might want to try using a gel stain. Gel stains are thicker than traditional stains, so they’re less likely to absorb unevenly. To apply a gel stain, apply it to the wood with a clean cloth and then wipe it off with another clean cloth. You may need to apply several coats to get the desired effect. If you’re still not happy with the results, you can always sand the wood again and start over.
9. Use a Wood Conditioner
If you’re having trouble with sanding marks, you might want to try using a wood conditioner. This product helps to even out the absorbency of the wood, which can help to prevent the problem. First, apply a generous amount of conditioner to the wood with a clean cloth. Then, let it sit for about 15 minutes before wiping it off. After that, you should be able to apply your stain without any issues.
10. Hire a Professional
If you’re still having trouble with sanding marks, you might want to hire a professional. A professional will have the experience and knowledge to do the job correctly. They will also be able to apply a finish that will help to protect the wood from future damage.
Tips and Warnings on How to Fix Sanding Marks After Staining
Tips:
- Always sand with the grain and never against it.
- If you’re using a power sander, be extra careful not to press too hard and scratch the surface.
- Use progressively finer grit sandpaper until the marks are no longer visible.
- Vacuum or sweep up all the dust after each sanding session.
- If the marks are still visible after sanding, try applying a new coat of stain.
- Wipe off any excess stain with a clean cloth.
Warnings:
- Be careful not to sand too aggressively, or you could damage the wood.
- Make sure to remove all the dust after sanding, or it could cause the stain to adhere unevenly.
- If the sanding marks are still visible after staining, you may need to repeat the process.
How Much Does It Cost to Fix Sanding Marks?
The cost of fixing sanding marks will vary depending on the severity of the problem. If the problem is minor, you might be able to fix it yourself with a little elbow grease. However, if the problem is more severe, you might need to hire a professional. The cost of hiring a professional will vary depending on the size of the job and the type of finish that you want.
How Long Does It Take to Fix Sanding Marks?
The amount of time it takes to fix sanding marks will vary depending on the severity of the problem. If the problem is minor, you might be able to fix it in a few hours. However, if the problem is more severe, you might need to spend a few days sanding and re-staining the wood.
How To Remove Biro For Your Wooden Table?
Removing biro ink stains from a wooden table can be a daunting task, but there are several methods you can try. First, try using a white eraser to rub the ink stain gently. Make sure to only rub in one direction to avoid damaging the finish of the table. If the ink is still visible, you can try using a mixture of baking soda and water.
Mix the two ingredients until it forms a paste, and apply it to the ink stain. Let it sit for a few minutes before removing it with a damp cloth. You can also try using rubbing alcohol or nail polish remover. Soak a cotton ball or swab with either of these products and gently rub the ink stain until it lifts.
Remember to always test these products on a small, inconspicuous area of your table first to ensure they won’t cause any damage. With a little patience and persistence, you can remove biro ink stains from your wooden table and restore its beautiful appearance.
How To Remove Water Stains From A Wooden Table?
Water stains on wooden tables can be unsightly and frustrating to deal with. Luckily, a few methods can help remove or minimize the appearance of water stains on your wooden table. One of the easiest and most effective methods is to use a cloth dampened with a mixture of baking soda and water to rub the stain in a circular motion gently.
Another option is to apply a small amount of mayonnaise to the stain and let it sit for a few hours before wiping it away. If these methods don’t work, you can try using a mixture of toothpaste and baking soda or a commercial wood cleaner designed specifically for water stains.
Regardless of which method you choose, it’s important to remove water stains from your wooden table and avoid excessive rubbing or harsh chemicals that could damage the surface. However, with a little patience and the right tools, you can restore your wooden table to its original beauty in no time.
Conclusion
So, there you have it. Now you know how to fix sanding marks after staining your woodworking project. If you are patient and take your time, the results will be worth it. We hope you found this tutorial helpful and that you will give these techniques a try on your next woodworking project.

