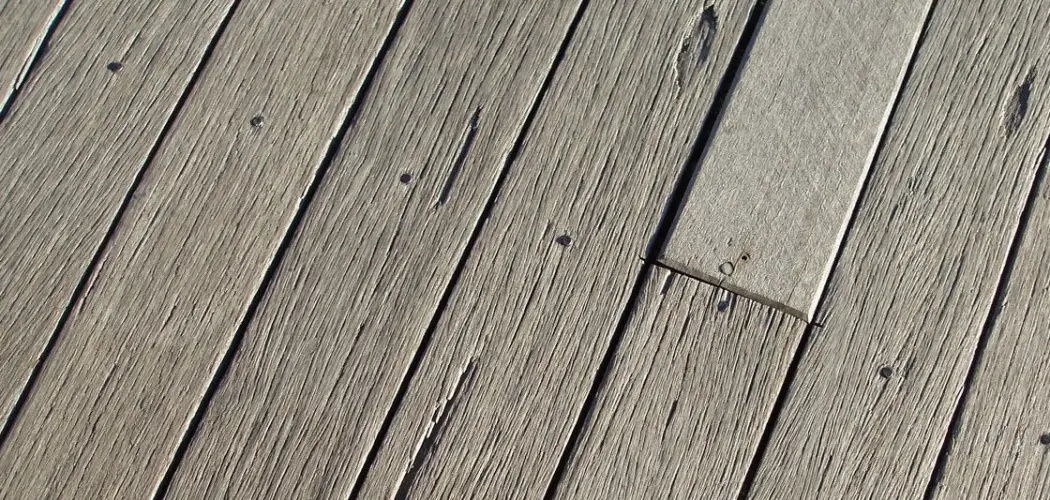
Are you noticing that your deck boards are starting to curl up? This can be an eyesore and cause a tripping hazard. Luckily, you can fix this issue with some simple steps.
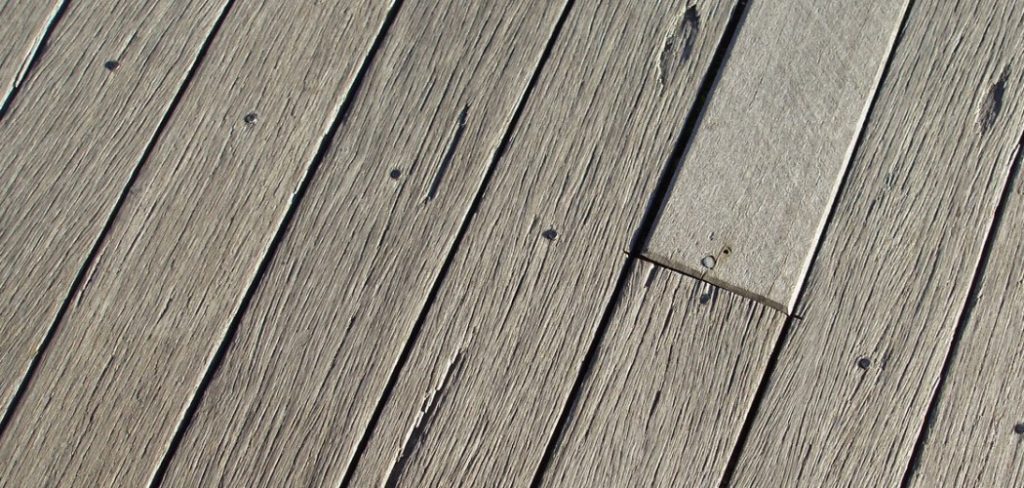
If you’re looking to breathe new life into your outdoor space, one area often overlooked is composite decking. Even if your deck has become dull and faded from outside elements over time, there are simple steps you can take to revive it back to its original beauty. From selecting the right cleaners to apply or replacing warped boards with fresh materials, this blog post provides all the knowledge necessary for restoring faded composite decks — no matter what shape they’re in!
With patience and a few easy-to-follow instructions provided here on how to fix curled up deck boards, you can get ready to enjoy a refreshed outdoor living area in no time.
What Can Damage Deck Boards?
Deck boards can be exposed to a variety of elements which could cause them to become damaged over time. These include:
1. Uv Rays From the Sun: When left to sit in the sun for too long, deck boards can start to warp and curl up.
2. Moisture: High levels of moisture can cause wood or composite decking to swell and lift off the joists.
3. Temperature Changes: Extreme temperature swings between hot and cold weather can cause warping or cracking of the boards.
4. Poorly-designed Deck: If the joists aren’t correctly placed or spaced out, the weight of people walking on them can cause them to curl up and warp over time.
What Will You Need?
To fix your curled up deck boards, you will need the following supplies:
- Power drill
- Self-tapping screws
- Level
- Cleaner (optional)
Once you have all the necessary tools, you can fix your warped deck boards.
10 Easy Steps on How to Fix Curled Up Deck Boards
Fixing curled up deck boards doesn’t have to be difficult or expensive. With the right tools and little knowledge, you can restore your outdoor space in no time! Here is how:
1. Assess Your Deck:
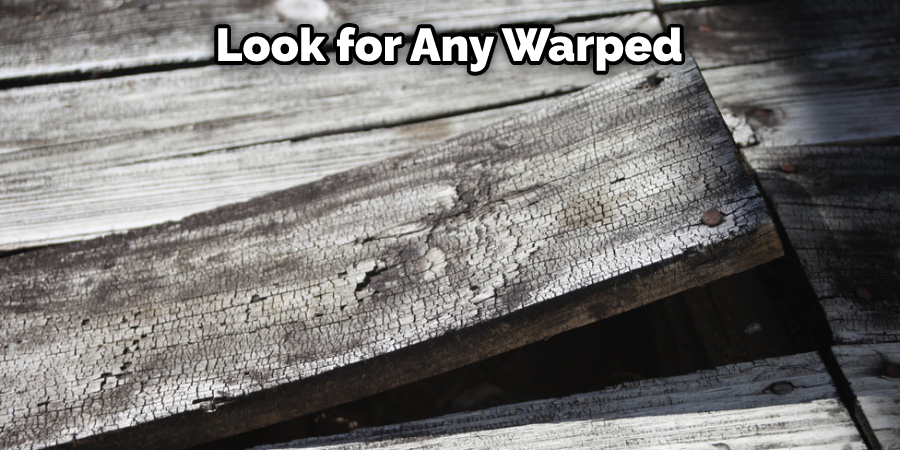
Look for any warped or lifted boards and determine how much repair work needs to be done. If possible, start at one end of the board and work toward the other. Be careful not to force the board down if it doesn’t want to stay in place, as this could cause more damage.
2. Remove the Board:
Using your power drill, remove any screws that may be holding the warped board in place. Then carefully lift out the board and set it aside. Don’t forget to save any screws you may need for reattaching the board once it’s fixed.
3. Clean Your Deck:
If desired, use a cleaner or pressure washer to clean the area beneath where the old board was located. This will help remove dirt and debris that may have been trapped underneath for an extended period. Be careful not to use too much pressure, which could damage the boards or joints.
4. Measure Twice, Cut Once:
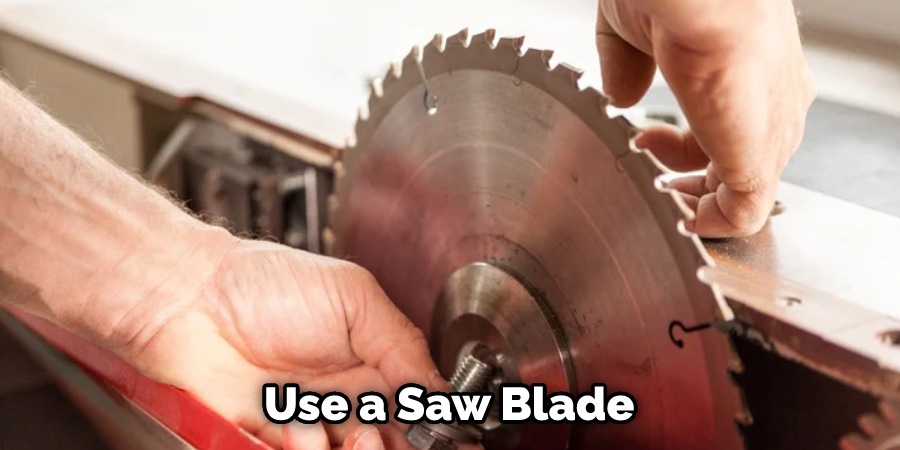
Measure the length and width of your new deck board and make sure it’s an exact fit for the opening you’re filling in. When cutting composite decking, always make sure to use a saw blade specifically designed for this type of material. A handsaw or circular saw works just fine if you’re using wood.
5. Place the New Board:
Once the new board is cut to size, place it in the space you’re filling and make sure it sits flush against any existing boards. If necessary, use a level to ensure everything is even and secure. It will also help to use a board clamp to hold everything in place while you’re working.
6. Secure With Screws:
Attach self-tapping screws along each joist using your power drill to secure the new board in place. Ensure they’re tightly secured so there won’t be any movement once the deck is walked on again. Remember to use the screws you removed from the old board if possible. Repeat steps 1 through 6 for each warped or lifted deck board until all of them have been fixed.
7. Make Necessary Repairs:
Once all the boards have been replaced, it’s time to make any necessary repairs. Check for loose nails or screws and replace them if needed. Also, inspect the joists, posts, and other structural components of the deck to ensure they’re still in good condition.
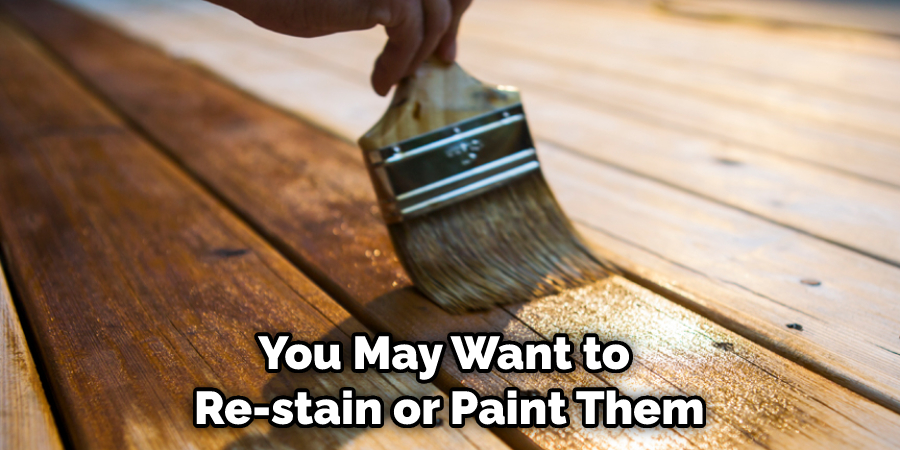
8. Re-stain or Paint:
To protect your new deck boards from damage, you may want to re-stain or paint them. This will help ward off future warping and staining caused by UV rays, moisture, and temperature changes. It’s also important to regularly clean your deck with a high quality cleaner to keep it looking like new.
9. Enjoy Your Deck:
Now that your deck is restored, it’s time to enjoy the outdoor space you worked so hard to maintain! Invite friends and family over for a cookout, or just relax in the beauty of your newly fixed deck. Be sure to check how well the boards are secured periodically throughout the year and make any necessary repairs or adjustments as needed. Always remember to take all the necessary safety precautions when repairing or replacing deck boards.
10. Regular Maintenance:
Regular maintenance goes a long way in helping keep your deck looking like new for years to come. Clean it regularly with a high-quality cleaner and inspect all parts of the structure twice yearly to ensure everything is secure and intact. With these tips, you can have a beautiful, lasting outdoor space.
By following these steps, you can easily learn how to fix curled up deck boards and keep your outdoor space looking great. Don’t forget to take all the necessary safety precautions when working with power tools or doing any kind of repair work. With a little bit of effort, you can have a beautiful outdoor living space that’s safe and enjoyable for years to come.
5 Additional Tips and Tricks
- Secure the deck boards with fasteners. In some cases, you may need to use longer screws or nails to penetrate the wood and ensure a secure connection properly.
- Replace severely warped boards. If a board is too badly curled up, it’s best to replace it rather than try to repair it.
- Make sure there are no gaps between boards when securing them down. This will help keep the deck surface level and reduce potential cupping issues in the future.
- Apply waterproof sealant regularly to protect the wood from moisture damage that could lead to curling or warping of boards over time.
- Invest in higher quality lumber materials such as pressure-treated pine or cedar for your deck project. These materials are more durable and less prone to warping or cupping issues than other types of wood.
By following these tips, you can help ensure that your deck remains level and secure over time, regardless of how often it is exposed to moisture. Also, proper maintenance and regular waterproofing will keep your deck looking great for years!
5 Things You Should Avoid
- Avoid using too much pressure when trying to flatten boards. Applying too much force can cause further damage to the boards and create additional curling.
- Avoid applying heat directly to the deck boards. Heat will soften the material, making it easier for moisture to enter and cause more curling in the future.
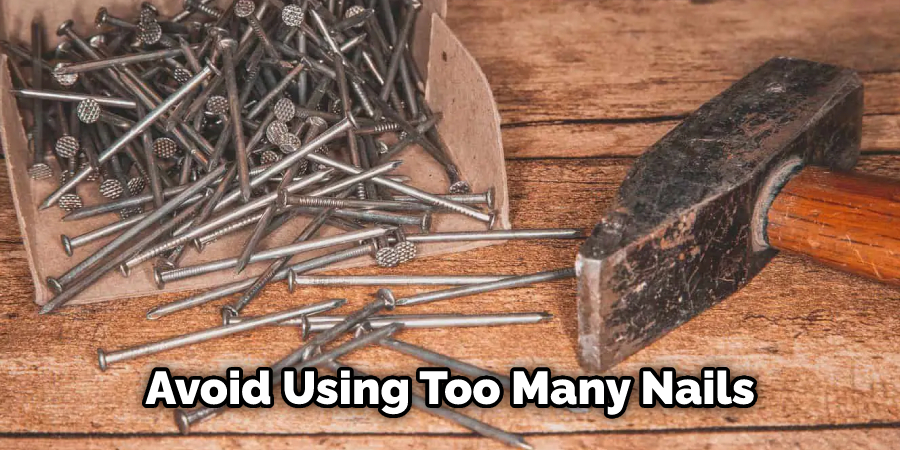
- Avoid using too many nails or screws when reattaching the board with fasteners that do not pull through completely into the joists beneath them. Too many fasteners may put unnecessary stress on one side of a board, leading to further warping and curling.
- Avoid putting off addressing curled up boards by cleaning, sanding, and resealing around them instead of correcting them right away.
- Avoid replacing the boards completely until you have exhausted all other options for fix curled up deck boards. Not only can a replacement be expensive, but it also has a higher chance of not fixing the problem.
By following these steps, you should have no trouble getting your deck area looking crisp and new again! If you’re still having trouble, contact an experienced professional who can help diagnose the issue and provide solutions to fix curled up deck boards.
Conclusion
Now that you know how to fix curled up deck boards, step back and admire your work. You’ve successfully straightened out those warped boards and reinforced them against future curling. This skill will come in handy any time you’re dealing with outdoor lumber projects, whether it be decks or fences.
Maintenance is an important part of ownership, so consider routinely checking your deck for warping or other damage to ensure its continued longevity. Refresh the sealant and wood preservative on a yearly basis to combat the natural wear-and-tear of weather related issues. Around this same time, examine all components of your deck for potential hazards such as loose boards and exposed nails.
Taking steps now will help you avoid larger expenses in the long run if problems go unchecked and turn into major repair projects down the road.

