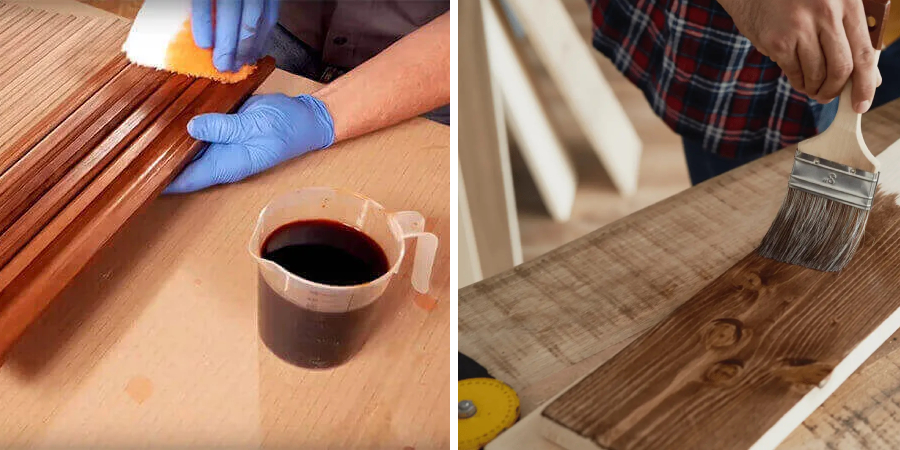
If you’ve ever worked on a floor staining project, chances are you have encountered some issues along the way. From bubbles forming to an uneven finish, there is always something that can go wrong! It takes great precision and skill in solid wood stain application but luckily for all of us DIYers, there are solutions to help remedy any missteps that may have occurred during your staining venture. In this blog post, we will discuss a few tricks and tips for how to fix a bad floor stain job so that you can achieve the desired professional look with ease.

Will the Second Coat of Stain Even Out the Color?
When staining a floor, it is not uncommon to be left with an uneven finish. This can often be due to applying the stain too quickly or unskillfully. In such cases, you may wonder if applying a second coat of stain will even out the color and fix the bad job.
The answer to this question depends on the severity of the floor stain job. If the effect is somewhat patchy and blotchy, a second coat may be able to even out the tone. However, if there are stark differences in color intensity or large sections of missed stain, then applying a second coat likely won’t solve the problem.
If you choose to continue with the second coat of stain, the best way to do so is to sand the entire floor and then reseal. This will ensure that any new stain you apply follows the same direction and evens out more easily. Additionally, it’s important to use a different type of stain or color if you want a noticeable difference in results. If you opt for the same type of stain, you may not be able to fix the bad job.
10 Methods How to Fix a Bad Floor Stain Job
1. Use a Putty Knife to Scrape off Any Excess Stains:
If there are sections of the floor that are stained too heavily, you can use a putty knife to carefully scrape off the excess. This will allow for a more even finish. If the stain was not properly mixed before it was applied, you might need to scrape off the entire layer and start again. When doing this, be careful not to gouge or scratch the wood.
2. Sand any Blemishes or Uneven Sections:
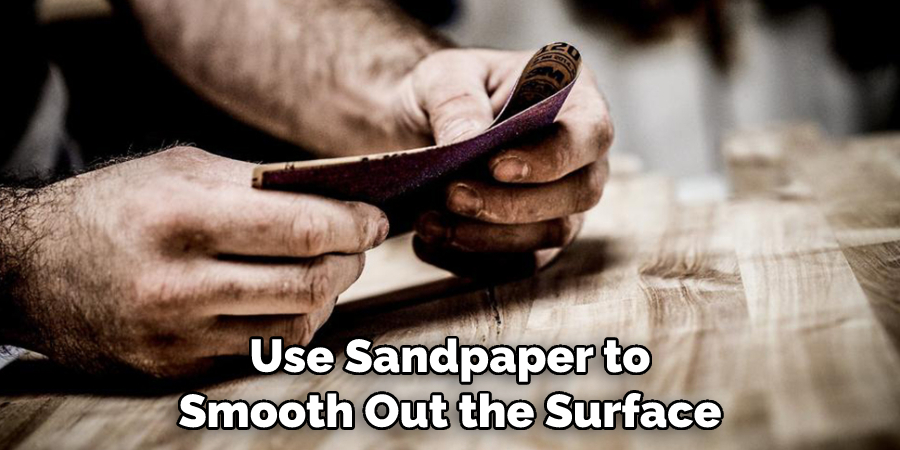
Sand the entire floor with fine-grit sandpaper to create a smooth and even surface. Then, apply the stain in an even manner, starting with the edges and working your way out. Use a cloth to wipe away excess stains and buff the floor with a dry towel. Make sure not to apply too much pressure or move the cloth in circles, as this could damage the floor.
After the stain is dry, apply a topcoat sealer to protect it from wear and tear. Make sure to read the directions on the sealer’s label and wear protective gear when using it. To get a smooth, glossy finish, use a soft cloth or a wax applicator to apply the sealer. Allow it to dry thoroughly before walking on it or adding furniture to the room.

3. Stain Again if Necessary:
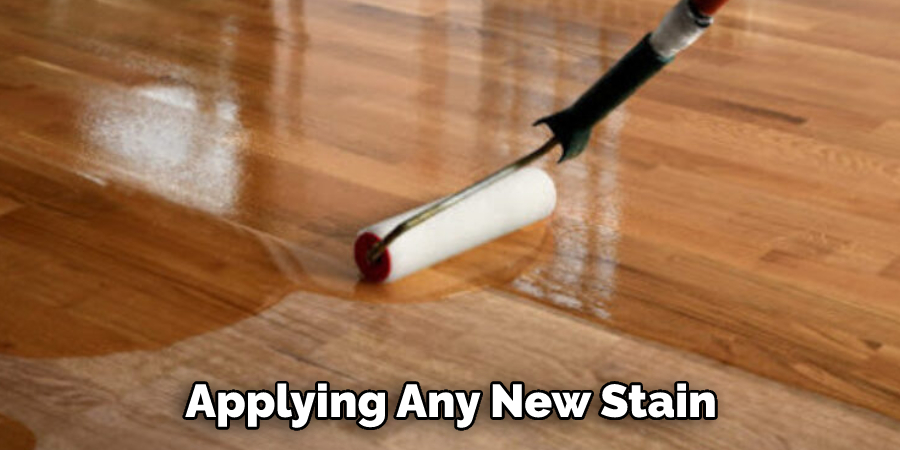
If a second coat of stain is necessary to fix the bad floor stain job, sand the entire floor first and then seal it before applying the new layer of stain. This will ensure that you achieve a more even finish. When applying the second layer of stain, work in small sections and use a slightly damp cloth to blend it with the surrounding area. Allow each section to dry before moving on to the next.
Once you are done, seal the floor again to protect it and make it look uniform once more. With patience and the right materials, you can successfully fix any bad floor stain jobs.
4. Clean Up Any Mistakes Quickly:
Suppose you make any mistakes while staining, such as spills or splatters on other surfaces, clean them up quickly with a damp cloth to avoid any long-term damage or discoloration marks from forming. If you have any drips or smudges, remove them with a rag and some mineral spirits. It is important to always clean up quickly since any mistakes that are left to sit can be very difficult to remedy.
5. Use Wood Putty for Deep Scratches and Discoloration:
For any deep scratches or discolored areas that may have occurred during the staining process, you can use wood putty to fill in and cover them up. After you’ve applied the putty to affected areas, use sandpaper to smooth out the surface. Once it’s level with the flooring, you can apply a new coat of stain. This should help to blend the repaired area with the rest of the floor, making it look as good as new.

6. Use a Tack Cloth on the Entire Floor After Staining:
Once you are finished with your floor staining project, it is important to go over the entire surface with a tack cloth to pick up any dust or dirt particles that were left behind. This will ensure that the finish looks professional and even. It is also a good idea to use the tack cloth to wipe down any parts of the floor that you did not stain, such as baseboards or trim. This will help to avoid any drips or streaks that might occur if the stain were to accidentally get on them.
7. Apply Polyurethane for Extra Protection:
To add an extra layer of protection against wear and tear, consider applying a polyurethane sealer after staining your floor. This will help to preserve the color and finish for years to come. To apply polyurethane, use a cotton rag and wipe the sealer onto the surface of the floor in even strokes. Allow it to dry completely before walking on the surface again.
If you are looking to create a glossy finish, use a brush or roller to apply the polyurethane. Be sure to use several thin coats and allow each layer to dry before applying another. Once the polyurethane has been applied, your floor will be protected against scuff marks and dirt.
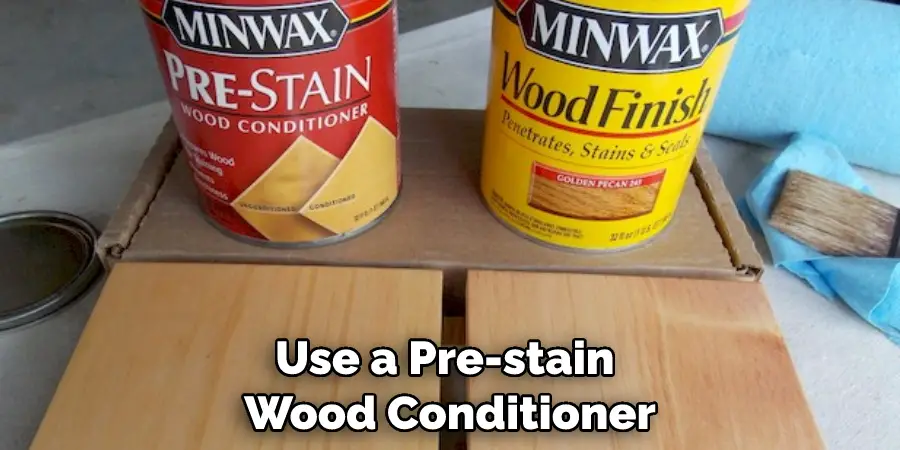
8. Use a Pre-Stain Wood Conditioner on Difficult Woods:
Some types of wood can be more difficult to stain than others. If your floor is made from such a type of wood, it may be beneficial to use a pre-stain wood conditioner before staining. This will help ensure an even finish and will also make future touch-ups easier.

9. Test Out Your Stain Before Applying It:
Before you apply your stain to the entire surface, it is important to do a test patch in an inconspicuous area first. This will give you an idea of how the stain reacts with the material so that you can make any necessary adjustments.
10. Have Patience:
Last but not least, it is important to have patience when fixing a bad floor stain job. This process takes time and multiple steps, so are sure to take your time and follow the instructions carefully for the best results.
If you find that the process isn’t going as expected, don’t become frustrated and give up! Try different techniques and products until you find the best solution for your floor. With a little patience and effort, you’ll be able to restore the beauty of your stained wood floors in no time.
By following these steps, you can easily fix any mistakes that may have occurred from staining your wood floors. Just remember to take your time and be patient throughout the process, and you’ll be rewarded with a beautiful finish. Good luck!
Things to Consider When Fixing a Bad Floor Stain Job
1. Choose the Right Stain:
The type of stain you choose will determine how well it covers up the previous stain job and also how long it will last. Make sure to choose a stain that is formulated for the type of flooring you have and one that offers the best coverage and durability.
2. Prepare the Floor Properly:
Before applying any new stain, it’s important to make sure that the floor surface is properly prepped in order to get the best results. This means making sure all surfaces are clean and free from dust, dirt, grease, or other contaminants before staining.

3. Sand Gently:
When sanding down an existing stain job, use very fine-grit sandpaper to ensure a smooth finish after staining. Be careful not to go too deep with your sanding; this can cause more damage to your flooring than good.
Conclusion
If you have a bad floor stain job, don’t worry – it can be fixed! You will need to sand down the area to get rid of the old stain and then reapply a new stain. Be sure to follow the directions on the can of stain, and you’ll end up with a beautiful finish that you’re proud of.
We hope this guide on how to fix a bad floor stain job was helpful. Please share it with your friends on social media if you find it useful. And be sure to check back here soon for more informative guides like this one.
