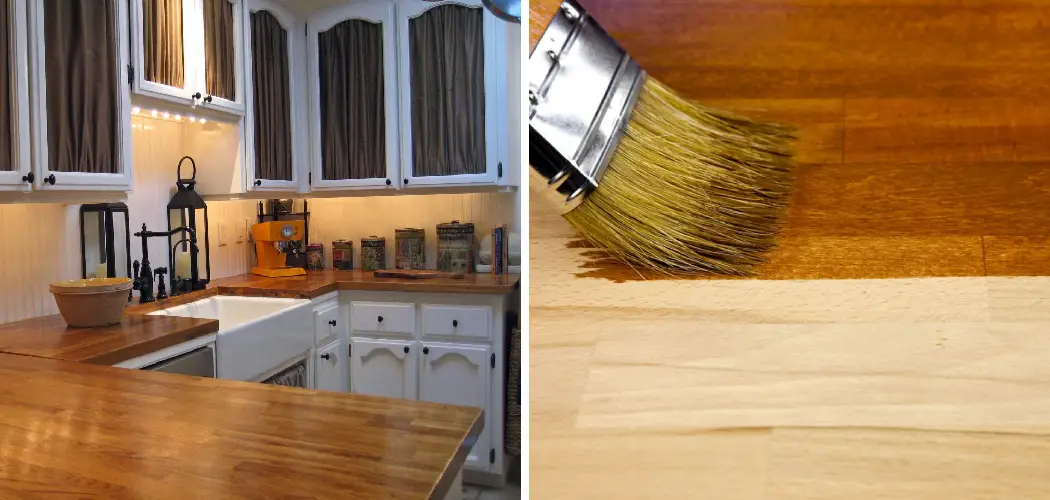
If you’re DIY-ing your way to a new kitchen, one of the final stages is finishing and sealing the countertops. Wood countertops are popular because they look beautiful and organic in a kitchen but require a little more maintenance than laminate or granite counters. We all want a wooden countertop in our kitchen, but no one ever tells you how to finish it.
Well, I’m here to tell you how! It’s not as hard as it seems, and with the right tools and supplies, you can have a beautiful wooden countertop in your kitchen. Finishing a wood countertop is not as hard as it might seem. In fact, with the right products and proper guidelines, you can have a beautiful countertop that will last for years. Here are some steps on how to finish wood countertops to help you get started.
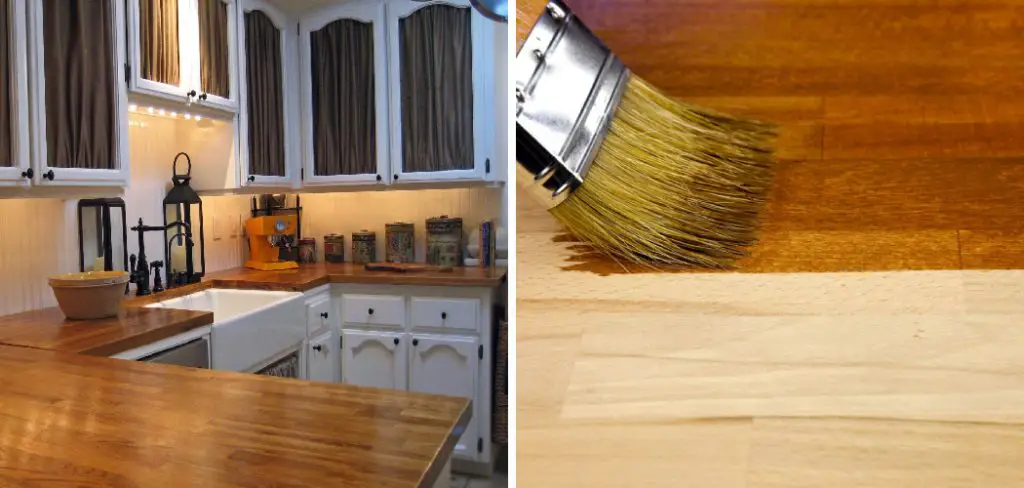
Summary: There are a few different ways to finish wood countertops. You can use a sealant, a lacquer, or a natural oil. Each option has its own benefits and drawbacks. The best way to decide which finishing option is right for you is to read up on the different options and decide which one is best suited for the particular type of wood your countertop is made of. Then, choose an appropriate finishing option and follow the instructions carefully.
10 Steps on How to Finish Wood Countertops
You need to follow these simple and effective steps to finish wood countertops:
Step 1: Materials
You will need to collect the proper materials before starting your project. Here is some name of what you will need to finish wood countertops. They are- Fine-grit sandpaper (220), tack cloth, staining pads or rags, wood stain, protective gloves, safety glasses, paintbrush or foam brush, polyurethane, clean, lint-free cloths, etc.
With these materials, you can now move on to the next step.
Step 2: Prepare the Countertop Surface
Before you can start staining or sealing the wood countertop, you must first prepare the surface. Begin by sanding down the entire countertop with a fine-grit sandpaper. And sand evenly. Once finished sanding, use a tack cloth to remove dust particles.
Step 3: Apply the Stain
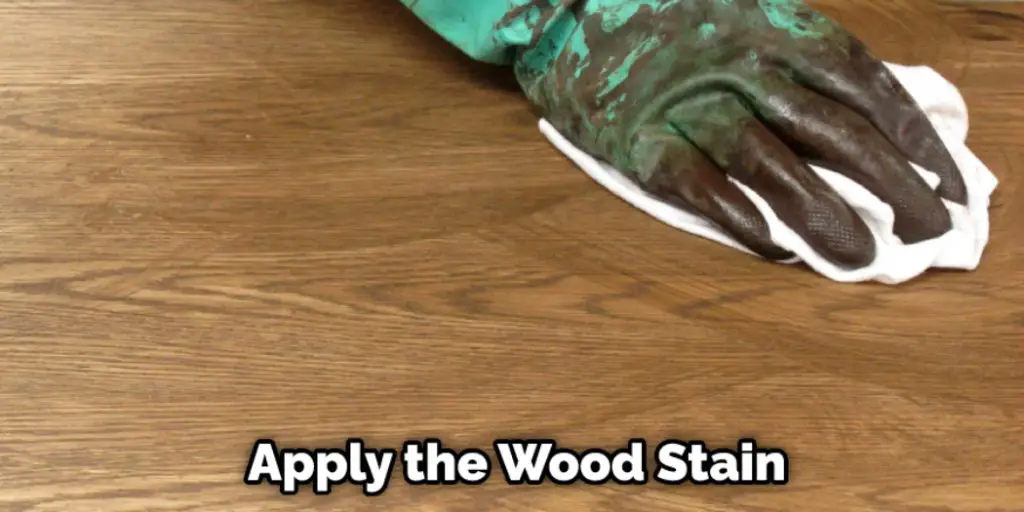
Now it is time to apply the wood stain. You can do this with either staining pads or rags. If using a pad, saturate the pad with stain and then rub it onto the countertop in a circular motion.
If using a rag, dip it into the stain and then wipe it onto the wood in the same circular motion. Be sure to apply an even layer of stain and work with the grain of the wood. Allow the stain to sit for several minutes before wiping away any excess with a clean cloth.
You Can Check It Out To Clean Acacia Wood Floors
Step 4: Apply the Polyurethane
After the stain has dried, you can apply a polyurethane layer to protect the countertop. Begin by stirring the polyurethane thoroughly, and then pour it onto a paintbrush or foam brush.
Next, apply the polyurethane to the countertop in a thin, even layer. Be sure to go with the wood grain and avoid using too much polyurethane at once, as this can cause bubbles to form. Allow the first layer of polyurethane to dry completely before applying a second coat.
Step 5: Allow the Countertop to Dry
Once you have applied the polyurethane, allow the countertop to dry completely. This can take several hours or even overnight. Once the countertop is dry, you can then begin using it. But you must remember that the polyurethane will take up to 30 days to cure completely.
Step 6: Apply a New Coat of Polyurethane
After the first coat of polyurethane has dried, you can apply a second coat. This will help to protect the countertop further and make it more durable. Apply the second coat of polyurethane in the same manner as the first and then allow it to dry completely. As it maintains its beauty for a longer time, it will also take around 30 days for the second coat to cure completely.
Step 7: Buff the Countertop
Once the second coat of polyurethane has dried, you can buff the countertop to create a smooth, shiny surface. Begin by using a clean, lint-free cloth to wipe down the entire countertop. Then, use a soft-bristled brush to buff the surface lightly. Buffing the countertop will help to remove any excess polyurethane and create a smooth, shiny finish.
Step 8: Apply a Third Coat of Polyurethane
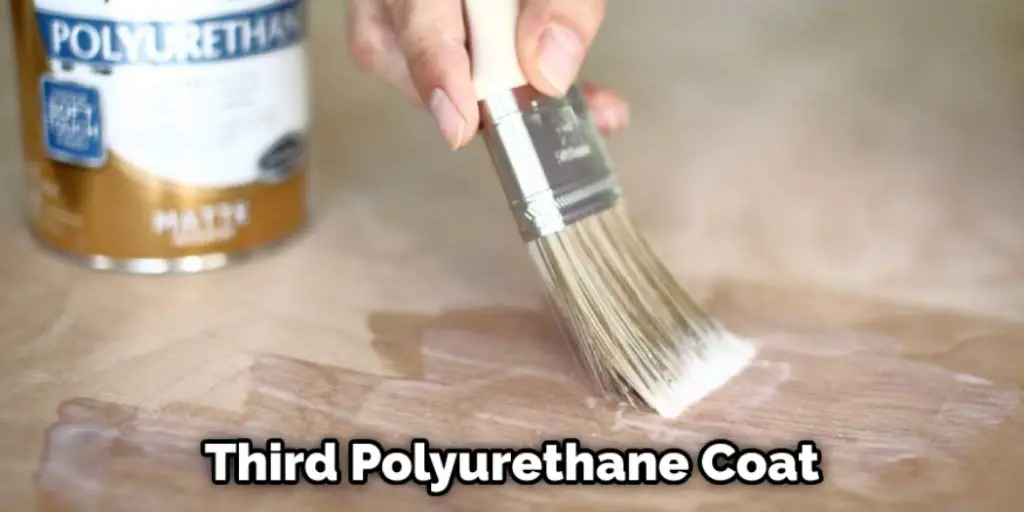
After buffing the countertop, you can apply a third polyurethane coat. This will help to protect the countertop further and create a more durable finish. Apply the third coat of polyurethane in the same manner as the first two coats and then allow it to dry completely.
Whether you apply a third coat of polyurethane is up to you. However, it is suggested to apply a third coat if you are going to use the countertop in a high-traffic area or if it will be exposed to lots of wear and tear.
Step 9: Wait 24 Hours
Once the third coat of polyurethane has dried, you should wait at least 24 hours before using the countertop. This will give the polyurethane plenty of time to cure and harden. Never use the countertop before the polyurethane has had a chance to fix completely, as this can cause damage to the surface. You can go for How to Finish Wood Countertops from here.
Step 10: Use a Cutting Board
You should always use a cutting board when preparing food to protect your countertop. Cutting boards will help prevent scratches and other damage to the countertop’s surface. This will maintain the beauty of the wood and keep it looking like new for longer.
Now that you know how to finish wood countertops, you can create your own beautiful and durable countertops for your home. Be sure to follow these steps carefully to achieve the best results. And always allow the polyurethane plenty of time to dry and cure before using the countertop. With proper care, your wood countertop will last many years.
You Can Check It Out To Add Color to Wood Burning
What is the Best Finish for a Wood Countertop?
No matter what type of wood countertop you have in your kitchen, applying a finish is the best way to protect it. A finish can be applied to protect the wood and give it a more polished look. There are a few different types of finishes that can be used on wood countertops, and each has its advantages and disadvantages.
Oil finishes are the most popular type of finish for wood countertops. They provide a natural look and feel to the wood and help protect it from water damage. However, oil finishes can be difficult to apply and must be reapplied every few months to keep the wood looking its best.
Polyurethane finishes are another popular option for wood countertops. They provide a high level of protection against water damage and are very easy to apply. However, polyurethane finishes can yellow over time, and they’re not as durable as oil finishes.
Varnish is a good option if you want a durable finish that will protect your wood countertop from water damage. However, varnish can be difficult to apply and doesn’t provide the same natural look and feel as oil or polyurethane finishes.
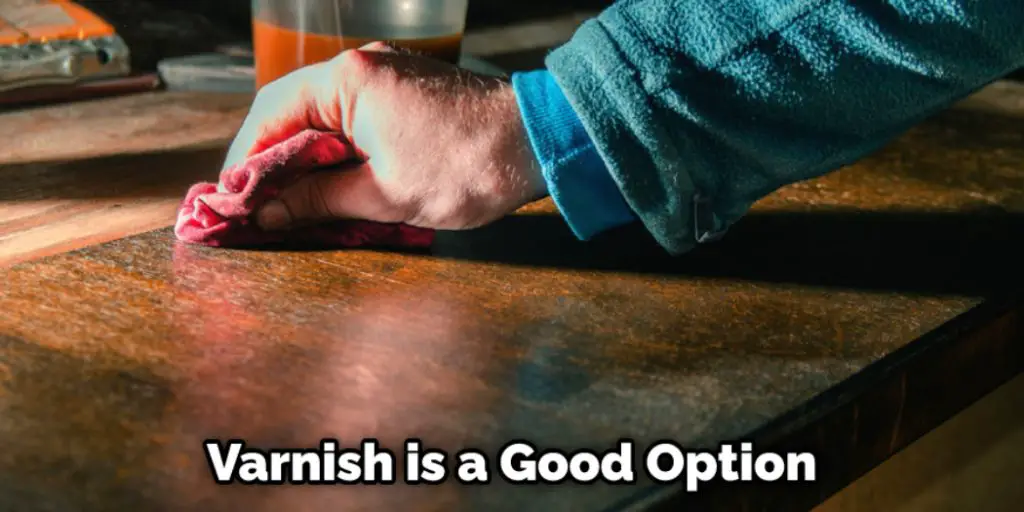
Whatever type of finish you choose, make sure that you follow the manufacturer’s instructions carefully to ensure that your wood countertop is protected correctly.
Safety Precautions to Keep in Mind Before Applying Finish Wood Countertops
- Keep a dust mask on while working.
- Don’t work in a poorly ventilated area.
- Wear gloves to protect your hands from the chemicals in the finish.
- Work in small sections, so the finish doesn’t have a chance to dry before you’re done applying it.
- Use a brush designed for applying the type of finish you’re using.
- Follow the directions on the can for how to apply the finish.
- Don’t apply the finish too thickly; it will take forever to dry and could look uneven.
- If you’re using a spray finish, wear a respirator.
- If you’re working with varnish or lacquer, be extra careful because these finishes are highly flammable.
- Make sure the area you’re working in is well-ventilated and free of open flames.
- When you’re done, clean all your tools and equipment thoroughly.

How Do You Waterproof a Wood Countertop?
Waterproofing your wood countertop is important to protect it from wear and tear. There are a few different ways to waterproof a wood countertop, depending on the type of finish you want.
For a natural look, you can simply rub mineral oil into the surface of the wood. This will help to protect it from moisture and stains. You will need to reapply the oil every few months to keep the protection going.
You can use a polyurethane sealer if you want a more durable waterproof finish. This will create a barrier between the wood and any water that comes in contact with it. But, again, be sure to apply several coats for the best protection.
You can also choose to stain your wood countertop. This will give it a unique look while still providing some waterproofing protection. Just be sure to use a stain that is meant for outdoor use so that it will withstand the elements.
No matter which method you choose, waterproofing your wood countertop is an important step in keeping it looking its best for years to come.
Conclusion
If you’re looking for a way to update your kitchen on a budget, consider finishing your wood countertops. It’s a relatively straightforward process that can be done over a weekend and will give your kitchen a fresh look.
With a few simple steps on how to finish wood countertops, you can create a finish that will protect your countertop from everyday wear and tear and keep it looking beautiful for years to come. So what are you waiting for? Start planning your dream kitchen today!

