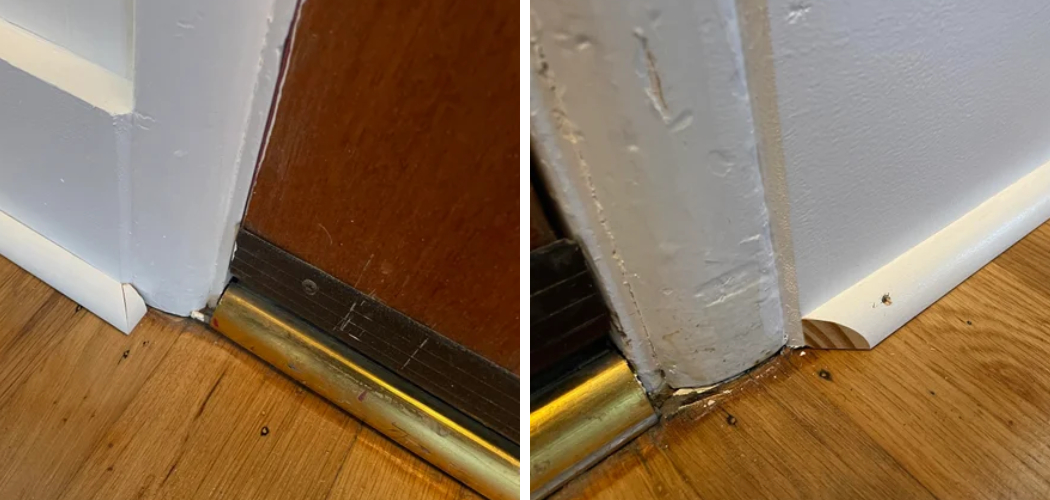
A well-installed shoe molding provides a neat, finished look to the door frame. It effectively transitions between two different floor surfaces and can protect your floors from dirt and damage. Ending the shoe molding correctly is essential for a professional finish at the doorframe. Learning how to end shoe molding correctly will help you achieve a great finished look.
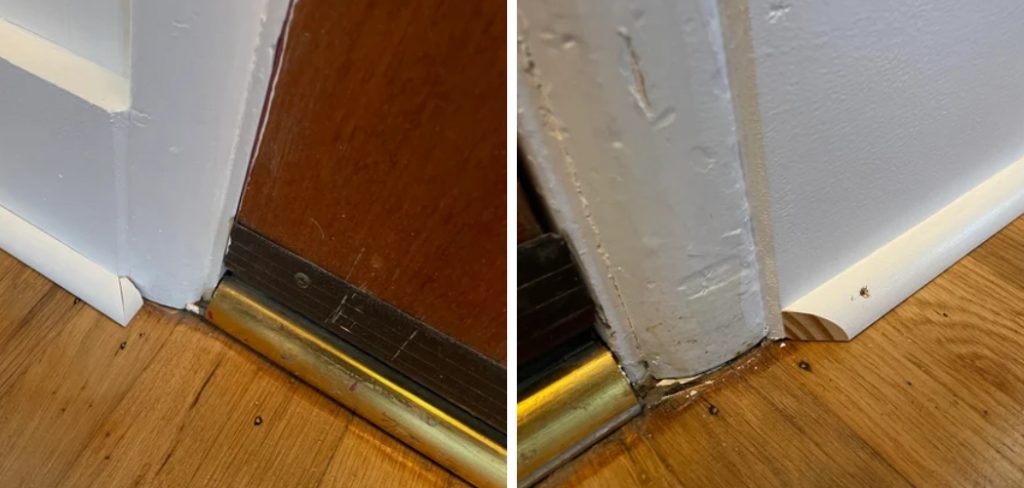
One of the main advantages of ending shoe molding at the door frame is that it adds a decorative touch to the interior of your home. The intricately designed molding can be used in both modern and traditional decor, enhancing any room or door frame with a touch of elegance. It also helps to protect carpets and floor edges from damage due to foot traffic, which can be especially important in high-traffic areas. You can find step-by-step instructions on how to end shoe molding at door frame in this blog article.
Tools You Will Need
- Miter Saw
- Utility Knife
- Tape Measure
- Pencil or Marker
- Shoe Molding (cut to size)
- Wood Glue
- Nail Gun
- Hammer and Nails
- Finishing Nails
- Sandpaper
Step-by-step Instructions for How to End Shoe Molding at Door Frame
Step 1: Inspect the Shoe Molding
Begin by examining the shoe molding and making sure it fits properly. If there are any gaps or irregularities, fill them with wood filler before continuing. Using a pencil, mark a straight line from the top of the shoe molding to the bottom of the door frame. This will be your guide for when you make your cuts.
Step 2: Measure and Cut Shoe Molding
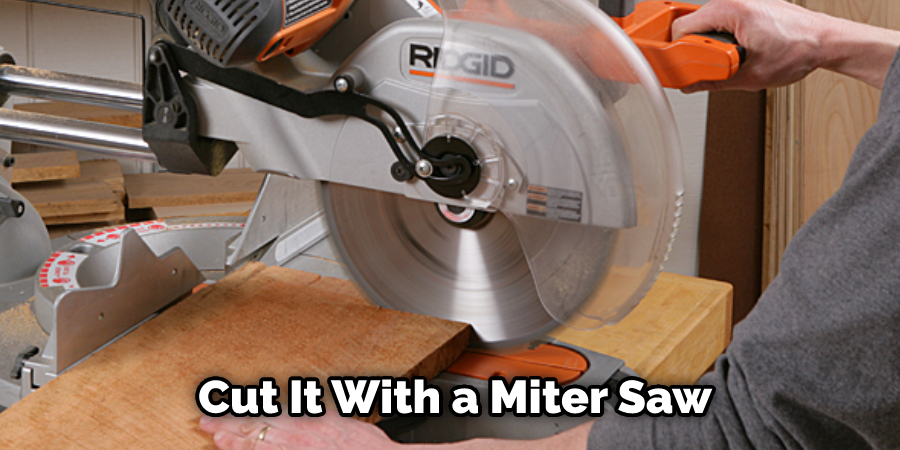
Measure out how much shoe molding you need to fit the door frame, and then cut it with a miter saw at 45-degree angles. To attach the shoe molding, use a nail gun and nails long enough to penetrate the frame and the shoe molding. Make sure to line up the nail with the pencil mark you made earlier.
Step 3: Apply Adhesive
To help ensure a tight seal and secure fit, apply adhesive to the back of the shoe molding before attaching it to the frame. This will create a strong bond that won’t come apart easily. Use a hammer to tap the nails into place firmly. Make sure you don’t damage the frame or shoe molding in the process.
Step 4: Fill Nail Holes
Fill any nail holes with wood filler and let it dry before continuing. Once it is dry, sand the area to make it smooth. If you wish, you can paint the shoe molding to match the color of your door frame. This will help create a cohesive look.
Step 5: Caulk the Edge
To ensure a tight seal and prevent any water from seeping in, apply a thin layer of caulk around the edge of the shoe molding. Allow at least 24 hours for everything to set and dry before using the door frame. Once you are sure that it is all secure, you can finally use your door frame with the new shoe molding. Now, You have successfully completed End Shoe Molding at Door Frame.
Safety Tips for How to End Shoe Molding at Door Frame

- Always wear safety glasses when working with any type of saw or power tool to protect your eyes from flying particles.
- Wear a dust mask while cutting and installing shoe molding to prevent breathing in sawdust and other airborne particles.
- Place a piece of scrap wood against the wall before making cuts so that you don’t chip or scratch the paint.
- Measure twice, cut once – measure carefully before cutting the shoe molding, so you get an accurate fit.
- Use a miter saw to make precise angled cuts for tight corners and neat transitions between walls.
- Secure shoe molding in its place with finish nails or construction adhesive for a stronghold.
- Sand down any sharp edges on the shoe molding to ensure smooth and even transitions at door frames.
Following these safety tips will ensure your shoe molding installation is successful, quick, and safe.
How Should You Finish Off the Edges of the Shoe Molding Along a Door Frame?
When shoe molding along a door frame, several techniques can be used to finish off the edges. The most popular method is to use a hand saw, or miter saw to create a neat and clean edge. This will allow you to get an even cut that looks professional. Another common technique is to use a router. This will give you a rounded edge that looks very aesthetically pleasing. Be sure to set the bit depth correctly for the thickness of your shoe molding.
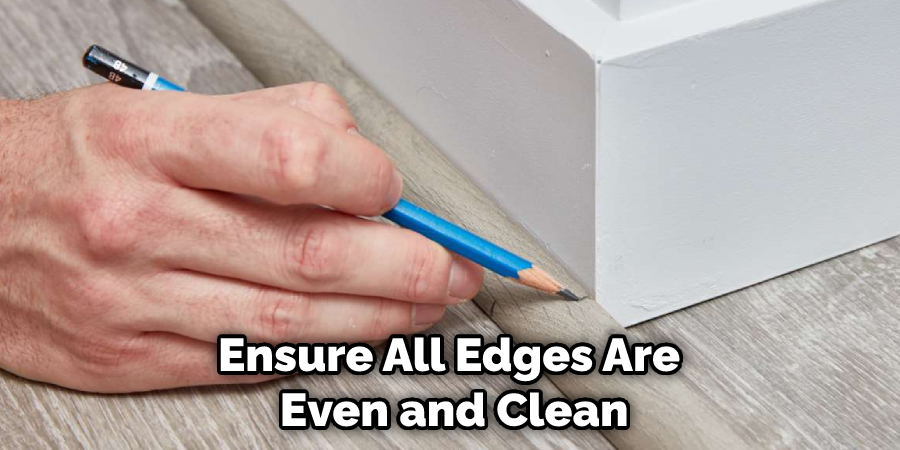
If you are doing the job yourself, it’s important to ensure all edges are even and clean before installing the shoe molding. You can use a chisel to make any necessary adjustments. Finally, it’s important to seal the edges of your shoe molding at the door frame to ensure a long-lasting finish. You can use caulk or clear silicone sealant around the perimeter of each piece.
This will prevent moisture and dust from entering through the seams. By following these steps, you can ensure that your shoe molding will remain in perfect condition for years to come. With careful installation and regular maintenance, it should provide a stylish and functional addition to any home or business.
How Do You Clean and Maintain the Shoe Molding Once It’s Installed?
Once the shoe molding is installed, it’s important to clean and maintain it. Regular dusting and vacuuming can help to remove any dirt or debris that may have been collected on the surface of the shoe molding. It’s also essential to periodically check for signs of wear or damage, such as cracks in the wood, which should be repaired promptly to avoid further damage. If the shoe molding needs a more thorough cleaning, a damp cloth can be used with mild soap and water. Take care not to use harsh chemicals as this could damage the wood.
Additionally, it’s important to ensure that the shoe molding is completely dry before replacing any furniture in its area or applying any type of finish. A clear coat or sealant can be applied to protect the shoe molding further and keep it looking good. This will help to protect the wood from any moisture damage and make it easier to clean in the future.
By following these simple steps, you can ensure that your shoe molding is kept in good condition and looks great for years to come. That way, the shoe molding will remain a stylish addition to your door frame – and you won’t need to worry about replacing it any time soon.
How Can You Prevent Damage to the Door Frame While Installing New Shoe Molding?
When it comes to installing shoe molding around a door frame, the process can sometimes be tricky. It is important to ensure that the trim edges are flush and secure with the door frame to give it a neat and professional finish. However, there is always a risk of damaging the door frame if you’re not careful.
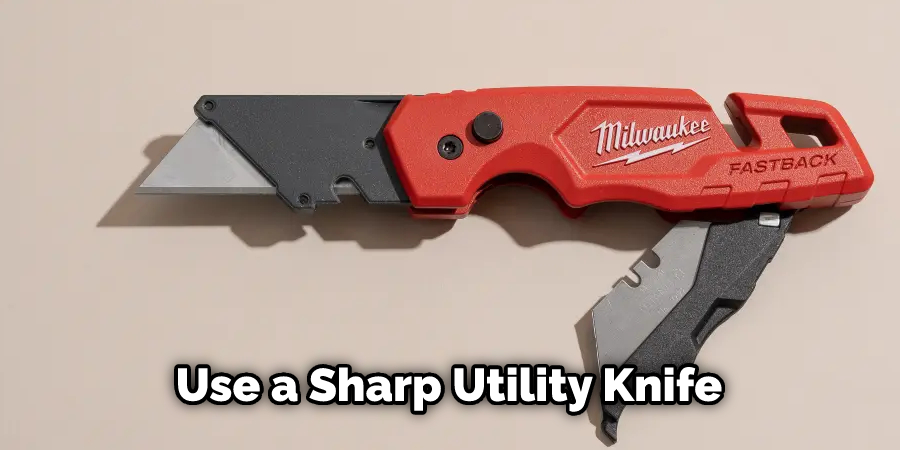
To ensure that your door frame remains intact during installation, you should use a sharp utility knife or a router to cut the shoe molding flush with the door frame. You can also opt for adhesive shoe molding instead of nails, as this will reduce the risk of damage. In addition, it is important to measure twice and cut once, as you don’t want to end up with excess material that could cause damage.
Conclusion
One disadvantage of ending shoe molding at the door frame is that it can create an unfinished look. Without a proper transition, the lines between the two trim pieces may clash, creating a jarring effect. This method also requires careful measurements to ensure that both trim pieces fit together correctly. This can be especially difficult if the door frame is not perfectly straight or even. Moreover, this method may require additional tools and supplies to ensure that everything is properly assembled, which can add to the cost.
In conclusion, ending shoe molding at a door frame can be tricky but is not impossible. Several methods are available to create the perfect end for your project, from simple miter cuts to cope cuts and handrail fittings. The important thing is to take your time and measure multiple times before cutting. Have patience, and you will have a beautiful finished product that will last many years. I hope this article has been beneficial for learning how to end shoe molding at door frame. Make Sure the precautionary measures are followed chronologically.
You Can Check It Out to Cut Groove in Bottom of Barn Door

