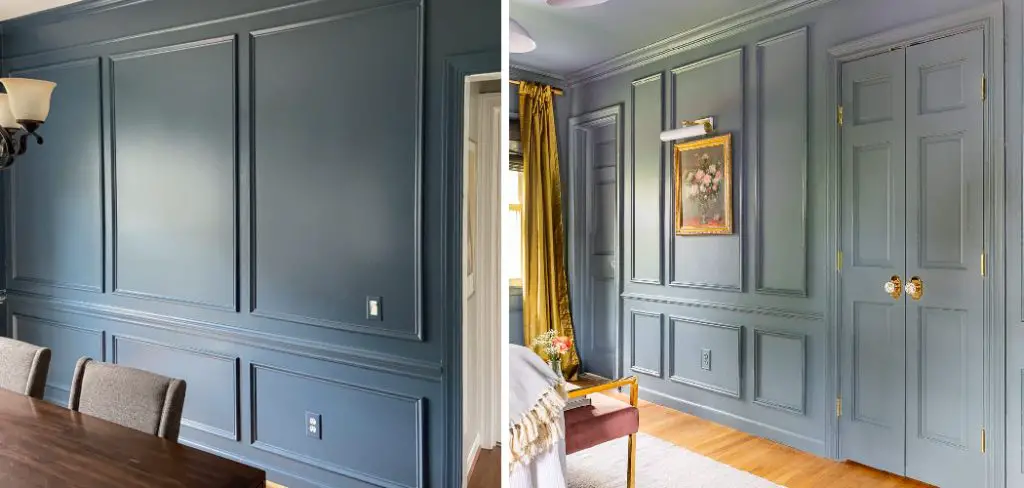
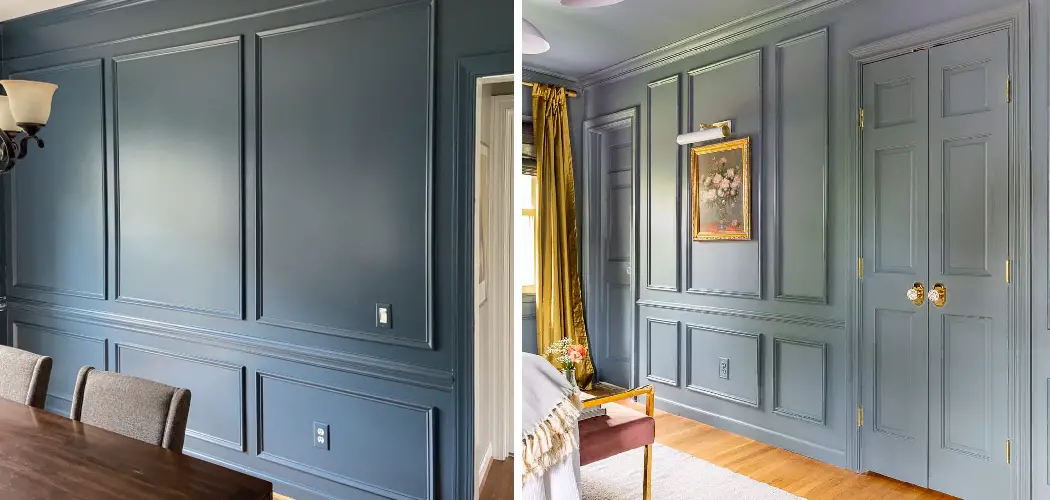
Picture frame molding is a great way to create visual interest in any room of your home. Not only does it add character and charm, but it can help define an otherwise large wall space. Whether you decide to opt for a more traditional look or want something with a bit of sparkle, there are so many options out there!

In this blog post, we’ll go over all the steps involved in how to do picture frame molding – from design ideas to installation tips. Keep reading to learn how easy (and beautiful!) it can be!
Step-by-step Guidelines on How to Do Picture Frame Molding
Step 1: Choose Your Design
The first step to do picture frame molding is to decide on your design. This will depend on the style of your home, as well as the overall look you want to achieve. From classic white frames with clean lines to more ornate designs that feature intricate patterns and textures, there are countless options available. Consider taking some measurements and doing some research online to get an idea of what would work best in your space.
Step 2: Gather Your Materials
Once you’ve settled on a design, it’s time to collect all the materials you’ll need for your project. This will include the molding itself (which is usually sold in individual pieces) as well as any trim and accessories. You may also want to consider purchasing some wood glue, a saw, nails or screws, and some paint or stain for a finishing touch.
Step 3: Cut the Molding to Size
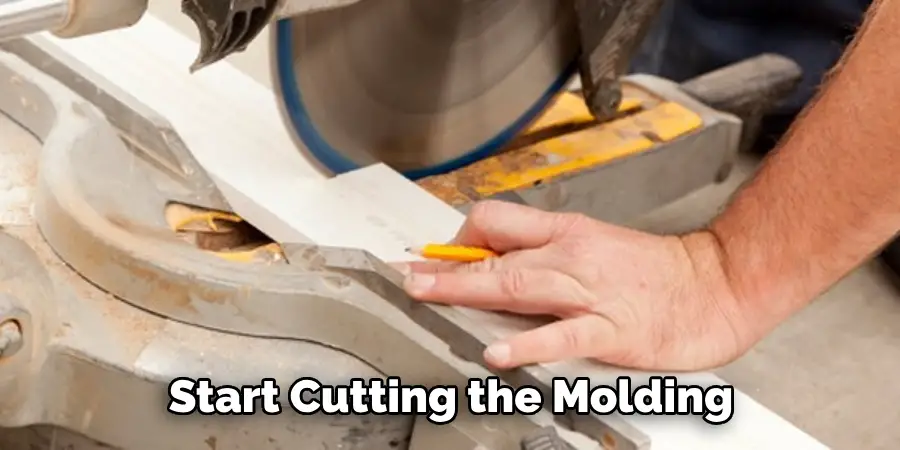
Once you have all your materials ready to go, it’s time to start cutting the molding. This is where a miter saw comes in handy as it allows you to make precise angle cuts. Be sure to measure twice and cut once – a mistake at this stage could mean that your entire project needs to be redone. While cutting, keep in mind that the shorter pieces of molding will be used for inner corners and the longer pieces are for the outer edges.
Step 4: Assemble the Frame

Once all of your pieces are cut, it’s time to assemble the frame. Start by using wood glue to join two pieces together at each corner, making sure to line them up precisely. Once the glue is dry, you can then secure it with nails or screws. Be sure to use a level to make sure the frame is even and straight on all sides before moving on.
Step 5: Add Finishing Touches
Once the frame is fully assembled, it’s time for the fun part – adding the finishing touches! This can include painting or staining the frame, as well as adding trim pieces for extra detail. Don’t be afraid to experiment with different colors and textures to get the exact look you want.
Step 6: Hang the Frame
Once you’re happy with your design, it’s time to hang the frame! This is usually done with a couple of small nails, but depending on the weight of your frame, you may need something stronger. When it comes to placement, make sure that the center point of the frame is at eye level for maximum impact.
Following these six simple steps should give you a beautiful picture frame that will help bring your wall space to life. Not only is it a great way to show off artwork, but it can also be used as a backdrop for photos or even just to add some dimension and interest to an otherwise blank wall. And with so many design options out there, the possibilities truly are endless! So go ahead and give picture frame molding a try – you won’t regret it!
Additional Tips and Tricks to Do Picture Frame Molding

- Make sure to measure twice and cut once when cutting out your pieces of molding. This will help to ensure that you get the correct size for your picture frame.
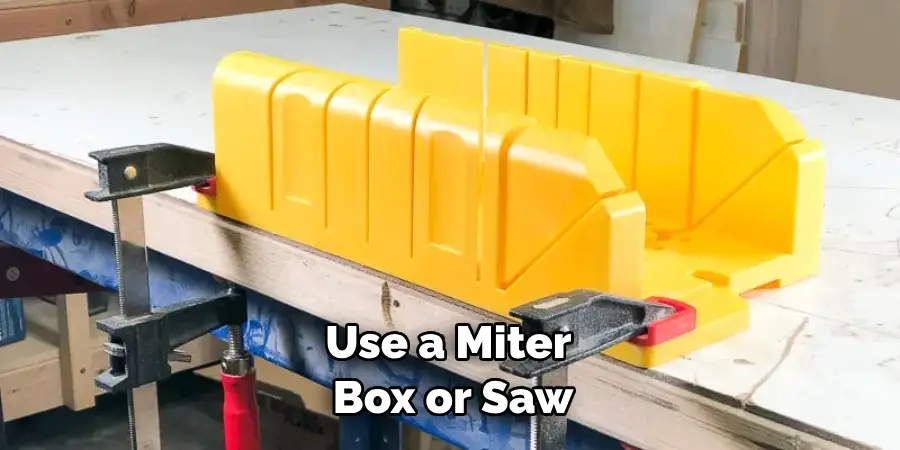
- To get a more professional look, use a miter box or saw to cut your corners at a 45-degree angle. This will give you clean edges and sharp angles on the corners of your frame.
- If you are using a miter box, make sure that the cuts you make are as straight as possible. This will help the joints to fit together snugly and securely when assembling your frame.
- Use wood glue or another adhesive to attach the pieces of molding together. Make sure to use plenty of glue so that the joints do not come apart when you hang your frame on the wall.
- If you need to, use a few small nails or brads to secure the corners of your frame. This will give it additional strength and make it less likely to come apart over time.
- When hanging your frame, use two picture hangers instead of one for added security. This will help to ensure that the frame stays securely in place on the wall and does not fall off.
- When applying paint or stain to your molding, make sure to go with the grain of the wood for a more polished look. If you paint against the grain, you run the risk of leaving streaks or brush marks that are visible when you hang your frame on the wall.
- After you have applied paint or stain to your molding, it is important to seal it with a top coat of varnish or polyurethane. This will help to protect the wood and keep its appearance for years to come.
Following these tips and tricks will help to ensure that your picture frame molding project turns out looking great. With a bit of patience and attention to detail, you can create a beautiful frame for your favorite photos or artwork!
Precauitons Need to Follow for Doing Picture Frame Molding

- Before getting started with picture frame molding, read the instructions manual carefully to ensure that you are aware of all safety protocols.
- Wear protective glasses and gloves while cutting or drilling the moldings as it will protect you from any debris or dust particles generated during the process. Also, make sure to use a dust mask in order to avoid inhaling airborne particles.
- Make sure you are working in a dry and well-ventilated area as the process can generate hazardous dust particles.
- Choose the right type of saw for cutting the moldings as different types of materials require different types of saws to get the perfect cut.
- Use clamps to hold down the piece of frame material while cutting or drilling as this will ensure accuracy and safety.
- Always use sharp blades to avoid any tearing or chipping of the material, as dull blades could cause damage to the frame.
- After you’ve finished with your project, clean up all sawdust and debris generated during the process in order to maintain a safe working environment.
Following these precautions is a sure-fire way to ensure that your picture frame molding project is completed safely and efficiently. With the right tools, skills, and patience, you can easily create beautiful frames for any pictures or artwork!
Frequently Asked Questions
What Types of Saws Can Be Used for Picture Frame Molding?
The type of saw you use depends on the material you’re working with. For cutting wood frames, a miter box, jigsaw or hand saw are all appropriate tools to use. If you’re using metal frames, a hacksaw or saber saw will be needed. A Dremel tool can also be used for cutting softer materials such as plastic frames.
What Kind of Clamps Should I Use?
When it comes to clamps, there are many different types available depending on the size and shape of your project. For smaller projects, you can use spring clamps or C-clamps, but larger projects may require the use of bar clamps. Choose a clamp that fits your project and provides enough tension to keep the frame material secure while you’re working on it.
Are There Any Tips for Installing Picture Frame Molding?
Yes, there are some helpful tips to keep in mind when it comes to installing picture frame moldings. Make sure you measure the length of each molding precisely and use a miter saw or hand saw to cut the pieces to size.
Also, make sure that any joints between two pieces of frame molding are properly sealed with caulk or wood glue to ensure they stay secure. Finally, use a hammer or nail gun to attach the moldings to the wall. This will provide a more professional finish and ensure that your picture frames are hung securely.

Are There Any Alternatives to Picture Frame Molding?
If you’re looking for a more modern look, you can opt for picture frames without moldings. These types of frames are usually made out of metal or plastic and come in various shapes and sizes.
They don’t require any cutting or drilling and are easy to install by simply attaching them to the wall with screws. Alternatively, if you don’t want to use picture frames at all, you can always hang your artwork or photos with hooks and wire. This is a great option if you don’t want to commit to making any permanent changes to walls or doorways.
Conclusion
All in all, knowing how to do picture frame molding is a great skill to have. With the right tools and knowledge, you can create beautiful frames for any pictures or artwork. It’s important that safety protocols are followed in order to ensure that the project runs smoothly and without any accidents.
Finally, be sure to familiarize yourself with all of the different alternatives to picture frame molding so you can choose an option that suits your needs. With the right approach, you can make beautiful frames for any project!


