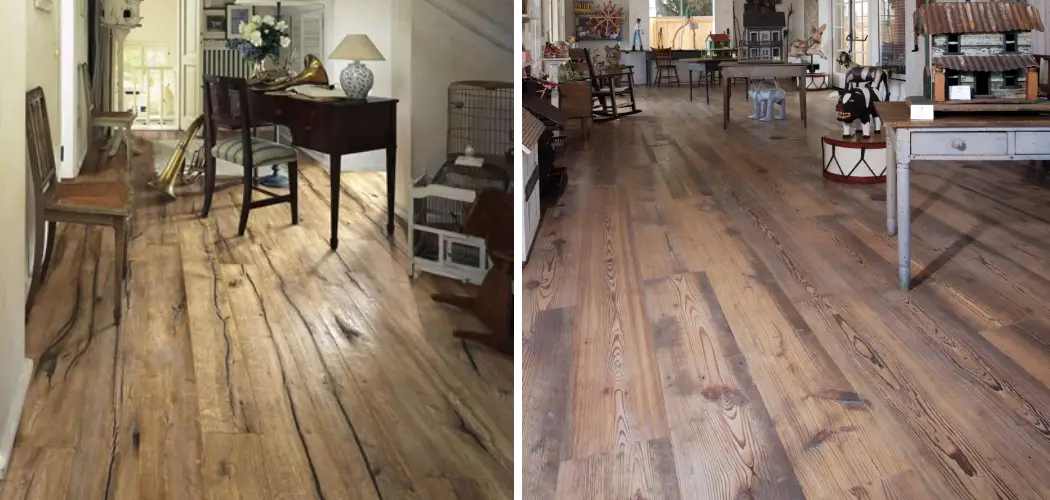
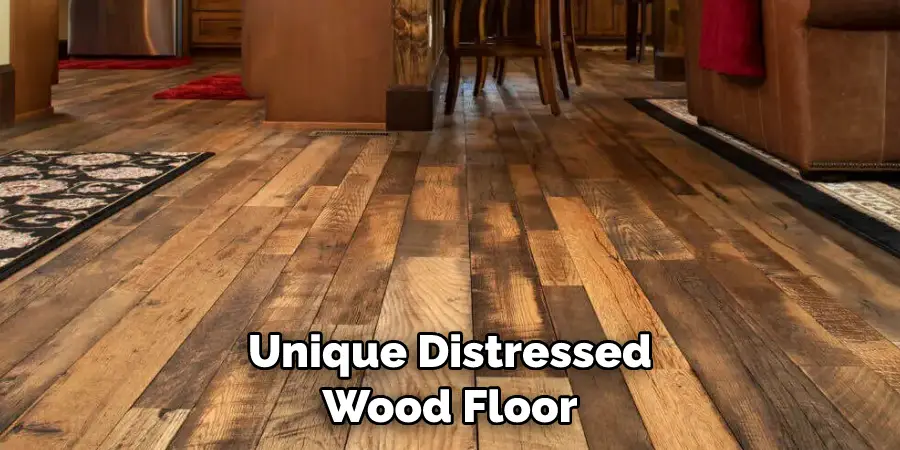
Distressing wood floors can provide a rustic and antique charm to any space. Not only does it give an old-world feel, but it is also a great way to protect your flooring from wear and tear. Distressing techniques such as adding dents or scratches can help prevent other more serious damage from occurring in the future.
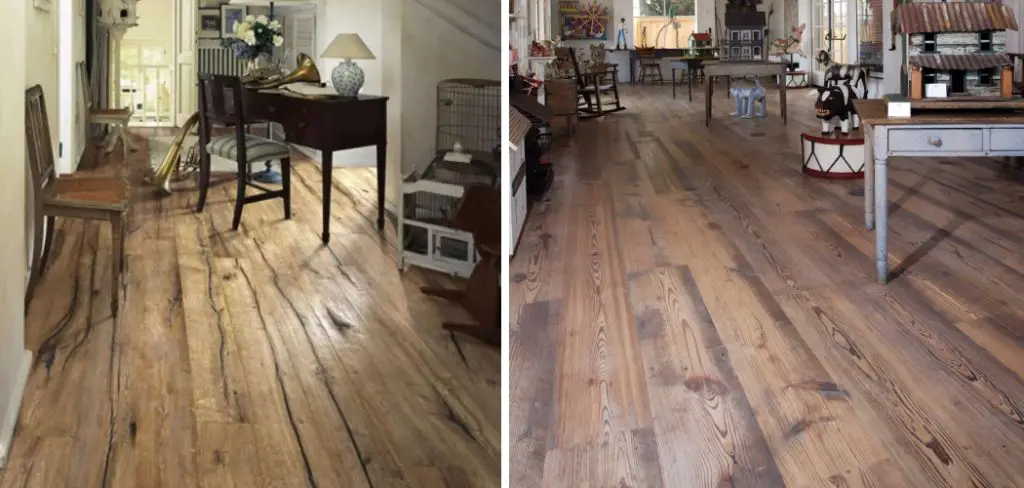
Distressing wood floors give them a rustic, vintage look that adds character to any room. It can also make the flooring look more natural and historic than if it were completely new. The process of distressing wood also makes it less prone to scratches and dents, giving it a longer lifespan.
Distressed floors have a unique texture and look that can be achieved by using various tools and techniques. This blog article provides step-by-step instructions on how to distress wood floors.
Tools You Will Need
- Sandpaper
- Tack Cloth
- Steel Wool
- White Vinegar
- Paint Brush or Rag
- Hammer and Nails
- Putty Knife
- Chisel
- Wood Stain
- Polyurethane or Varnish
- Orbital Sander or Hand Sander
- Soft Cloth
Step-by-Step Processes for How to Distress Wood Floors
Step 1: Inspect the Wood Flooring
Before you begin distressing a wood floor, it is important to inspect the boards and make sure they are suitable for sanding. Check that there’s no rot or excessive wear on each board, as these will need to be repaired before beginning.
Step 2: Choose the Tools You’ll Need
Ensure you have all the tools you need for sanding and distressing your wood floor. A belt sander, orbital sander, hand-held grinder, and sandpaper in various grits are all necessary for this project. Before beginning to sand and distress your wood floors, be sure to remove any furniture or other objects from the room. Cover the windows with plastic sheeting to protect them from dust and debris if you can.
Step 3: Begin Sanding
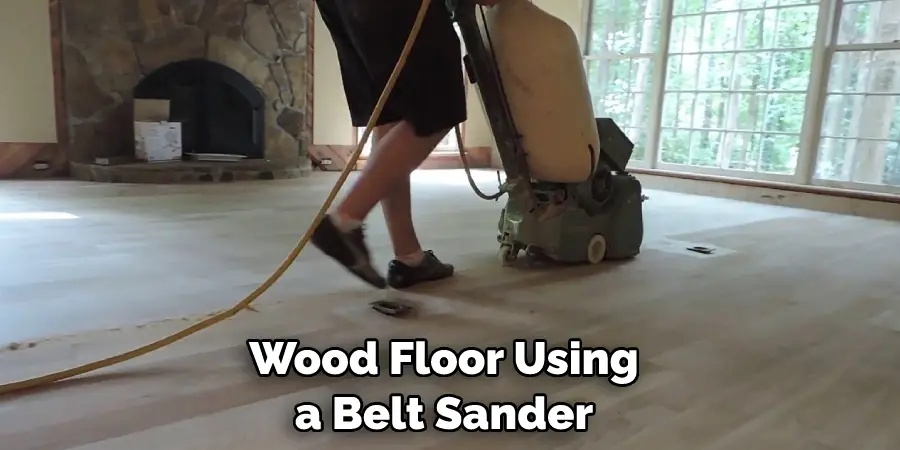
Start sanding your wood floor using a belt sander, beginning with coarse grits and slowly progressing to finer ones. This will remove the existing finish and prepare it for distressing. If you want to create a vintage look on your wood floor, use a hand-held grinder with a grooving wheel attachment. This will create grooves and lines in the wood that give it an aged appearance.
Step 4: Distress the Wood
Once you’ve finished sanding and grooving the wood, you can begin to distress it. Use a hammer or chisel to create dents and divots in the wood and a hand-held grinder for more intricate designs. If desired, you can add color to your distressed wood floor. Use a wood stain or paint to give it the look you desire.
Step 5: Apply a Finishing Coat
Once you’ve finished distressing and coloring your wood floor, apply a finishing coat of polyurethane or another sealant to protect it from moisture and wear. Allow the finishing coat to dry completely before moving any furniture or walking on it.
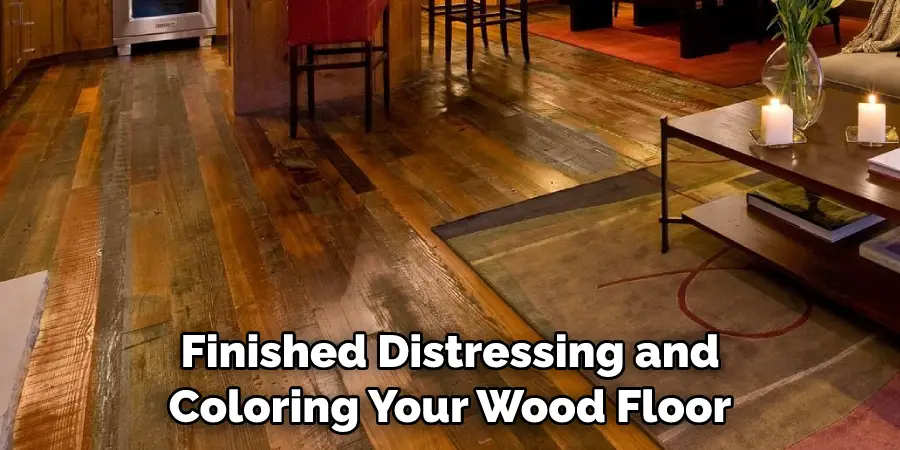
By following these ten steps, you’ll be able to create a beautiful and unique distressed wood floor that will be the envy of your neighbors. You’ll love the results whether you stain, paint, or leave it natural. The distressed wood floors look not just rustic but also elegant and timeless. With a little effort, you can easily distress wood floors to achieve this look that will add character and charm to any room.
Precautions for How to Distress Wood Floors
- Wear protective eyewear and gloves while distressing the wood. This will help protect your hands and eyes from any splinters, sawdust, or other debris that may be created.
- Make sure to work in a well-ventilated area so you don’t inhale too much of the dust created.
- Always test the distressing tool on a scrap piece of wood before beginning your project to ensure it will work as expected and that you are comfortable using it.
- Use caution when sanding since this can quickly remove too much material if not done properly. Start with a coarse grit paper and gradually move to a finer grit.
- When creating the distressed look, it is important not to sand too deeply; this will create uneven surfaces and can make the wood unsafe for walking on.
- Be sure to clean up all dust and debris from the project area before putting any furniture or rugs back in place.
- Sealing any newly distressed wood floors with a protective finish is important to prevent wear and tear. This will ensure your hard work lasts for many years to come.
Following these precautions can help guarantee the safe distressing of your wood floors and desired finished look. With a little bit of time and effort, you can easily create a beautiful and unique distressed wood floor.
Importance of How to Distress Wood Floors
- Achieving a Unique Look: Distressing wood floors are an easy way to achieve a unique and charming look for any home. The process of distressing can create beautiful, rustic-looking floorboards with characters that help set your style apart from the rest.
- Increasing Durability: Distressed wood floors are more durable than traditional non-distressed ones. This is because the surface of the boards has been sanded down to reveal a new layer of wood, making them resistant to scratches, dents, and other forms of wear and tear.
- Enhancing Aesthetics: Distressing wood floors can instantly add character to any space while helping to create a warm and inviting atmosphere. The unique look of distressed wood floors can help to make any room feel cozy and inviting.
- Increasing Value: Distressed wood floors can help increase your home’s value by making it more attractive and desirable to potential buyers. They also provide an easy way to add character without having to invest a lot of money in costly renovation projects.
- Easy Installation: Installing distressed wood floors is relatively easy and can be done by most DIYers with minimal tools and expertise. This makes it an attractive option for homeowners looking to quickly and easily update their home’s aesthetics without having to break the bank.
- Low Maintenance: Distressed wood floors are also known for being relatively low maintenance. They require minimal upkeep and cleaning compared to other types of flooring, such as carpets or tiles. This makes them a great option for busy households or those who don’t have the time or energy to dedicate to regular cleaning and maintenance tasks.
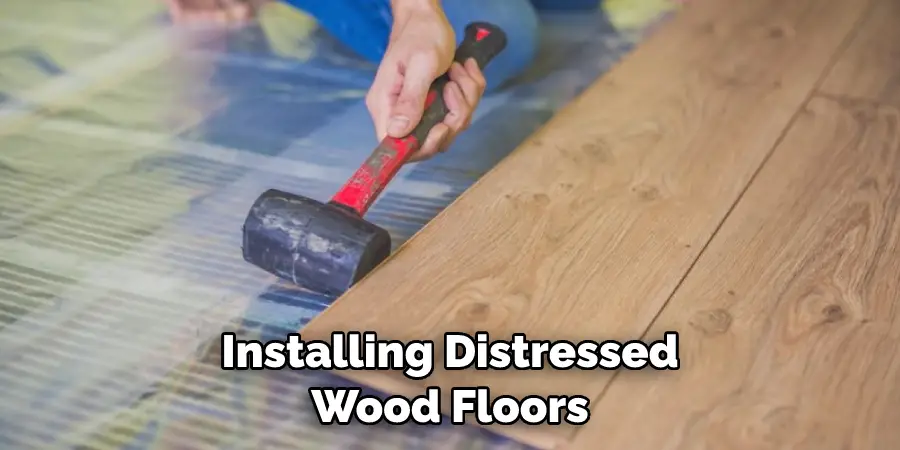
By understanding distressed wood floors, you can easily achieve a unique and charming look while increasing the value of your property. With its easy installation and low ongoing maintenance costs, distressed wood floors are a great choice for anyone looking to add character to their home without breaking the bank.
How Should You Protect the Distressed Wood Flooring Once It is Complete?
Once your distressed wood flooring is complete, you will want to ensure it looks great for years to come. To do this, you should protect it with a sealer or finish of some kind. A polyurethane varnish is typically the best choice as it provides lasting protection against moisture and dirt while also keeping the wood’s natural patina. Before applying any sealer, ensure the wood is completely clean and dry so the finish can adhere properly.
Once it has been sealed, you should also avoid using harsh detergents or abrasive cleaning pads when trying to clean your floors. A gentle mop with a mild soap solution is the best way to clean your distressed wood flooring and keep it looking like new.
In addition, you should also avoid placing furniture or other heavy items on the floors, as this can cause damage over time. With these simple steps, you can ensure that your distressed wood floor will remain in perfect condition for many years to come.
How Do You Repair and Maintain a Distressed Wood Floor Over Time?
Once you have achieved your desired look with distressed wood floors, caring for them properly is essential to maintain their original appearance. Repairing and maintaining the floor will require a few simple steps that should be done regularly.
The first step in repairing and maintaining a distressed wood floor is to inspect it regularly for any damage, such as scratches or gouges. You may need to apply a wood filler and sanding to repair any damage before adding the desired protective coatings.
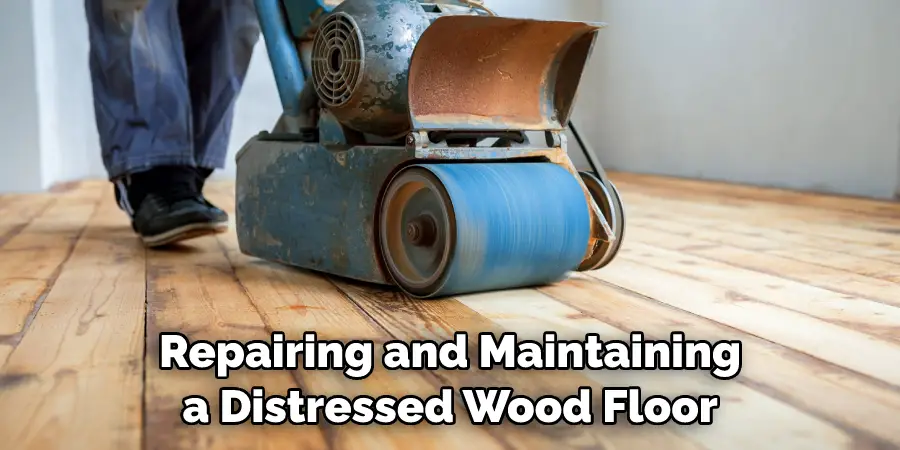
Once the floor is inspected, regularly cleaning it with an appropriate cleaner for hardwood floors is important. A good vacuum can also help remove dirt, dust, and other particles that can cause the floor to look dull.
You should also use a damp mop or cloth to help remove any excess dirt and moisture when it comes to protecting the distressed wood floors; applying a protective coating such as polyurethane is recommended. This will provide an extra layer of protection against dirt, scratches, and wear and tear.
Are There Any Special Cleaning Techniques for Caring for a Distressed Wood Floor?
Taking good care of your distressed wood floor will increase its longevity. In general, cleaning your floor with a soft cloth dampened in warm water is the best way to keep it looking clean. Additionally, you can use an approved hardwood cleaner for stubborn stains and dirt or remove surface wax build-up by using a cleaner specifically designed for this purpose.
When cleaning, avoid products containing oil or wax, as these can damage the finish of your floor. When it comes to spills, clean them up as quickly as possible with a damp cloth and warm water
. Refrain from using any detergents, abrasive cleaners, bleach, ammonia, or vinegar on your distressed wood floor. Vacuuming and mopping should also be done regularly to keep the floor clean. Doing a deep cleaning once or twice a year using an approved hardwood cleaner is a good idea.
How Can You Ensure That the Distressed Wood Floor Holds Up to Wear and Tear?
Once you’ve successfully achieved the desired distressed look for your wood floor, it’s important to take steps to ensure that the floor holds up over time. To do this, you should:
- Apply a Good Sealer or Stain: Applying a sealer or stain is essential if you want your distressed wood floor to maintain its good look for a long time. This will provide an extra layer of protection and help keep dirt, dust, and moisture from damaging the wood’s surface.
- Clean Regularly With a Damp Mop: Regular cleaning is essential if you want your distressed wood floor to look its best. A mild detergent damp mop will help remove dirt, dust, and debris that can build up over time.
- Use Felt Furniture Pads: To prevent scratches and dents on your distressed wood floor, you should use furniture pads made of felt under the legs of all your chairs and tables. This will give them extra protection and prevent them from damaging the floor.
- Avoid Using Harsh Cleaners: Harsh cleaners, such as bleach or ammonia-based products, should be avoided on distressed wood floors. These can strip away the protective sealer or stain and cause irreparable damage to the surface of the wood.
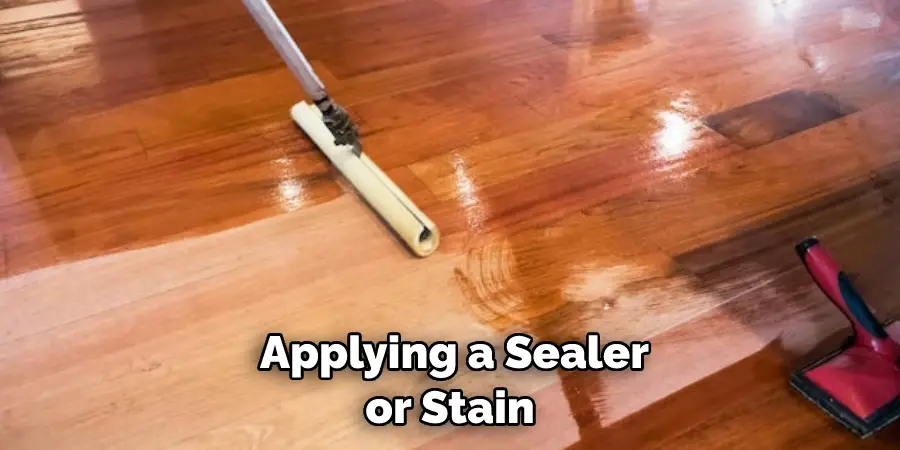
By following these simple steps, you can help to ensure that your distressed wood floor holds up over time and looks its best for years to come.
Conclusion
One of the main disadvantages of distressing wood floors is that it requires considerable time and effort. It’s not something you can just slap together in an hour or two, especially if you plan on taking the time to do it right and get the desired effect.
In conclusion, distressing wood floors is an easy and cost-effective way to give your home a rustic, vintage look. You can easily achieve the desired look by sanding the wood down to bare wood, staining it with darker colors, and adding distressed marks like dents and scratches.
Additionally, you can use many other techniques, such as whitewashing, saw marks, and gouges, to create a unique look that stands out in your home. I hope this article has been beneficial for learning how to distress wood floors. Make Sure the precautionary measures are followed chronologically.
You Can Check It Out Clean Spider Poop off Wood Floors

