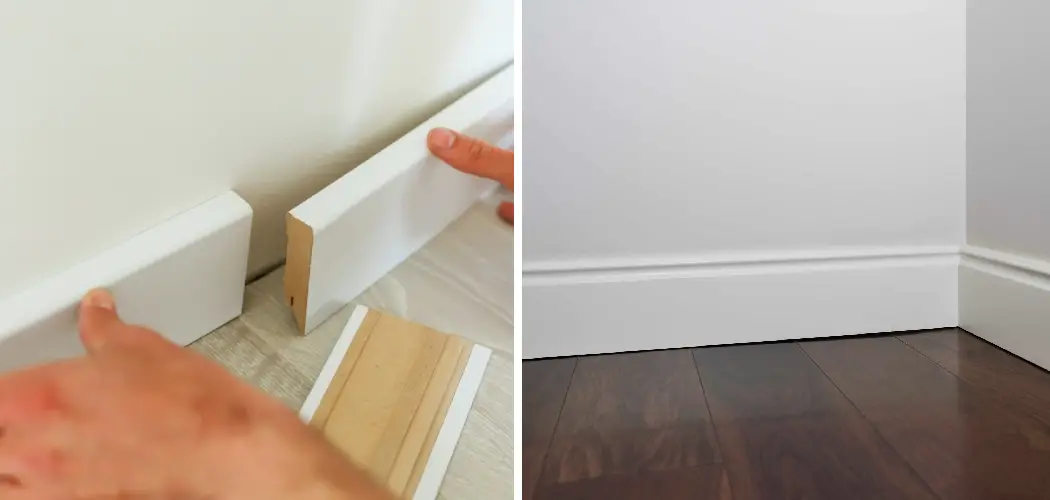
Do you need to install new baseboards but don’t have a miter saw? For most of us, DIY home improvement projects can seem like a daunting task – especially when it comes to cutting baseboards. Many people think it requires expensive tools like miter saws and major hardware stores, but you may be surprised to hear that there are actually multiple ways to cut them without the need for a miter saw!
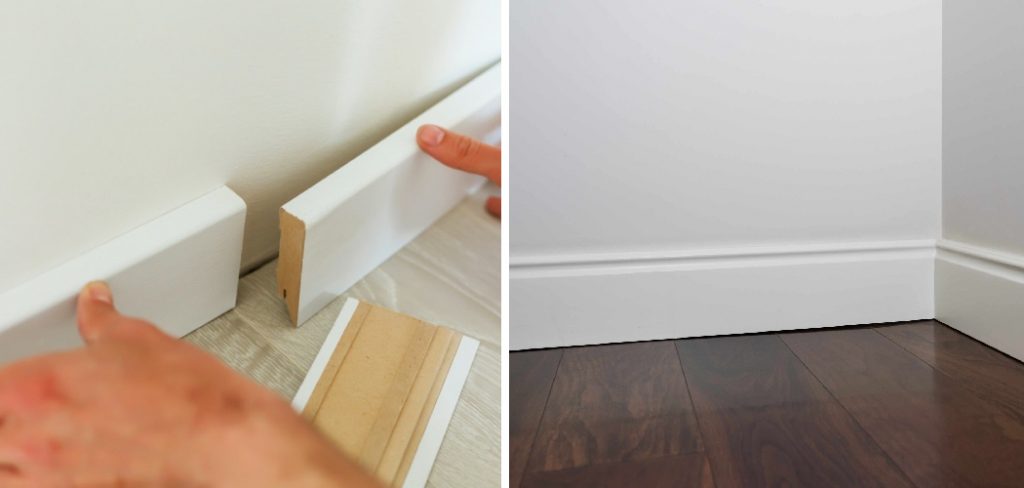
In this blog post, we’ll dive into some creative tips and tricks on how to cut baseboards without a miter saw with common everyday household items. All these methods are easy-to-follow step-by-step instructions that anyone can do—so don’t worry if you’re not very handy or haven’t tackled a project of this size before!
Put on your toolbelt because it’s time to get started upgrading your space today! Whether you’re working with prefabricated or custom pieces, this guide has everything you need to confidently install baseboards quickly and accurately. Let’s get started!
What to Keep in Mind When Cutting Baseboards Without a Miter Saw?
1. The Size of Your Baseboard
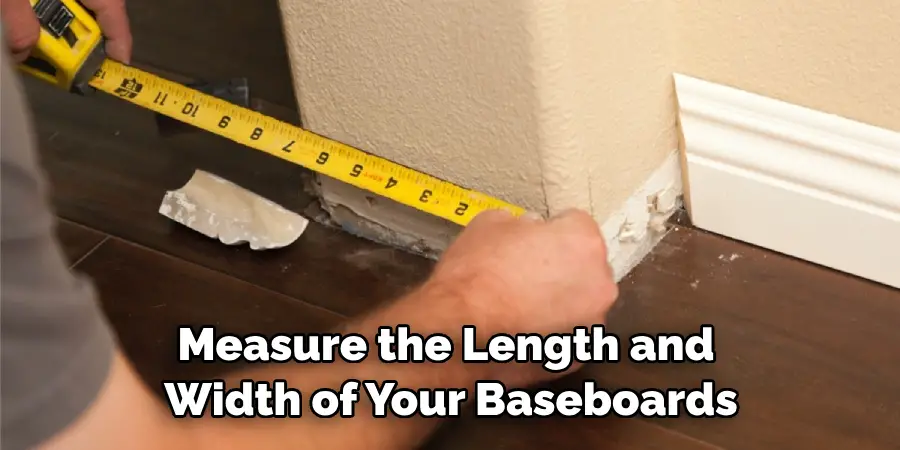
The first step to success is to measure the length and width of your baseboards. This will help determine which tools you need for the job, as well as ensure that you get an accurate cut. If you don’t have a tape measure handy or if it’s too long to read off in one take, use a piece of string instead. Once you have a general measurement, you can start prepping for the cutting process.
2. Preparing Your Work Area and Tools
Before beginning any project – especially one that involves cutting wood – it’s important to make sure your workspace is safe and clear of any debris or obstacles. Securely clamp down the baseboard pieces so they don’t move during the cutting process. Then, gather and organize all of your necessary tools. This will help keep the project organized and ensure you don’t forget any of the steps in between!
Needed Items
Before you get started cutting baseboards without a miter saw, it’s important to keep in mind the tools and materials that will be required. This includes:
- Tape Measure
- Pencil
- Hammer
- Nail Set
- Chisel or utility knife with a sharp blade
- Saw (such as hand saw
How to Cut Baseboards Without a Miter Saw in 10 Steps
Step 1: Measurement
Measure the length of your baseboard and mark it off with a pencil. The right measurement will be key to making sure that your cut is accurate in the end. Also, use a level to make sure that the boards are even before cutting them.
Step 2: Make a Mark
Once you have measured and marked off where you will be cutting, take your chisel or utility knife and score a line along the pencil markings. This is essential as it helps ensure that once you begin cutting, the board won’t splinter or chip.
Step 3: Cut the Baseboard
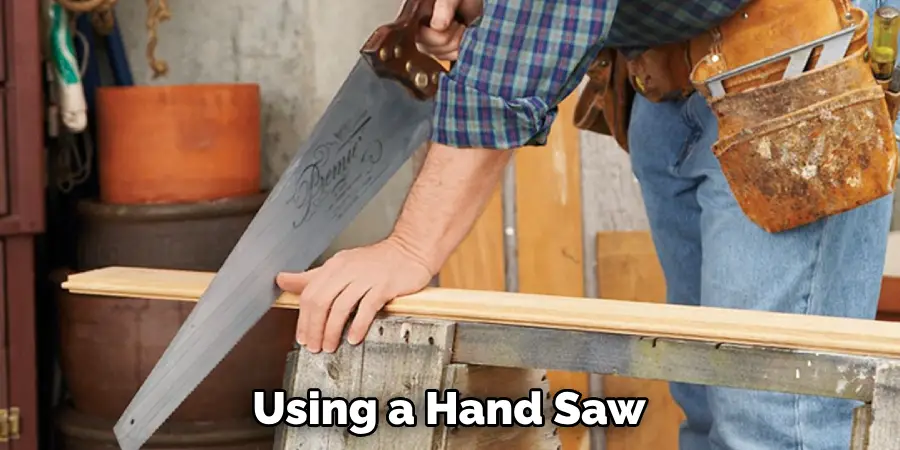
Using a hand saw, start at one end of the board and begin cutting. Make sure to keep your cuts slow and steady so that you get an even cut in the end. Make sure to follow the line that you have marked off with your chisel for an accurate finish.
Step 4: Tap the Nail Set
Once you have finished cutting, use a nail set to create an indentation along the cut line. This will help further guide your saw when making any other cuts and ensure that they come out smooth and even.
Step 5: Smooth Out Edges
Use a chisel or hand file to smooth out any rough edges or jagged pieces left after cutting. This will help ensure that you get a professional, seamless look in the end. Smooth and even edges are especially important if you plan to paint or stain the baseboard after installation.
Step 6: Sand the Surface
Sanding is another way to create a neat, finished look on your baseboards. Use fine-grit sandpaper and lightly sand the surface of all your cuts. This will smooth out any remaining jagged edges and help you achieve that perfect finish.
Step 7: Test the Fit
Before installing, it’s a good idea to make sure that your cuts fit perfectly in their designated space. Place the baseboard onto your wall or floor, and then use a level to check for any unevenness. If necessary, make small adjustments before continuing with the installation.
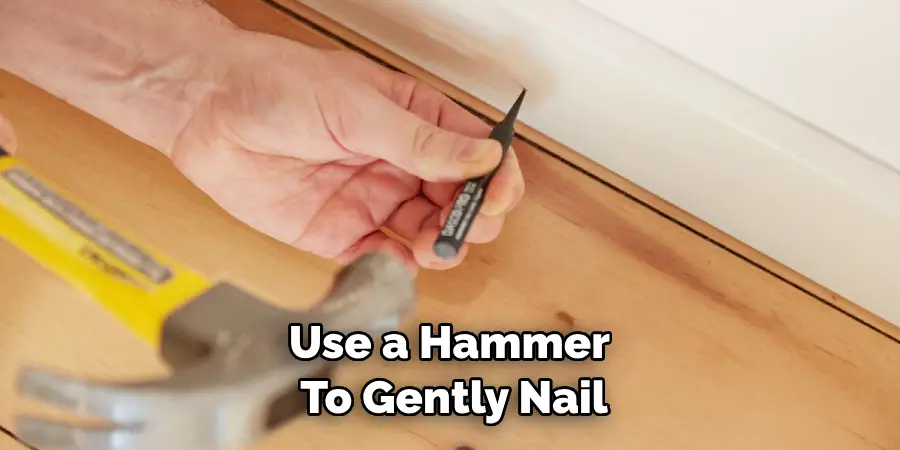
Step 8: Hammer the Nails
Once you have tested the fit of your baseboard, use a hammer to gently nail it into place. Make sure to always tap the nails in gently and at a slight angle to ensure that they don’t split or damage the wood.
Step 9: Caulk Edges
Caulk the edges of your baseboard to give it a finished look and help seal in moisture. This will also make sure that there are no gaps or cracks in the seams once all the pieces are connected.
Step 10: Paint or Stain
The last step is to paint or stain your new baseboards! Painting or staining will help protect your wooden baseboards from water damage and give them a nice finished look. Also, use a primer before applying your paint or stain to ensure that it adheres properly.
And there you have it! You’ve now successfully learned how to cut baseboards without a miter saw. No matter which technique you used, make sure to keep safety in mind at all times and wear protective equipment when working with power tools. With these tips, you’ll be successfully cutting your baseboards in no time!
8 Safety Precautions to Take When Cutting Baseboards without a Miter Saw
Cutting baseboards can be a tricky task, but it doesn’t have to be. With the right tools and safety precautions, you can cut baseboards without using a miter saw. Here are 8 tips for how to do just that:
- Wear protective gear for safety. Be sure to wear gloves, safety glasses, and a dust mask when cutting baseboards. Also, if you’re using a power tool like an electric saw or drill, be sure to wear hearing protection as well.
- Clear the area and secure the baseboard. Make sure there are no objects in the work area that could become hazardous while cutting. Before starting, make sure to secure the baseboard so it won’t move while you’re working.
- Measure twice cut once. This is an old adage that applies to any DIY project, and cutting baseboards is no exception. Take your time when measuring the baseboard, and double-check your measurements before making a cut.
- Use a sharp blade or bit to make the cut. Dull blades are more likely to cause splintering and inaccuracies in your cuts. Make sure the blade or bit is sharp enough for the material you’re cutting.
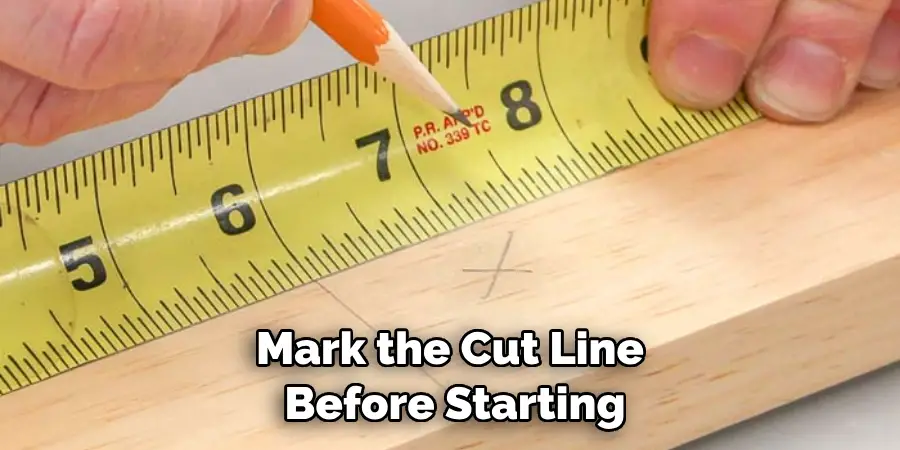
- Mark the cut line before starting. To ensure accuracy, mark the cut line with a pencil so it will be easier to follow while cutting. Marking the cut line will also make it easier to follow up with a second cut if needed.
- Clamp or hold the baseboard in place. This will help to ensure accuracy and safety while cutting. If you’re using a power tool, be especially careful when clamping or holding down the material because it can move unexpectedly when powered on.
- Cut away from yourself and others. Make sure to keep the cutting tool away from your body while in use and make sure there are no other people nearby who could be harmed if the material or tool were to move unexpectedly.
- Dispose of sawdust safely. Sawdust can be a safety hazard when it accumulates, so make sure to clean up after you’ve finished cutting. Vacuum and wipe down the work area to ensure it is free of sawdust and debris before leaving the workspace.
With these safety tips on how to cut baseboards without a miter saw in mind, you can confidently cut baseboards without a miter saw. Be sure to take your time when making your cuts and follow all necessary safety precautions for a successful project.
6 Tips to Be Good at Cutting Baseboards Without a Miter Saw
Now that you’re familiar with the safety precautions to take when cutting baseboards without a miter saw, here are 6 tips to help you become better at it:
- Use the right tools for the job. Different materials require different types of blades or bits, so make sure you’re using the right ones for your project. The right tools will make all the difference when it comes to accurate and clean cuts.
- Take your time and be patient. Rushing a project can lead to mistakes, so take your time with each cut you make and keep a steady hand throughout the process. It’s OK if it takes longer than you expect—good results are worth the wait!
- Use a straight edge as a guide. A straight edge can help to keep your cuts in line when cutting without a miter saw. You can use it to draw a straight line for you to follow, as well as to make sure the material is held securely in place before making the cut.
- Make multiple passes if needed. If you’re not getting the cut you want in one pass, make a second or even a third pass to get the desired results. Just be sure that you’re making the passes in the same direction and with careful precision.
- Consider practice cuts before starting a project. If you’re new to cutting baseboards without a miter saw, it may be worth practicing a few times on scrap material before you start your project. This will help you get familiar with the process and make sure you feel comfortable before starting.
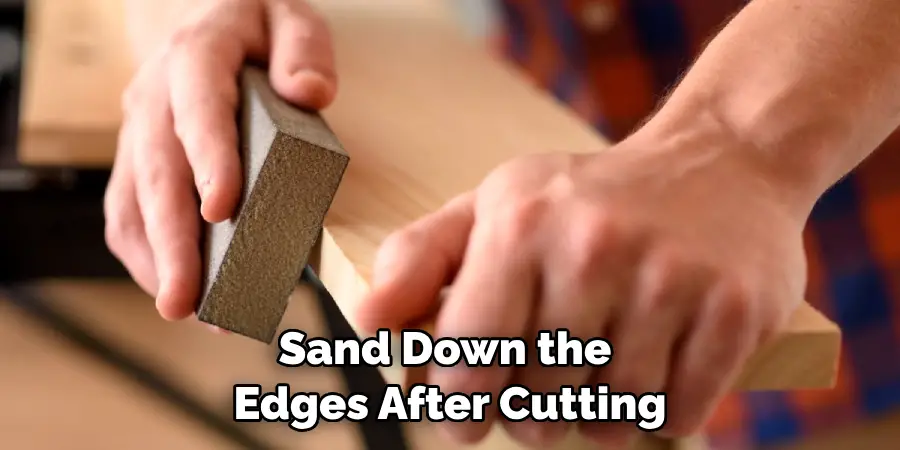
- Sand down the edges after cutting. After making all of your cuts, use sandpaper to smooth out any rough edges or splinters that may have occurred during the cutting process. Doing this can make all the difference in the look and feel of your finished project.
By following these tips, you can become an expert at cutting baseboards without a miter saw. With patience and practice, you’ll be able to create beautiful results with ease!
Conclusion
It is possible to get a neat and crisp finish when cutting baseboards without a miter saw. With proper planning, the right tools, and some patience, anyone can do it with ease. Whether you’re limited by budget or have more advanced tools available, you can still get the job done.
Don’t skimp on time and effort- take your time with each step to ensure the best quality cuts. Now that you’ve learned how to cut baseboards without a miter saw, why not try out your newfound skills? Grab some boards and practice until you perfect your craft – you’ll be surprised at the results!

