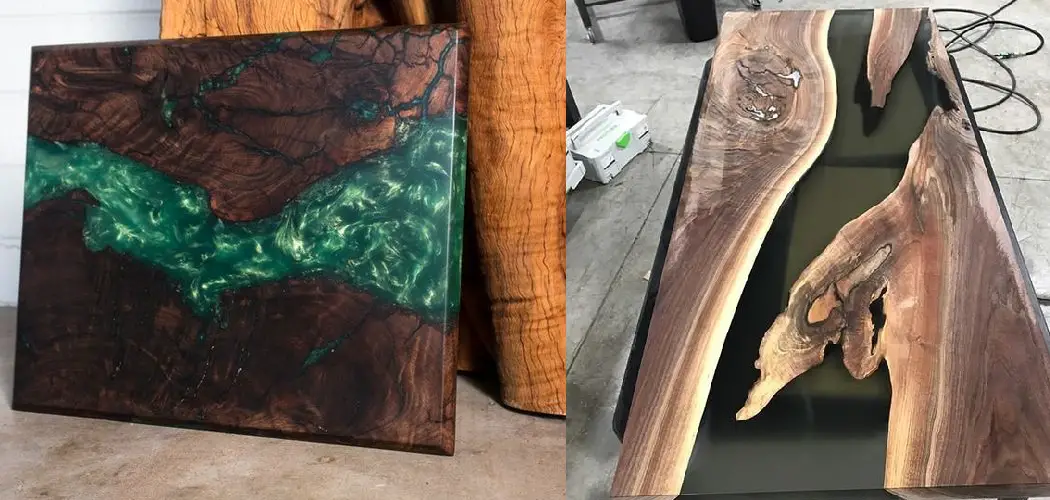
Are you looking to add a touch of black to your epoxy resin? In this post, we’ll show you how to color epoxy black and get that desired look. Then, with just a few simple steps, you can achieve the perfect finish for your project! Keep reading for more information.
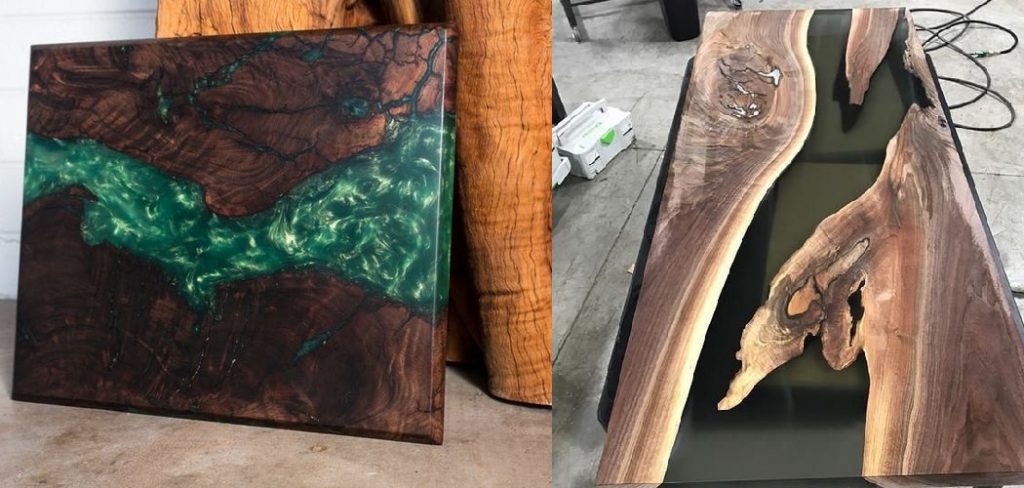
What Is Epoxy?
Epoxy is a type of glue that is used to bond two surfaces together. It is made from a mixture of resin and hardener, which react to form a strong, durable bond. Epoxy is commonly used in construction and manufacturing, bonding metal, glass, ceramics, and plastics together.
It is also resistant to heat, chemicals, and water. In addition, epoxy can be used to fill gaps and cracks, making it an ideal material for repair work. So whether you need to bond two pieces of metal together or fill a crack in your countertop, epoxy is up to the task.
Why Should You Color Epoxy Black?
For those in the know, black is the new black for epoxy resin. Unlike clear epoxy, which can yellow over time or be prone to bubbles and imperfections, black epoxy provides a deep, rich color that is perfect for creating a sleek and professional look.
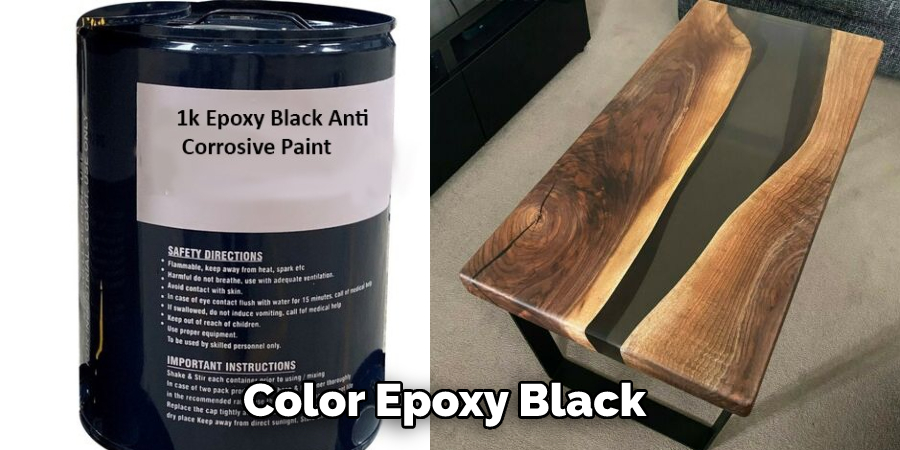
In addition, black epoxy is highly resistant to staining and UV light, making it an ideal choice for outdoor applications. And because it hides imperfections so well, black epoxy is also the perfect option for beginners who are still learning the ropes. So if you’re looking for an elegant and low-maintenance finish, black epoxy is the way to go.
How to Color Epoxy Black in 9 Easy Steps
1. Choosing the Right Epoxy
There are many types of epoxy resins available on the market, so it is important to choose the right one for your project. For example, if you want to color your epoxy black, then you should use a clear epoxy resin. This type of resin will allow you to add a coloring agent without affecting the final color of the epoxy.
You should also consider the intended use of the epoxy, as different types have different levels of resistance to heat, chemicals, and UV light. Make sure to read the product label and choose an epoxy that is suitable for your project. Otherwise, your colored black epoxy may not perform as expected.
2. Prepare the Surface for Epoxy Coating
Before you begin, preparing the surface that will be coated with epoxy is important. First, clean the surface thoroughly and remove any dirt, dust, or debris. Once the surface is clean, you can start mixing the two components of epoxy resin. Read the product instructions carefully for the correct ratio of resin and hardener, as this can vary depending on the type of epoxy you are using.
It’s important to note that working with epoxy can be messy, so make sure to wear protective gear like gloves and eye protection.
3. Mix the Two Components of Epoxy Resin
The epoxy resin comprises two parts – the resin and the hardener. These two parts must be mixed together in the correct ratio to create a strong and durable epoxy coating. Once you have measured out the correct amount of each component, you can mix them together using a stir stick. Make sure to mix thoroughly, scraping the sides and bottom of the mixing container to ensure all parts are fully combined.
It’s also important to mix the epoxy slowly and avoid creating bubbles, which can affect the final appearance of your black epoxy. You can use a heat gun or blowtorch to remove any bubbles that do form.
4. Add Coloring Agent to Epoxy Mixture
Once the two components of epoxy resin are mixed together, you can add a coloring agent to produce a black color. Many different types of coloring agents can be used, so it is important to choose one compatible with epoxy resin. Once you have added the coloring agent, you can mix it into the epoxy mixture until the desired color is achieved.
But remember, a little goes a long way when it comes to coloring epoxy, so start with small amounts and gradually add more until you reach the desired shade.
5. Apply Epoxy Coatings
Once the epoxy mixture is the correct color, you can start applying it to the surface that you prepared earlier. It is important to apply the epoxy evenly and in a thin layer to avoid any air bubbles or imperfections in the coating. You can use a brush, roller, or squeegee to apply the epoxy.
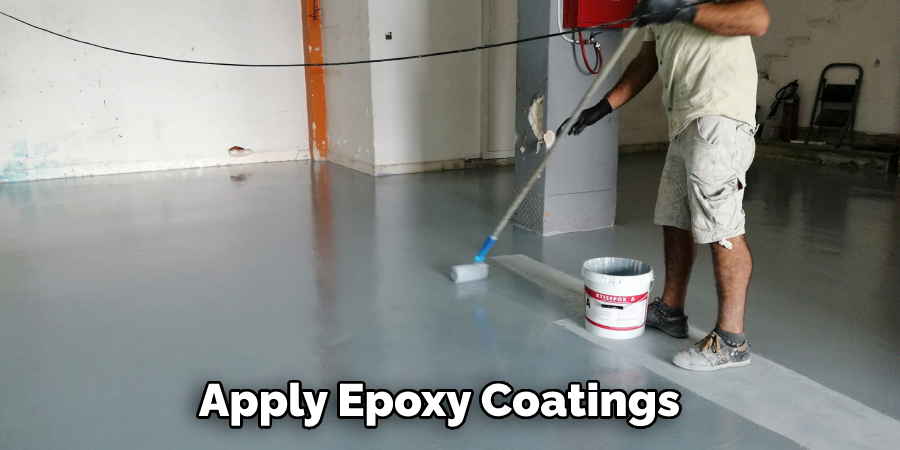
You can also apply multiple layers of epoxy, waiting for each layer to dry before adding the next. This will create a thicker and more durable coating.
6. Cure and Finish the Coatings
After applying the epoxy coating, you must cure it to achieve a strong and durable finish. Curing can be done by exposing the epoxy to UV light or by heat-curing it in an oven. Once the epoxy is cured, you can finish it off with a clear topcoat to protect it from scratches and UV light. You can also sand and polish the cured epoxy for an even smoother finish.
It’s important to follow the product instructions for curing and finishing, as different types of epoxy may require different methods.
7. Take Your Time
When working with epoxy, it is important to take your time and work carefully. Rushing through the steps or not following instructions can result in a less-than-desirable outcome. Be patient and follow each step carefully for the best results. And if at any point you make a mistake, don’t worry – epoxy can be sanded and re-coated to fix imperfections.
The key is to work slowly and methodically, ensuring each layer of epoxy is applied evenly and smoothly. It may take longer, but the end result will be worth it.
8. Use Protective Gear
Epoxy resin is a chemical compound and should be handled with care. It is important to use protective gear, such as gloves and goggles, when working with epoxy. This will protect your skin and eyes from any potential irritation or injury. It’s also a good idea to work in a well-ventilated area to avoid inhaling any fumes.
You should also avoid getting epoxy on your skin, as it can be difficult to remove once cured. But if you do get it on your skin, wash it off with soap and warm water immediately.
9. Clean Up Properly
After you have completed your project, make sure to clean up properly. Epoxy resin can be difficult to remove once it has cured, so it is important to clean any tools or spills immediately with a solvent or acetone.
The tools used for mixing and applying the epoxy should be cleaned thoroughly with hot water and soap. And if there is any leftover epoxy, make sure to dispose of it properly according to the product instructions.
That’s it! You’ve now learned how to color epoxy black. By following these simple steps, you can create a strong and durable epoxy coating that is perfect for any project.
What You Need to Know About Adding Color to Epoxy
Adding color to epoxy is a great way to add a personal touch to your projects. However, a few things should be kept in mind when adding color. First, it is important to use a compatible colorant. Check the manufacturer’s instructions to be sure.
Second, always mix the colorant thoroughly before adding it to the epoxy. Otherwise, you may end up with streaks or uneven color. Finally, be mindful of how much colorant you add. Too much can result in a less effective bond. With these tips in mind, adding color to your epoxy projects will be a breeze!
The Different Types of Epoxy and How to Choose the Right One
Epoxy is a versatile material that can be used for various applications. However, not all epoxy is created equal. There are two main types of epoxy: thermosetting and thermoplastic. Thermosetting epoxy is the most common type for bonding and sealant applications.
On the other hand, thermoplastic epoxy is less common but offers superior strength and durability. When choosing epoxy, it is important to consider the intended application. For most projects, thermosetting epoxy will suffice. However, thermoplastic epoxy is the better choice for applications requiring maximum strength.
With so many different types of epoxy on the market, it can be difficult to know which one to choose. However, by understanding the difference between thermosetting and thermoplastic epoxy, you can make an informed decision and choose the right product for your project.
How to Prepare Your Surface for Epoxy Coating
Before applying an epoxy coating to your surface, you need to prepare the surface for the coating. This may seem daunting, but with a little elbow grease and the right tools, you can easily get your surface ready for epoxy coating. The first step is to clean the surface. This can be done with a power washer or a stiff brush.
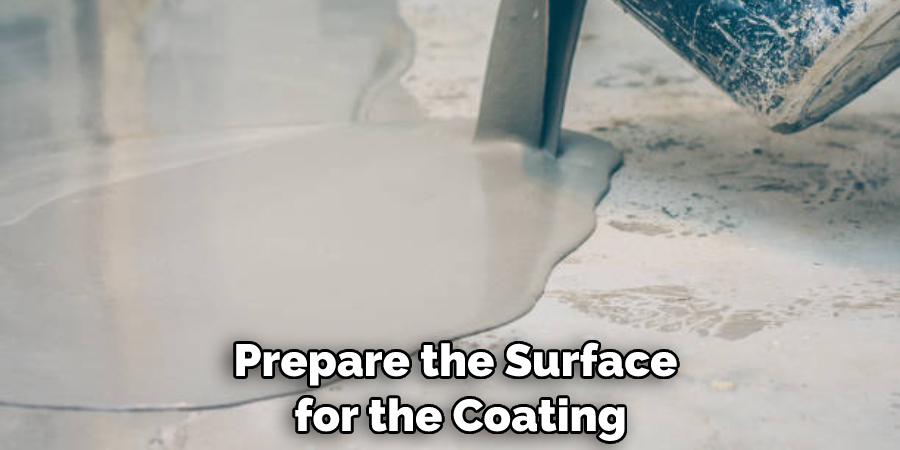
Once the surface is clean, you need to remove any loose debris, such as paint chips or sand. Next, you need to rough up the surface so that the epoxy will have something to grip onto. This can be done with sandpaper or a wire brush.
Finally, you need to make sure that the surface is free of dust and debris before you apply the epoxy coating. Once you have completed these steps, your surface will be ready for epoxy coating.
What Are Some Benefits of Using Black Epoxy Coating?
Black epoxy coating is a type of paint that is commonly used on metal surfaces. It is known for its durability and resistance to chipping, fading, and peeling. Epoxy coating is also moisture-resistant and can withstand high temperatures, making it an ideal choice for protecting metal surfaces from the elements.
In addition to its durability, the black epoxy coating also provides a sleek, finished look to metal surfaces. Depending on the desired effect, it can be used to create a glossy or matte finish. Black epoxy coating is also relatively easy to apply and can be touched dry in as little as 30 minutes.
For these reasons, the black epoxy coating has become a popular choice for both commercial and industrial applications. Keep reading for more information about how to color epoxy black.
How to Clean up After Using Epoxy
Epoxy is a versatile and strong adhesive that is often used in construction and repair projects. However, epoxy can also be difficult to clean up if you’re not careful. Here are some tips on how to clean up epoxy so you can get the job done right.
The first step is removing excess epoxy with a putty knife or another sharp tool. Once you have removed the excess, you will need to sand the area to smooth it out. Epoxy can be very sticky, so be sure to use gloves when handling it.
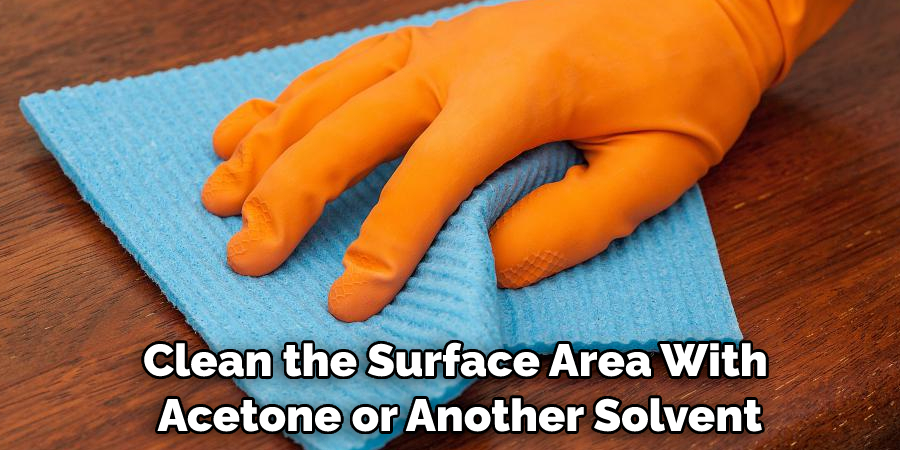
Next, you will need to clean the area with acetone or another solvent. This will help to remove any residue that is left behind. Finally, you will need to rinse the area with water and dry it off completely. With these simple steps, you can easily clean up any epoxy mess.
How to Store Epoxy for Future Use
Adhesive epoxies are one of the most useful substances in any repair kit. They can be used to bond metal, glass, ceramic, and even some plastics together, making them ideal for a wide range of repairs. However, epoxy doesn’t last forever. Once it’s mixed, it will begin to harden, and if it’s not used within a few hours, it will become unusable.
As a result, many people throw out half-used epoxy tubes. But there is a way to store epoxy for future use. Mixing the epoxy with baby oil can create a putty-like substance that can be stored indefinitely. In addition, the baby oil prevents the epoxy from hardening, meaning that it will be just as useful next month as it is today.
So next time you find yourself with leftover epoxy, don’t toss it in the trash; mix it with baby oil and store it for future use.
Frequently Asked Questions:
Q: Can I Add Glitter or Other Small Particles to My Epoxy for a Unique Look?
A: Yes, you can add glitter or other small particles to your epoxy for a unique and personalized touch. Just be sure to use compatible colorants and mix thoroughly before adding to the epoxy. The amount of added particles should also be considered to ensure a strong bond.
Q: Is Epoxy Safe to Use Indoors?
A: Yes, epoxy is safe to use indoors as long as proper ventilation is provided. It is also important to follow the manufacturer’s instructions and wear protective gear when handling epoxy. Epoxy is not recommended for use in small, enclosed spaces without proper ventilation. It is also important to keep epoxy away from children and pets.
Q: Can Epoxy Be Used on Wood?
A: Yes, epoxy can be used on wood as a waterproof sealant or for decorative purposes. However, it is important to properly prepare the surface before applying the epoxy and ensure that the type of epoxy being used is suitable for wood. A test patch is also recommended before applying epoxy to the entire surface.
Q: How Long Does Epoxy Take to Cure?
A: The curing time for epoxy can vary depending on factors such as temperature, humidity, and type of epoxy used. Generally, most epoxies will reach full strength within 24 hours, but it is important to refer to the manufacturer’s instructions for specific curing times. You can also use a heat gun or hairdryer to speed up the curing process.
Q: Can I Sand or Paint Over Epoxy?
A: Yes, you can sand or paint over epoxy once it has fully cured. However, it is important to make sure the surface is clean and free of any dust or debris before painting or sanding. It is also recommended to lightly sand the epoxy surface before painting for better adhesion.
Overall, epoxy is a versatile and durable coating that can be used in a variety of ways to enhance and protect surfaces. With proper preparation and application techniques, you can achieve professional results with your epoxy projects. Remember to always follow safety precautions and refer to manufacturer’s instructions for best results. So go ahead, get creative with your epoxy projects and enjoy the benefits of this amazing adhesive.
Concluding
Epoxy can be colored black to match any surface and give it a sleek, polished look. Applying black epoxy is a great way to add visual interest and depth to a project. If you’re looking for an easy way to change the look of your next project, consider using black epoxy. Thanks for reading our post about how to color epoxy black.
You Can Check It Out To Change the Wood Floor Color

