Are you a bird owner? If so, you know how important it is to keep their perches clean.
For many bird owners, a clean bird perch is an important part of their pets’ overall care and well-being. Not only does it provide them with a safe place to land, but it also helps keep their wings in good condition by removing dust build-up.
As wooden bird perches are typically harder to clean compared to other materials, it is important for owners to learn the best ways to ensure that they remain smooth and hygienic for their feathered companions.
In this blog post, we’ll explore some tips on how to clean wooden bird perches while also keeping the birds happy and healthy. From daily cleaning habits to more intensive deep cleans – let’s dive into what our avian friends need!
What Will You Need?
Before you get started with your cleaning project, it’s important to have all the necessary tools on hand. This will make the job quicker and easier, plus it’s always good to be prepared.
The items you will need are:
- Soft cloth
- Water
- Dish soap
- Vinegar or baking soda (optional)
- Toothbrush (optional)
- Paper towels/ newspaper (for drying)
- Vacuum cleaner with a brush attachment (optional but highly recommended).
Once you have all your items, it’s time to start the cleaning process.
10 Easy Steps on How to Clean Wooden Bird Perches
Step 1: Make It a Daily Habit
Just like with any pet, keeping up with daily habits for the bird perch is essential in order to keep it clean. Doing this on a regular basis will prevent dust build-up and make it easier to maintain the perch over time. Make sure to give your bird perch a good wipe down with a soft cloth every day, this will help keep it free of dust and dirt.
Step 2: Use Soap & Water
For more stubborn dirt and grime, use warm water and some dish soap or natural cleaning solution like vinegar or baking soda. Using a damp cloth, gently scrub the perch in circular motions until any sticky residue is removed. Use an old toothbrush to work into difficult areas or crevices. Be careful not to scrub too hard, as you don’t want to damage the wood surface.
Step 3: Rinse Thoroughly
Once you’ve finished cleaning the perch, make sure to rinse it off with clean water. This will help remove any residual soap or dirt that may have been left behind. If you are using vinegar or baking soda, make sure to rinse these off as well.
Step 4: Dry Carefully
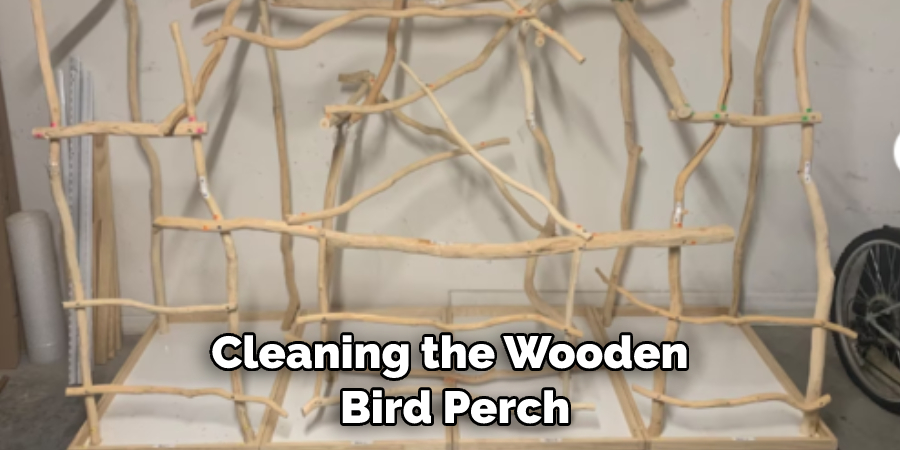
The next step is to dry the perch thoroughly. To avoid damage, use a soft cloth and paper towels or newspaper to absorb moisture and ensure no puddles remain on the surface of the wood. You can also place the perch outside in direct sunlight for a few hours so that it can air-dry naturally.
Step 5: Vacuum Cleaner (Optional)
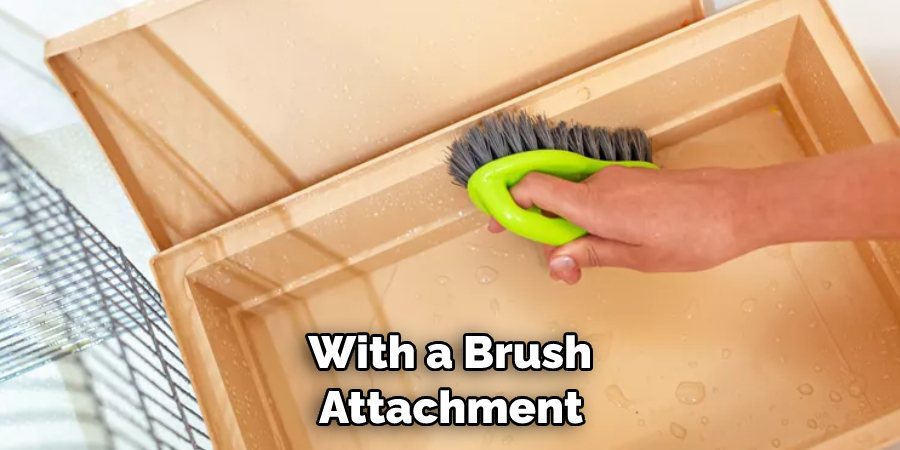
Another great way to keep dust build-up at bay is by using a vacuum cleaner with a brush attachment. Make sure to go over the perch in light strokes and be careful not to press too hard while cleaning, as this can cause damage to the wood surface. You can also use the vacuum hose to get into hard-to-reach areas and crevices.
Step 6: Disinfect With Vinegar (Optional)
If you want extra cleanliness, mix some vinegar or baking soda with water to disinfect the bird’s perch. This will help keep bacteria at bay and ensure your pet’s safety. Just make sure you rinse off any residue afterward.
Step 7: Re-Evaluate Perches Regularly
In addition to daily cleaning habits, it’s also important to regularly assess how well your bird perch is holding up. Check for any splinters or cracks in the wood, as these can be sharp and dangerous to your pet’s feet. It’s also important to ensure the perch is stable and not wobbly. If it starts to become unstable, it may need to be replaced.
Step 8: Replace Perches When Necessary
If you notice any signs of wear and tear on your bird perch, it’s best to replace it right away. This will not only help keep your feathered friend safe but also provide them with a clean and smooth surface to enjoy. As perches are relatively inexpensive, having a spare one on hand is always a good idea.
Step 9: Wash Toys & Accessories
In addition to cleaning the wooden bird perch, don’t forget about their toys and other accessories! Just like how we need to wash our hands regularly during this time, washing your bird’s toys will help keep them clean and free of germs. Don’t forget to wipe down the cages and perches as well.
Step 10: Enjoy Your Pet!
At the end of the day, it’s all about providing a safe and healthy environment for your pet to enjoy. After all the work you put into cleaning their perch, don’t forget to sit back and watch how much fun they have hopping around on it! Remember, it’s important to clean your bird perches regularly and take good care of them in order to keep your feathered friends safe and happy.
By following these easy steps on clean wooden bird perches, you can rest assured that your feathered friend will be happy and safe in its home. Making sure that your pet has a clean area to play in is essential in keeping them healthy and happy! With regular maintenance, your beloved pet will be able to enjoy its perch for years to come.
5 Additional Tips and Tricks
1. For tougher messes, you may need to use a soft brush or scrubber. If your bird’s perch is too small for a brush, try using an old toothbrush with the bristles cut off for easy access.
2. Try using vinegar and water solution to help sanitize perches when needed. Simply mix equal parts of hot water and white vinegar together in a spray bottle and apply it to the surface of the perch.
3. Avoid cleaning agents such as alcohol or bleach, as they can be harsh on wooden surfaces and cause discoloration or damage over time.
4. After each cleaning session, ensure you thoroughly dry any excess moisture from the perch before placing it back in your bird’s cage.
5. To further protect the perch, you can apply a coat of mineral oil or paraffin wax to it, which will create an additional layer of protection from dirt and debris. Be sure to do this on an annual basis for the best results.
By following these steps, you can ensure that your feathered friend stays healthy and happy with a clean and sanitized perch!
5 Precautions When Cleaning Wooden Bird Perches
Cleaning wooden bird perches requires some precautionary measures to ensure your pet’s safety and well-being. Here are five tips on clean wooden bird perches:
1. Choose a Safe Cleaning Solution: The most important thing is to choose a cleaning solution that won’t harm your bird. Avoid any products containing harsh chemicals such as bleach or ammonia, as these can be toxic for birds if inhaled. Instead, opt for natural ingredients like white vinegar or baking soda mixed with warm water.
2. Don’t Use High Pressure: High-pressure washers should never be used for cleaning wooden bird perches, as they can easily damage the wood.
3. Clean the Perch With a Cloth: Before using any cleaning solution, using a soft cloth or brush is important to wipe off any dirt and debris on the bird’s perch. This will help to prevent the cleaning solution from spreading around the enclosure and harming your pet.
4. Rinse Thoroughly: After scrubbing the perch, rinse it properly so that no cleaning solution is left behind on the wood surface.
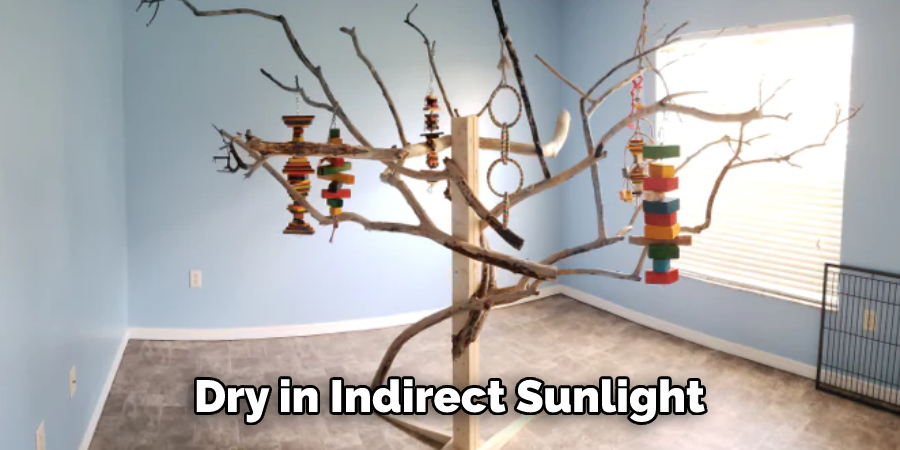
5. Dry Completely: Letting wooden bird perches dry completely before letting your pet sit on them again is essential for ensuring their safety and health. Let them air dry in indirect sunlight, or use an old towel to pat them dry.
By taking all of these precautions, you can help to ensure your pet’s safety and well-being when cleaning wooden bird perches. Remember to use natural, harmless cleaning solutions, and always make sure the perches are completely dry before allowing your feathered friend back in the cage.
Conclusion
Cleaning your bird’s perch regularly is a great way to reduce the risk of unwanted bacterial and fungal growth that can harm your pet. Plus, it will keep your bird healthier and more comfortable when perching. Not to mention, taking these extra steps may even help you save time in the long run since less cleaning will be needed if done on a regular basis.
Keeping your pet safe, healthy, and happy is one of the most important things you can do as a pet owner, and with the tips provided here, you’re well on your way to achieving this goal. Furthermore, there are many other ways to keep its environment safe from hazardous or harmful elements and ensure it has enough stimulation and entertainment inside its cage.
Thank you for taking the time to read this blog post about how to clean wooden bird perches!

