

Building your own round table is one of the most satisfying woodworking projects you can take on. Unlike rectangular tables, a round table adds warmth and flow to a room—and there’s something quietly democratic about the shape. No head of the table. Everyone gets an equal seat.
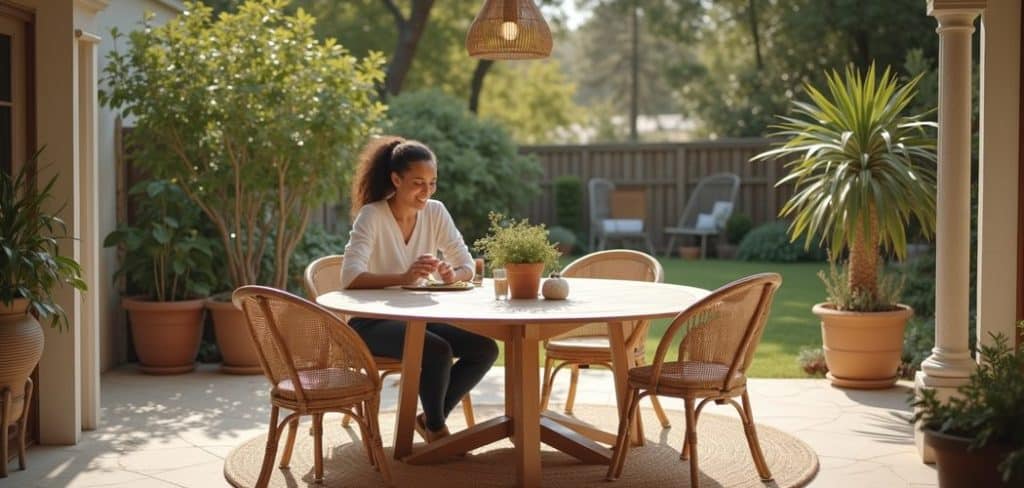
Whether you’re furnishing a dining room, a breakfast nook, or an outdoor patio, a handcrafted round table is the kind of piece that tends to outlast trends. This guide on how to build round table walks you through everything you need to know—from choosing the right design to the finishing touches that separate a good table from a great one. By the end, you’ll have a clear, practical roadmap to build a beautiful, sturdy round table from scratch, even if you’ve never picked up a router before.
Choosing Your Table Design
Before you reach for a single tool, spend some time thinking about what you actually need. The right design shapes everything that follows—the materials, the tools, the level of difficulty.
Start with purpose. Dining tables typically stand 28 to 30 inches tall; coffee tables sit lower, around 16 to 18 inches. Then think about scale. A 48-inch round table seats four people comfortably, while a 60-inch table can handle six. Get this wrong, and you’ll end up with a beautiful piece that’s the wrong size for the room.
Wood selection matters just as much as dimensions. Hardwoods—oak, walnut, maple—are durable and take stain well, which makes them well-suited for dining tables that see daily use. Pine and poplar cost less and work fine for casual or painted pieces, though they dent more easily. Before cutting a single board, sketch a rough plan or use free woodworking software to visualize the final result. The time spent here pays off later.

7 Simple Steps on How to Build Round Table
Step 1: Gather Your Materials and Tools
Make a complete list before you visit the lumber yard. For a standard 48-inch round dining table, you’ll need boards wide enough to glue into a solid panel, lumber for the legs and aprons, wood glue, screws, clamps, sandpaper in multiple grits (80, 120, and 220), a jigsaw or router, and your chosen finish. Having everything ready before you begin saves time—and prevents the specific frustration of stopping mid-project because you’re missing something small.
Step 2: Cut and Join the Tabletop Boards
Most lumber isn’t wide enough to form a full round tabletop on its own. You’ll need to edge-join multiple boards into a single panel. Use a jointer or hand plane to ensure each mating edge is perfectly flat and square—gaps in the joint show up later, and they’re not easy to fix. Apply wood glue along the edges, press the boards together, and clamp them firmly. Let the glue cure for at least 24 hours. A well-executed glue joint is as strong as solid wood, so resist the urge to rush this stage.
Step 3: Mark and Cut the Circle
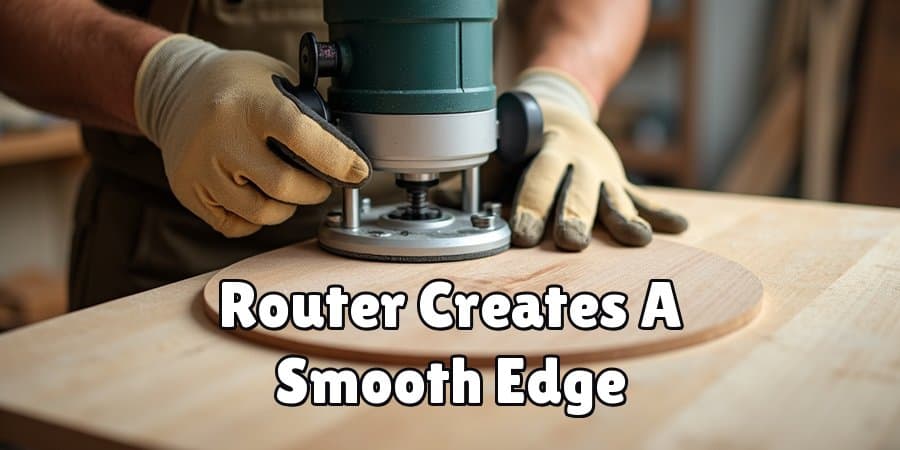
Once the glued panel is dry, sand it flat and mark the center point. Tie a string to a pencil, measure your desired radius from the center, and sweep a circle—essentially a DIY compass. For the cleanest cut, use a router fitted with a circle-cutting jig. This approach produces a smooth, accurate edge that needs minimal cleanup. A jigsaw works too, though you’ll spend more time sanding the edge afterward to remove roughness and minor deviations.
Step 4: Sand and Shape the Edges
The edge profile does more than most people expect. A roundover or chamfer bit fitted to a router creates a finished, professional look around the tabletop’s perimeter. After shaping, sand the entire surface progressively: 80-grit to remove mill marks, 120-grit to refine the surface, 220-grit for the final pass. Wipe with a tack cloth between each grit. Skipping this step tends to show up under the finish in ways that are difficult to explain and impossible to ignore.
Step 5: Build the Table Base and Legs
The base determines stability—and stability determines whether the table lasts. A four-leg design with an apron is the most straightforward approach for beginners. Cut the legs to your desired height, then cut four apron pieces to connect them into a frame. Mortise-and-tenon joints produce the strongest result, though pocket screws are a reasonable alternative if you’re working without a mortising chisel. Check for square at every stage using a carpenter’s square. A small deviation here becomes a noticeable wobble once the table is assembled.
Step 6: Attach the Tabletop to the Base
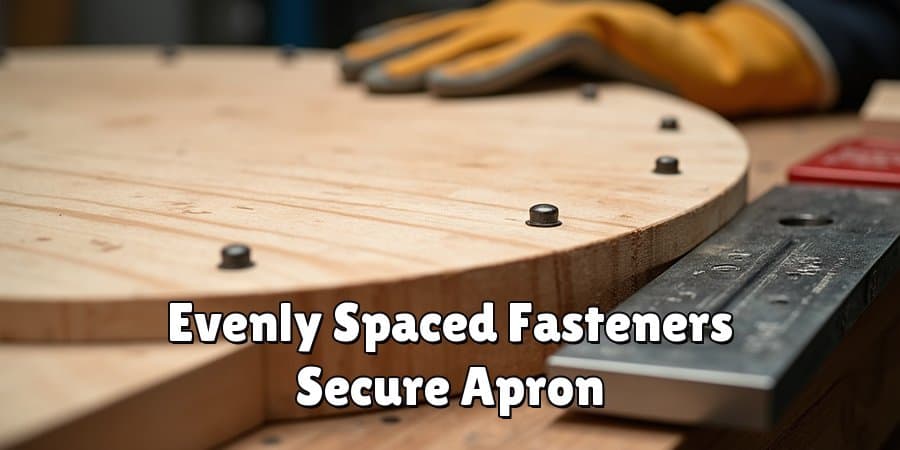
Place the tabletop face-down on a clean, padded surface and center the base on top of it. Attach the top to the apron using tabletop fasteners or figure-eight clips—hardware specifically designed to allow wood to expand and contract with changes in humidity. This matters. Gluing the tabletop directly to the apron restricts natural wood movement and, over time, causes splitting. Space the fasteners evenly around the apron for a secure, balanced hold.
Step 7: Apply Your Finish
The finish protects the wood and brings the grain to life. For dining tables, polyurethane or hardwax oil both offer good durability against spills and daily wear. Apply thin, even coats with a brush or cloth, sanding lightly with 320-grit between each application. Three to four coats are typically sufficient for a surface that can handle real use. Each coat needs to dry fully before the next goes on, and the final coat should cure for at least 48 hours before anything is placed on the table.
By following these steps on how to build round table, anyone can create a beautiful and functional piece of furniture for their home.
Common Mistakes to Avoid
Most first-time builders make the same errors—not because they’re careless, but because the mistakes aren’t obvious until after the fact.
Rushing the glue-up stage is probably the most common. Boards that aren’t properly aligned and clamped produce an uneven panel that’s difficult to flatten later. Related to this is skipping acclimatization: lumber needs to sit in the space where it will be used for at least 48 hours before cutting, so it can adjust to local humidity. Cut too soon, and the wood may move after assembly in ways you didn’t plan for.
Failing to check for square at the base assembly stage leads to a finished table that rocks—annoying at best, unusable at worst. Take your time with measurements. Double-check angles before committing. The small steps that feel like interruptions are usually the ones that matter most.
Care and Maintenance
A well-built round table can last for decades with basic upkeep. For daily cleaning, a damp cloth followed by an immediate dry wipe is usually all you need. Avoid leaving water sitting on the surface—prolonged moisture can raise the grain and dull the finish over time. For deeper cleaning, mild wood-safe soap applied with the grain works well.
Reapplying a coat of hardwax oil or furniture wax once or twice a year keeps the surface protected. Scratches and minor dents can often be addressed with light sanding and a fresh coat of finish, without a full refinish. Felt pads under anything placed on the table—lamps, decorative objects, tableware—prevent the slow accumulation of surface scratches that come from everyday use.

Frequently Asked Questions
What Is the Best Wood for Building a Round Dining Table?
Hardwoods like oak, walnut, and maple are the strongest choices for a round dining table. They resist denting, hold up to daily use, and take stain or finish well. For tighter budgets, poplar is a practical alternative—it machines cleanly, accepts paint readily, and is widely stocked at most lumber yards.
How Do I Cut a Perfect Circle Without a Router?
A jigsaw paired with a simple circle-cutting jig—made from scrap plywood and a bolt—can produce a very workable result. Mark your center point, attach the jig, and guide the saw slowly around the perimeter, cutting just outside your pencil line. Sand the edge smooth afterward. A router produces a cleaner finish, but careful jigsaw technique comes close.
How Long Does It Take to Build a Round Table from Scratch?
For a beginner, expect a full weekend—roughly 8 to 12 hours spread across two days. Most of that time is waiting: glue curing, finish drying, coats setting. Active work time is considerably less. Experienced woodworkers can complete the same build in around 4 to 6 hours.
Conclusion
Building a round table from scratch rewards patience more than it rewards speed. Each step—selecting timber, joining the tabletop, shaping the base, applying the finish—builds on the one before it. The skills developed along the way- precise measuring, clean joinery, careful surface prep- carry into every woodworking project that follows.
Start with a clear plan. Take your time at each stage. Small imperfections are part of the process—every experienced woodworker has made the mistakes described in this guide. What separates a finished table from an abandoned project is the willingness to keep going anyway. Your round table doesn’t need to be perfect. It just needs to be yours. Thanks for reading this guide on how to build round table.
