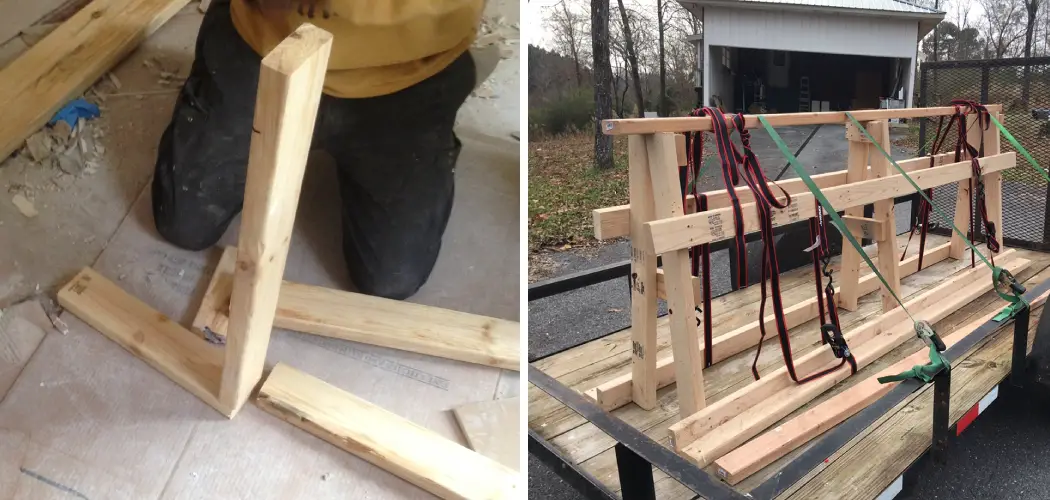
If you’re a tile or granite installer, you know that large, heavy slabs of stone can be a real pain to move around. That’s why a wooden frame is a perfect solution for transporting granite. In this blog post, we’ll show you how to build a wooden a frame to transport granite using simple materials and tools. Let’s get started.
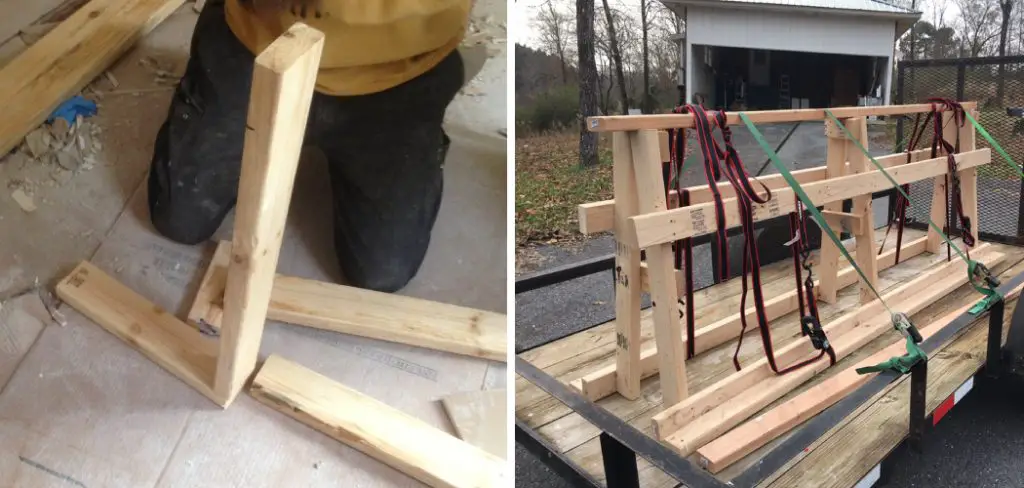
What is a Wooden A Frame
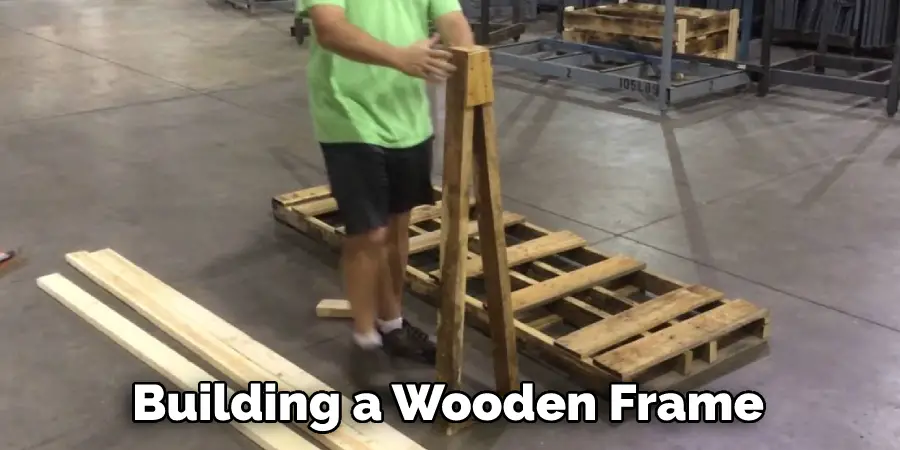
A wooden frame is designed to hold and support heavy slabs of granite or stone during transport. The “A” shape creates a sturdy base with two points for the slabs to rest on, keeping them in place and preventing any shifting during transport. This type of frame can be easily built and customized to fit your specific needs. You can also use it for other materials such as marble, quartz, or even large pieces of wood. It’s a versatile and essential tool for any installer or contractor. The frame can also be disassembled for easy storage and transportation.
Why You Need a Wooden Frame to Transport Granite
As we mentioned, granite is a very heavy material. A full slab of granite can weigh upwards of
1,000 pounds or more. And while some installers may have a forklift or other heavy-duty equipment to move the slabs around, many don’t. This is where a wooden frame comes in handy. A wooden frame can be built relatively easily, making moving granite slabs much easier, safer, and less stressful. Plus, it’s a lot cheaper than buying a forklift. Another reason you may want to build a wooden frame to transport granite is that it offers more protection for the stone.
When transporting granite on a flatbed truck or in the back of a pickup truck, there’s a risk that the slabs could shift during transit and become damaged. A wooden frame will keep the slabs securely in place and help prevent them from being damaged. Lastly, a wooden frame is much easier to disassemble and store than a forklift or other heavy-duty equipment. If you only transport granite occasionally, it doesn’t make sense to invest in expensive equipment that you’ll only use a few times a year. A wooden frame can be easily disassembled and stored until you need it again.
Tools and Materials Needed
To build a wooden frame to transport granite, you’ll need the following tools and materials:
2×4 Lumber:
You’ll need enough 2×4 lumber to create a sturdy frame. The amount will depend on the size of your granite slab, but you’ll likely need at least four pieces.
Plywood:
Plywood will be used to create a base for the frame. Make sure you choose a strong and durable type of plywood.
Screws:
Make sure to have plenty of screws on hand for attaching the pieces of lumber and plywood together.
Measuring Tape:
Accurate measurements are key to building a stable and secure frame, so make sure you have a measuring tape handy.
Saw:
You’ll need a saw to cut the pieces of lumber and plywood to the required lengths.
Drill:
A drill will be used to make pilot holes for the screws and to drive them in.
Screwdriver:
A screwdriver will be used if you choose to use regular screws instead of self-drilling one
Step by Step How to Build a Wooden a Frame to Transport Granite
1. Measure the Dimensions
The first step is to measure the dimensions of the granite slab. You will need to know how long and wide the slab is. This is because the A-frame will be built around these dimensions. Use a tape measure to get the measurements of the granite. First, measure the length and then the width. If the granite is not a perfect rectangle, then make sure to get the measurements of the longest and widest points.
2. Choose the Right Lumber
After you have measured the granite, you will need to select the lumber for the A-frame. The lumber should be strong enough to support the weight of the granite. You will also need to make sure that the lumber is long enough to build the frame. The best lumber to use for this project is 2x4s or 4x4s. If you cannot find these lumber pieces, you can also use 6x6s.
3. Cut the Lumber to Size
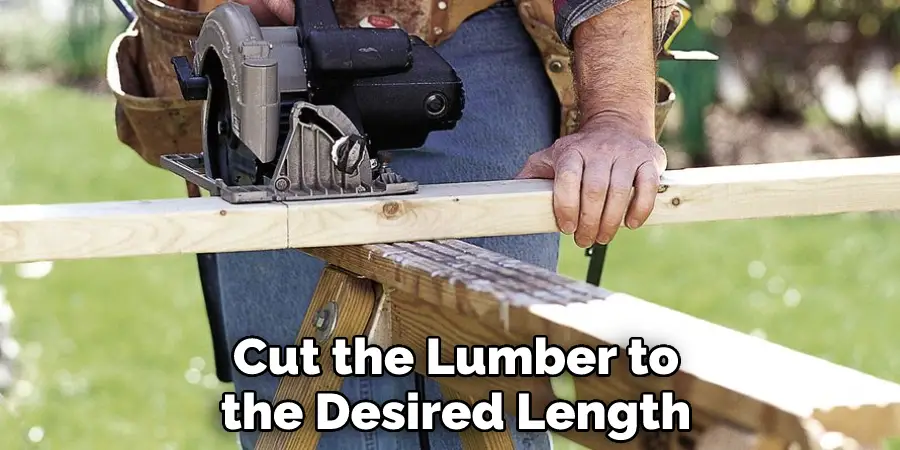
Once you have selected the lumber, you will need to cut it to size. The easiest way to do this is to use a saw. First, measure the length of the lumber. Then, cut the lumber to the desired length using a saw. Make sure to measure twice and cut once to avoid any mistakes. If you do not have a saw, you can also ask the lumberyard to cut the lumber for you.
4. Assemble the Frame
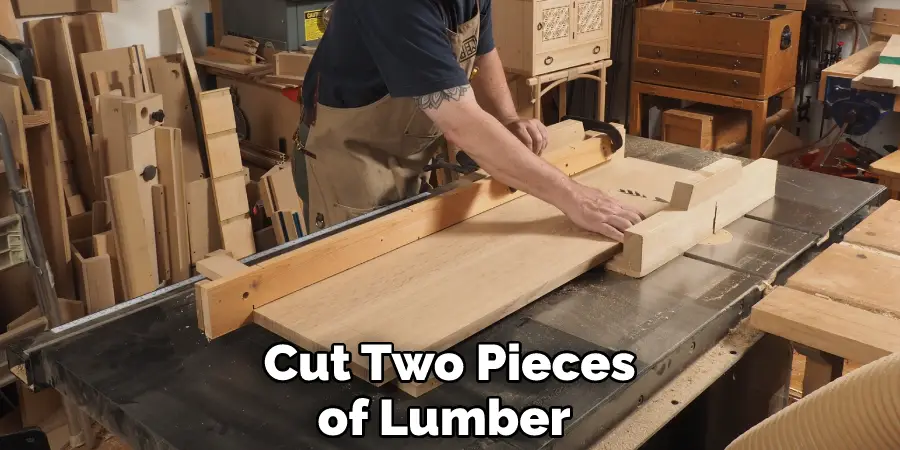
After you have cut the lumber, it is time to assemble the frame. Begin by attaching two pieces of lumber together at the ends. You can use screws, nails, or even bolts to do this. Make sure that the frame is square and that the corners are flush. First, attach the two pieces of lumber together in the middle. Then, attach the other two pieces of lumber to the frame. If you are using screws, make sure to use long screws so that they will go through the lumber and into the granite.
5. Attach the Sides
Once the frame is assembled, you will need to attach the sides. To do this, first, measure the width of the granite slab. Cut two pieces of lumber to this width and attach them to the frame using screws or nails. These will be the sides of your frame. If you are using screws, be sure to countersink them so that they do not protrude and scratch the granite.
6. Attach the Top
After the sides are attached, you will need to attach the top. Cut a piece of lumber to the width of the granite slab and attach it to the frame with screws. Make sure that the lumber is level before attaching it. If it is not level, the granite will not be level when it is placed on the frame.
7. Add Braces
Once the frame is assembled, you will need to add braces. The braces will help support the granite’s weight and prevent the frame from tipping over. To add braces, first measure the distance between the two sides of the frame. Cut four pieces of 2×4 lumber to this length and attach them to the frame with screws. The braces should be placed so that they are evenly spaced and parallel to the sides of the frame.
8. Attach the Wheels
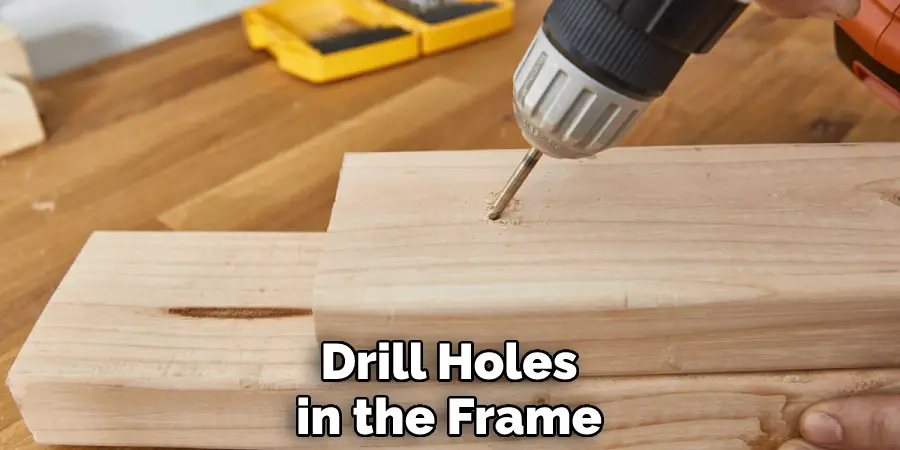
After the braces are added, you will need to attach the wheels. The wheels will make it easy to move the frame and granite around. You can find wheels at most hardware stores. To attach the wheels, first, drill holes in the frame. The holes should be large enough for the bolts to fit through. Next, insert the bolts through the holes and add washers and nuts. Tighten the nuts until the wheels are secure. If the wheels do not come with locks, you can add these to the frame. Wheels with locks will prevent the frame from rolling away.
9. Test the Frame
After the wheels are added, you will need to test the frame. To do this, place the granite slab on the frame and make sure that it is level. If it is not level, you can adjust the wheels until it is level. Once the granite is level, try moving the frame around. If it tips over, you will need to add more braces. If it does not tip over, you are finished! You can now move the granite slab around with ease.
Following these steps, you will have successfully built a wooden frame to transport granite. Remember to always take accurate measurements and use strong and durable materials for the best results. And with this DIY solution, you’ll save money on expensive delivery fees and have a sturdy frame that you can reuse for future projects. Happy building!
Do You Need to Use Professional?
It is possible to build a wooden frame to transport granite without the help of a professional. However, it does require some basic woodworking skills and tools. If you do not feel comfortable or have experience with building structures, it may be best to hire a professional for this project. They will have the necessary knowledge and expertise to ensure that the frame is built safely and correctly.
Additionally, if the granite slab is extremely heavy or large, it may be best to hire professionals who have the proper equipment and experience to move it safely. So, while building a wooden frame is a great DIY option for smaller slabs or if you have some experience with woodworking, do not hesitate to seek professional help if needed. Safety should always be a top priority when handling heavy materials like granite.
With that being said, building a wooden frame to transport granite can be a fun and rewarding project for those who are up for the challenge. Not only will you save money, but you’ll also have the satisfaction of knowing that you have built a useful tool with your own hands. So go ahead and give it a try! Who knows, maybe this project will spark an interest in woodworking or DIY projects for you. Just remember to always prioritize safety and take necessary precautions when handling heavy materials like granite. Happy building!
How Much Does It Cost to Build a Wooden Frame?
The cost of building a wooden frame will vary depending on the size of the frame and the type of lumber used. However, the average cost is around $100. This does not include the cost of the wheels or the granite slab. If you already have a granite slab, the cost will be lower.
Tips and Warnings on How to Build a Wooden a Frame to Transport Granite:
Tips:
1. Make sure the frame is big enough to fit your granite piece.
2. Use sturdy, high-quality wood for the frame to avoid breakage.
3. Nail or screw the frame together securely to prevent movement during transport.
4. Place padding inside the frame on all sides to protect the granite from damage.
- Cover the frame with a tarp or other heavy-duty material to keep it clean and dry.
Warnings:
1. Do not attempt to move the granite piece by yourself. Always have at least two people to help with the lifting and carrying.
2. Be careful not to drop or bump the granite while it is in the frame. This could cause cracks or chips.
3. Do not leave the granite outside in the frame for extended periods. It could become damaged by weather conditions.
- Always store the granite frame in a dry, safe place when it is not in use. 5. Use caution when handling power tools and always wear appropriate safety gear to prevent accidents. 6. Make sure the wheels are securely attached before moving the granite frame.
- If adding locks to the wheels, make sure they are working properly before transporting the frame and granite.
- Always double check your measurements before cutting or assembling any parts of the frame to avoid mistakes and costly errors.
- If you are unsure about any step in the process, seek help from a professional or experienced builder to ensure the safety and proper construction of the frame.
- Be aware of your surroundings when moving the granite frame, as it may be heavy and difficult to maneuver in tight spaces or on uneven surfaces.
With these tips and warnings in mind, you can confidently build a wooden frame to transport your granite piece. By taking the time to do it right, you’ll ensure that your granite arrives at its destination in one piece and without any damage.
Is it Worth It to Build a Wooden Frame to Transport Granite?
The answer to this question will vary depending on the situation. If you need to move a large granite piece frequently, building a frame may be worth it. However, if you only need to move the granite piece occasionally, it may be cheaper to hire someone to do it for you. Ultimately, the decision will come down to cost and convenience. If you have the time and money to build a frame, doing so may be worth it. Otherwise, you may want to consider hiring someone to help you move the granite piece.
Frequently Asked Questions:
Q: What Type of Lumber Should I Use for the Frame?
A: It is best to use pressure-treated or rot-resistant lumber such as cedar, redwood, or treated pine. You can also use hardwoods like oak or maple for added strength, but they may be more expensive. It is important to use high-quality, sturdy lumber to ensure the frame can support the weight of the granite.
Q: How Do I Know if My Granite Piece Will Fit in the Frame?
A: Before building the frame, measure the length, width, and height of your granite piece. Add a few inches to each measurement for padding and wiggle room. This will give you an idea of the size of the frame you will need to build. If your granite piece is larger than the standard sizes available at hardware stores, you may need to custom-build a frame for it.
Q: Can I Use the Frame for Other Heavy Objects?
A: Yes, you can use this wooden frame to transport other heavy objects such as furniture or appliances. However, make sure to adjust the size and dimensions of the frame to fit the specific object you want to move. It is also important to take into consideration the weight of the object and use sturdy materials for added support.
Q: Do I Need Any Special Tools or Skills to Build a Wooden Frame?
A: You will need basic woodworking tools such as a saw, drill, and screws or nails. Some basic woodworking skills will also be helpful in building a sturdy frame. If you are not comfortable with DIY projects, it may be best to hire someone to build the frame for you.
Overall, building a wooden frame is a relatively simple project that can save you money and make moving heavy objects much easier. With careful planning and execution, you can successfully build a wooden frame to transport your granite and other heavy objects. So, why spend money on expensive delivery fees when you can build your own sturdy frame?
Conclusion
So there you have it! Everything you need to know about how to build a wooden a frame to transport granite. By following these simple steps, you can ensure that your granite piece arrives safely at its destination. With a little time and effort, you can build a frame that will last for years to come. Thanks for reading!

