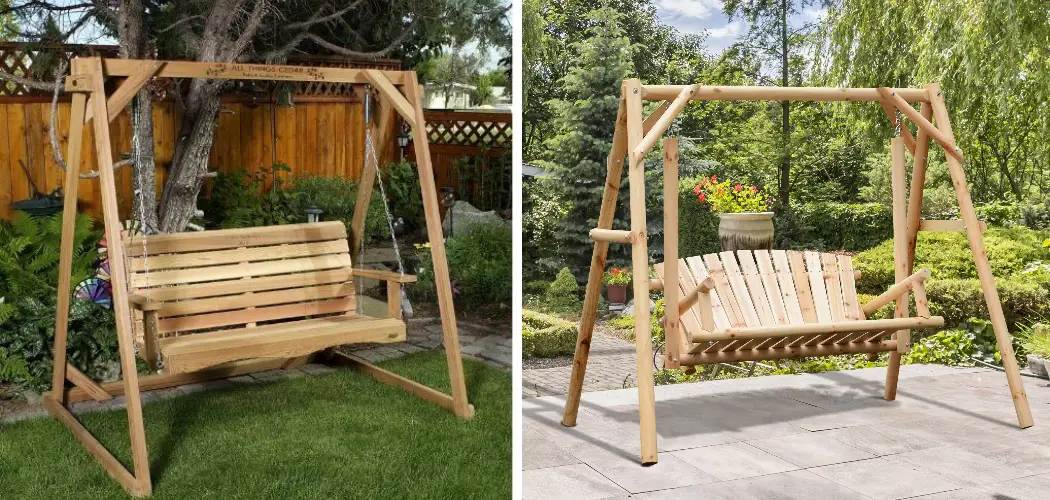
Building a swing stand offers a rewarding DIY project that combines craftsmanship with outdoor relaxation. Whether you’re looking to create a peaceful retreat in your backyard or a charming addition to a play area, constructing a swing stand is a gratifying endeavor.
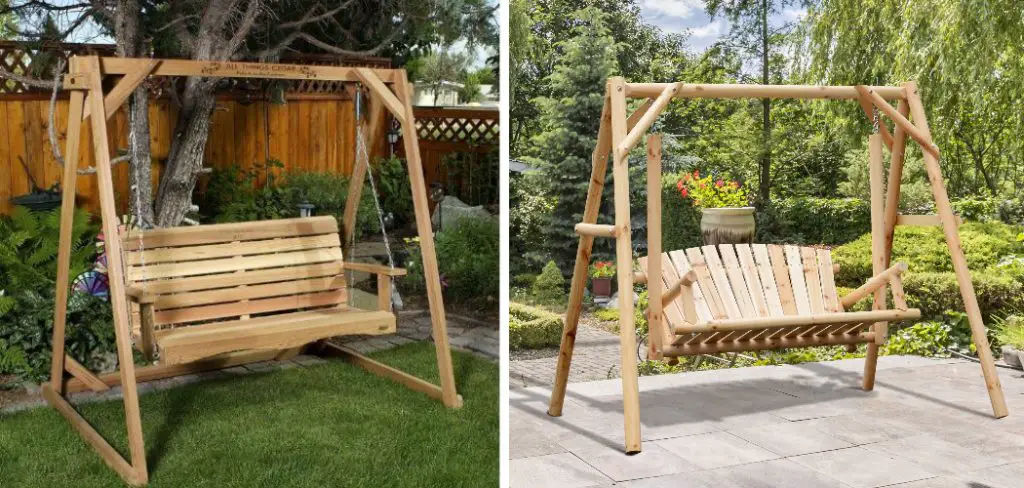
With the right materials, tools, and a bit of know-how, you can design and build a sturdy and stylish structure to support your swing. This article provides a comprehensive guide on how to build a swing stand, covering essential steps, considerations, and design options.
From selecting the right wood and hardware to ensuring proper measurements and stability, crafting a swing stand allows you to enjoy the fruits of your labor while lounging in the open air. Whether you’re a seasoned DIY enthusiast or a novice looking to embark on a new project, building a swing stand is a practical and enjoyable way to enhance your outdoor living space.
Benefits of Having a Swing Stand
One of the most rewarding and enjoyable projects around the home is to build a swing stand. This simple structure can add an element of fun to any backyard, playground or porch area. There are several advantages that come with building your own swing stand, including:
- Cost Savings: Instead of purchasing a pre-made swing set, you can save money by building a customized swing stand. You can easily find the materials you need for this project at your local hardware store.
- Added Fun: When you build your own swing stand, it is easy to customize the design and make it more fun for everyone in the family. You could even add additional features like climbing walls or extra swings to create an even better experience.
- Stress Relief: Having a swing stand in your backyard can provide a great space for stress relief and relaxation. It’s a great way to let go of the day’s worries and just enjoy some time outdoors.
Building your own swing stand is an easy project that you can do yourself with basic tools and materials. With some creativity and dedication, you can create a unique and fun space that the whole family will love.
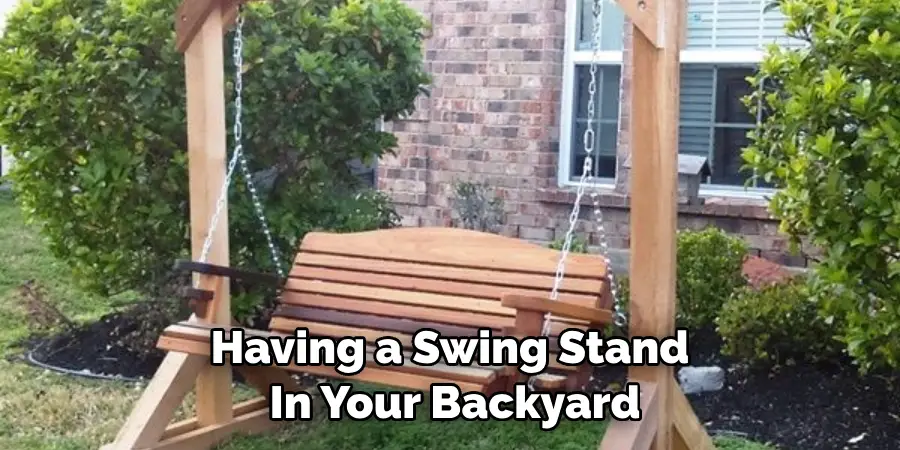
It’s also important to make sure that your swing stand is constructed safely and securely so that everyone can have peace of mind when using it. You may even want to consult with an expert before beginning your project, as they can provide additional advice on how to best build a safe structure.
Customization Options for Different Swing Types
Once you have all the supplies and tools needed to build your swing stand, there are a variety of customization options for different types of swings. For instance, if you’re building a wooden swing stand, you can use different types of wood such as pine or cedar to give your project a unique look and feel.
You can also use stain to match the colors of your furniture and decor. For metal swings, you can customize the look with different colors of paint or powder coating. No matter what type of swing stand you’re building, there are many customization options available to fit your personal style and preferences.
When it comes to safety features for a swing stand, make sure that all the parts are securely attached together and that all screws and bolts are tightened. You should also double-check any rope or chain attachments to the swing itself, as well as the frame of your stand.
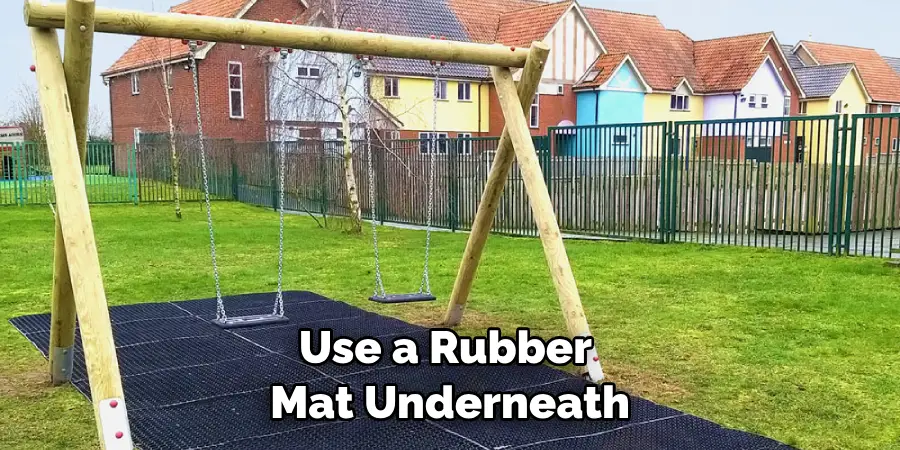
When it comes to metal swings, use a rubber mat underneath to prevent scratches when swinging around. These simple precautions will ensure that your swing stand is safe for everyone in your family to enjoy.
With the right tools and materials, you can build a swing stand that perfectly fits your needs. Make sure to take measurements of the space in which you want to place your swing stand so that you have an accurate idea of how much material you will need. And by customizing it with different colors and finishes, you can create a look that’s truly unique.
10 Methods How to Build a Swing Stand
1. Design and Planning: Lay the Foundation
Before you start construction, define the purpose of your swing stand and envision its design. Determine the swing’s dimensions, including the length, width, and height of the stand.
Consider factors like the swing’s weight capacity, the number of swings it will hold, and the space available. Sketch out your design, incorporating details such as frame style, decorative elements, and any additional features you desire. Planning ahead ensures that you have a clear roadmap for the project.
2. Selecting Materials: Durability and Aesthetics
Choose the right materials to ensure your swing stand is both sturdy and visually appealing. Pressure-treated lumber, cedar, or redwood are popular choices due to their natural resistance to weathering and insects.
Decide whether you want a natural wood finish or if you’ll paint or stain the stand. Additionally, gather the necessary hardware such as screws, bolts, brackets, and chains. Opt for galvanized or stainless steel hardware to prevent rusting and ensure long-lasting support.
3. Gathering Tools: Equipping Yourself
Having the right tools at your disposal is essential for a smooth construction process. Basic tools like a saw, drill, measuring tape, level, and a square are essential. A miter saw can help achieve precise cuts, while a socket set ensures secure hardware attachment. Don’t forget safety gear, including goggles, gloves, and hearing protection.
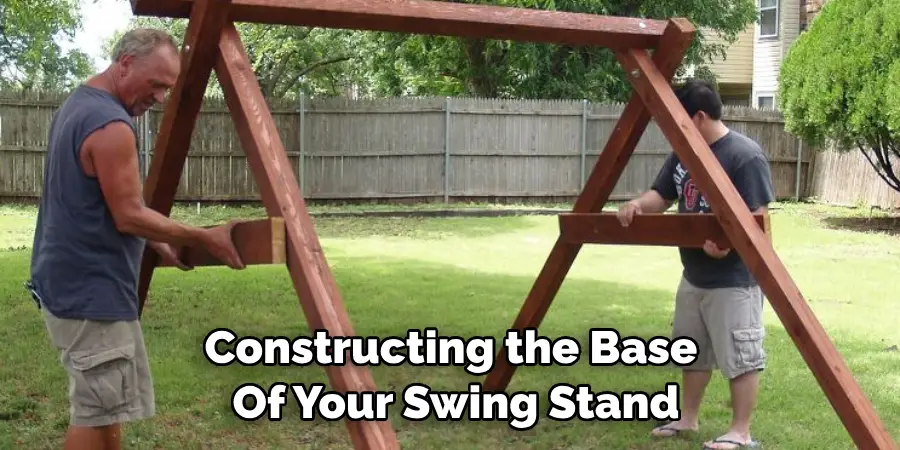
4. Frame Construction: Assembling the Base
Start by constructing the base of your swing stand. This involves building the support posts and connecting them with cross beams. Use accurate measurements and angles to ensure stability. A popular choice is the A-frame design, which provides excellent support and an attractive visual appearance. Assemble each side of the A-frame separately before joining them with a horizontal beam at the top.
5. Cross Bracing: Reinforcing the Structure
To enhance the stand’s stability and load-bearing capacity, incorporate cross braces. These diagonal pieces of wood help prevent wobbling and swaying, especially when the swing is in motion. Attach the braces securely to the vertical support posts and the horizontal beams using strong screws or bolts.
6. Hanging Points: Securing the Swing
Identify the ideal hanging points for your swing. These are the areas where you’ll attach the chains or ropes that support the swing. Make sure the hanging points are level and positioned symmetrically on both sides of the swing stand. Attach heavy-duty swing hangers or eye bolts to the cross beams or horizontal supports, ensuring they are securely fastened.
7. Swing Attachment: Installing the Swing
Attach the swing to the hanging points using strong chains or ropes. Depending on the type of swing you have, you might need to use S-hooks or carabiners for secure connection. Make sure the swing is level and hangs freely without any obstructions. Test its stability by applying gentle pressure before using it.
8. Finishing Touches: Sanding and Sealing
Once the basic structure is complete, take the time to sand any rough edges or surfaces to prevent splinters. Applying a wood sealer or outdoor-grade paint not only enhances the stand’s appearance but also protects it from the elements. Consider using a sealant that provides UV protection to prevent fading and deterioration over time.
9. Personalization: Adding Accessories
Enhance the aesthetics of your swing stand by adding personal touches. Consider installing decorative accents, such as wood carvings, plant hangers, or even LED lighting for evening ambiance. Cushions and pillows can provide extra comfort for the swing, and you can choose fabrics that match your outdoor decor.
10. Safety and Maintenance: Regular Checkups
After completing your swing stand, safety should remain a priority. Regularly inspect the stand for any signs of wear, including loose hardware, cracks, or fading paint. Tighten any loose screws or bolts, and reapply sealant or paint as needed to maintain the stand’s durability and appearance. Additionally, periodically inspect the hanging points and chains or ropes to ensure they’re still secure.
Things to Consider When Building a Swing Stand
When building a swing stand, there are several things to consider. First, decide what type of material you want to use. Wood is the most common choice, but metal and plastic can also be used. Second, think about where you plan on installing your swing stand.

If you’re looking for something that will last for years outdoors, make sure you select a material that is resistant to weathering, such as pressure-treated wood or metal. Third, consider the size of the stand. You’ll want to make sure it is large enough to comfortably support your swing and any other pieces you plan on adding, like canopy covers or other decorations.
For those looking for an easier option, there are plenty of pre-built swing stands available. These come in a variety of shapes, sizes, and materials depending on the look you’re going for. However, if you want something truly unique that will stand up to years of use and weathering, it’s best to build your own swing stand from scratch.
Conclusion
Building a swing stand can seem like a daunting task, but with the right materials and steps, it is something anyone can be accomplished in a few hours. Whether you are looking to create a stand for one swing or an entire playground, the frames created will provide quality and stability. With proper care and maintenance, this stand is sure to last for years to come!
There may even be some pride of accomplishment that comes with knowing you built something on your own. Hopefully, this article gave you some helpful tips about how to build a swing stand successfully, so now that you have the proper knowledge on how to get the job done, why not give it a try today?

