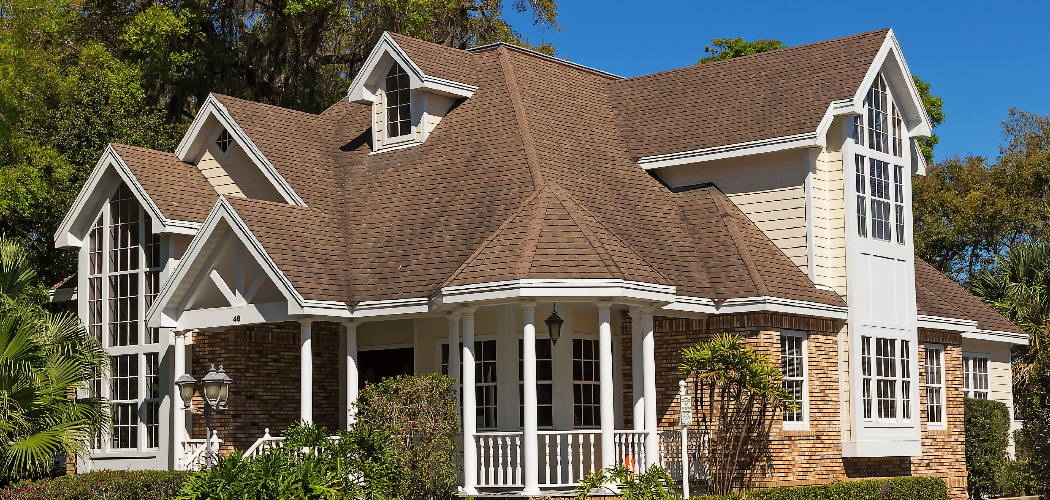
Are you looking for an outdoor area to enjoy with your family and friends? Building a roof deck on a pitched roof could be the perfect solution for you. Not only will it provide you with additional space, but it can also help increase the value of your home.
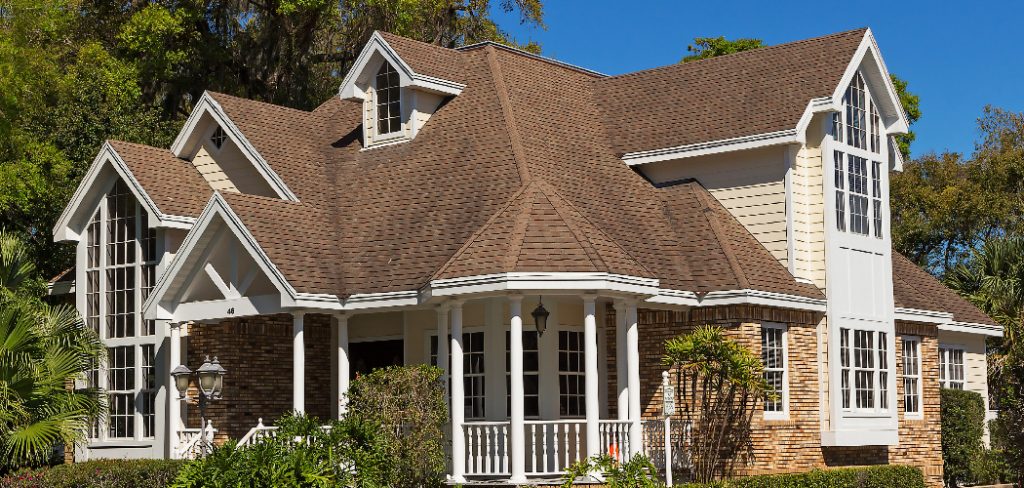
With this blog post, we’ll walk you through how to build a roof deck on a pitched roof in a few steps – from developing the plan to finishing carpentry details, such as choosing railings and staircases. We’ll even cover tips on materials selection and other important design considerations so that your rooftop retreat is functional as well as aesthetically pleasing!
Which Material Is Commonly Used for the Decking in Pitched Roofs?
When constructing a roof deck on a pitched roof, the material commonly used for the decking is treated lumber. Pressure-treated lumber is designed to resist rot and decay from moisture, making it an ideal choice for outdoor structures such as decks. It also has a higher resistance to insects which can be beneficial in areas with high levels of termites.
Pressure-treated lumber is available in a variety of widths and lengths, allowing for it to be cut and shaped to fit the desired roof structure. It is also relatively inexpensive compared to other building materials making it an attractive option for those working on a budget.
In addition to pressure-treated lumber, composite decking is another popular option for roof decks. Composite decking is composed of a mix of wood fibers, plastics, and other materials that are designed to offer superior durability compared to traditional lumber.
Composite decking also doesn’t require the same level of maintenance as pressure-treated lumber, making it ideal for those looking for a less labor-intensive option. The downside of composite decking is that it tends to be more expensive than traditional lumber.
Finally, metal decking is also an option for roof decks on pitched roofs. Metal decking is often constructed from galvanized steel or aluminum and can provide a durable surface that holds up well in all types of weather conditions. The downside of metal decking is that it tends to be more expensive than other materials, as well as more difficult to install.
10 Methods How to Build a Roof Deck on a Pitched Roof
1. Inspect the Roof.
Before beginning any work on the roof, it is important to inspect it to ensure that it is in good condition and able to support the weight of a deck. If the roof is in poor condition, it may need to be repaired or replaced before a deck can be built.

While inspecting the roof, make sure to check for any potential issues, such as loose shingles, missing flashing, or inadequate ventilation. Once the roof has been determined to be in good condition, it is time to begin constructing the deck.
2. Choose the Location for the Deck.
The location of the deck will be determined by a number of factors, including the size of the roof and the amount of available space. It is important to choose a location that will allow for easy access to the deck, and that will not obstruct any doors or windows.
The chosen location must also be able to accommodate the weight of both the deck and any furniture or other items that will be placed on it. If the roof is not large enough for the desired deck, extensions or stairs can be used to increase its size. Additionally, it is important to consider how the deck will affect drainage and ventilation of the roof.
3. Draw up a Plan.
Once the location for the deck has been determined, it is time to draw up a plan. The plan should include a detailed layout of the deck, as well as a list of materials that will be needed. It may also be a good idea to include a diagram that shows how the deck will fit into the existing roof structure.

Additionally, it is important to consider the size and shape of the deck when creating a plan. This will help ensure that it fits into its intended space. While the overall design of the deck should be based on personal preferences, it is still important to take into account any local building codes that may apply. Once a plan has been created, it can be submitted to the local building department for approval.
4. Obtain the Necessary Permits.
In most cases, building a roof deck will require a permit from the local city or county government. The permit application process can vary depending on the jurisdiction, so it is important to check with the local building department to find out what is required.
Once the permit is obtained, it must be displayed on-site during construction.
If the deck is not built in accordance with local building codes and regulations, the owner or contractor can be held liable for any violations. Try to complete the permit process before construction begins to avoid any delays.
5. Hire a Contractor.
Unless you are experienced in construction, it is advisable to hire a professional contractor to build your roof deck. A contractor will have the necessary skills and experience to ensure that the deck is built correctly and safely. They will also be able to advise on the best materials to use and how to build a roof deck that is structurally sound.
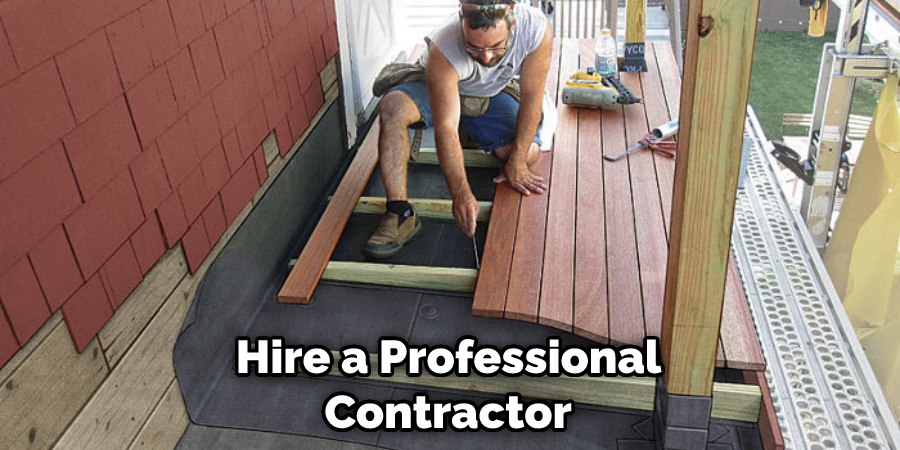
Finally, a contractor will be able to provide you with an estimate of the total cost, as well as a timeline for completion. With the right contractor, your beautiful new roof deck will be ready to enjoy soon!
6. Prepare the Roof Surface.
Once a contractor has been hired, they will begin by preparing the roof surface for installation. This typically involves removing any existing gutters or flashing, as well as installing new flashing around the perimeter of the roof.
Although most roof decks can be installed over existing shingles, it is usually advisable to replace them with a waterproof membrane. This will protect the underlying deck structure from moisture and other weather-related damage. Try to choose a material like EPDM rubber, TPO, or PVC for superior protection.
7. Install Ledger Boards and Joists.
The next step in building a roof deck is to install ledger boards and joists around the perimeter of the roof. Ledger boards are horizontal beams that are attached to the house wall and provide support for the joists. Joists are vertical beams that span from one ledger board to another and provide support for the decking material.
8. Install Plywood Sheathing.
After the ledger boards and joists have been installed, plywood sheathing is added to provide additional support and stability for the decking material. Sheathing also helps to waterproof the deck and protect it from weather damage. Use high-quality marine-grade plywood for the sheathing, which is slightly more expensive than standard plywood but is much more durable and resistant to moisture damage.
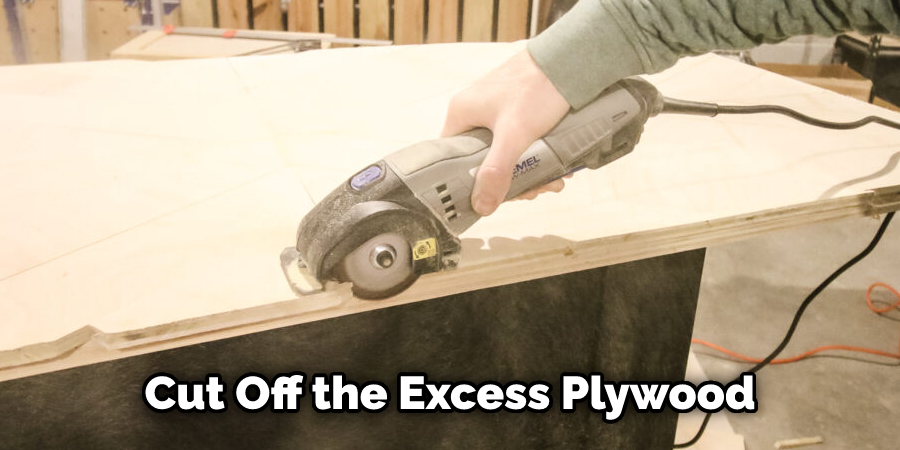
Start in one corner and work your way across the joists, attaching it with galvanized screws every 8 inches. When you reach the end of a joist, cut off the excess plywood with a circular saw. When all the sheathing has been installed, caulk around any exposed nails or screws to ensure a watertight seal.
9. Install Decking Material.
The final step in building a roof deck is to install the chosen decking material on top of the plywood sheathing. Common choices for decking material include wood, composite, or PVC. Once all of the decking material has been installed, it can then be finished with railing, furniture, and other accessories.
10. Enjoy the Finished Product!
Once the deck has been completed, you can enjoy your new outdoor living space with friends and family. With proper care and maintenance, a roof deck can provide many years of enjoyment. Be sure to inspect the deck regularly and make any necessary repairs in a timely manner. Additionally, it is important to clean up debris, such as leaves or other organic matter that can cause damage to your roof deck over time.
By following these steps, you can successfully build a roof deck on a pitched roof. With careful planning and attention to detail, you can create an attractive outdoor living space that will provide years of enjoyment. So don’t delay – start building your dream roof deck today!
Conclusion
If you’re considering adding a roof deck to your home, we hope this post about how to build a roof deck on a pitched roof has given you some useful information.
Remember to consult with a professional before beginning any work on your roof. While it may seem daunting, building a roof deck can be a fun and rewarding experience. With proper planning and execution, you’ll enjoy views of your city from the comfort of your home in no time.
You Can Check It Out to Build a Pallet Deck for Above Ground Pool

